In this tutorial, you will learn how you can use Fixture Groups to map effects in MADRIX.
Date: 07/2015
MADRIX Version: 3.4 (Created with)
Note: For this tutorial, we are going to use the Patch and fixture groups created in the tutorial »Working With Groups. It is useful to read this tutorial first.
1. |
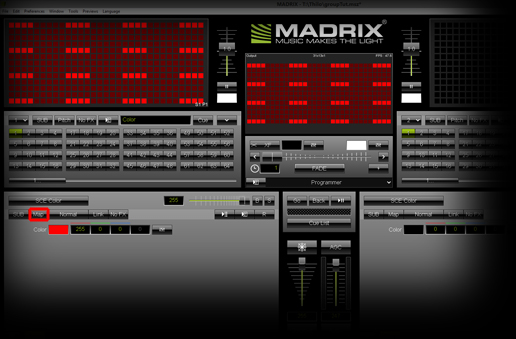
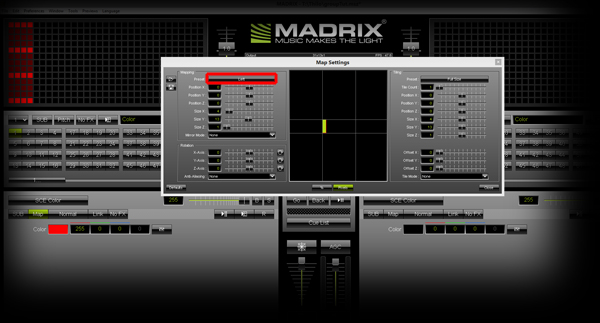
Start MADRIX and select an empty Storage Place. In the screenshot below, Storage Place S1 P1 is selected on the left side. Change the color of the SCE Color effect to Red. Then, click on the Map button.
The Map Settings window opens.
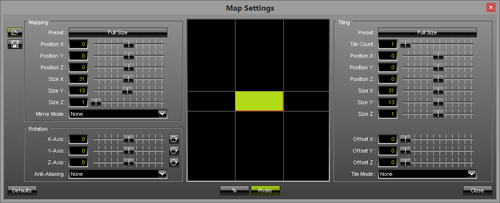
In the Mapping section, click on the Preset button. On the top of the list of presets, you will find a section which contains all created fixture groups. Note: Your Patch needs to include fixture groups. Otherwise, the list of presets will not include any presets based on such fixture groups.
|
2. |
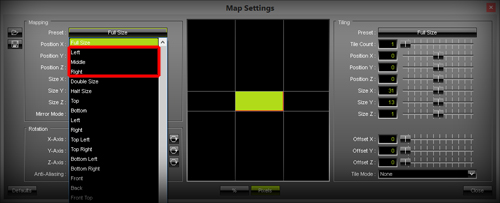
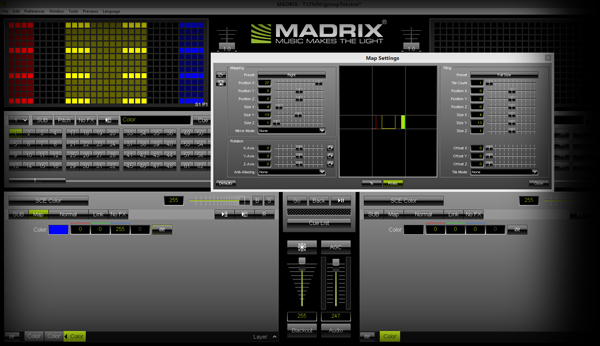
We are now assigning this Layer (SCE Color with the color Red) to the first fixture group by selecting the preset Left in the preset list.
The Preset button has also been changed to Left, which helps you see which preset was chosen.
Please also have a look at the MADRIX Preview Left and you will see that the effect mapping has been changed to cover only fixtures that are included in the fixture group Left |
3. |
Let us add a new Layer in MADRIX. We will change SCE Color to Yellow and set the Preset of the Mapping section (in the Map Settings window) to the fixture group Middle Note: If you do not know how you can work with Layers in MADRIX, please see the tutorial »Working With Layers Preview Left should now look like this:
|
4. |
In the last step of this tutorial, we want to add another Layer, change SCE Color to Blue, and set the Preset of the Mapping to fixture group Right
|

Congratulations! You have learned how you can use fixture groups for the mapping of an effect.