This tutorial shows you how to work with Mapping and Mix Modes of the Effect Layers in MADRIX 5.
Date: 06/2021
MADRIX Version: 5.4b (Created with)
Corresponding Video Tutorial: »Mapping And Mixing Of Effect Layers
Note:
In this tutorial we will work with the result of the tutorial »Layer Tiling With Offset.
Task:
We have to add two more Effect Layers. A SCE Color Change effect will be assigned to one of the new added Effect Layers. This Effect Layer should be mapped and mixed with the already created Graph Effect Layer. As Mix Mode please use Mask.
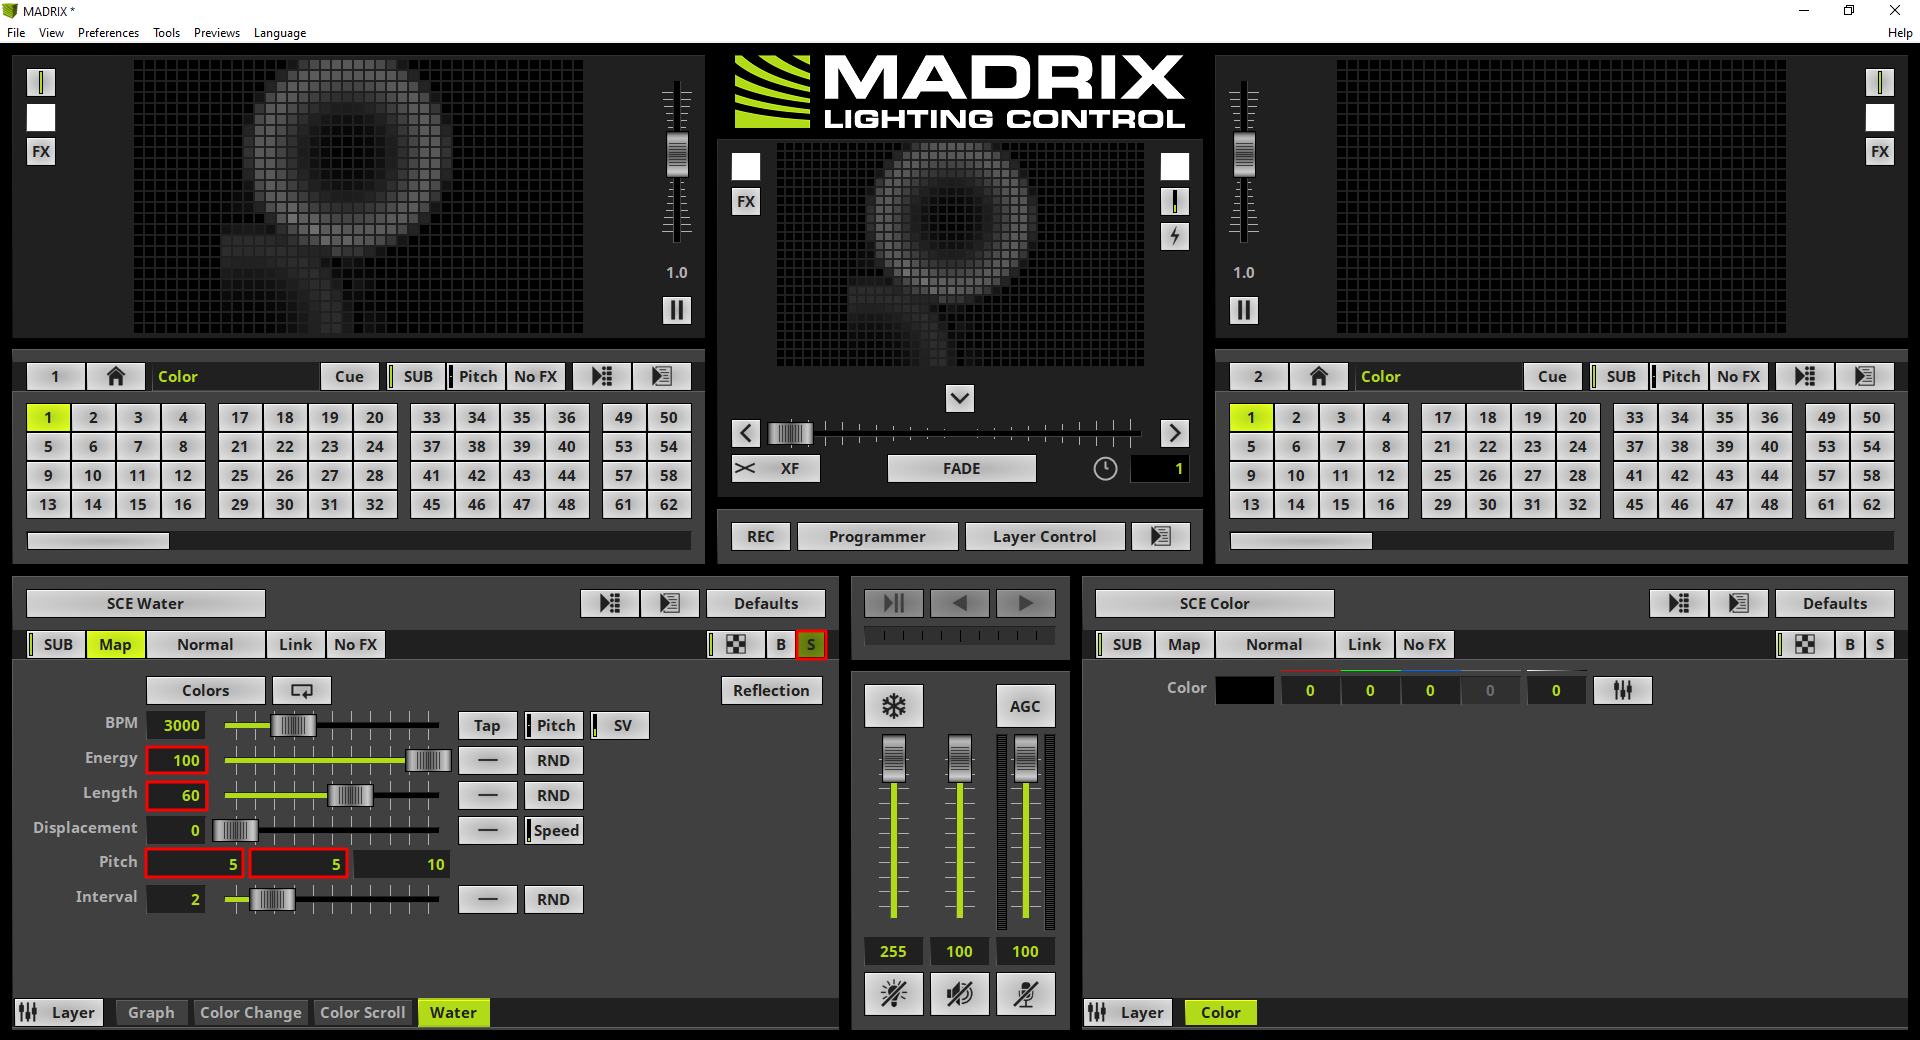
The second new Effect Layer needs to be assigned with the SCE Water effect. Furthermore some parameters of the SCE Water effect should be changed:
•Energy: 100
•Length: 60
•Pitch X: 5
•Pitch Y: 5
This Effect Layer should be mapped to the size of the already existing Color Scroll Layer and mixed with the Mix Mode Difference.
1. |
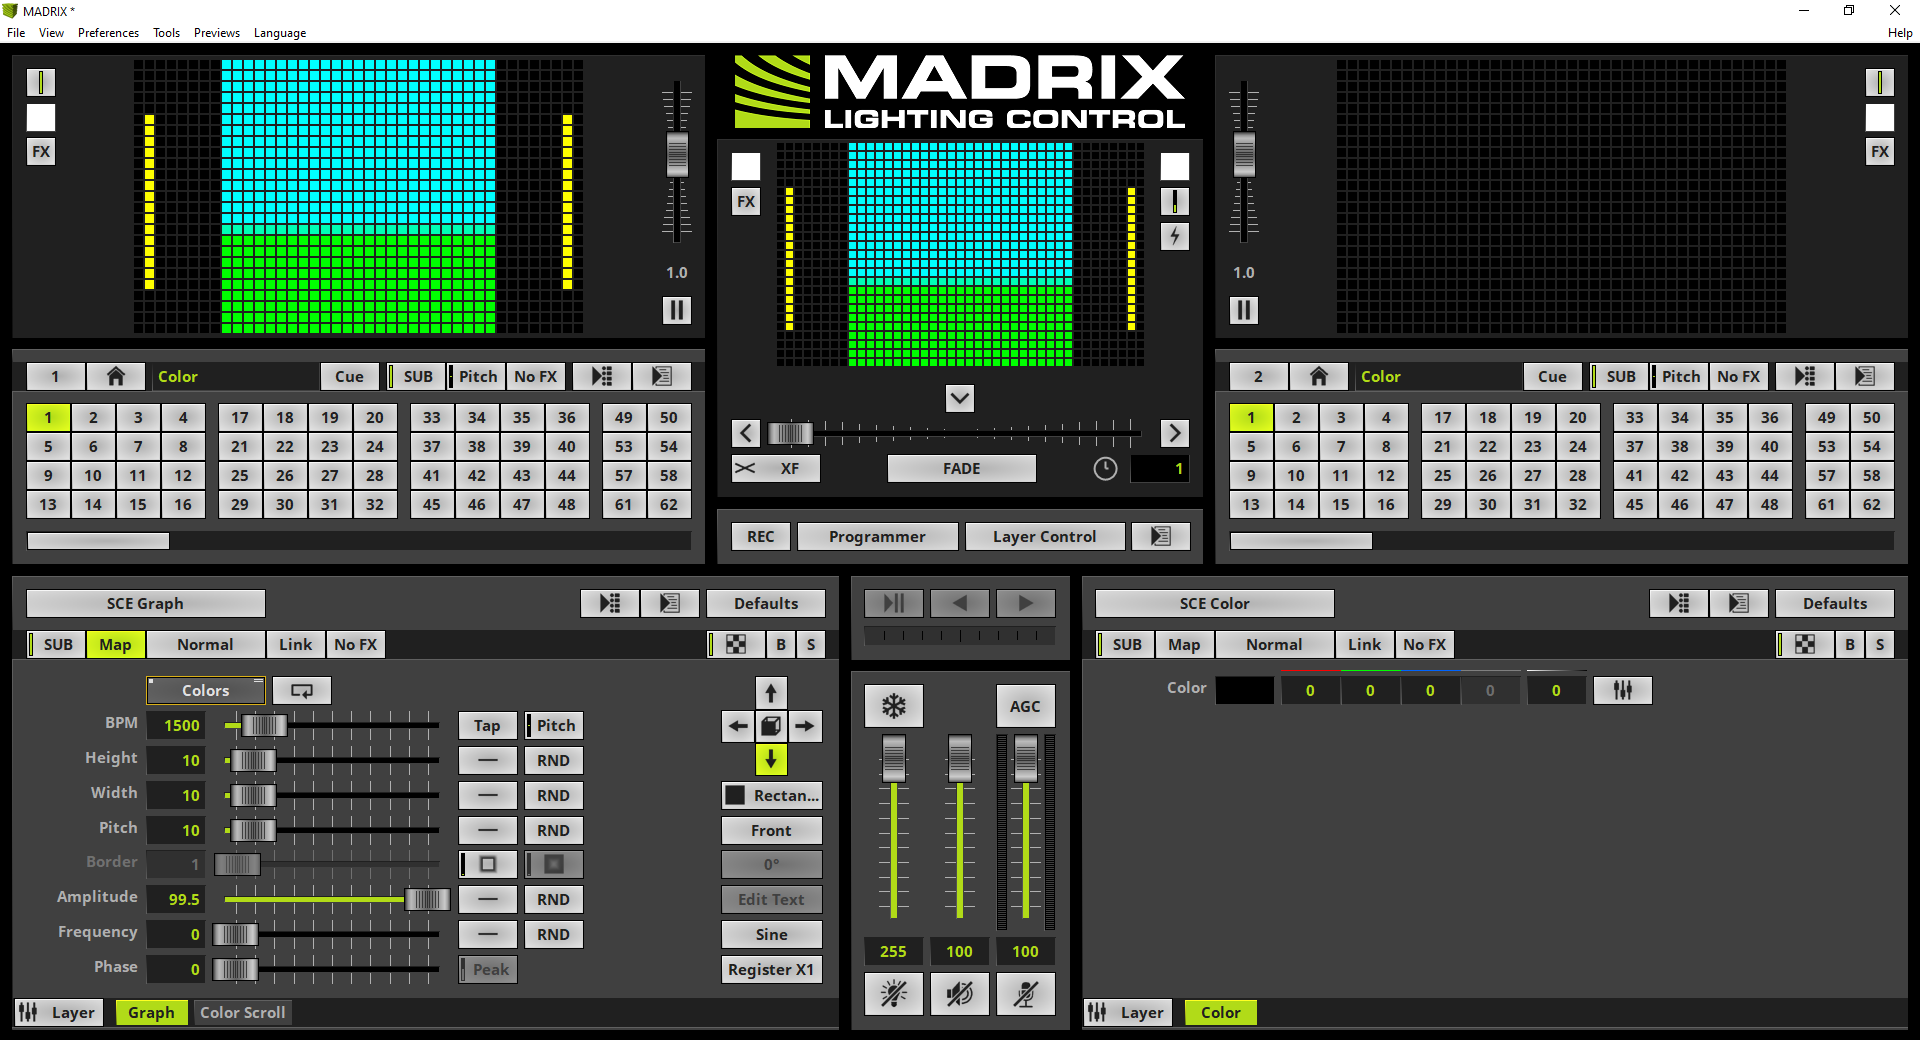
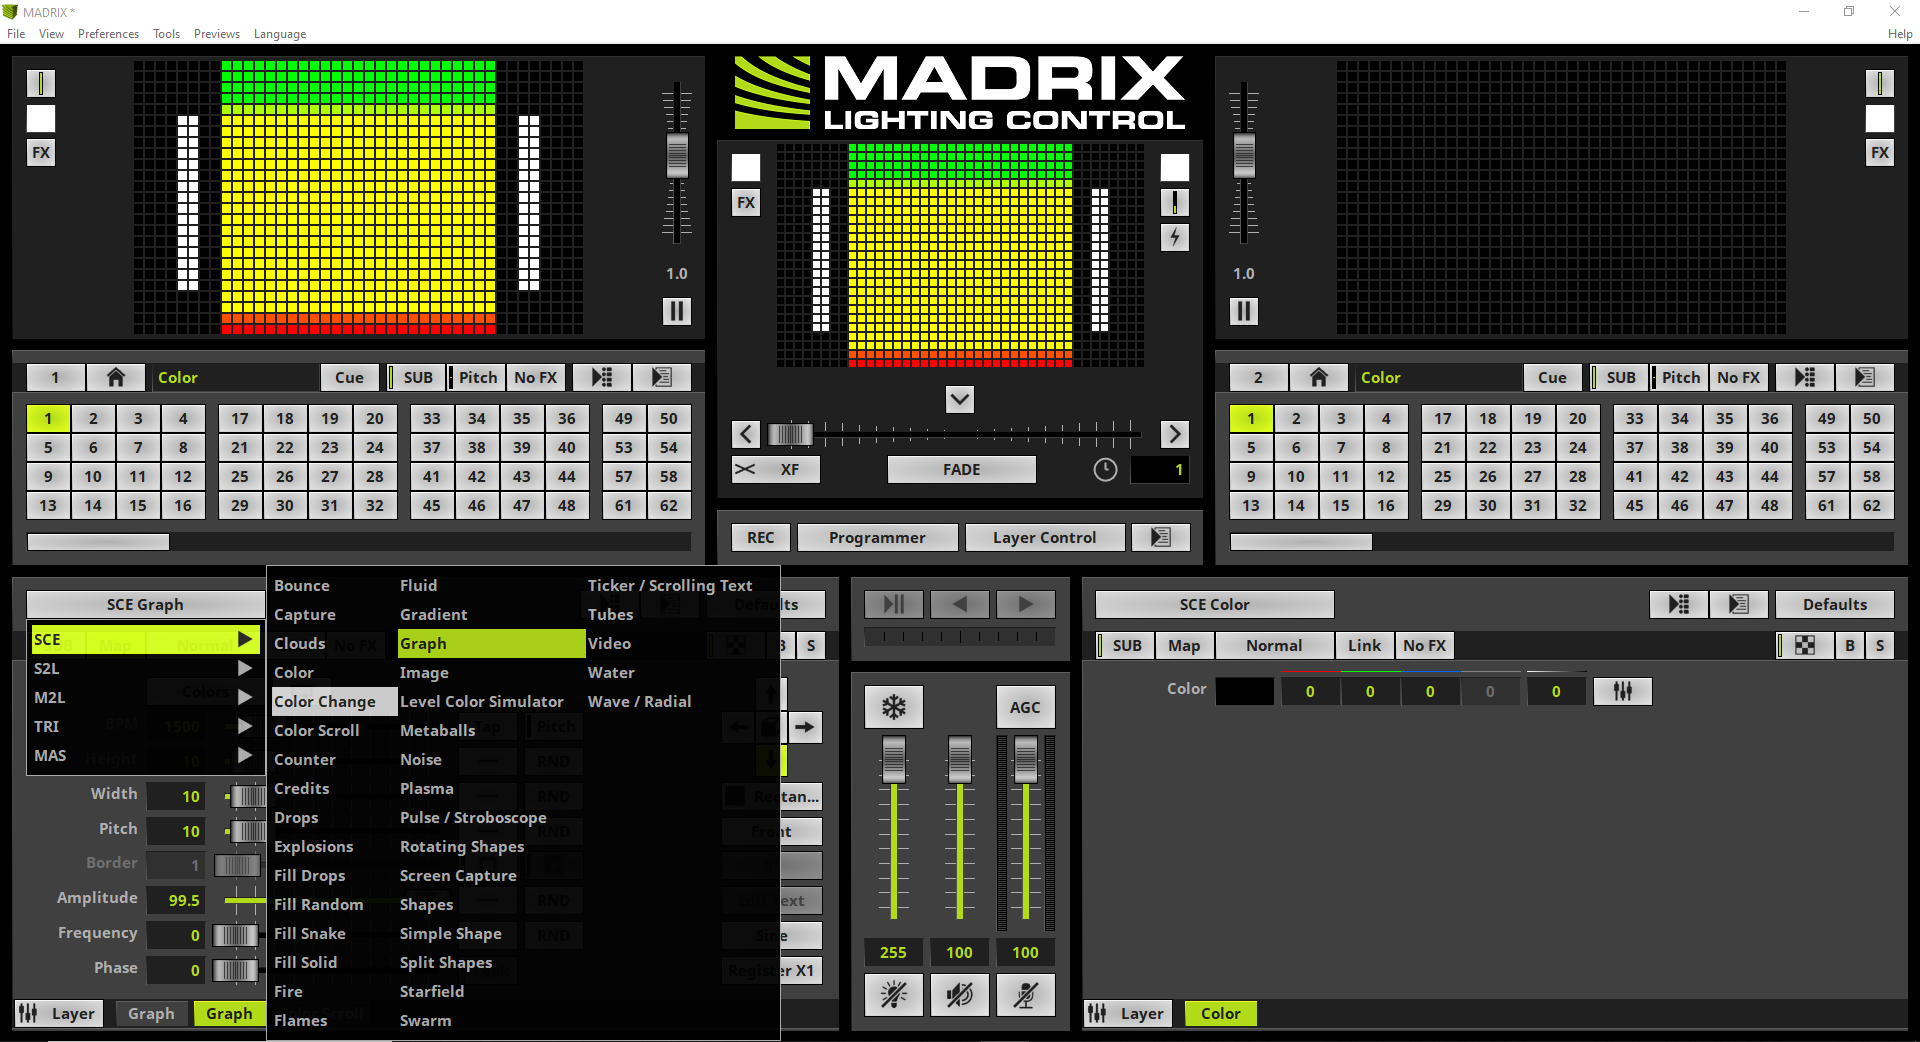
The result of the tutorial »Layer Tiling With Offset consists of two Effect Layers. One Effect Layer is configured with a modified SCE Graph effect and for the second Effect Layer a SCE Color Scroll has been assigned.
|
2. |
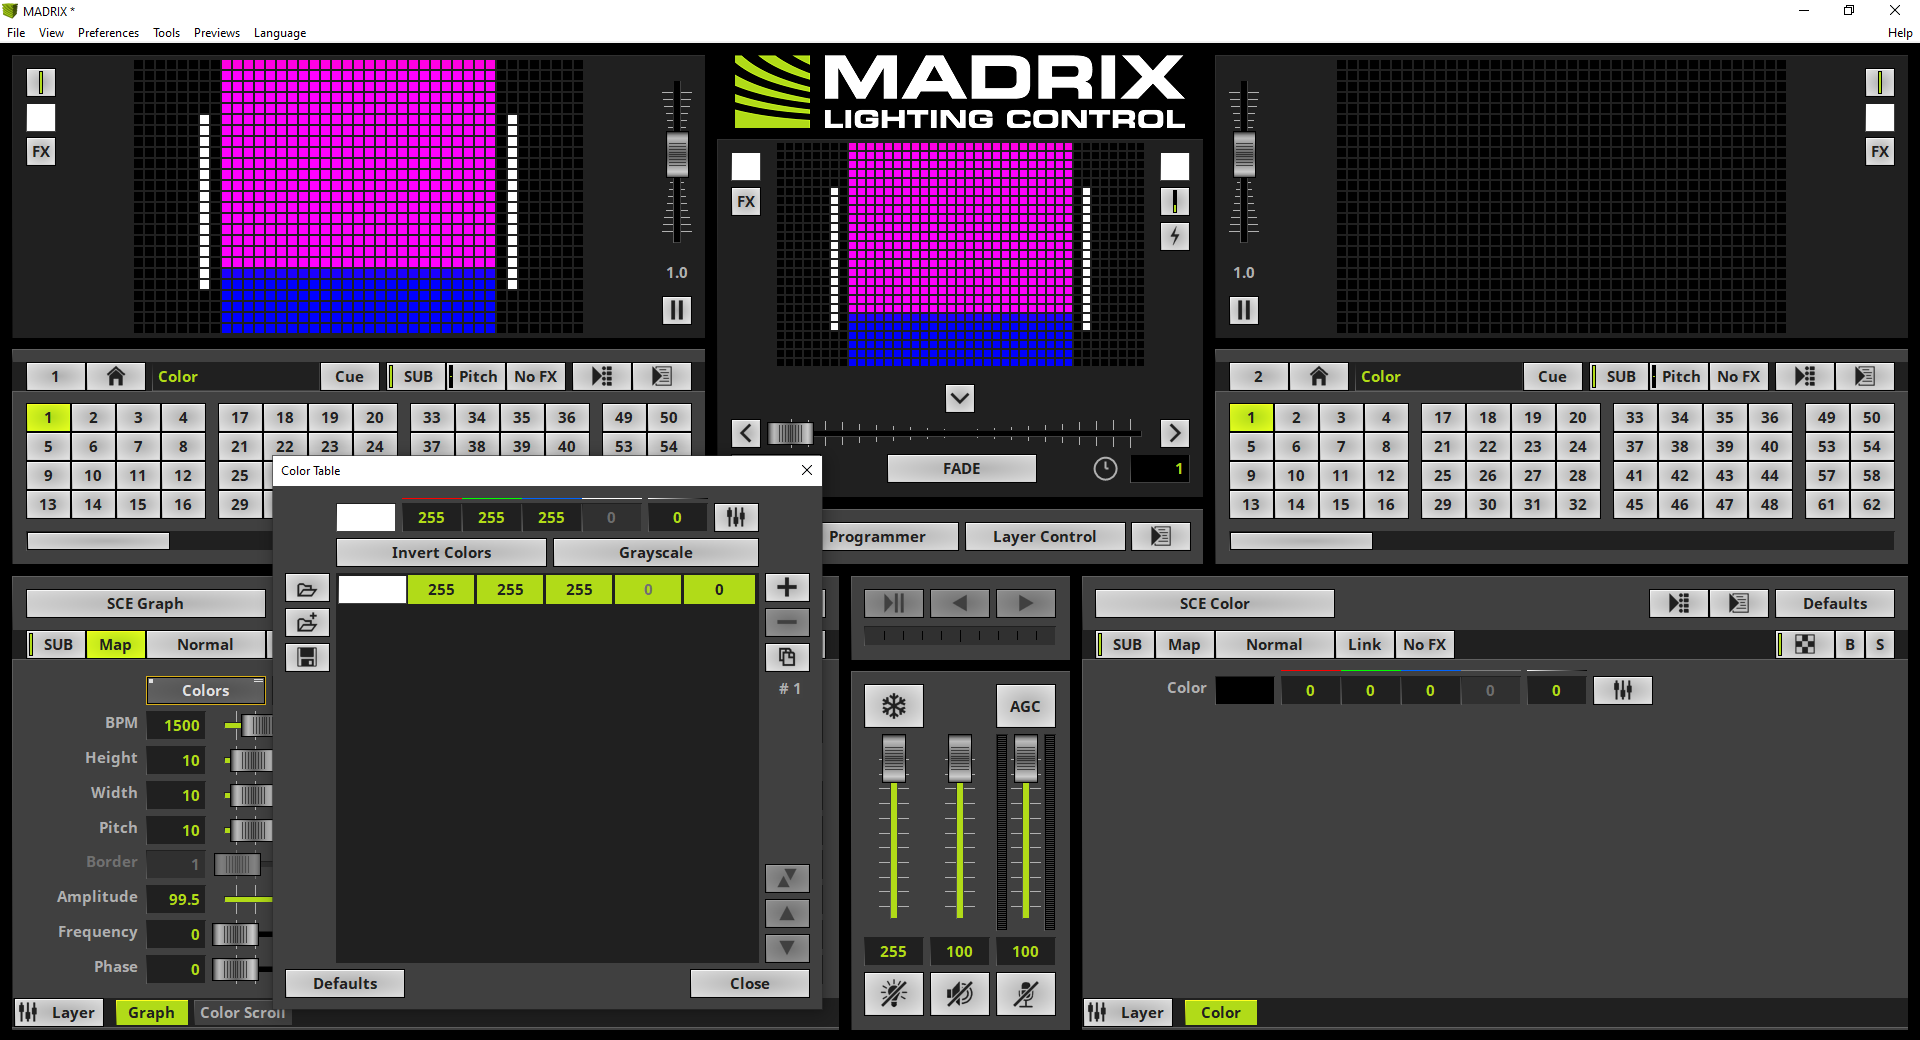
When we have a look at our task, the current SCE Graph effect should be masked by the SCE Color Change effect, which will be added in the next steps. So we change the color of the SCE Graph effect from yellow to white. Therefor we click the Colors button, select the only color entry of the Color Table and change the color to white. You can simply change the color with the help of the Color Picker or by setting the Color Edit fields for red, green and blue to the desired value. In this case the values must be 255.
|
3. |
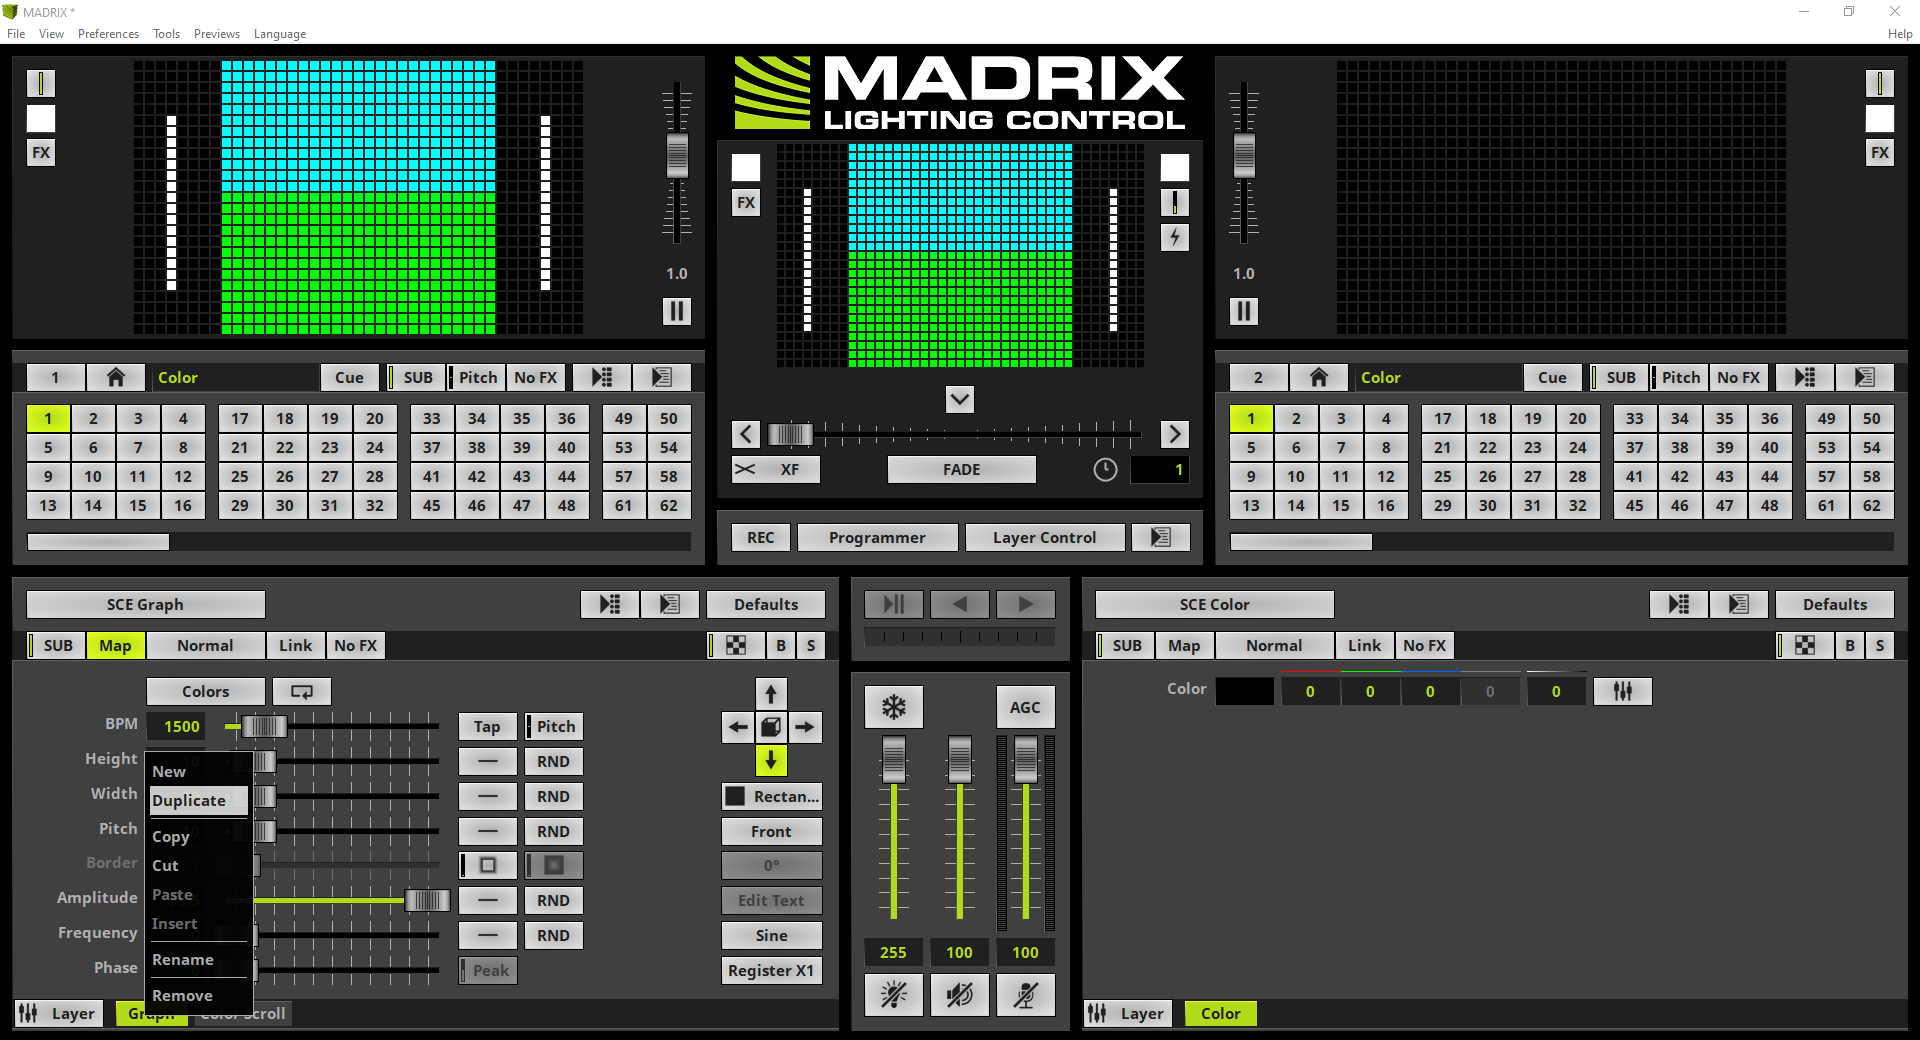
Now we will add the first new Effect Layer. As we know this layer should be mapped exactly to the same size of the already existing Graph effect. So we can duplicate the Graph layer and assign the desired effect later. To duplicate the Graph layer we select it (the layer tab should be illuminated in green), now we perform a right click and select Duplicate.
|
4. |
Two times the SCE Graph effect is now visible and also two Graph layers are now available. The duplicated Effect Layer is added right besides the original Effect Layer and will be selected.
|
5. |
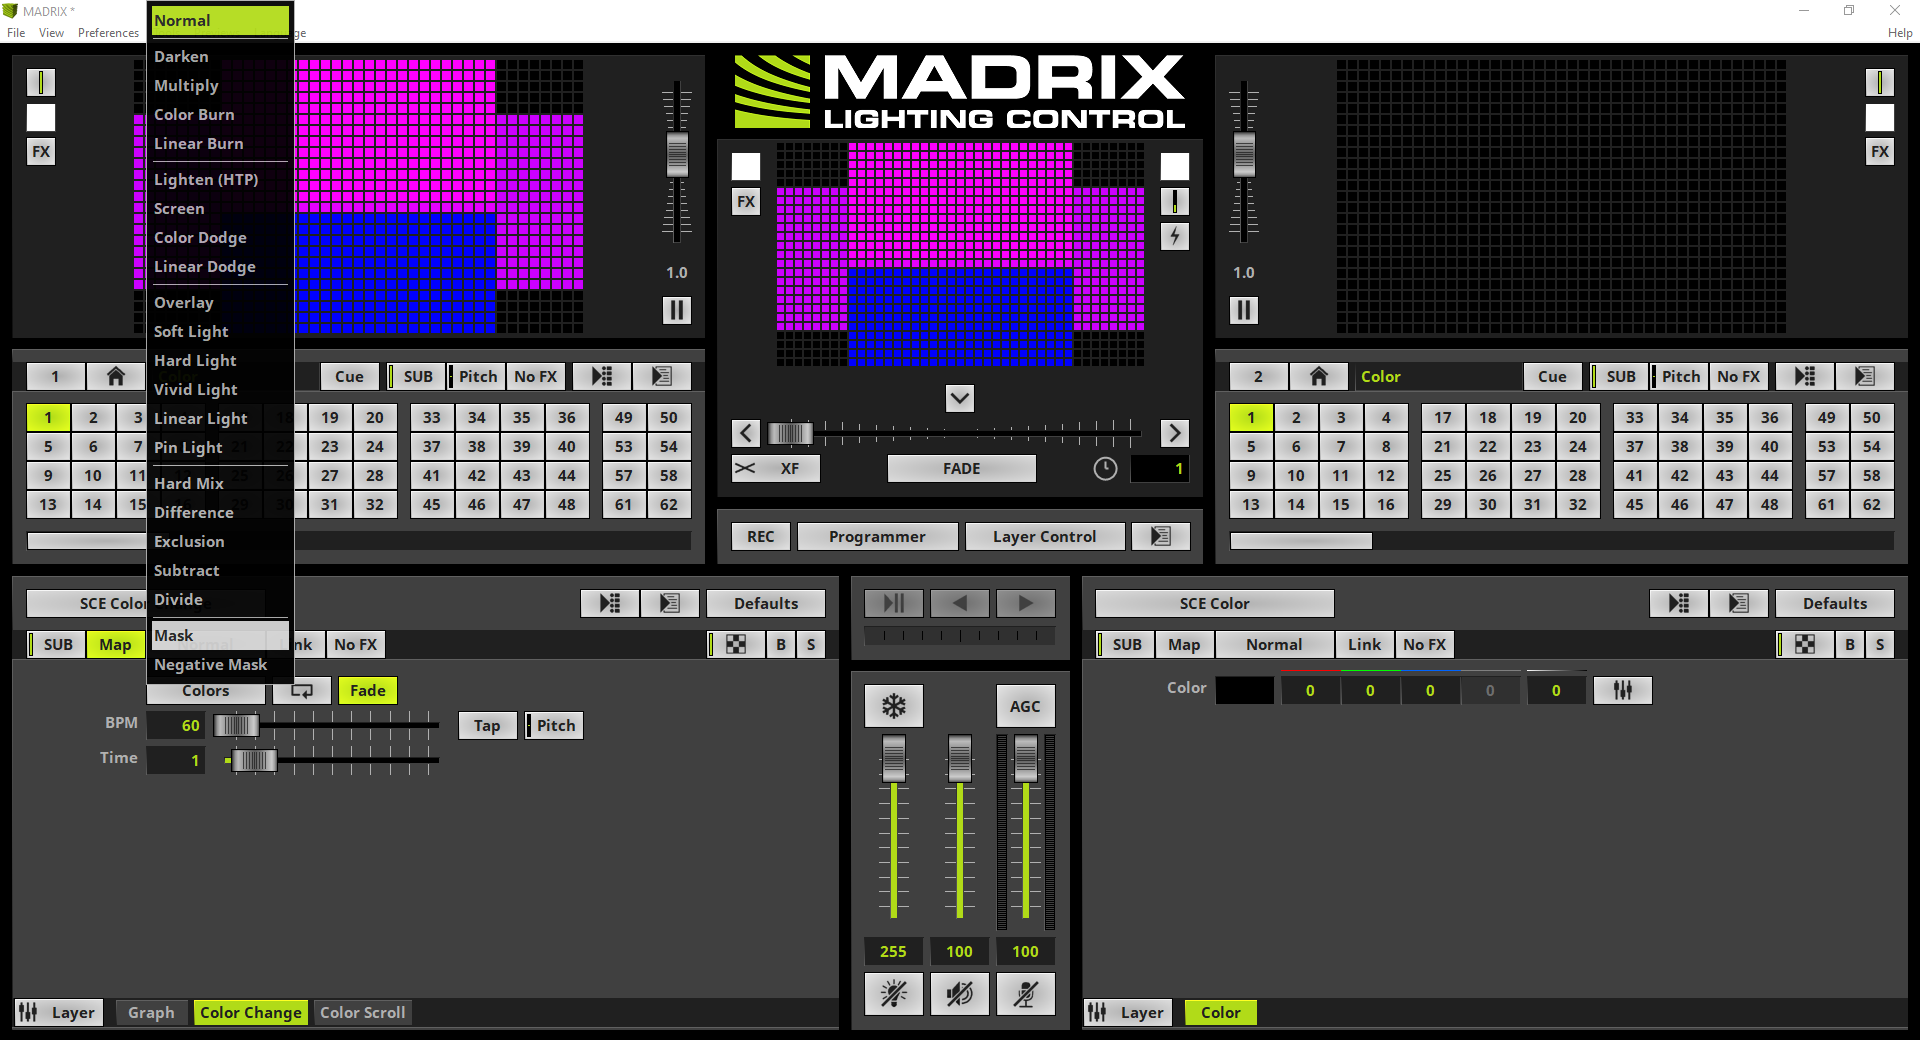
We change the effect of the duplicated Effect Layer to SCE Color Change via the Effect button on top of the effect section.
|
6. |
Because we duplicated the Effect Layer the mapping is exactly the same like the mapping of the Graph layer underneath. So we don't need to care about the Mapping and we combine the two layers with the help of the Mix Mode Mask. If you want to learn more about Mapping Effect Layers please have a look at the tutorials: »Layer Mapping and »Layer Mapping With Fixture Groups.
To activate the Mix Mode Mask simply click the Mix Mode button and select Mask.
|
7. |
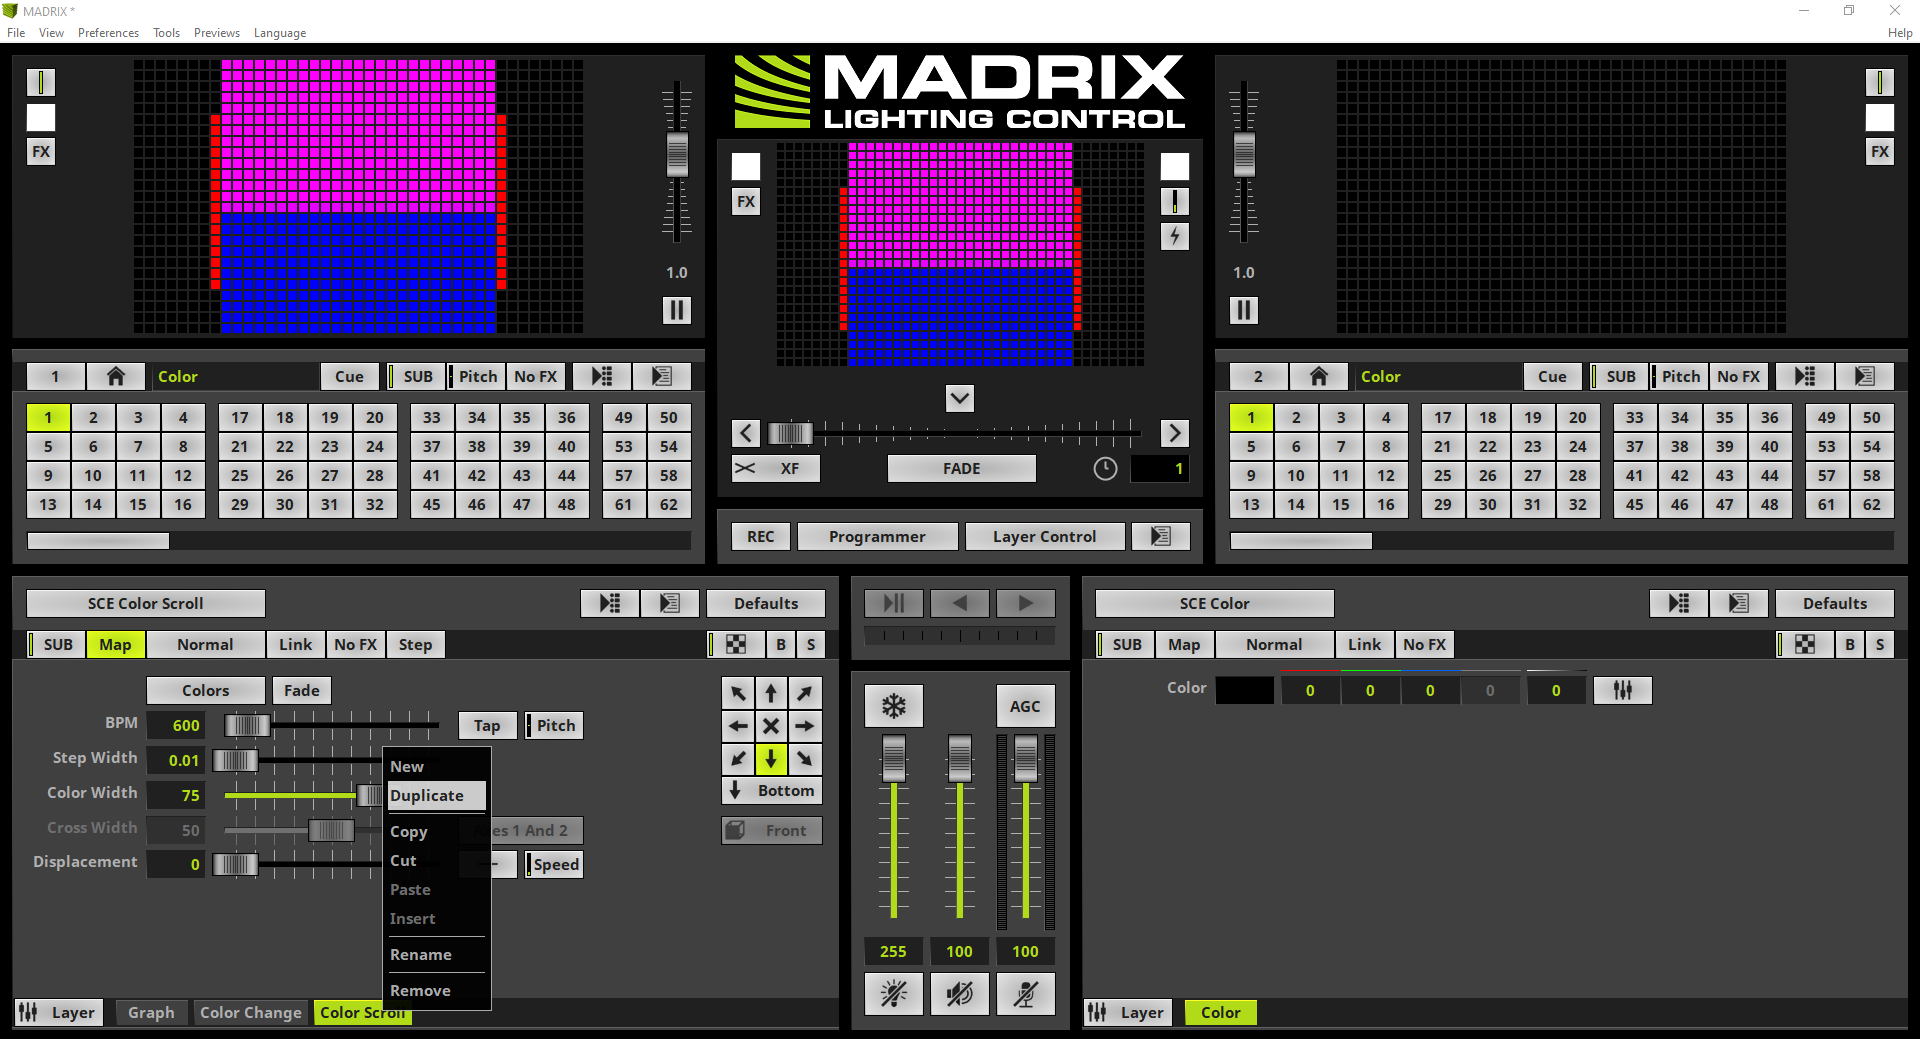
The Graph Effect Layer and the Color Change Effect Layer are now combined together via the Mix Mode Mask and we can see the visual result at the Previews. The color of the tiled and mapped SCE Graph effect will now be influenced by the SCE Color Change effect.
According to our task we have also to add a second new layer and combine it with the Color Scroll layer which is located in the middle of this patch. As we have learned above to keep the map settings of one Effect Layer also for another one we can duplicate the desired layer. So we select the Color Scroll layer, perform a right click and select Duplicate again.
|
8. |
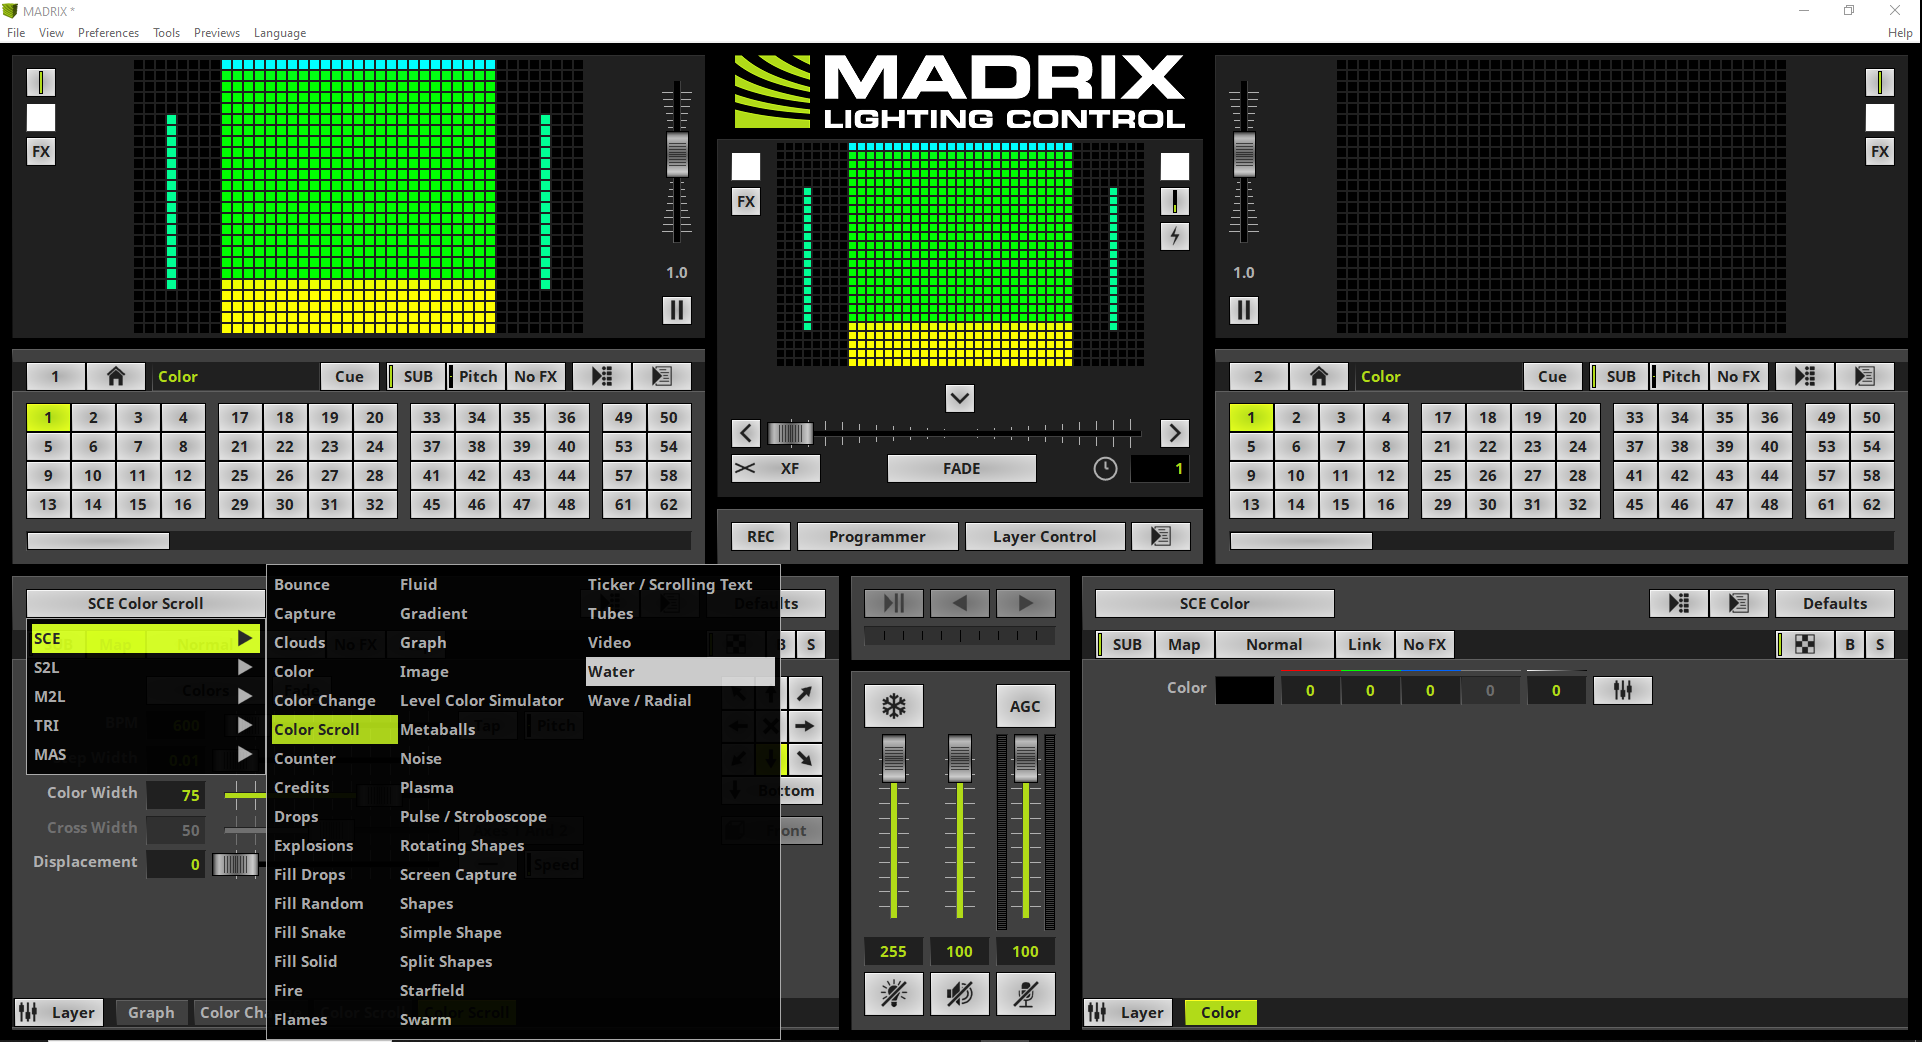
According to our Task we have to assign the SCE Water effect to this Effect Layer. Therefor we click the Effect button again and select SCE Water.
|
9. |
When we have a look at our task again, we have to change some of the effect parameters of the SCE Water effect. To get a better visual impression we activate the Solo mode for this Effect Layer for a moment. With the help of Solo mode only this Effect Layer will be visible. All other layers will be blinded. If you want learn more about the visibility settings please have a look at the tutorial: »Layer Visibility.
To activate the Solo mode we click the S button at the top right side of the effect section.
Now we change the following parameter: •Energy to 100 •Length to the value 60 •Pitch X and Y we need to set to 5 for both parameters.
|
10. |
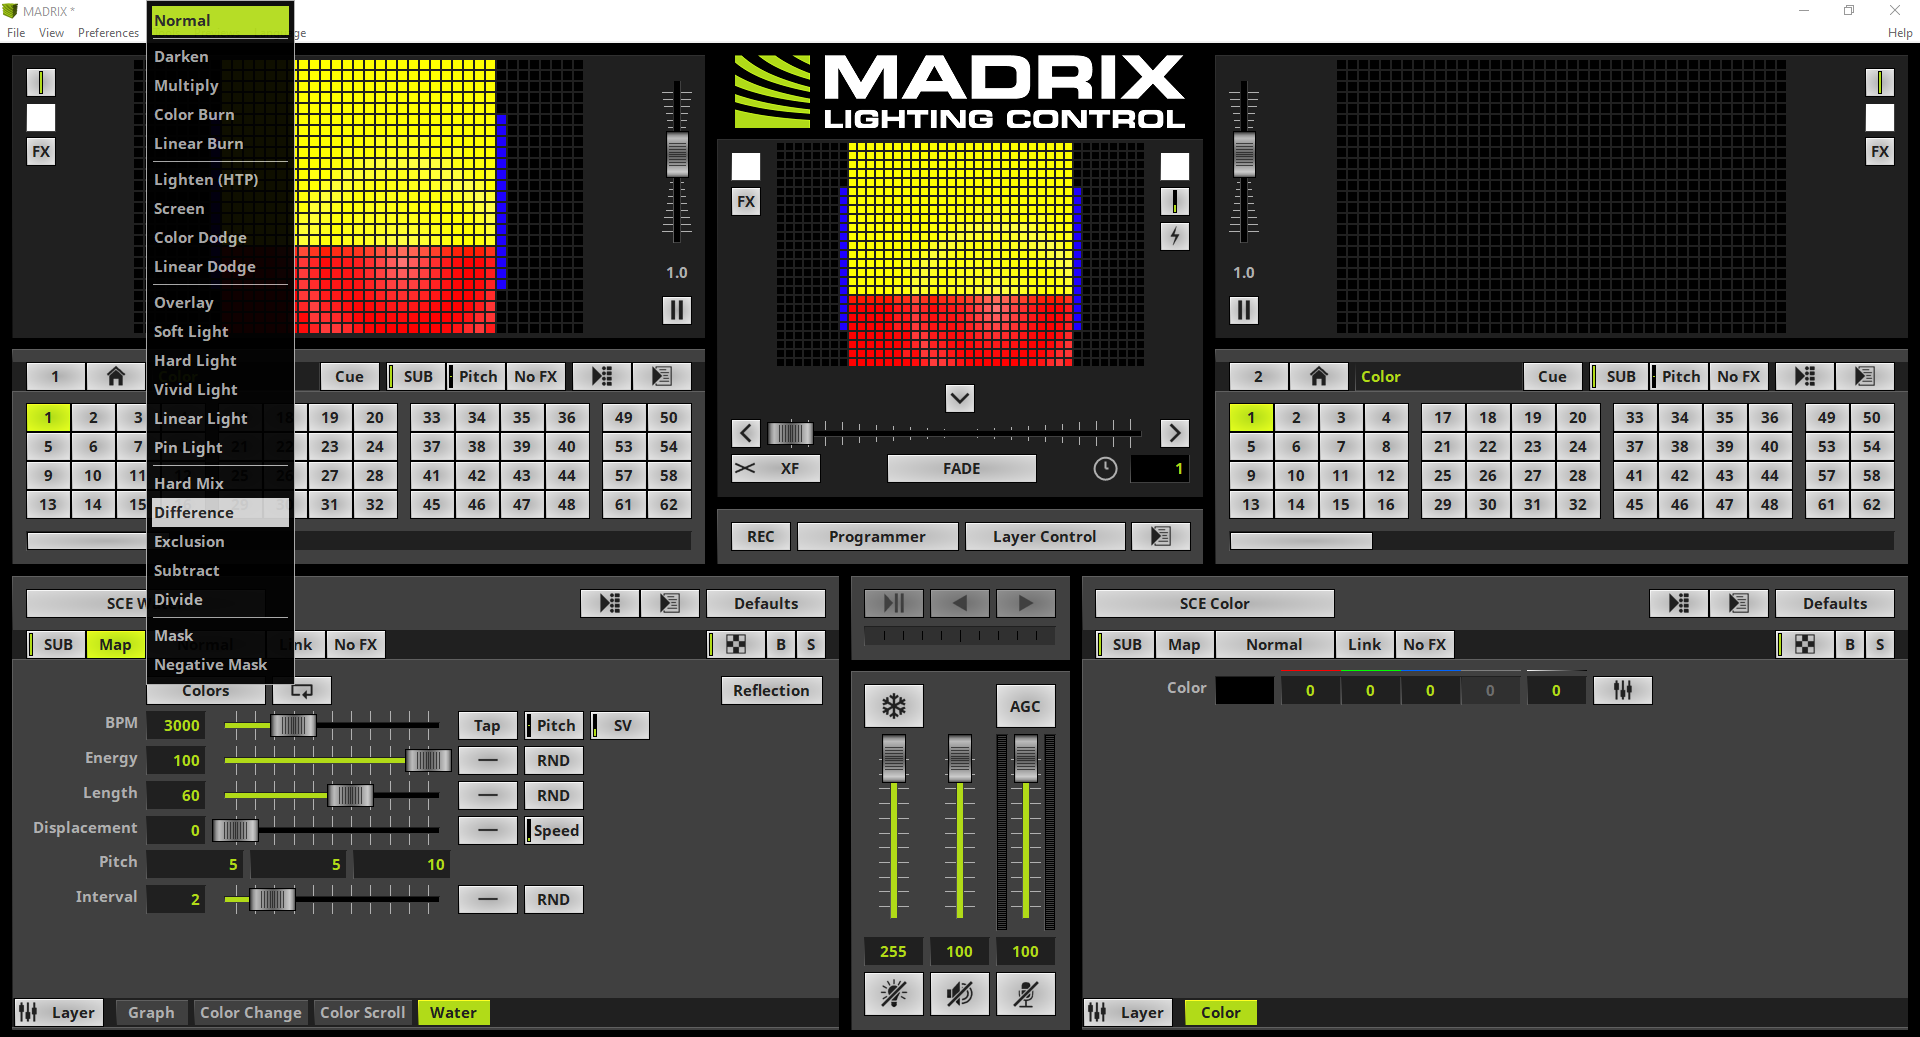
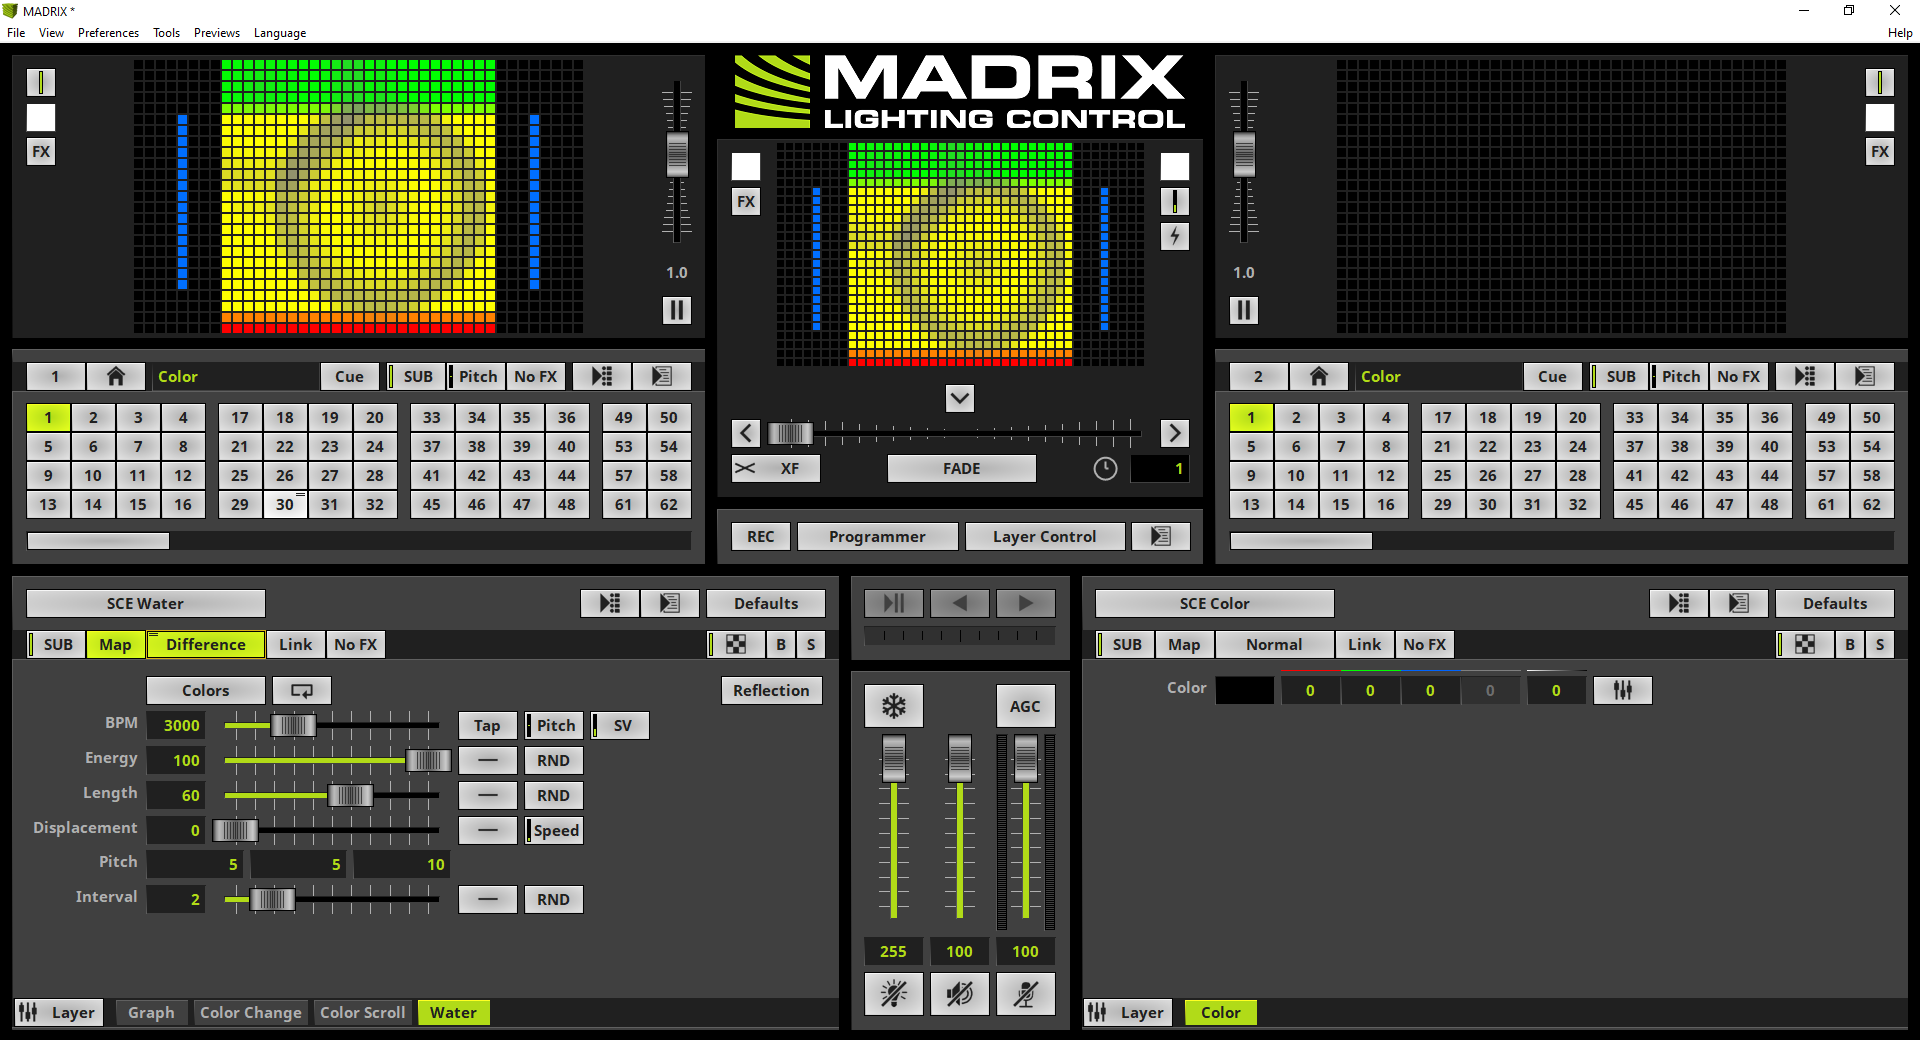
We disable the Solo mode and as last part we have to activate the Mix Mode Difference to combine the Effect Layers Color Scroll and Water. As we know we click the Mix Mode button and select Difference from the context menu.
|
11. |
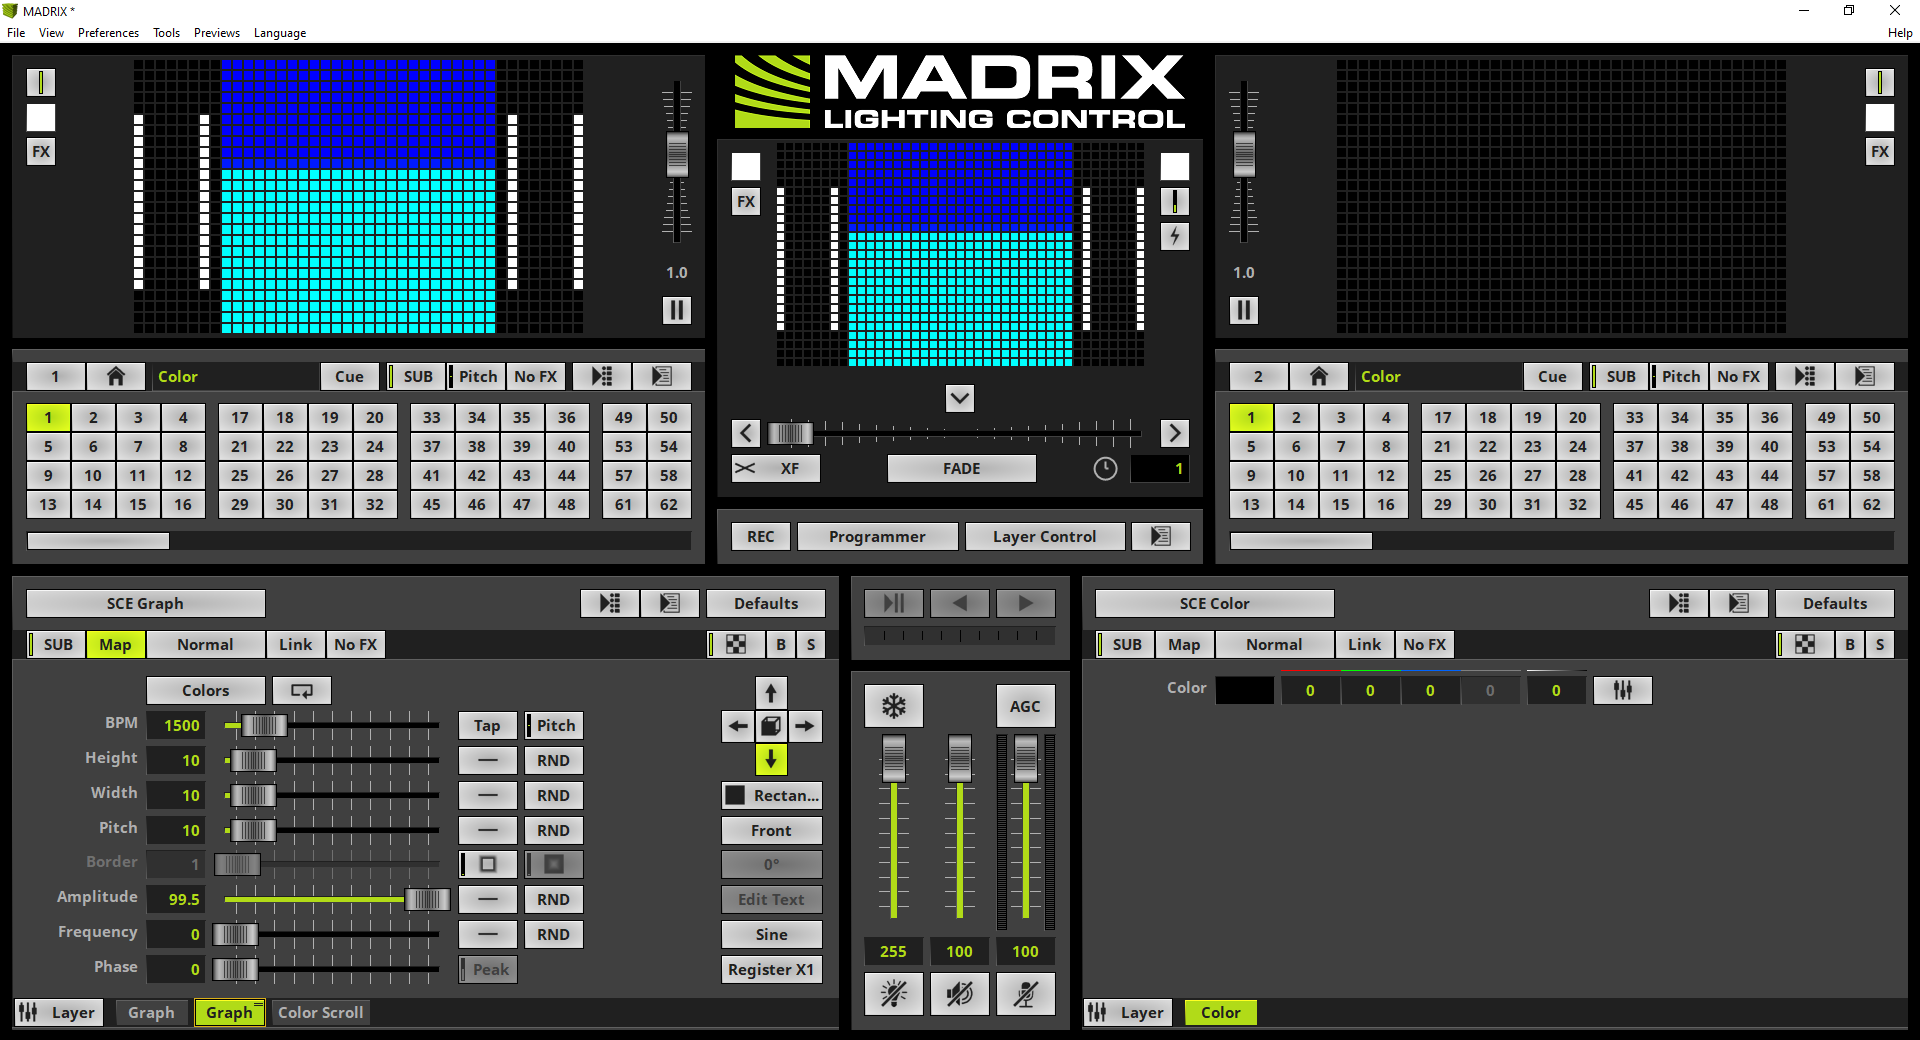
As result we can find 4 different Effect Layers. The first two layers are responsible for the visual output to the small screens on the left and right side and the second two effect layers are responsible for the combined visual output of the middle screen.
|
Congratulations! You have successfully learned how to use Mapping and the Mix Modes in order to get combined output in MADRIX 5.