This tutorial shows you how to work with the Tiling offset for Effect Layers in MADRIX 5.
Date: 06/2021
MADRIX Version: 5.4b (Created with)
Corresponding Video Tutorial: »Using The Offset To Tile The Effect Layers
Note:
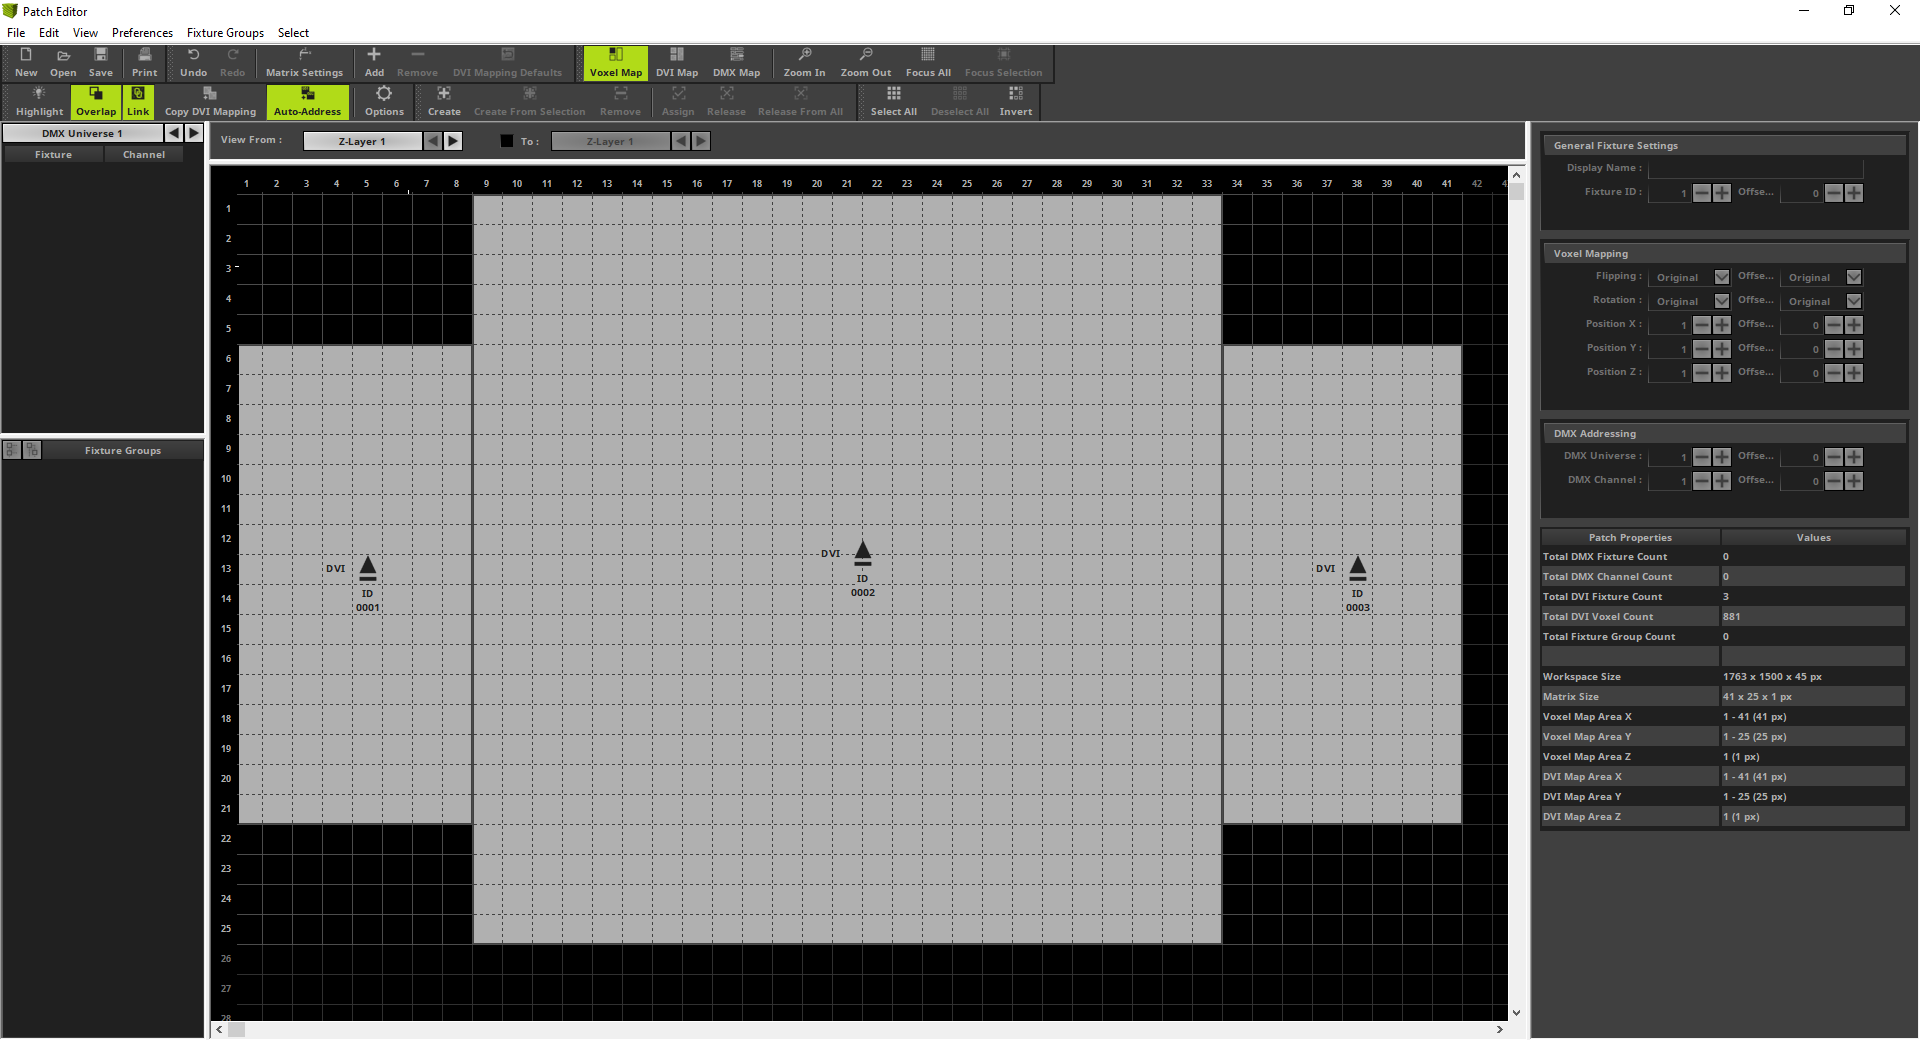
•In this tutorial we will work with the created MADRIX patch of the tutorial: »2D Patch With The Patch Editor For DVI Output.
•The result of this tutorial will be used in the tutorial »Layer Mapping And Mix Modes.
•With the help of offset at the tiles in MADRIX it is possible to map a duplicated tile with some space in relation of the original tile.
Task:
In the current patch we can find two small DVI screens. One on the left and one on the right side of this project. On this two small screens a SCE Graph effect as straight line in yellow from left to right should run mirrored horizontally.
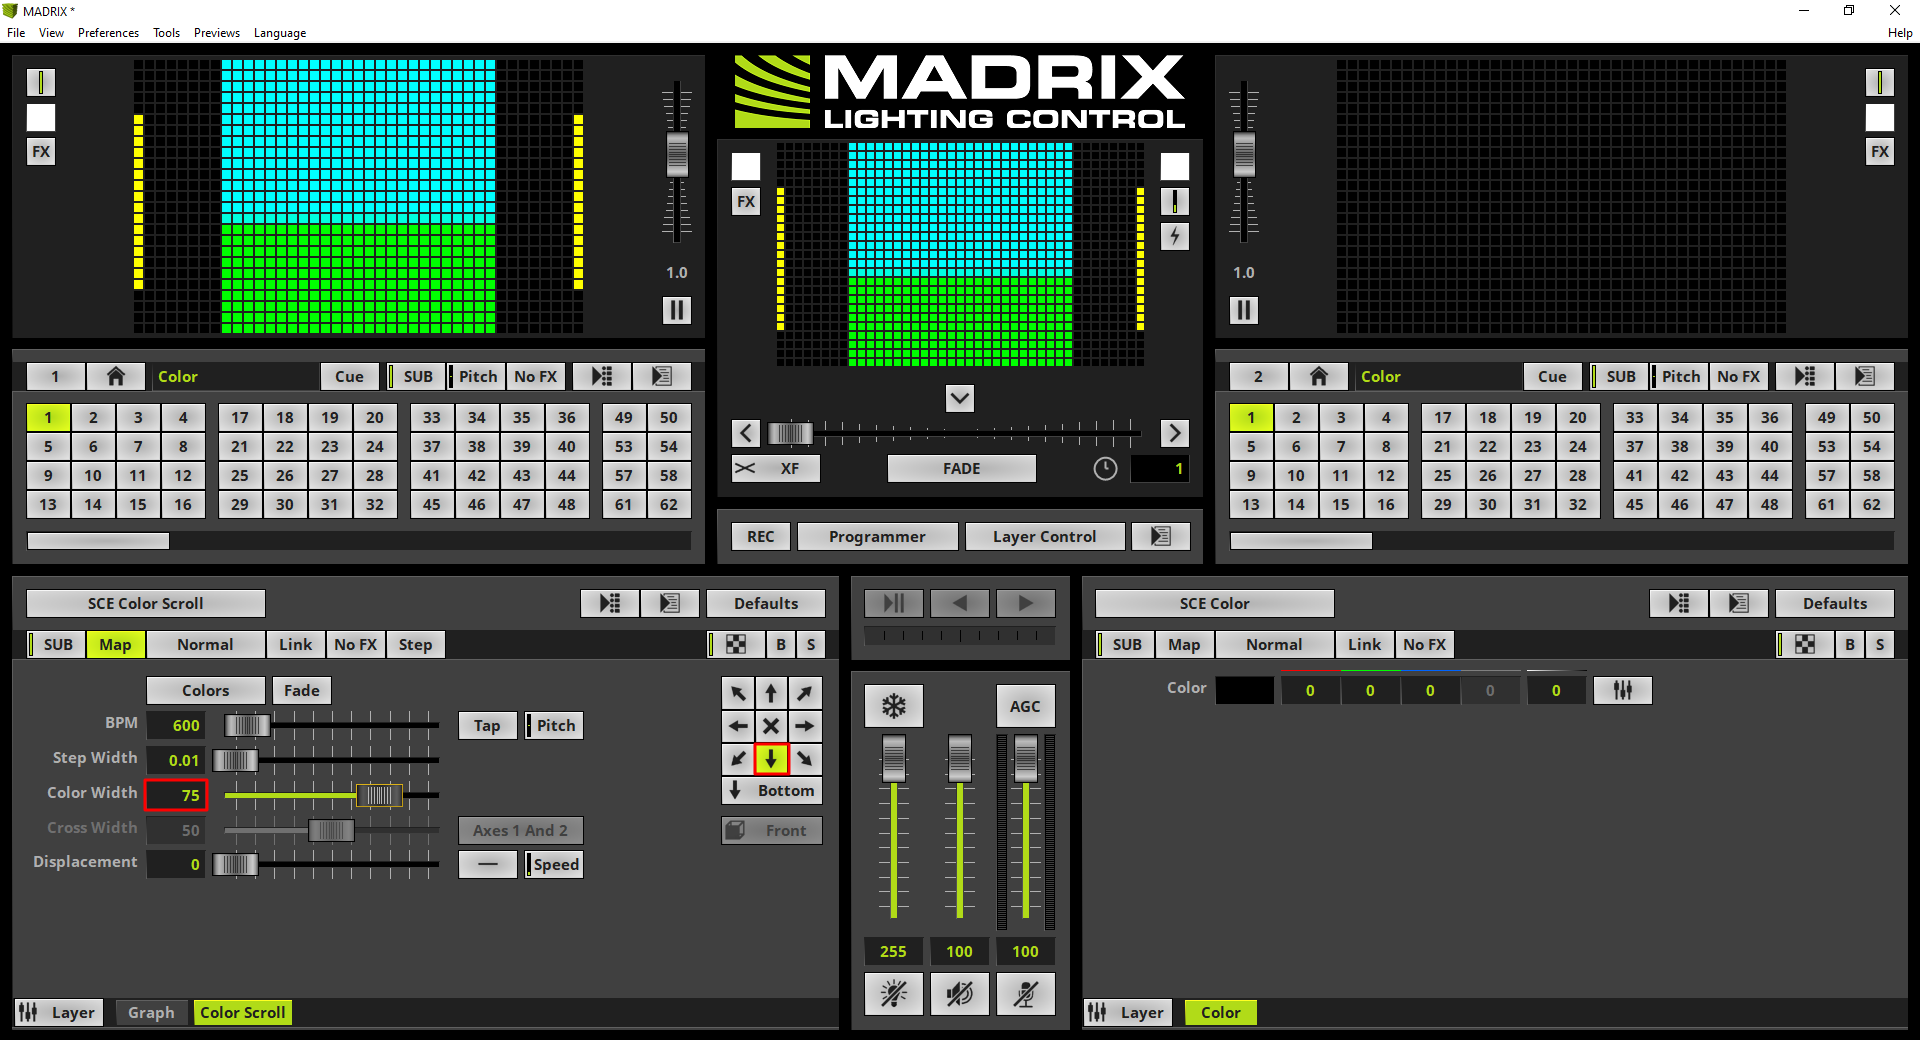
The screen in the middle of this patch should display a SCE Color Scroll from top to bottom with a Color Width of 75.
1. |
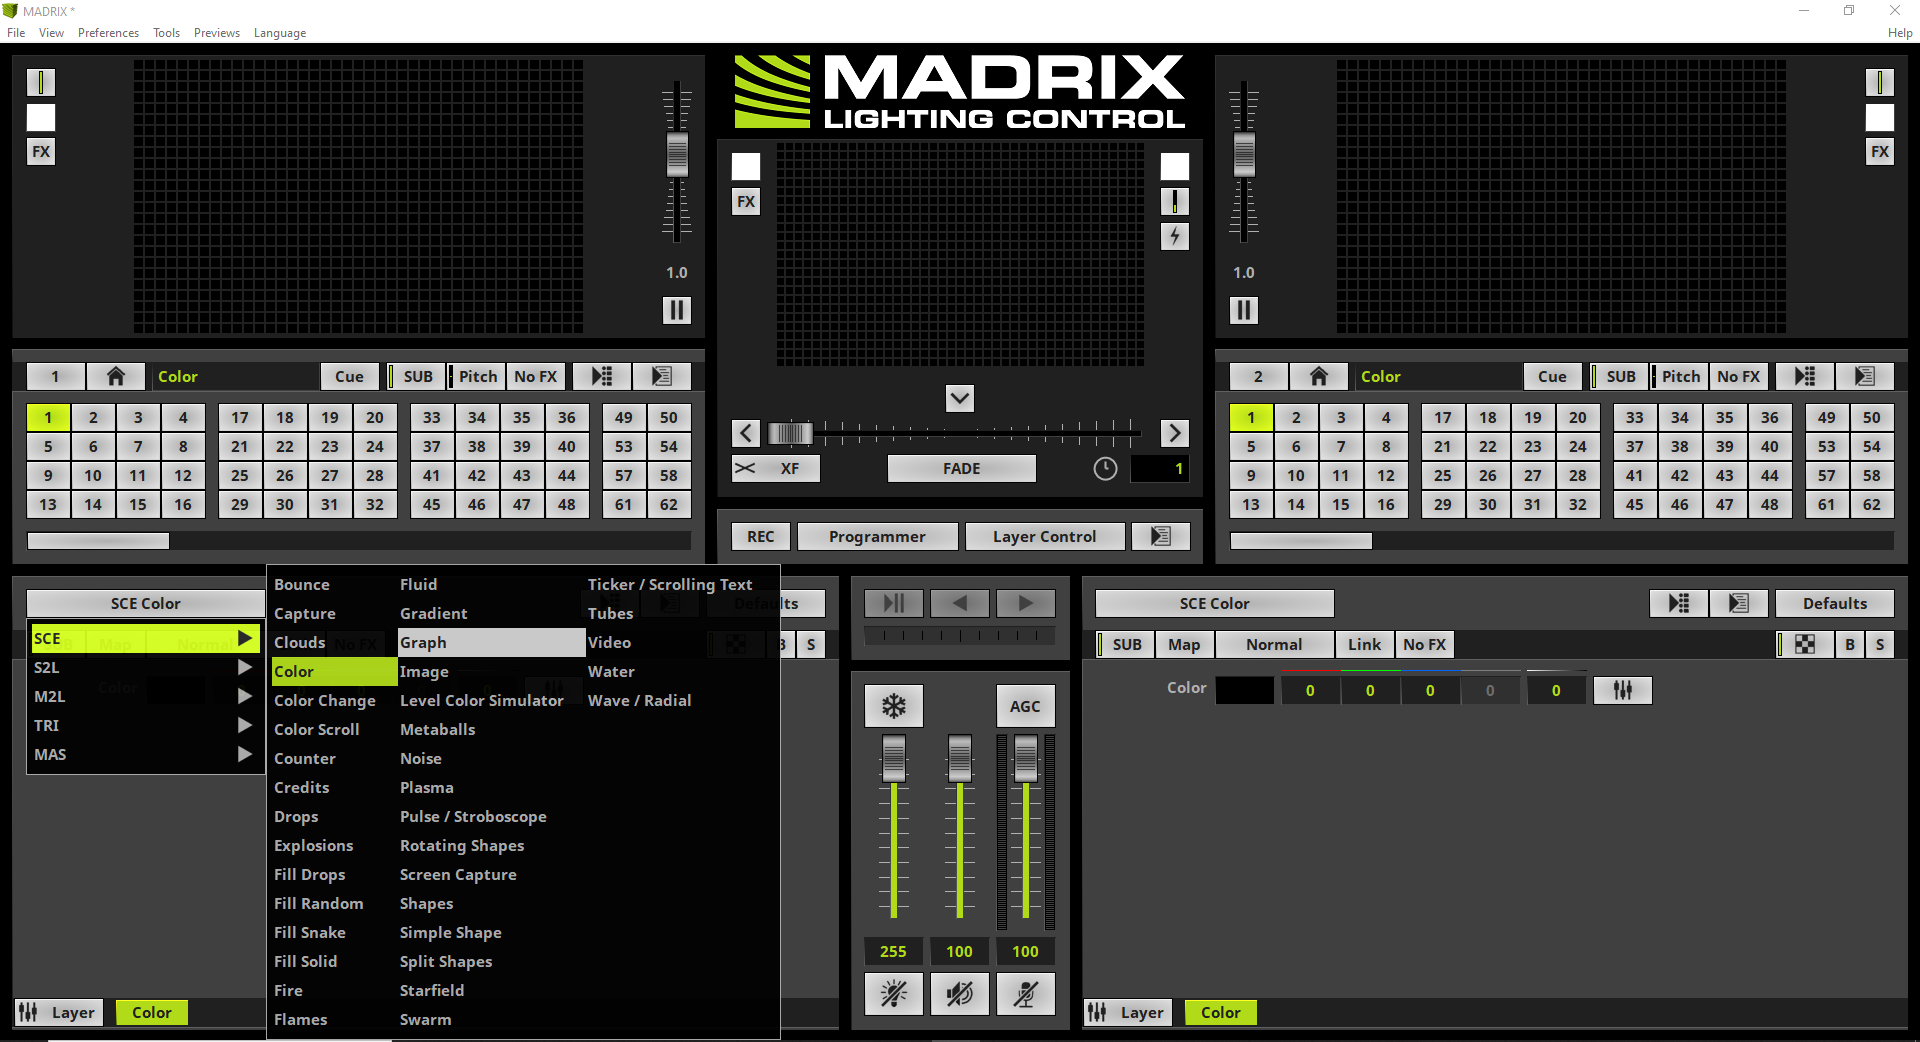
In the first step we select the SCE Graph effect.
|
2. |
Now we want to modify the SCE Graph effect according to our task. To make the effect running as one bar from left to right we change the following settings: •Frequency needs to be set to 0 •Direction must be changed to From Top to Bottom
|
3. |
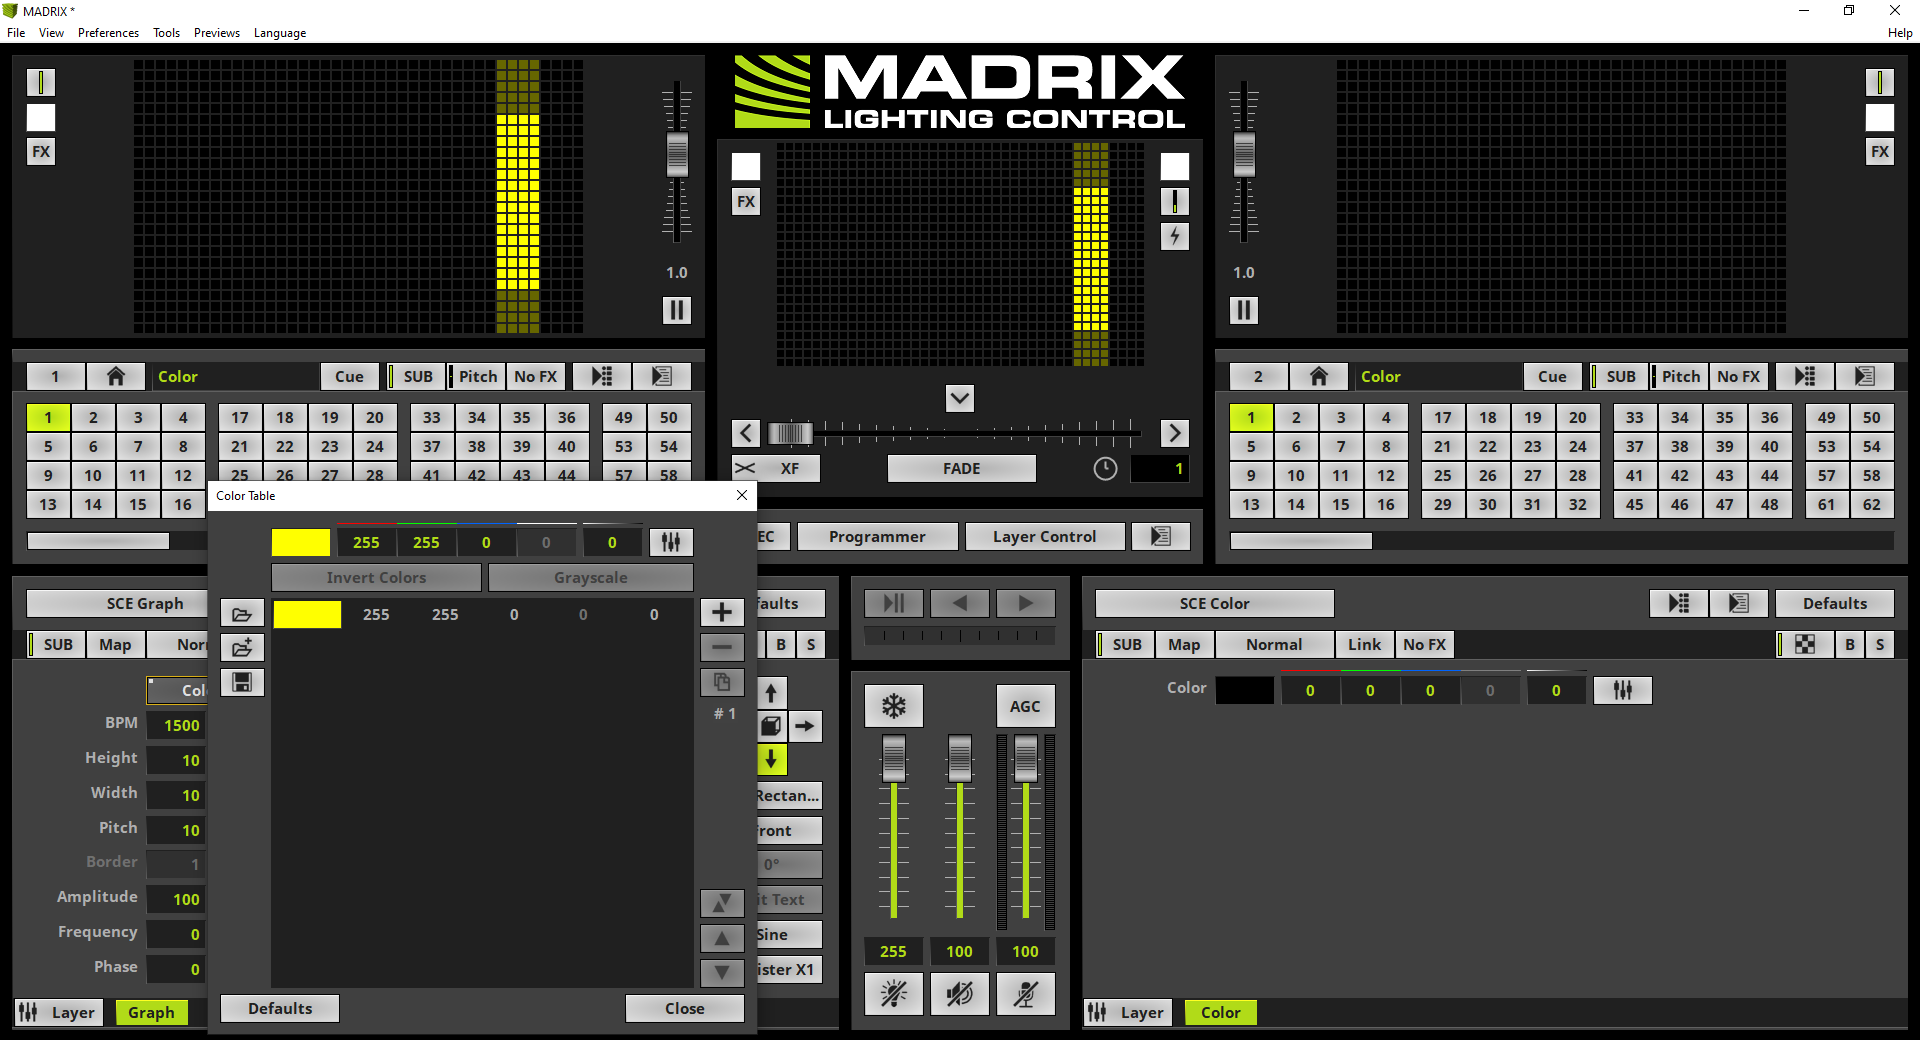
The SCE Graph effect is now running as one bar but we have to change the color to yellow. Therefor we open the Color Table with a click at the Color button and delete all colors instead of one. We change this single color to yellow. Note: To change a color simply the select the desired entry of the Color Table and select the desired color with a click at the color preview field or the type in the exact values at the color edit fields on top of the table.
|
4. |
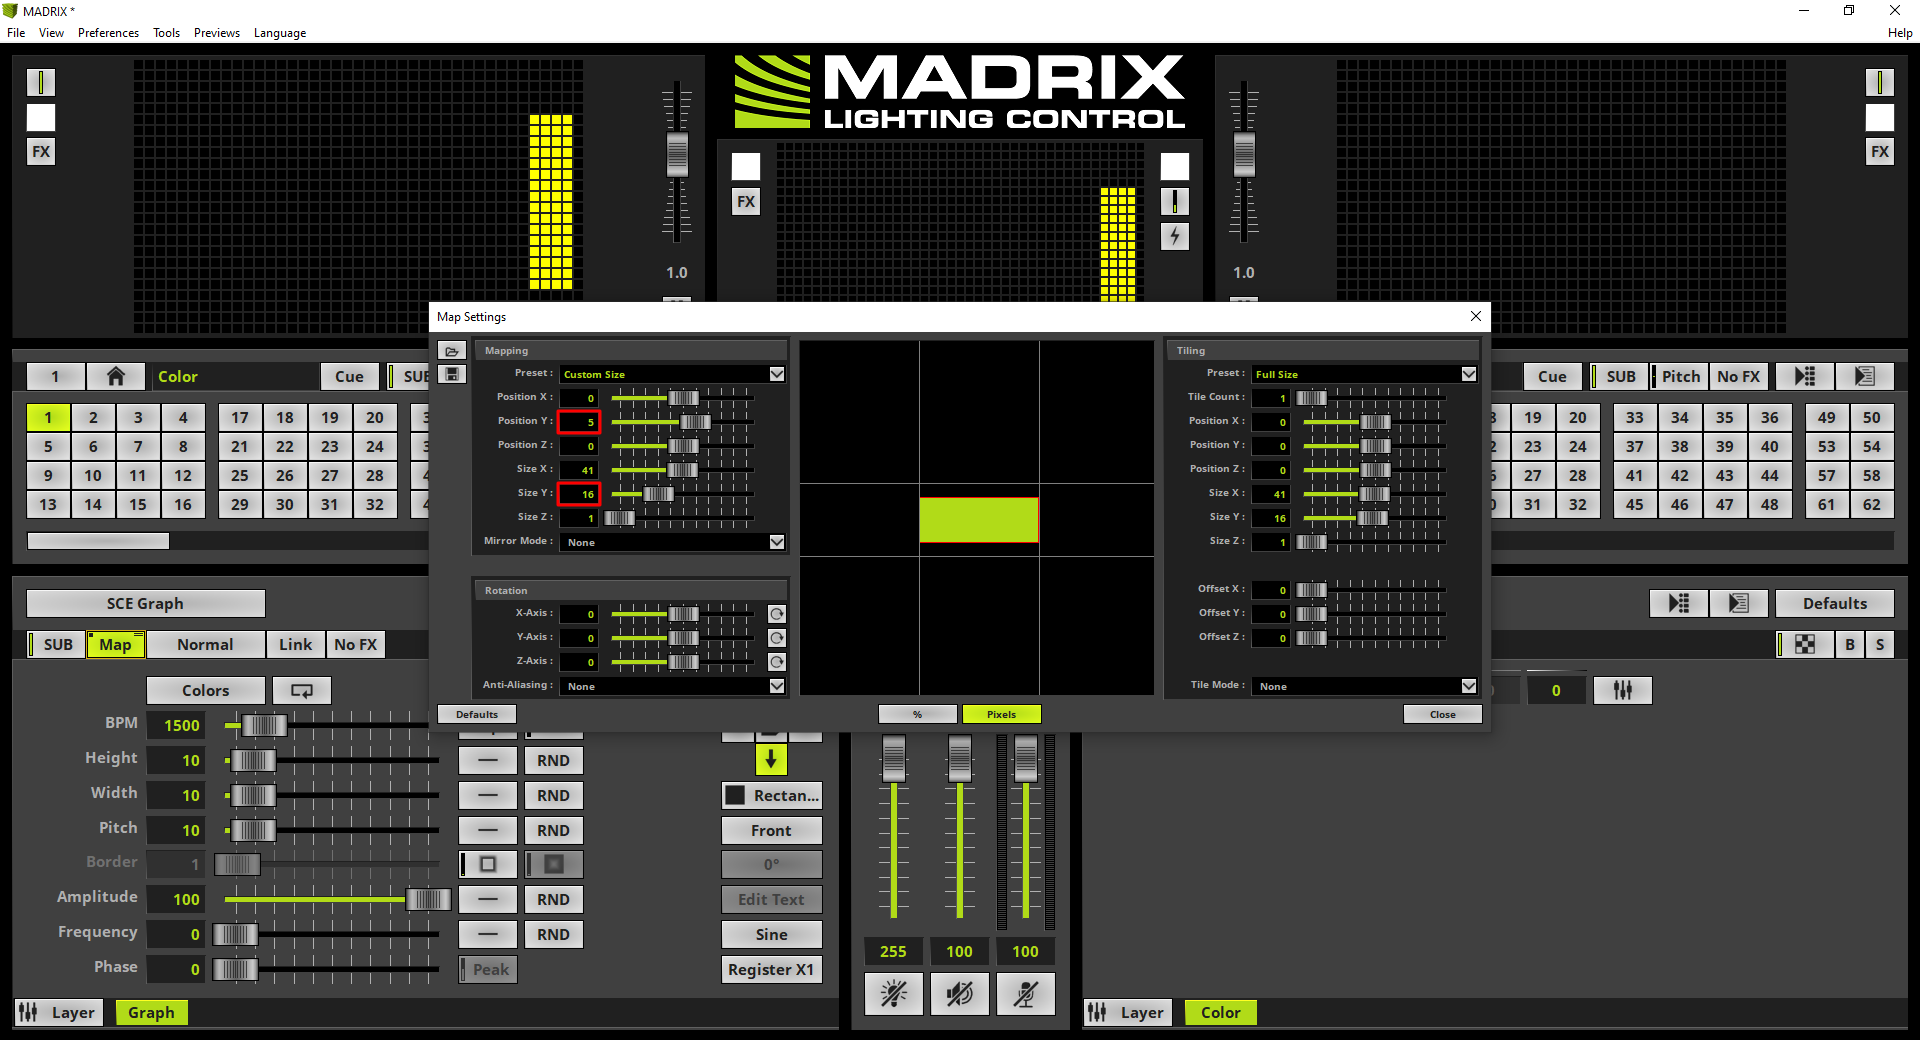
To assign the SCE Graph effect to the two small screens we open the Map Settings.
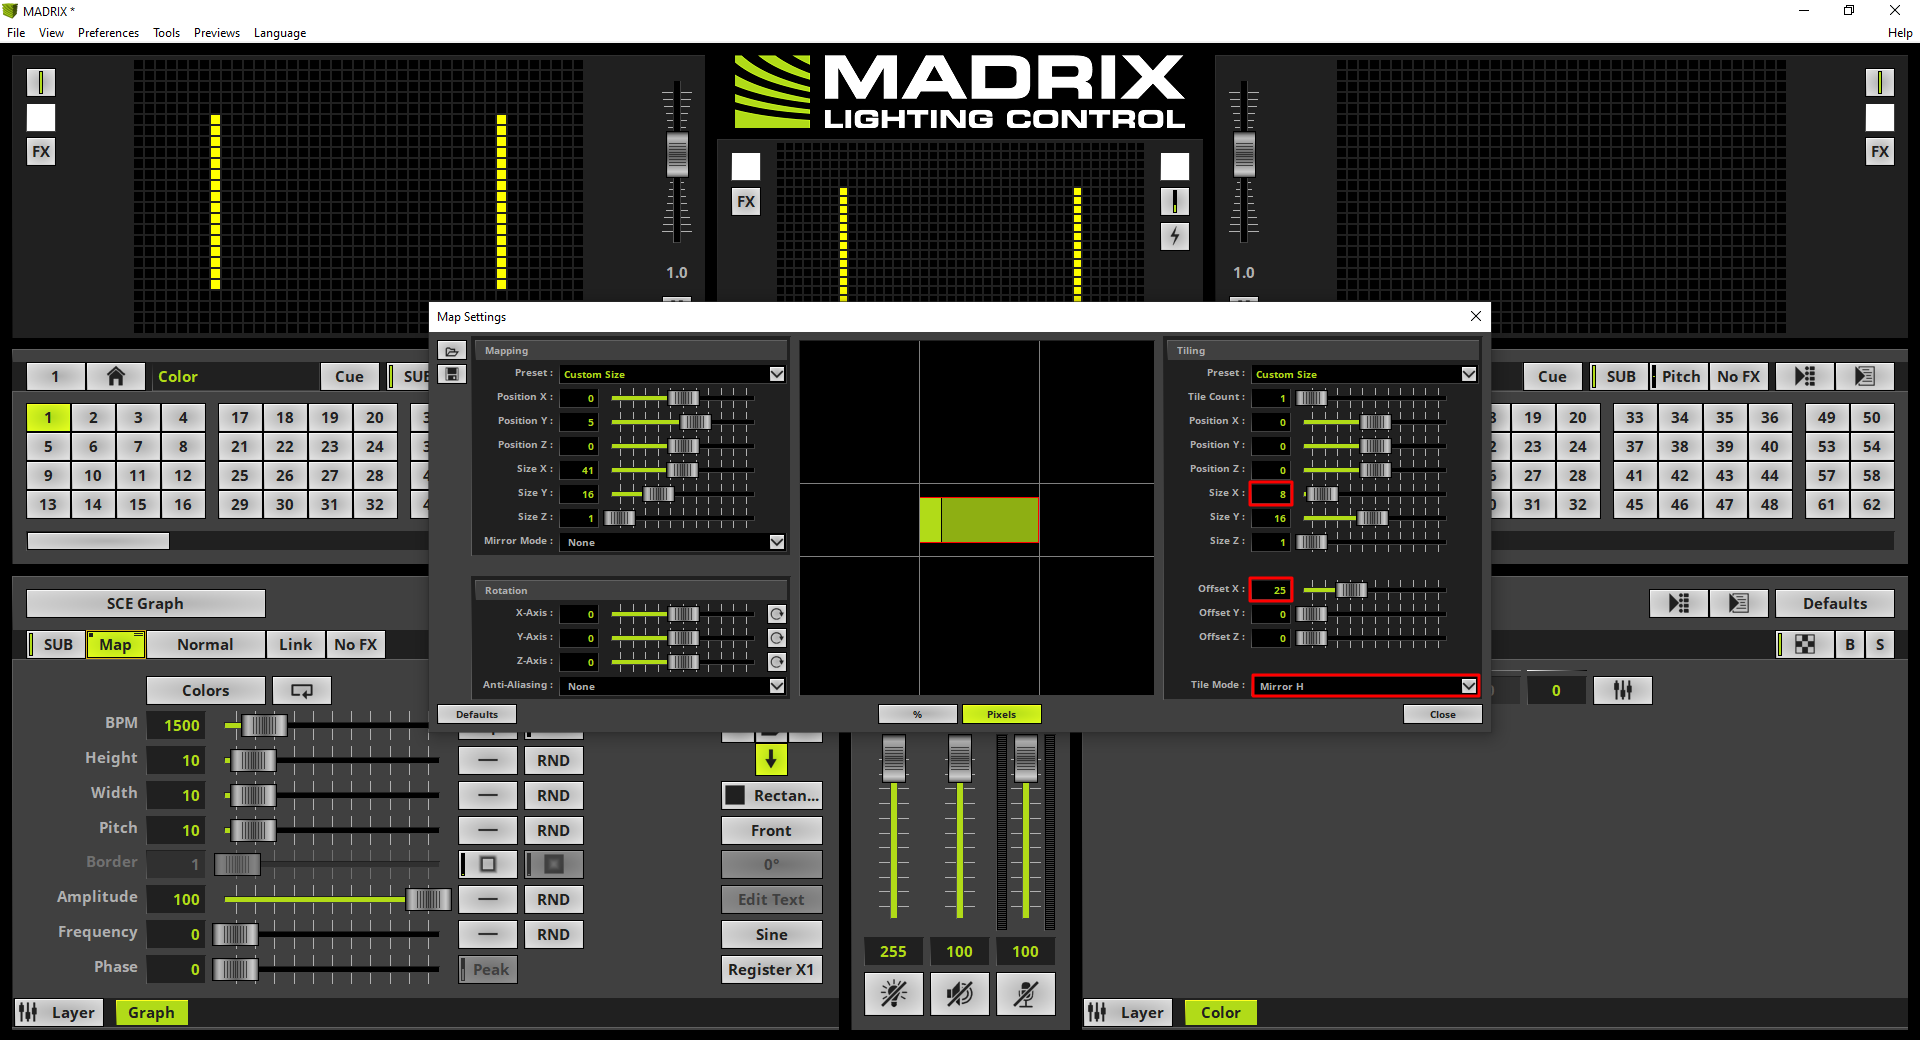
Pay attention: Please double check if the values of the Map Settings are displayed in Pixels or %. In this tutorial we will work with Pixel values. The representation can be changed in the middle of the Map Settings window.
Please change the Position Y to 5 and the Size Y to 16 at the Mapping section. If you don't know how to open the Map Settings please have a look at the tutorial: »Layer Tiling. Note: The effect is still running at the full width of the matrix size. At the moment no Tiling is working.
|
5. |
Now we want to tile the mapped effect to the 2 small screens. When we have a look at our patch we know the Size X of the small screens is 8 pixels. So we set Size X to 8 at the Tiling section. Furthermore we want to work with an Offset X of 25 pixels and change the Tile Mode to Mirror H. Now we can close the Maps Settings window. By the way: The Offset X of 25 pixels corresponds to the size of the screen in the middle. When we now have a look at our previews, the SCE Graph effect will be displayed twice. On the left side the original one and on the right side a mirrored copy respectively tile. Note: Tiling is always working on the Mapping size.
|
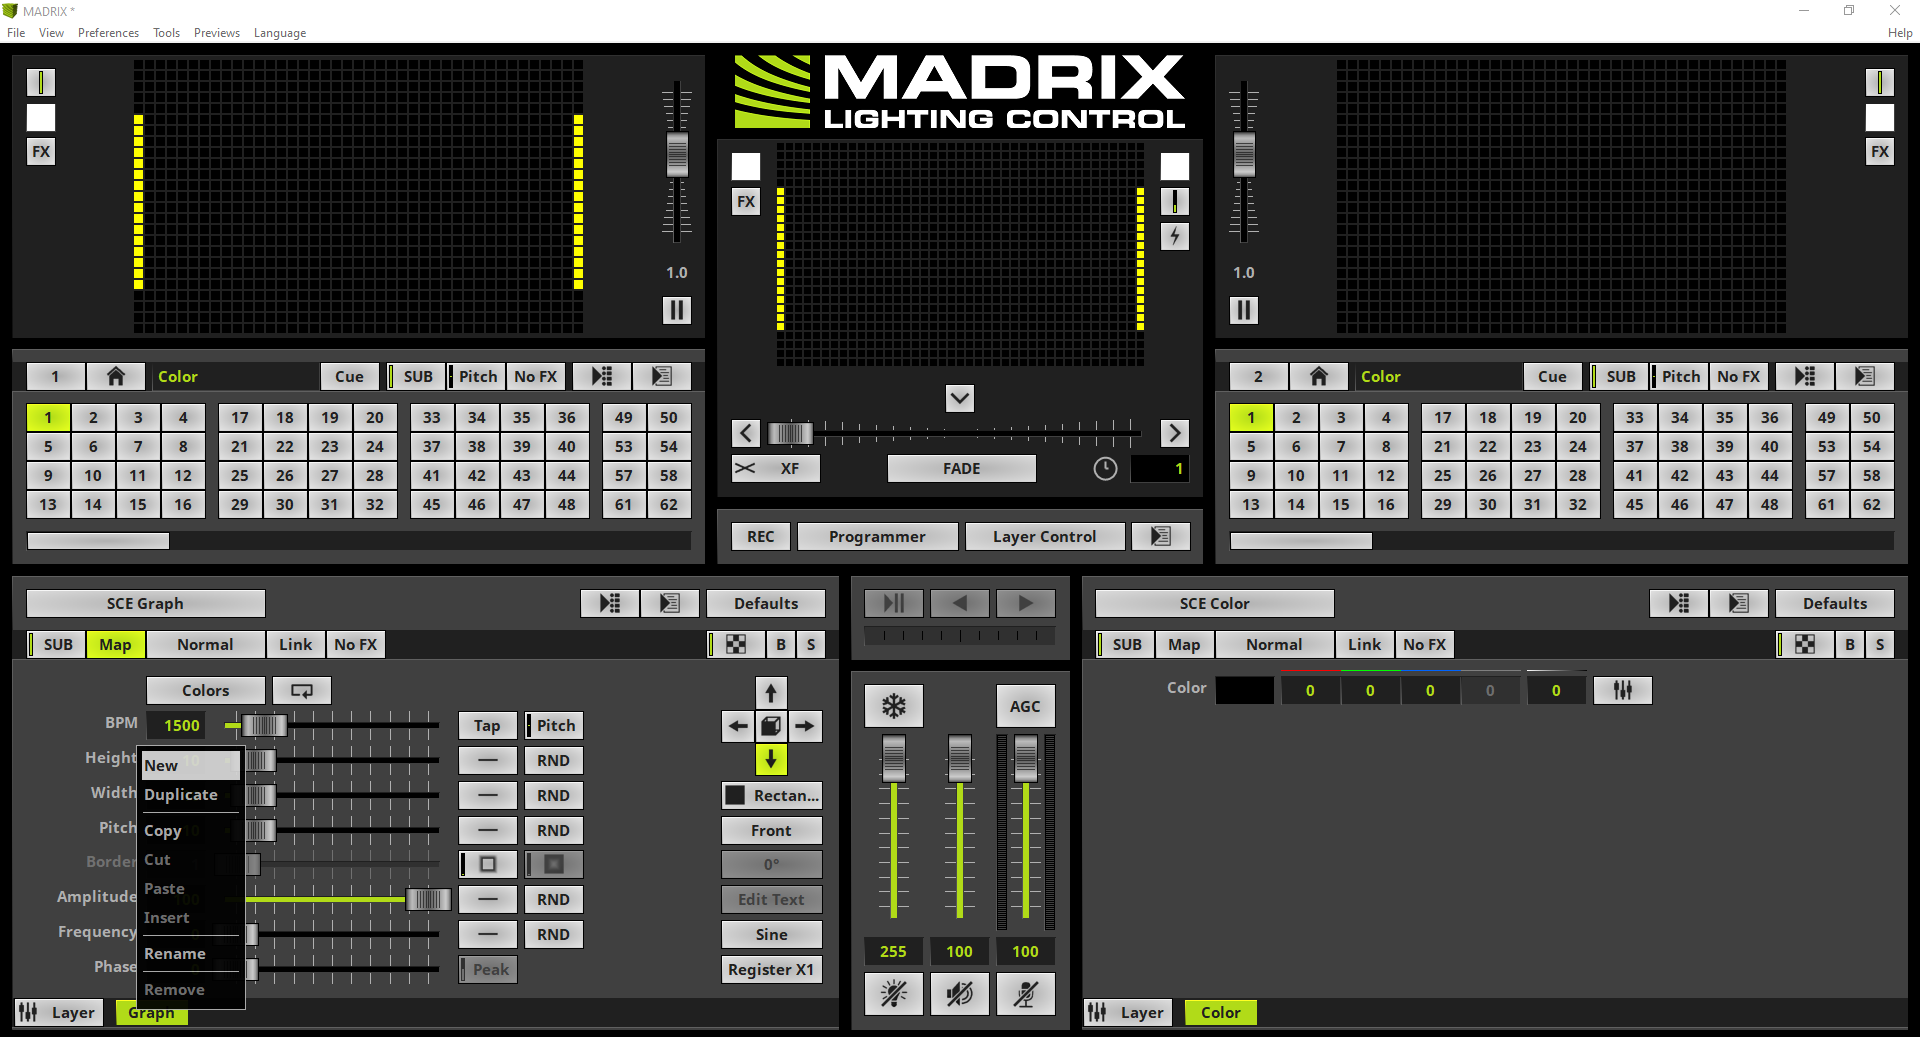
6. |
According to our task a SCE Color Scroll effect should be mapped to the middle screen. To assign this effect we have to add a new Effect Layer. We perform a right click at the Graph layer and select New in the context menu.
|
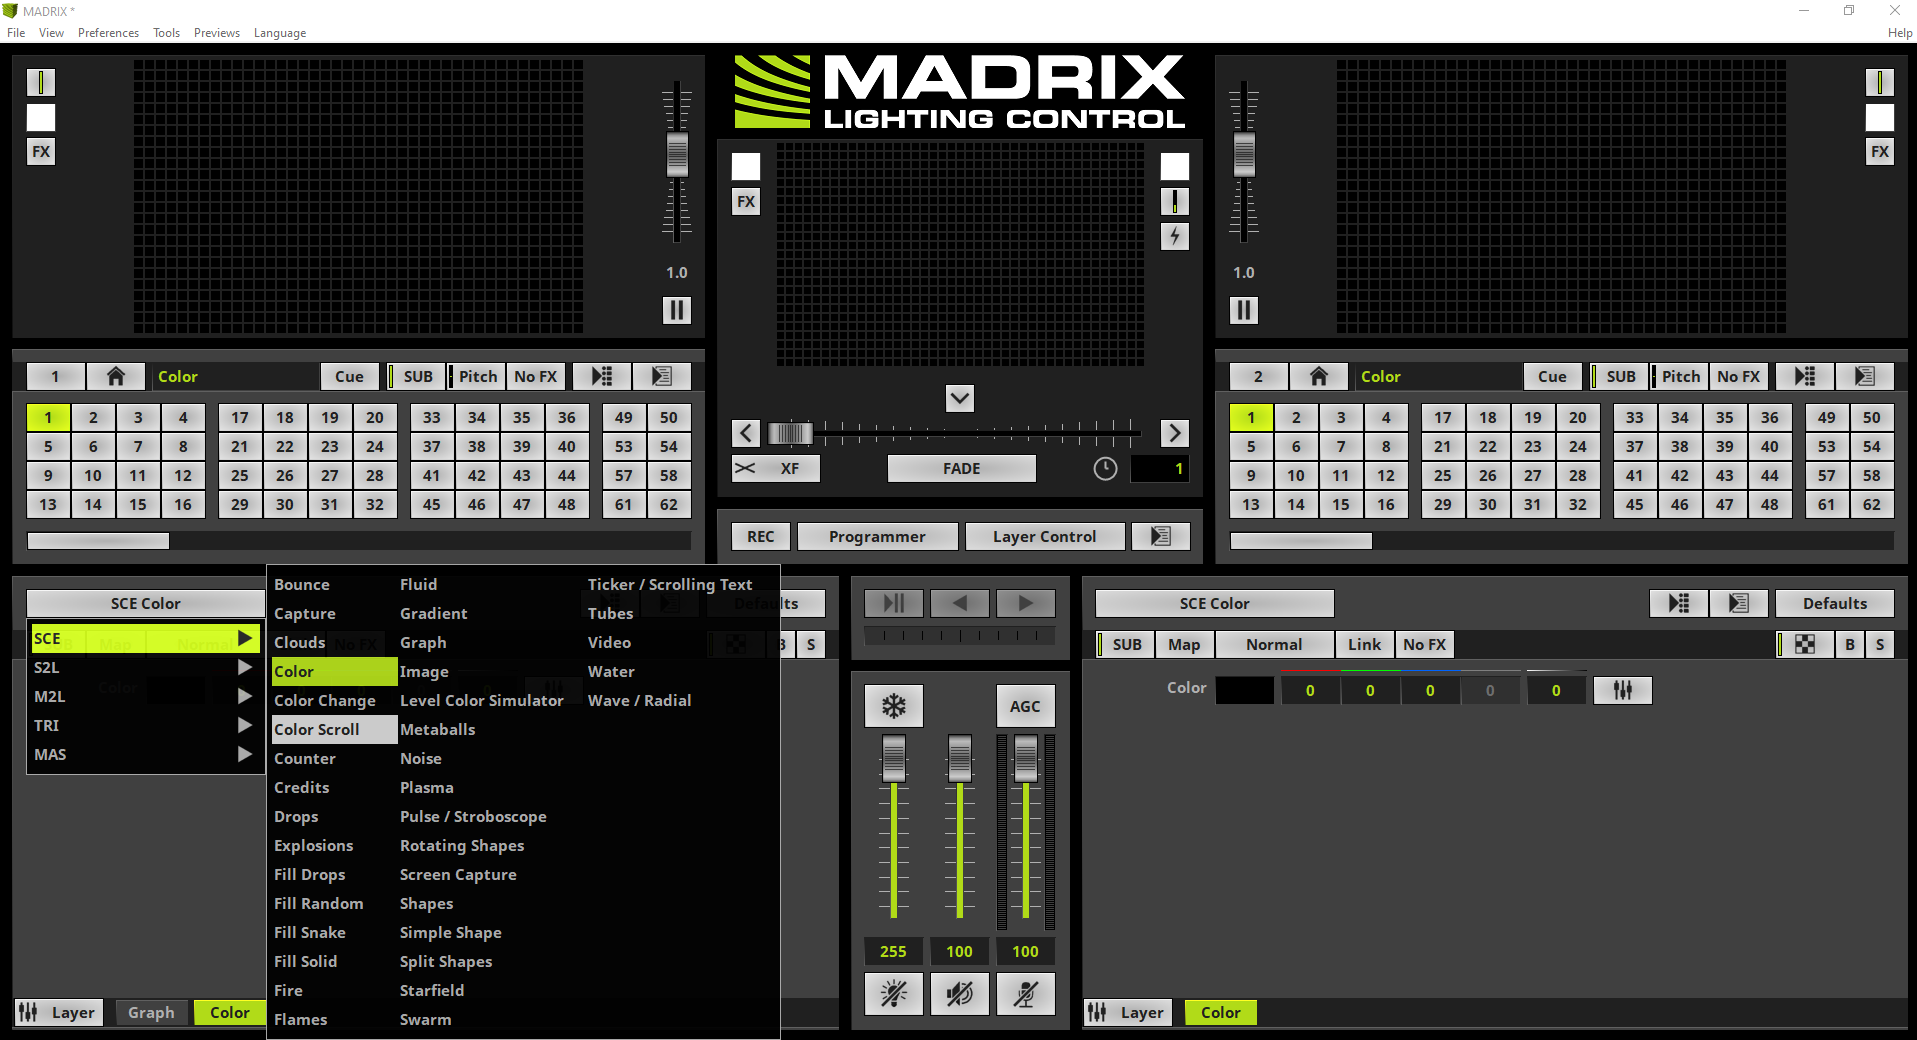
7. |
Now we choose the effect SCE Color Scroll.
|
8. |
To map the SCE Color Scroll to the desired position we open the Map Settings window again. •Position X to 8 •Size X to 25
|
9. |
After closing the Map Settings window we change the Color Width value of the SCE Color Scroll to 75 and the Direction to from top to bottom.
|


Congratulations! You have successfully learned how to use the Offset for Tiling of Effect Layer in MADRIX 5.