In this tutorial you will learn how you to change the visibility of Effect Layers in MADRIX 5.
Date: 06/2021
MADRIX Version: 5.4b (Created with)
Corresponding Video Tutorial: »Layer Visibility Settings
Note:
In this tutorial we will work with the created Effect Layers of the tutorial: »Add And Rename Layers.
Task:
Please have a look at the visual output when Blind or Solo of an Effect Layer will be activated and what happens if the values for Submaster and Opacity of the second Effect Layer will be changed.
1. |
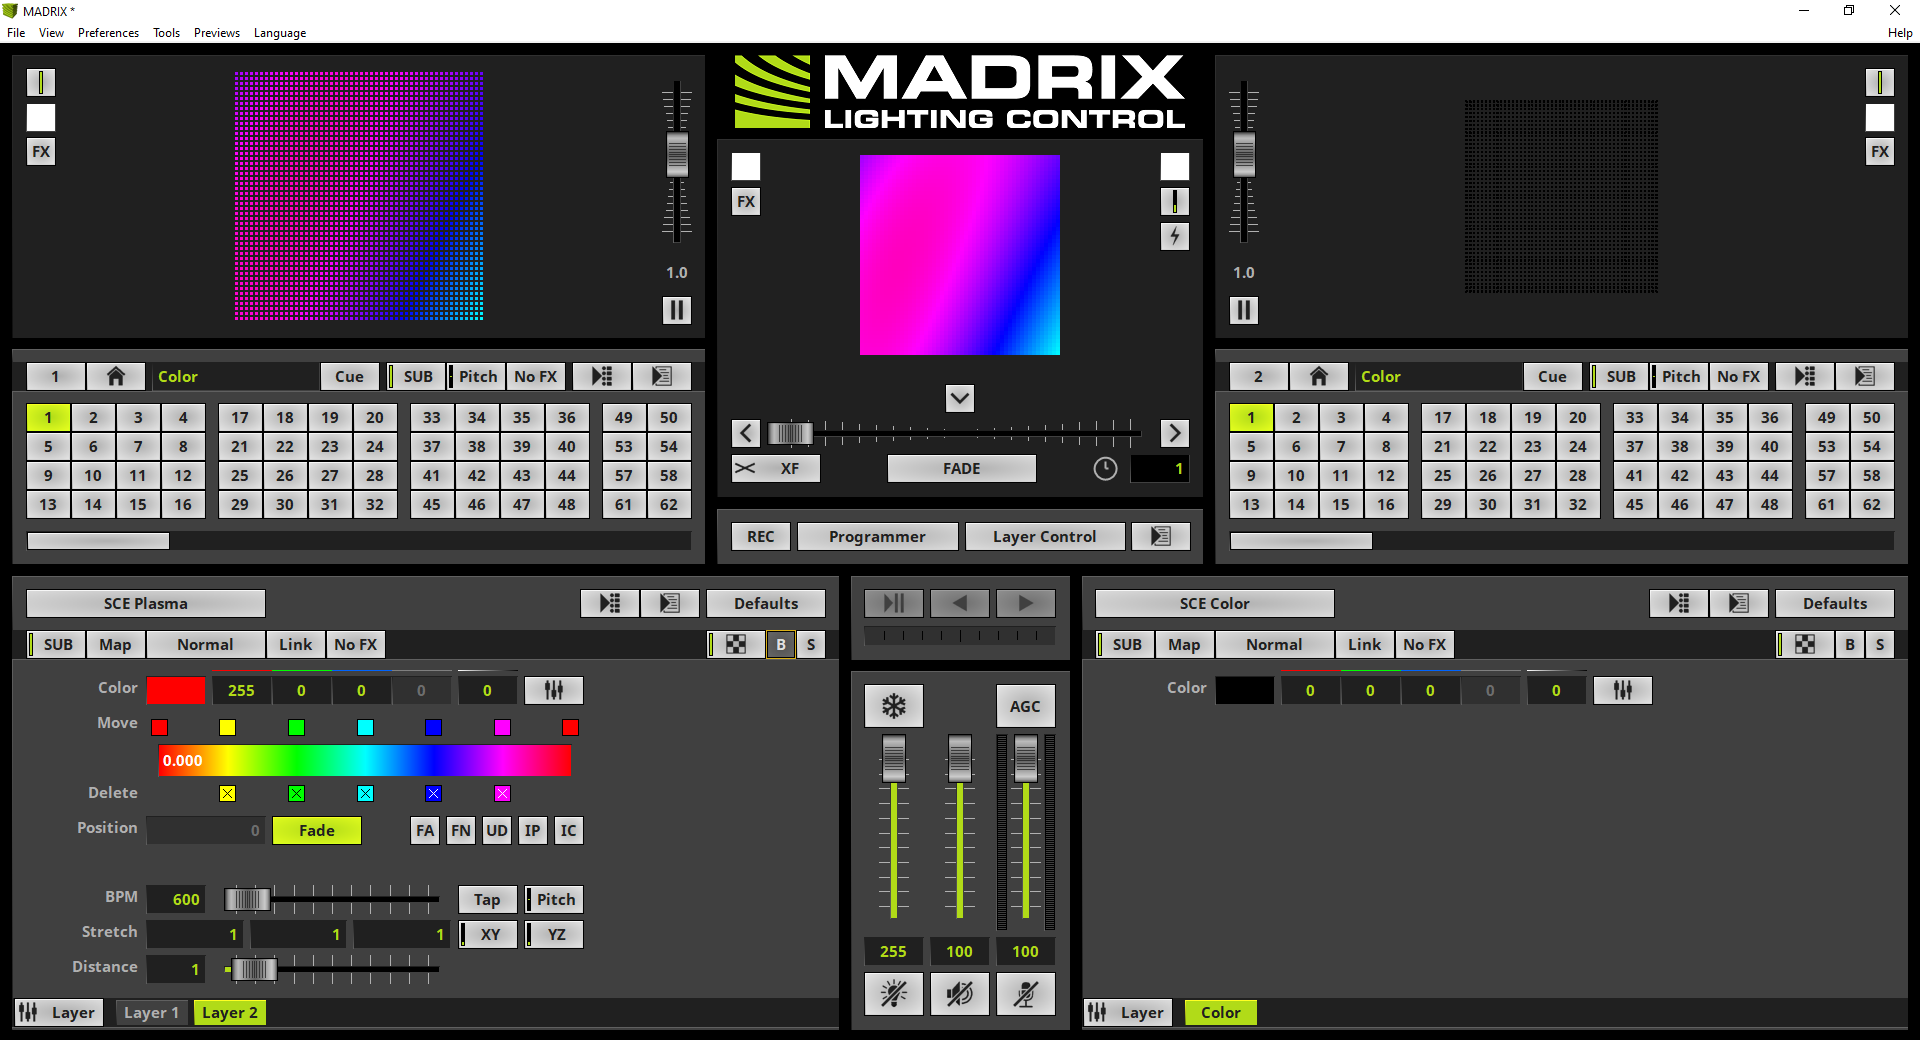
At the beginning of this tutorial we will have two Effect Layer as result of the tutorial: »Add And Rename Layers.
|
2. |
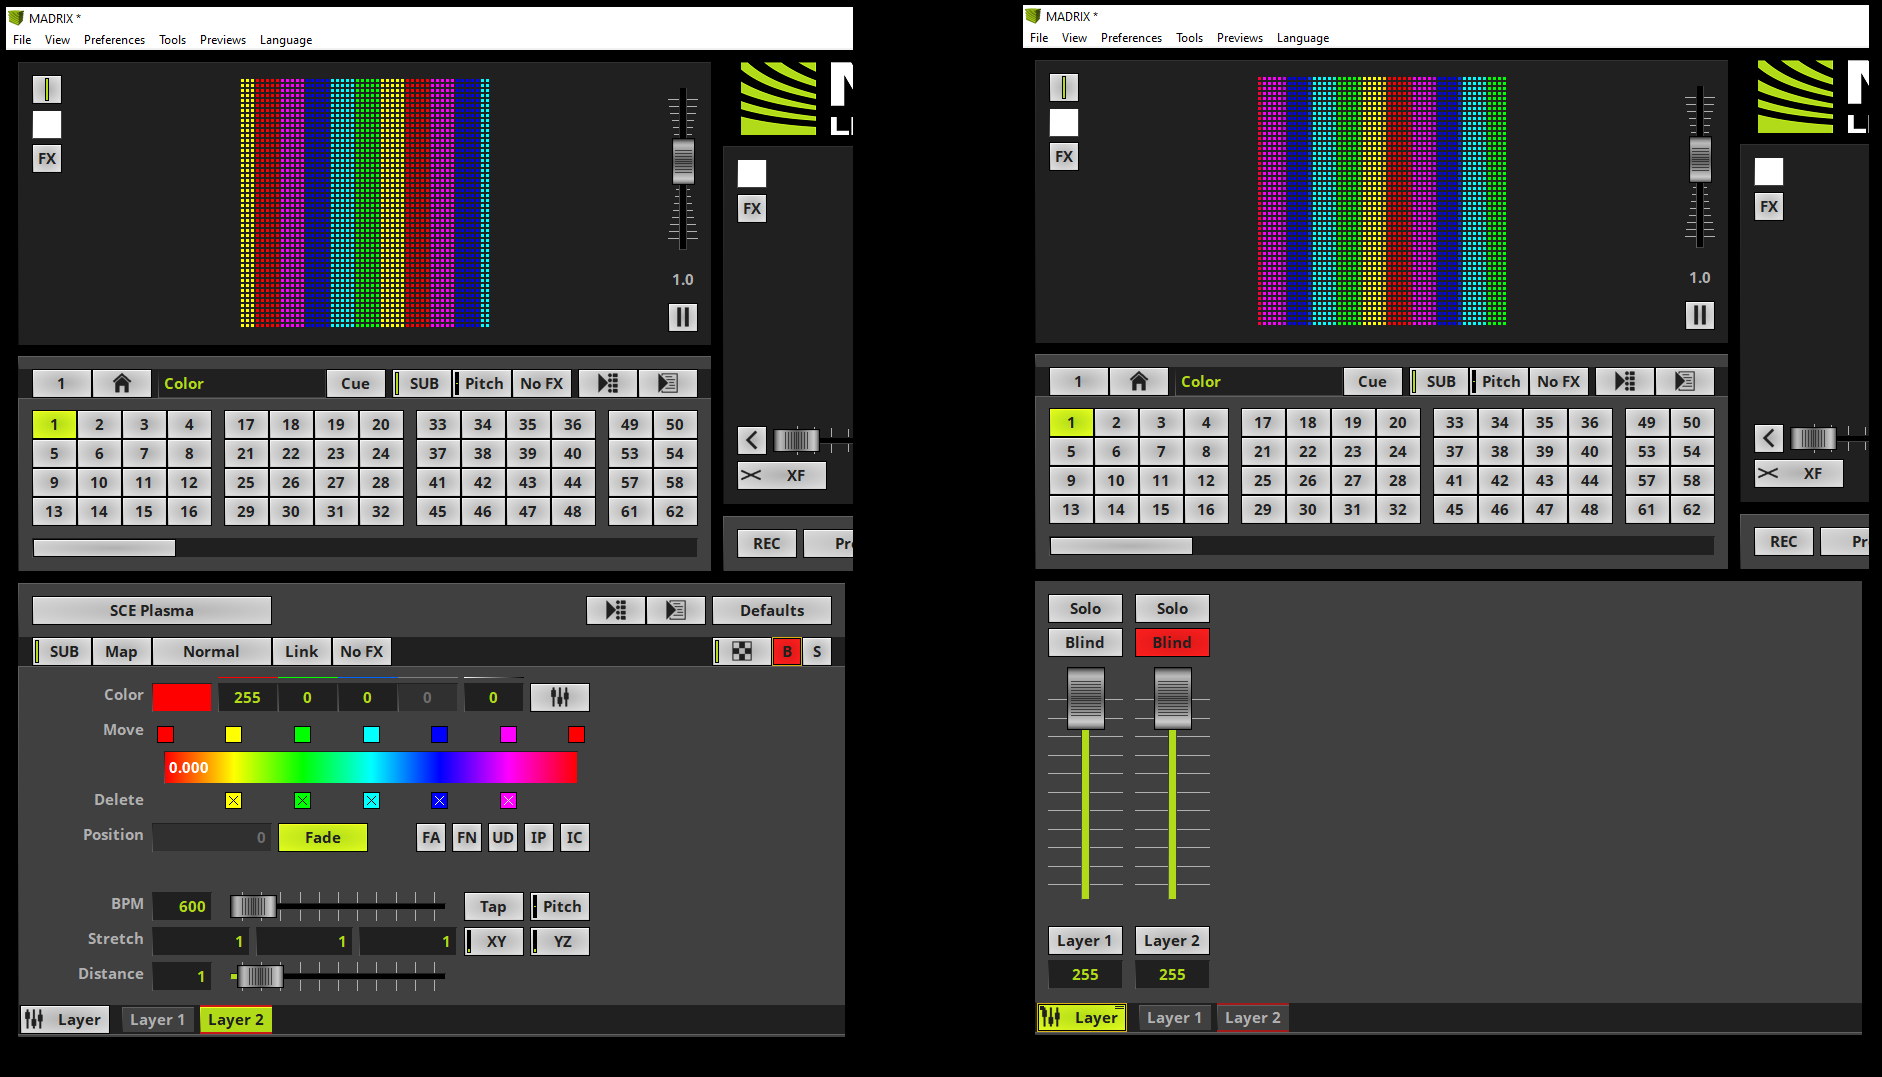
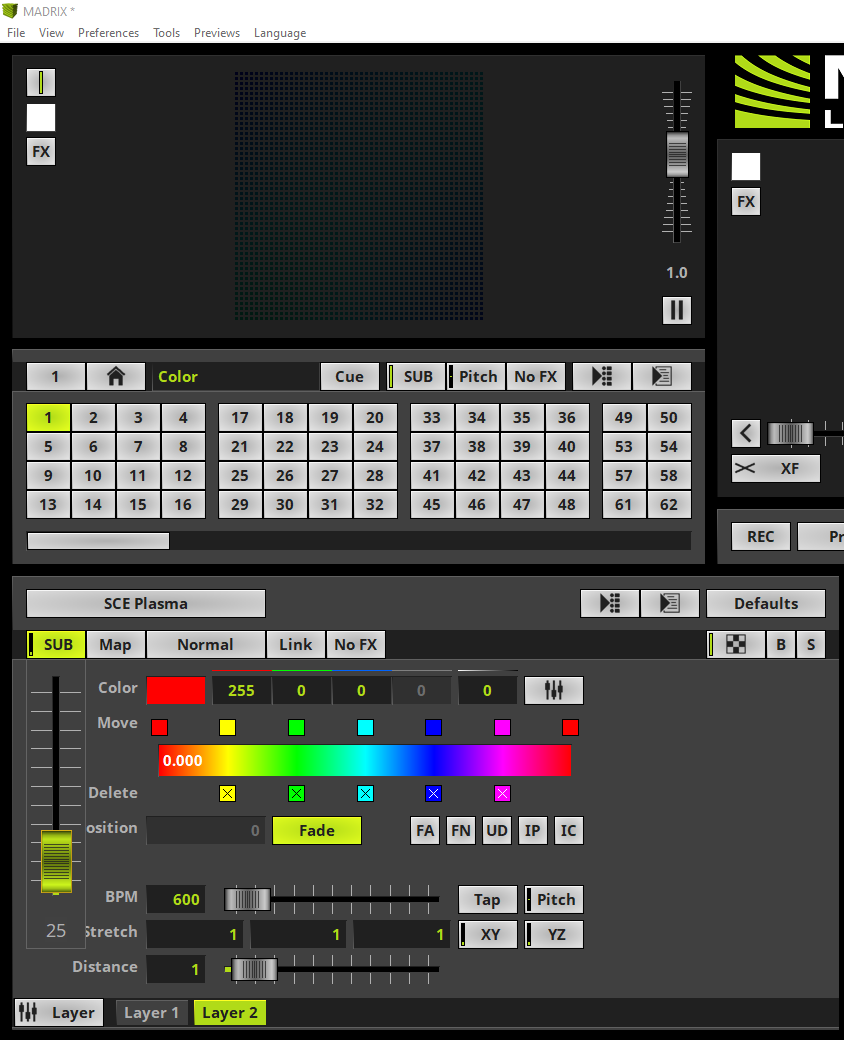
In this step we will Blind the second Effect Layer (Layer 2). To Blind an Effect Layer we will have two Options: •Option 1: Activating the B button at the Effect Area view. To Blind an Effect Layer at the Effect Area view please activate the desired Effect Layer and click the B button. In this example we will select the Effect Layer on the right side called Layer 2. •Option 2: Change the view to Layer View and activating the Blind button of the desired Effect Layer. In this example we activate Blind at channel strip Layer 2. If you don't know how to toggle between the two views, please have a look to the MADRIX manual at section: »Layers If Blind of an Effect Layer is activate, the desired Effect Layer will be deactivated. That means nothing of this effect will be visible. The B respectively Blind button will be illuminated in red as long as blind of the Effect Layer is activated. Furthermore a red halo will flash at the layer tab of the blinded layer. Note: It is possible to activate Blind for several Effect Layers.
|
3. |
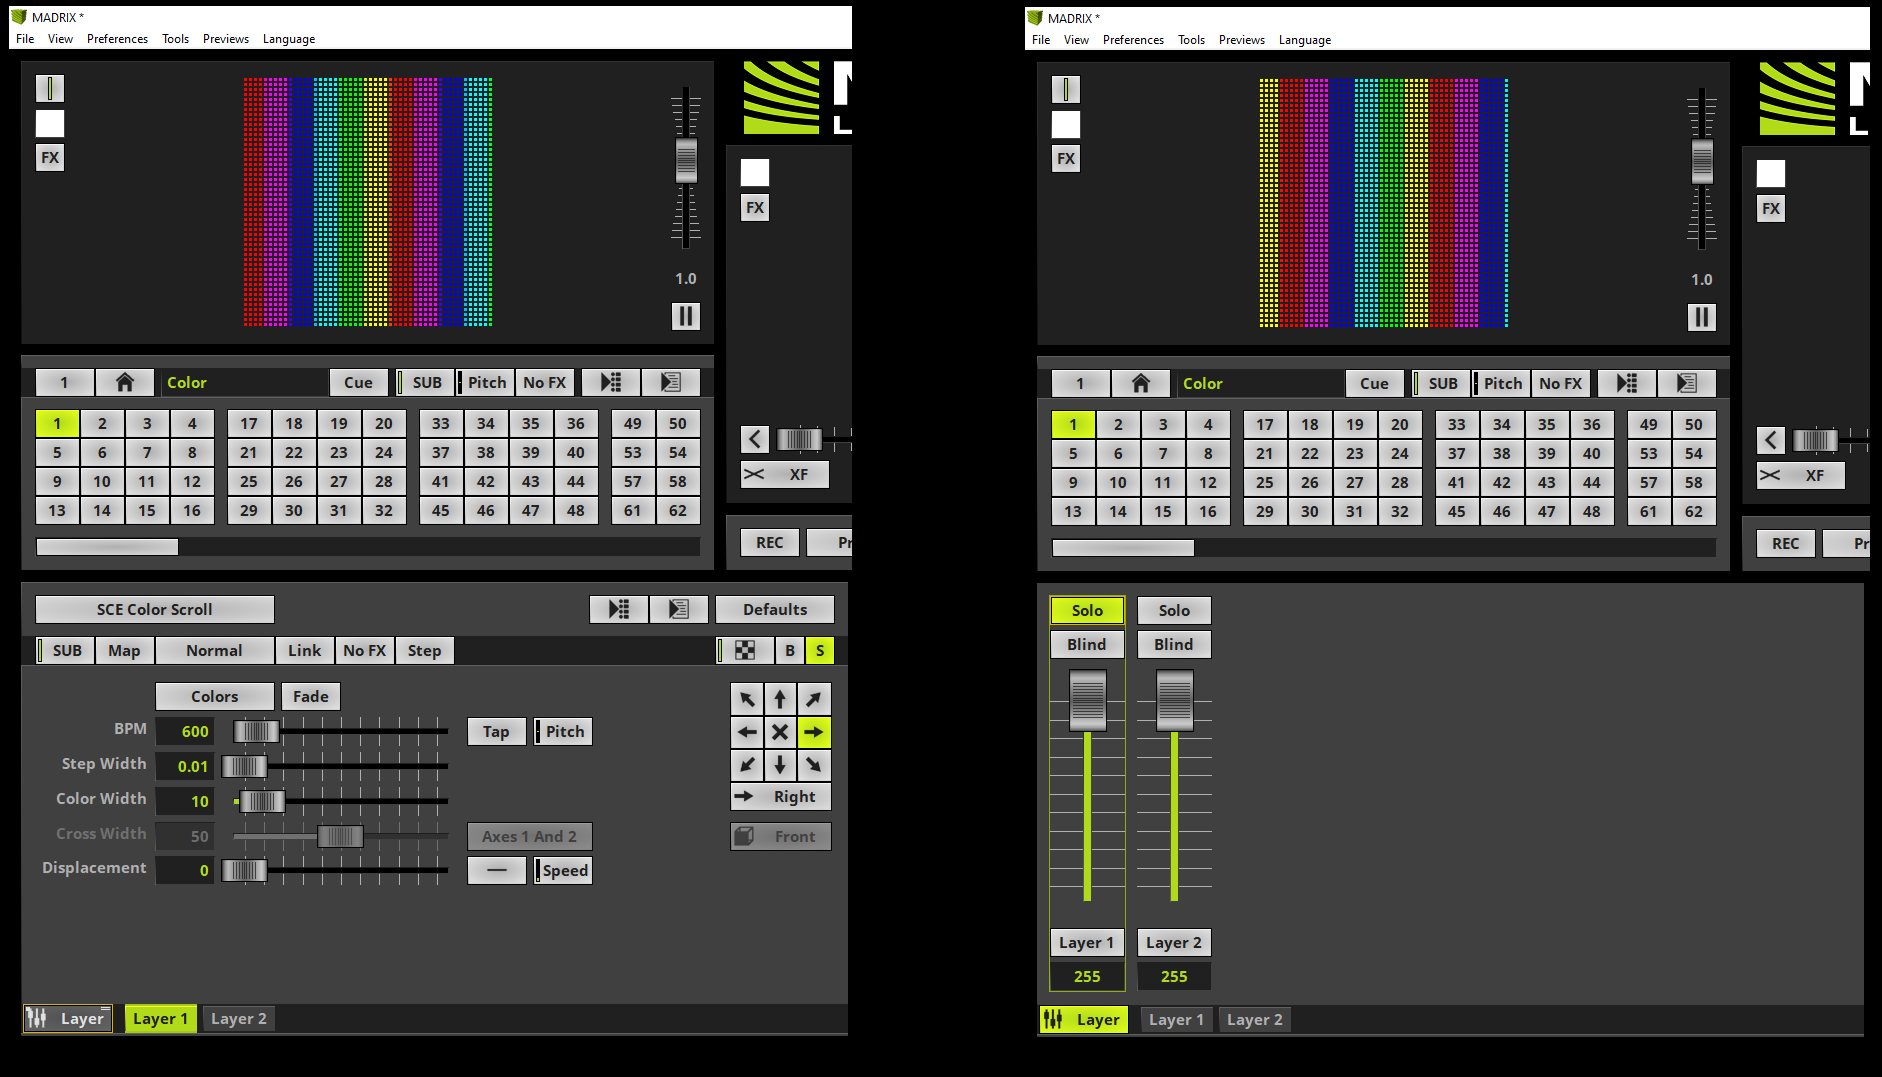
Now let us have a look at the output respectively preview when Solo will be activated. To activate Solo of an Effect Layer we will have two Options: •Option 1: Activating the S button at the Effect Area view. To activate Solo of an Effect Layer at the Effect Area view please activate the desired Effect Layer and click the S button. In this example we will select the Effect Layer on the left side (background) called Layer 1. •Option 2: Change the view to Layer View and activating the Solo button of the desired Effect Layer. In this example we activate Solo at channel strip Layer 1. If Solo of an Effect Layer is activate, the desired Effect Layer will be activated exclusively. That means all other Effect Layers will be deactivated. The S respectively Solo button will be illuminated in green as long as solo of the Effect Layer is activated. Furthermore a green halo will flash at the layer tab of the activated solo layer. Note: Only one Effect Layer can be set to Solo. Always the last activated Solo will take effect.
|
4. |
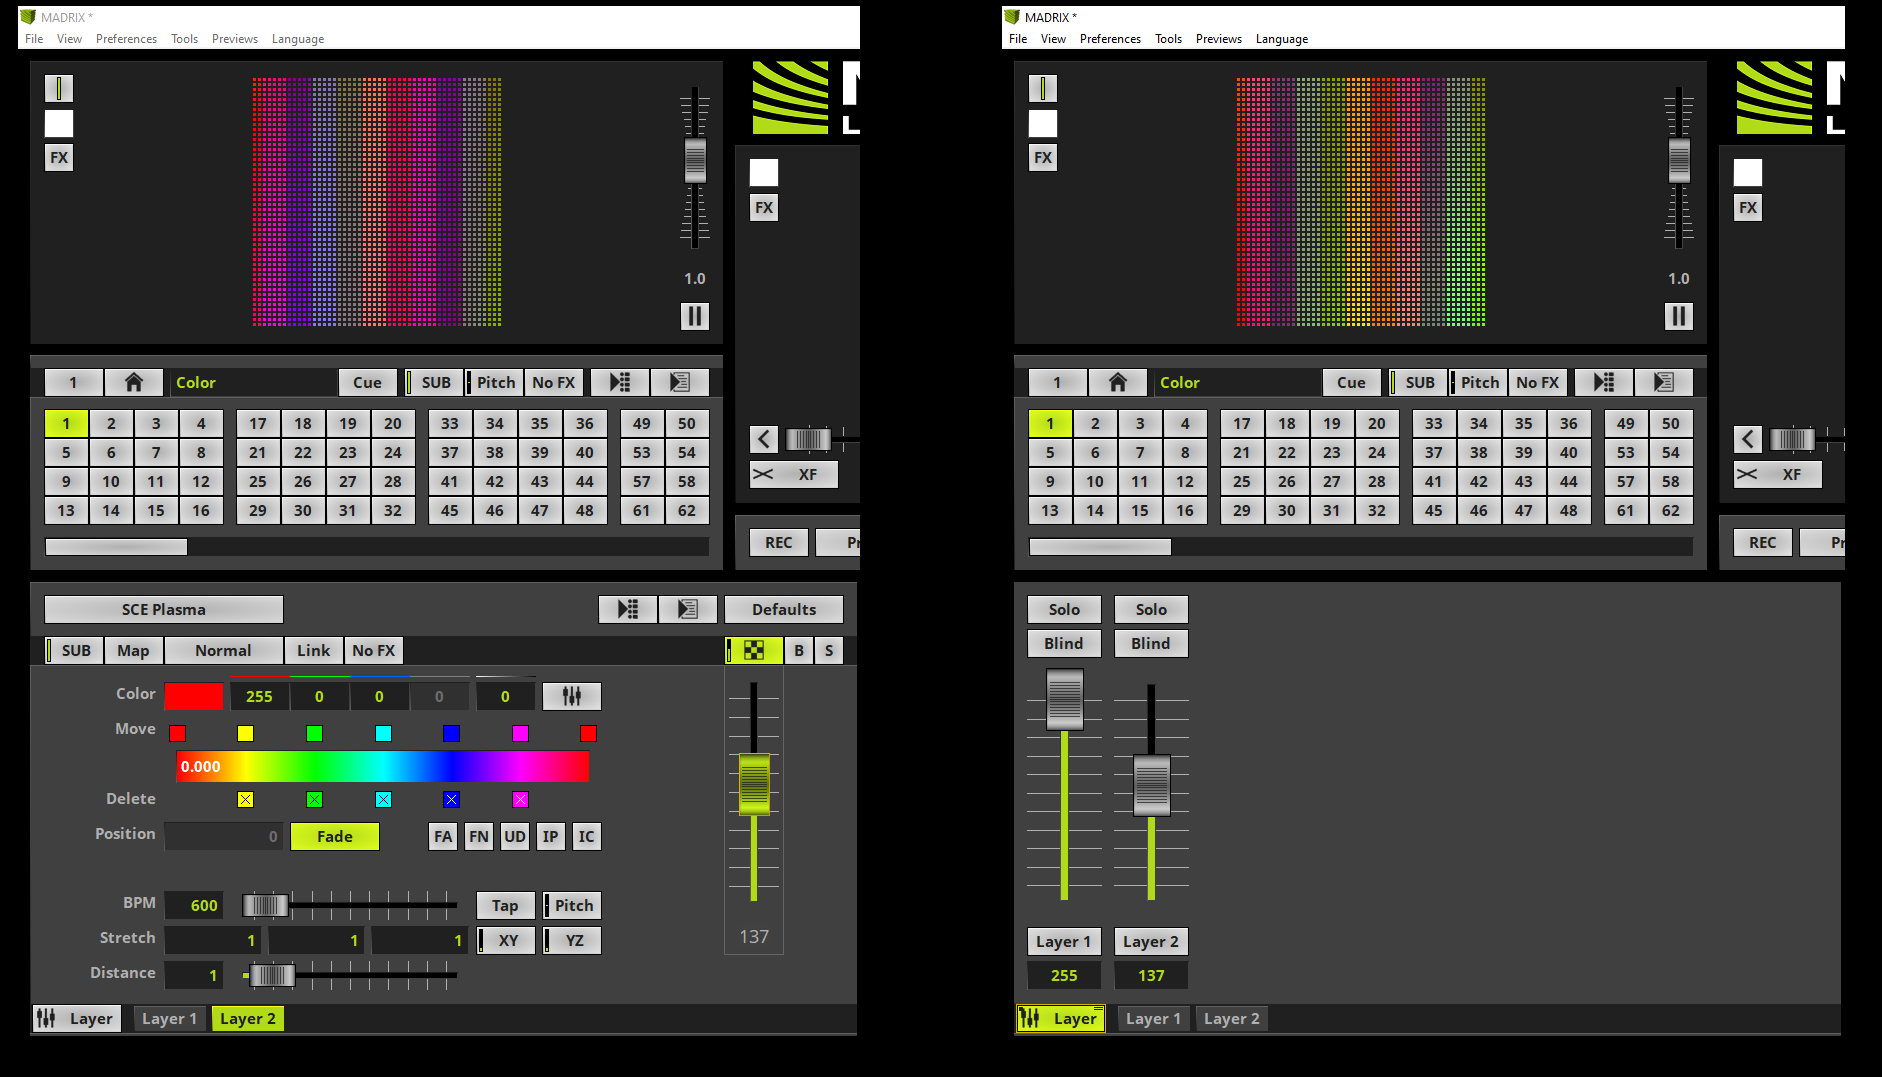
According to our task we also will have a look how to work with the Opacity option. To change the visibility of an Effect Layer we will have two Options: •Option 1: Using the Opacity slider control button of the desired Effect Layer and change the Opacity to a desired value. In this example we will change the Opacity of Layer 2 to 137. •Option 2: Change the view to Layer View and change the value of the desired channel strip via the slider. In this example we change the value of channel strip Layer 2 to 137. With the help of the Opacity of a desired Effect Layer the transparency of the desired layer will be changed and thus layers of the background will be visible depending on the value. Note: If Effect Layers in the background should become more visible the Opacity of the Effect Layer in the foreground must be decreased.
|
5. |
To change the brightness of an Effect Layer without changing the Opacity we will have the option to work with the Submaster. The Submaster value can be changed with the SUB button. If we decrease the value of the Effect Layer in the foreground, no output will be visual.
|
6. |
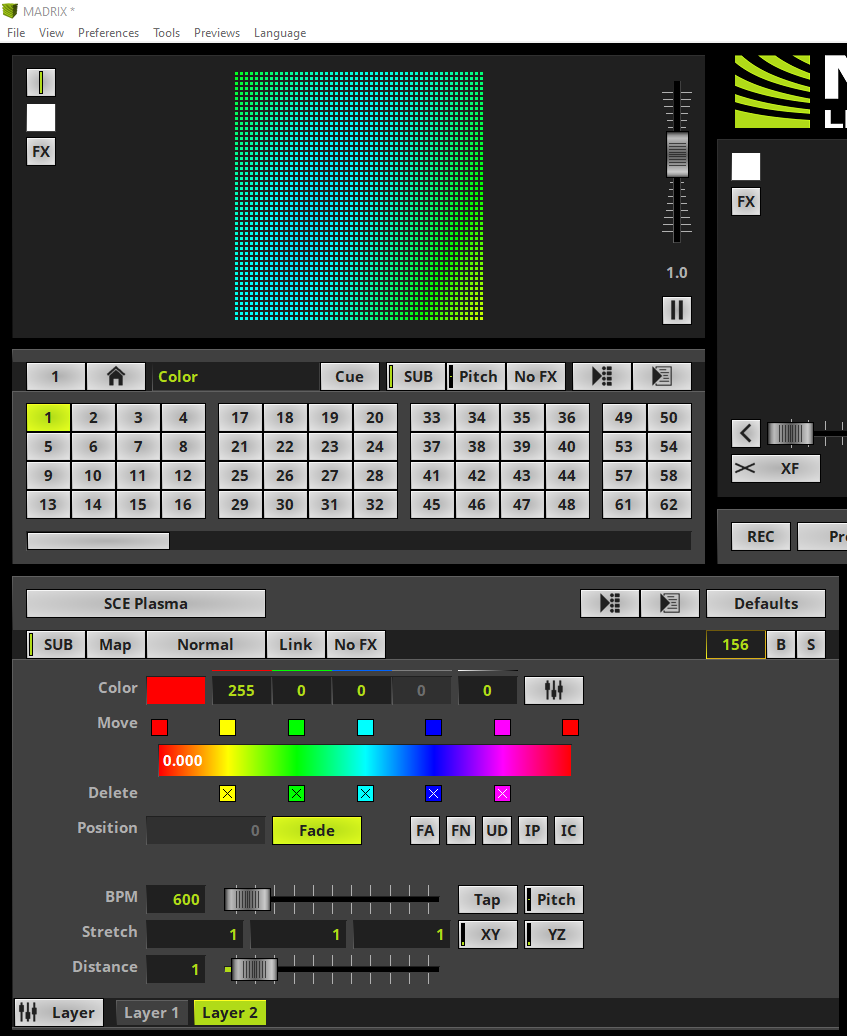
If we need to set a discrete value of a Slider Control Button like Submaster or Opacity, we are able to click the desired button once and type in the desired value. Valid values are between 0 and 255. In this example we will change the value of the Opacity of Effect Layer called Layer 2 to 156. Therefore we select the Opacity layer with an click, type in [156] via keyboard and press [Enter].
|
Congratulations! You have successfully learned how to work with the visibility settings of Effect Layers in MADRIX 5.