This tutorial shows you how to add and rename Effect Layers in MADRIX 5.
Date: 06/2021
MADRIX Version: 5.4b (Created with)
Corresponding Video Tutorial: »Add And Rename Effect Layers
Note:
•Before you start working on this tutorial it is recommended to be more familiar with the general usage of MADRIX Effects and how to select them. If you want to learn more about the MADRIX Effects, please have a look at the Effects section of the user manual: »Effects [Visuals].
•The result of this tutorial will be used in the tutorials: »Layer Visibility and »Copy Past And Insert Of Layers.
Task:
Today we have to work with 2 different effect layers. Fort the first layer we will use the SCE Color Scroll and the second layer the SCE Plasma effect.
The first layer should be renamed to Layer 1 and the second layer to Layer 2. Furthermore we want to have a look at the impact of the order of the Effect Layers.
1. |
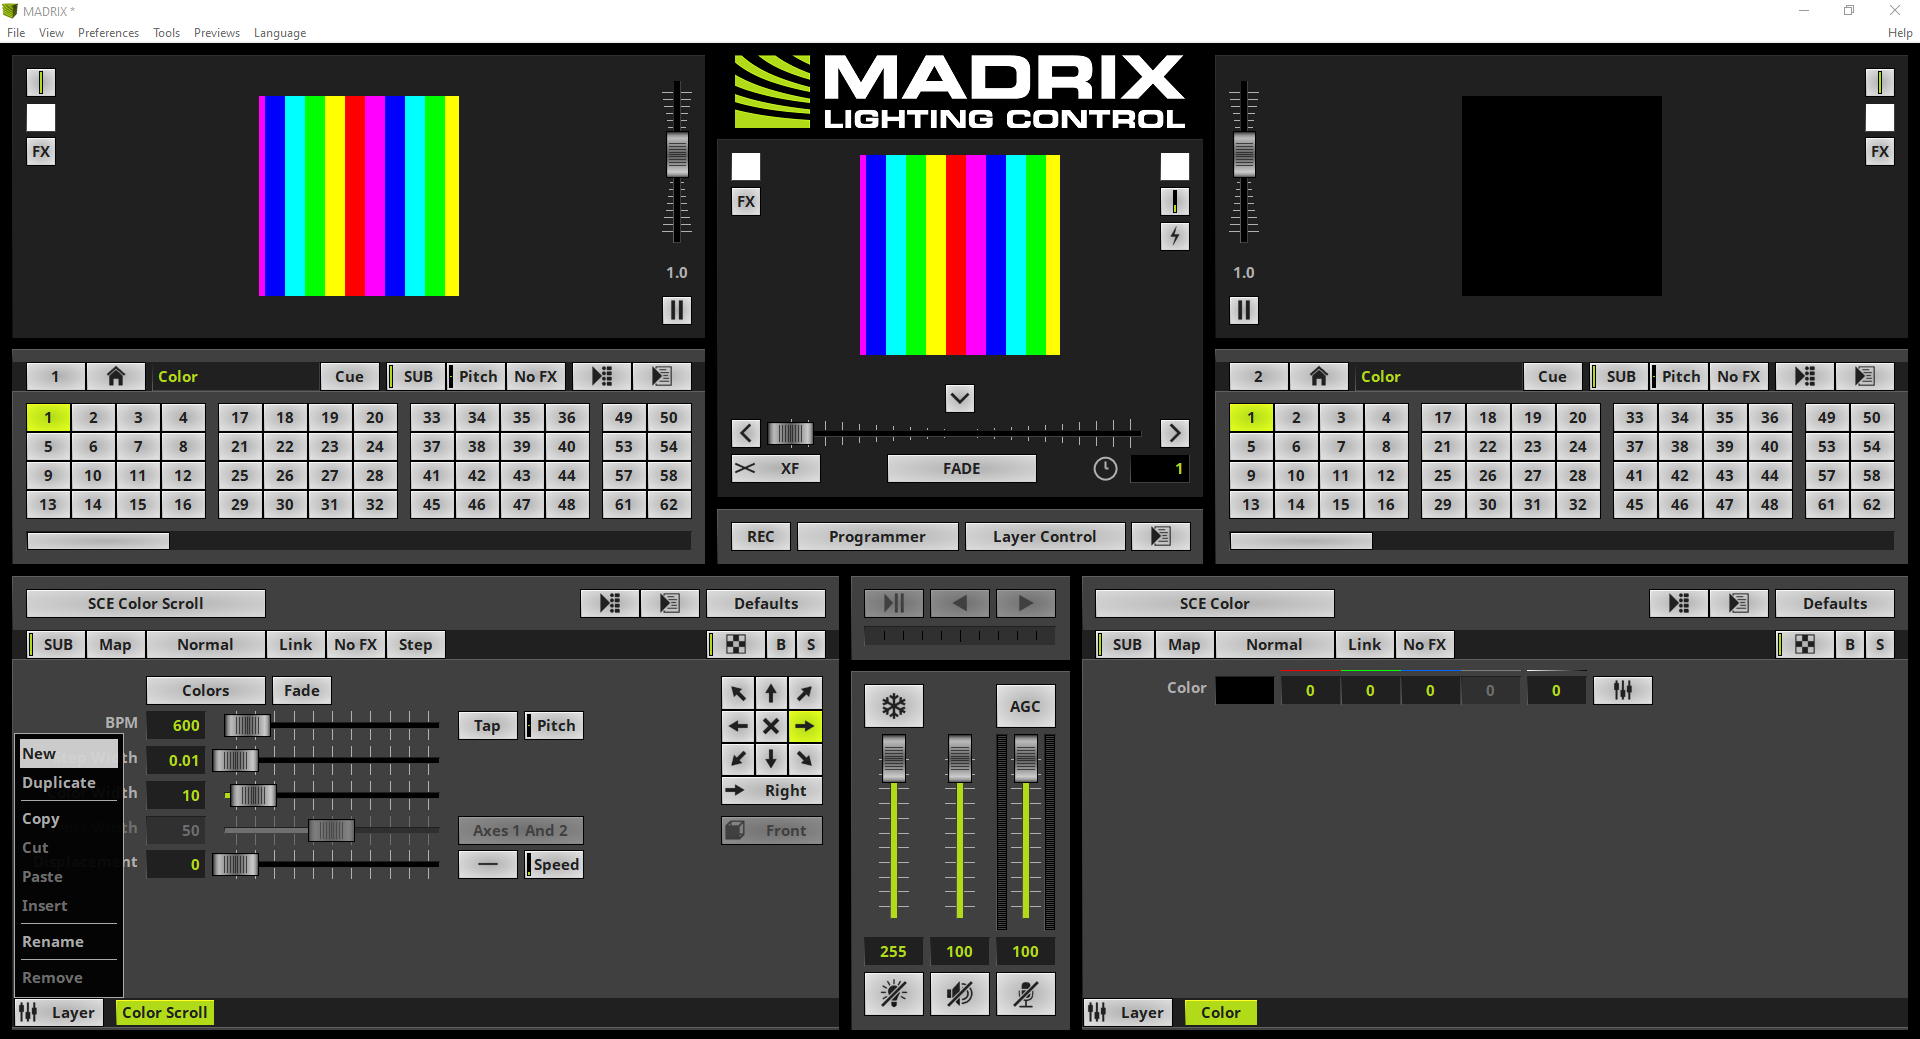
We select an empty Storage Place in MADRIX 5. In this example it is Storage 1, Place 1 According to our task we want to activate the SCE Color Scroll at the first Effect Layer. Therefor we click the SCE Color button and choose SCE > Color Scroll.
|
2. |
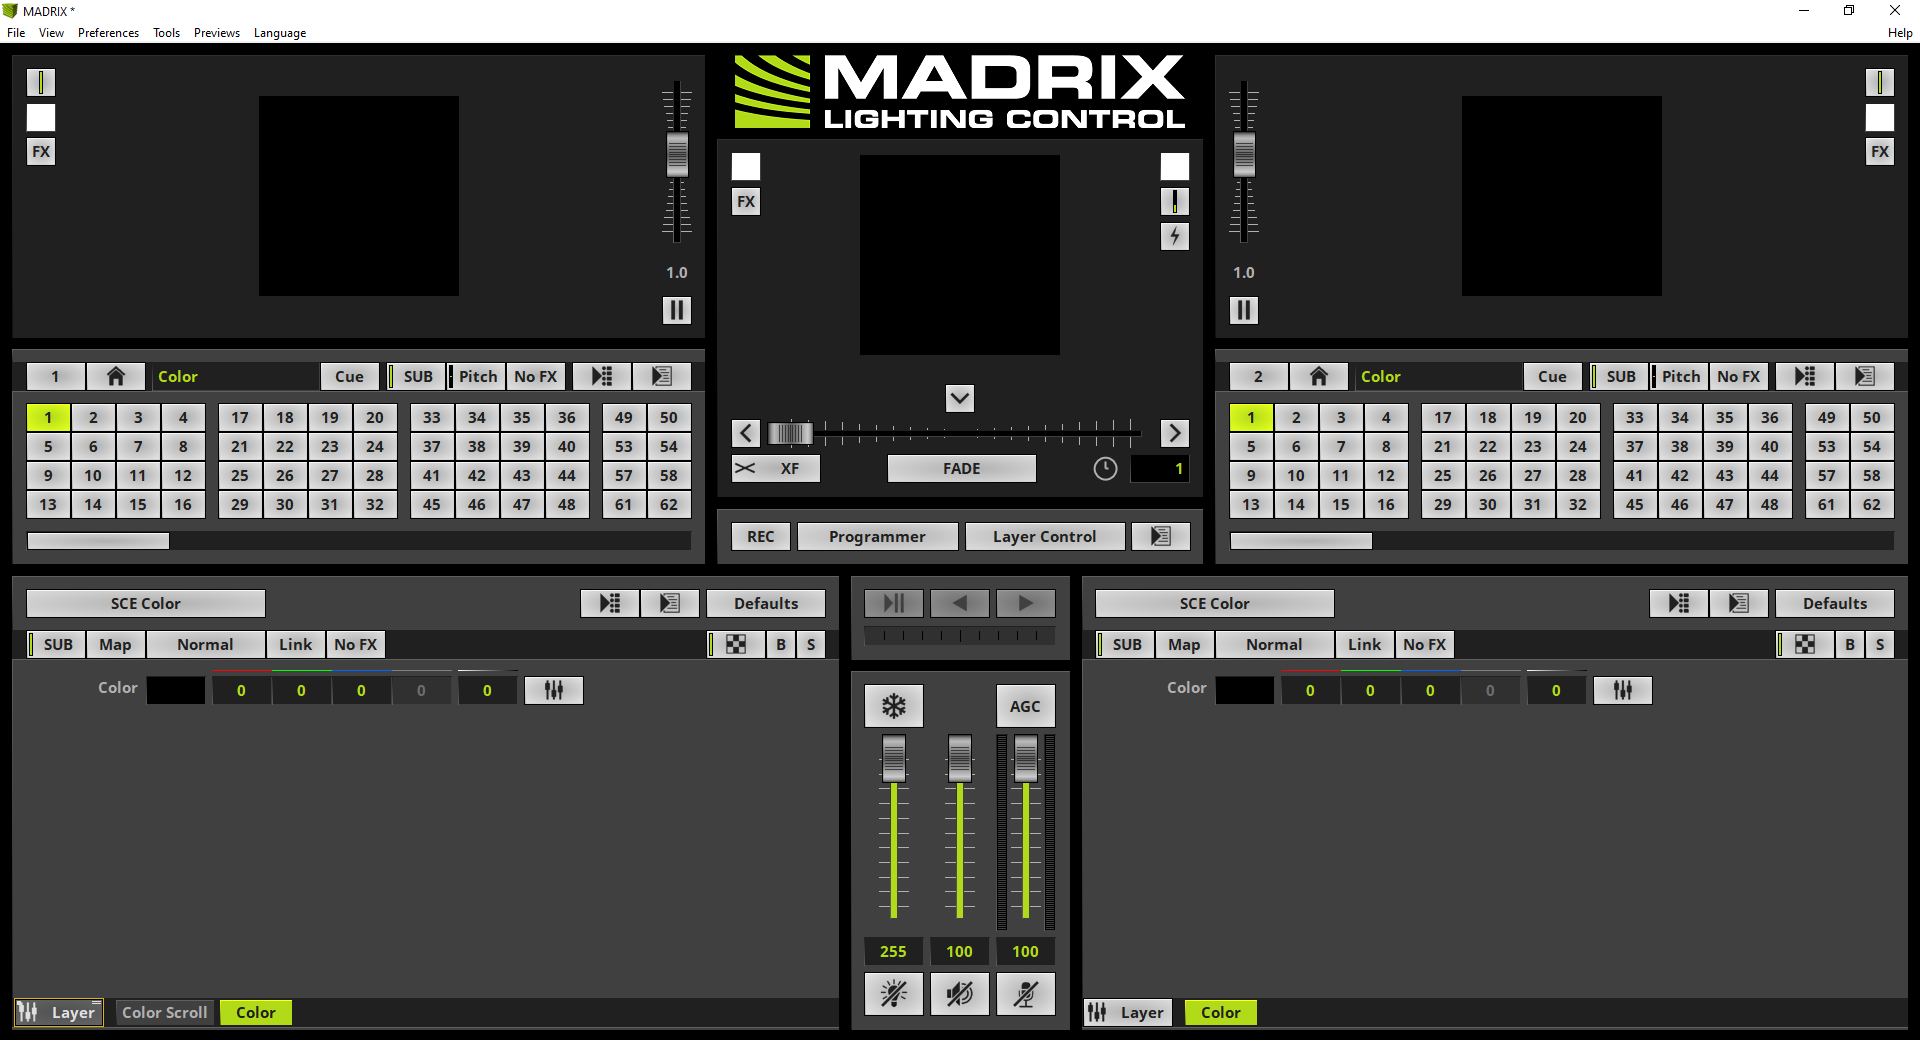
Now we want to add a second Effect Layer by performing a right click at the Layer button and by selecting New in the context menu.
|
A new Effect Layer will be added at the right side of the the SCE Color Scroll layer. Please note: •New Effect Layers will always be added at the right side of the selected layer. •New Effect Layers will always consists of the default effect SCE Color •If you add a new Layer it will be positioned to the right. It is the foreground Layer. •After a Effect Layer was added it will be selected (a selected Effect Layer will be illuminated in green).
|
|
4. |
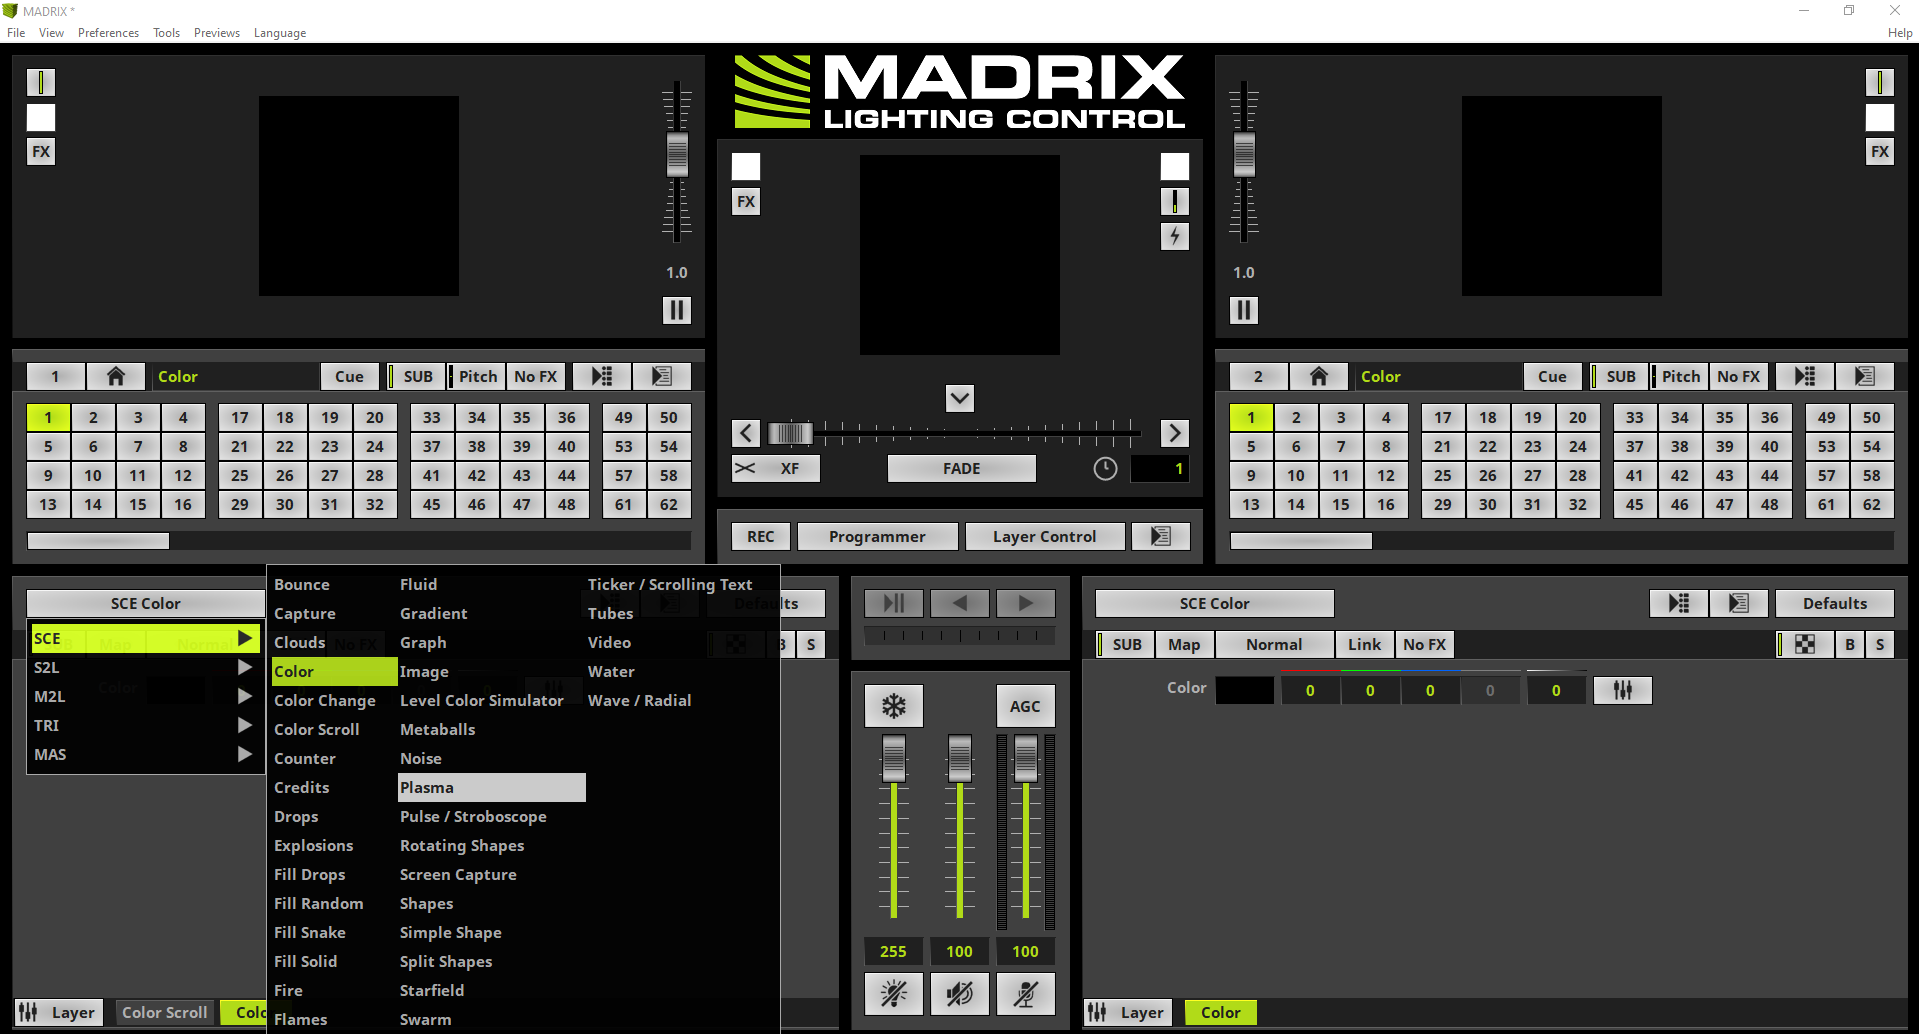
According to our task we choose the SCE Plasma effect for the second layer via SCE > Plasma.
|
5. |
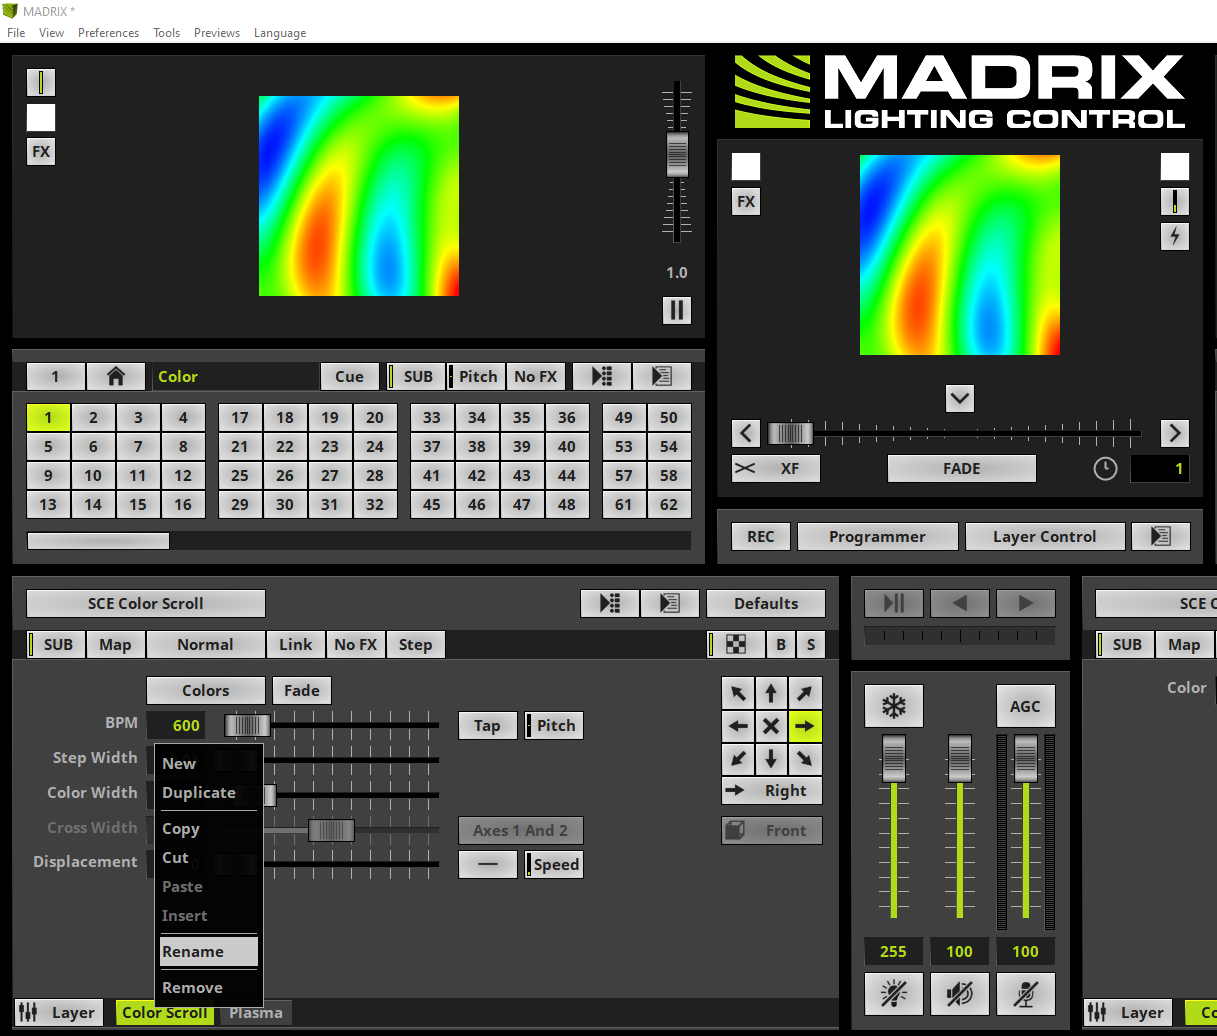
Now we can figure out the SCE Plasma effect is on top and no SCE Color Scroll is visible but still activated and rendering.
In this step we want to rename the SCE Color Scroll layer by performing a right click at the Color Scroll layer and selecting Rename in the context menu.
|
6. |
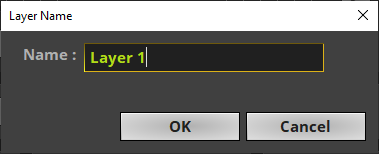
In the middle of the MADRIX user interface you will find the Layer Name window. We call it Layer 1 and click OK.
|
7. |
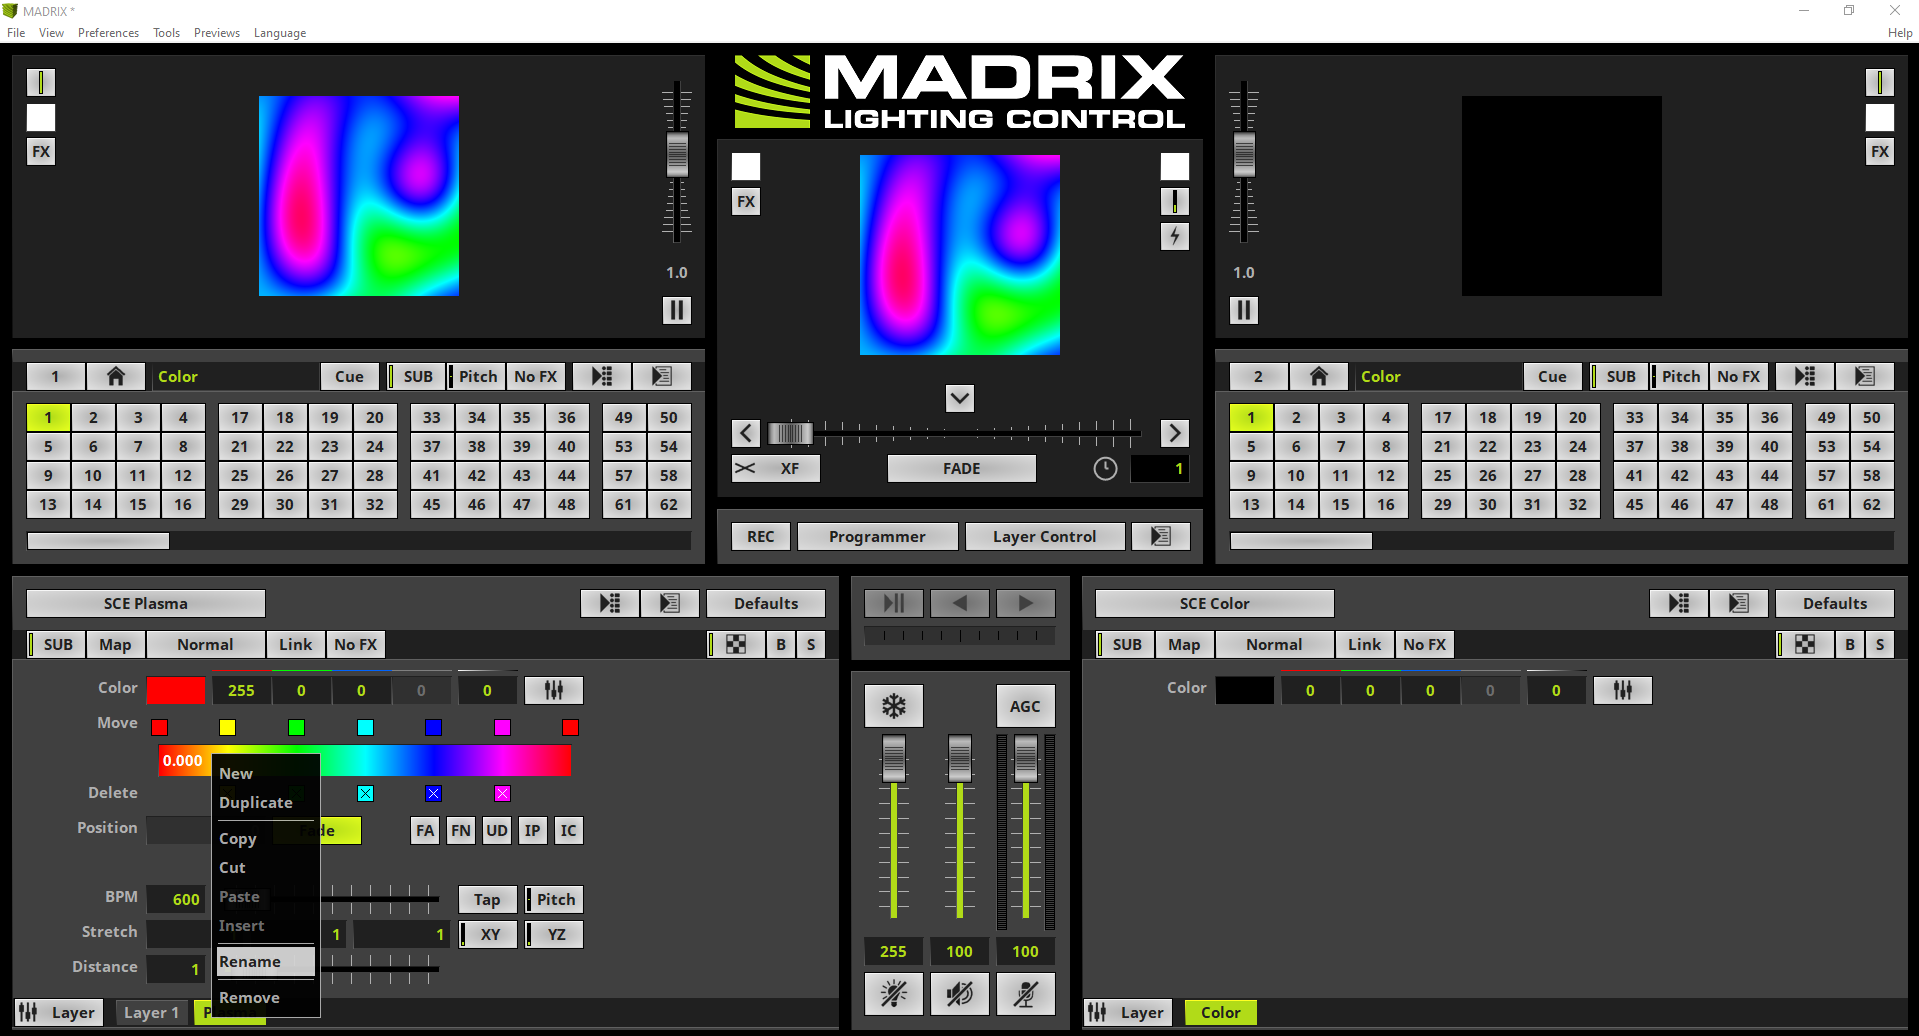
Now we want to rename the SCE Plasma layer by performing a right click at the Plasma layer and selecting Rename in the context menu.
|
8. |
We rename this Effect Layer to Layer 2. To accept the name we click OK.
|
9. |
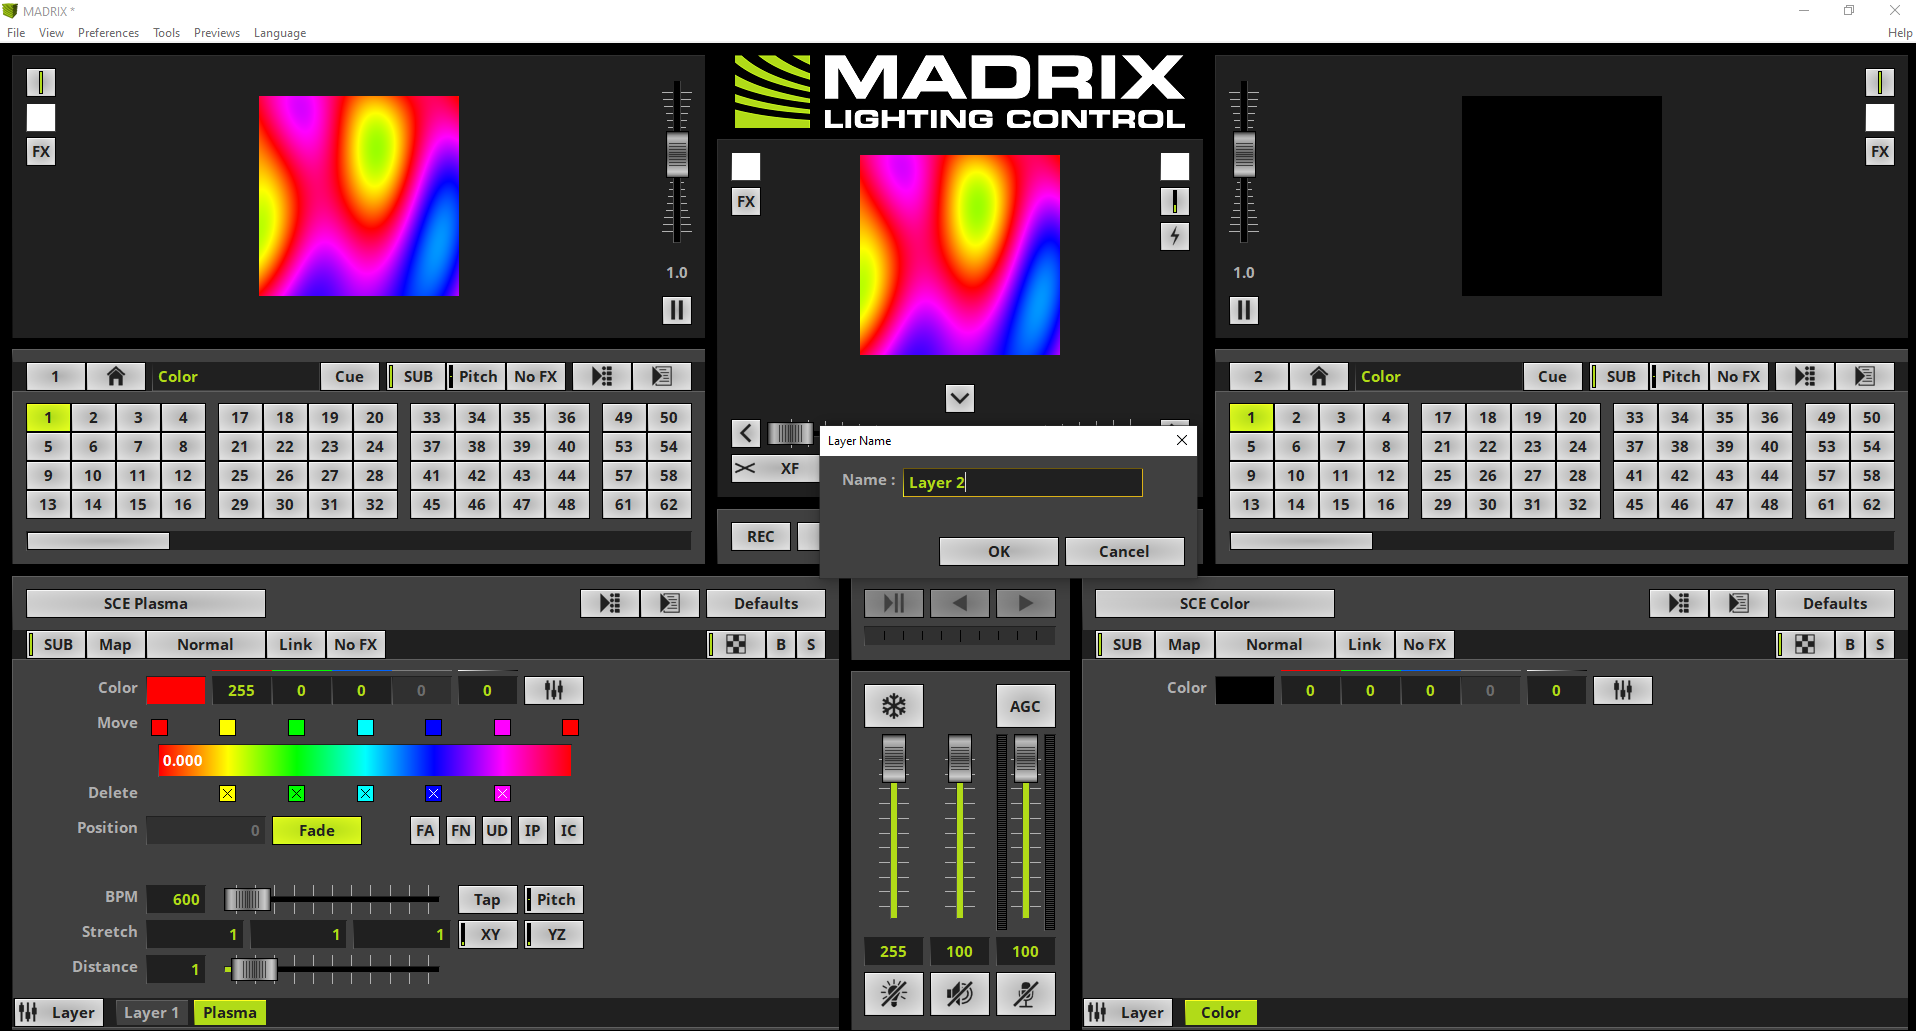
When we have a look at the layer tabs we can see both Effect Layers are are renamed from the default name to the user defined name.
|
10. |
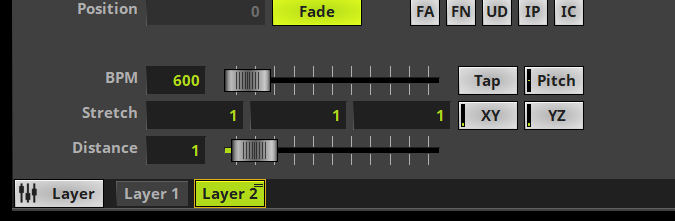
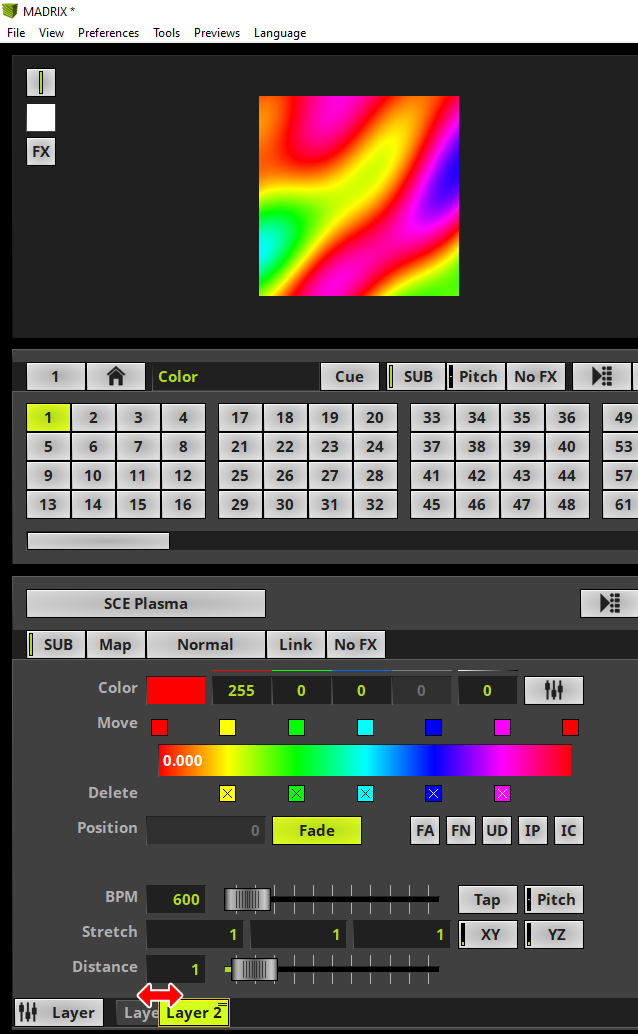
In the last part of this tutorial we will have a closer look how to change the order of the Effect Layers and how the visual result is changing. In Step 3 we learned that the further to the right the Effect Layer is located the more it is in the foreground. At the moment Layer 2 which consists of the SCE Plasma is at the right side and thus in the foreground. If we want to change the order of the layers, we simply select the desired layer via click and hold the [left mouse button], move the mouse to the desired layer position and drop it.
In this example we want to move Layer 2 to the left side. Therefore we select it and move the mouse to the left side during the [left mouse button] is clicked.
|
11. |
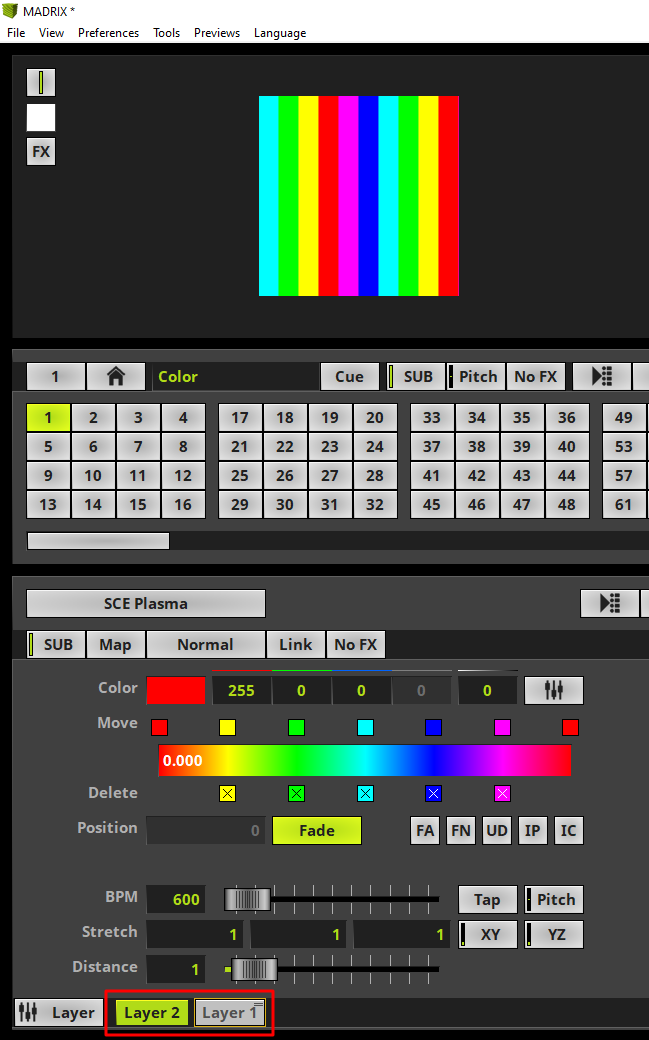
As soon as the Layer 2 is at the left side we release the [left mouse button].
The visual result will also be changed. The SCE Color Scroll is now visible again because the corresponding layer is now in the foreground.
|

Congratulations! You have successfully learned how to add, rename and rearrange Effect Layers at a Storage Place in MADRIX 5.