This tutorial shows you how to rotate and flip fixtures in MADRIX 5.
Date: 10/2019
MADRIX Version: 5.1b (Created with)
Corresponding Video Tutorial: »Rotate Patched Fixtures
Note:
In this tutorial we will modify the patch of the tutorial »2D Patch With The Patch Editor For DVI Output.
Task:
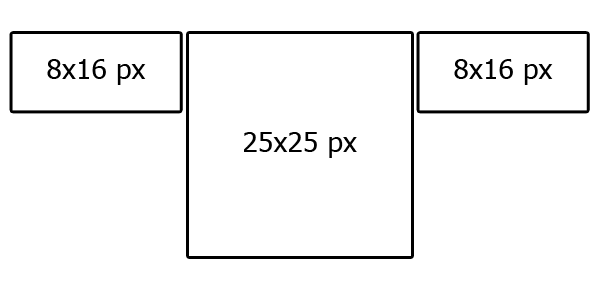
In this tutorial we want to rotate the left and right LED Screen. After the rotation we also want to move this two fixtures to the top of the patch.
1. |
We already created a similar patch in the tutorial »2D Patch With The Patch Editor For DVI Output. In this tutorials we want to use exactly this patch and modify it. To open the patch please go to File > Open Patch and choose the saved patch.
|
2. |
In this step we move all fixtures of the patch by 8 pixel in x direction. This step is necessary because when MADRIX will rotate a fixture, it will rotate around the center of the fixture. If the result will end in the negative, the rotation is not possible. In our task we have to rotate the left and right fixture by 90 degree. We remember the left and right screen have a resolution of 8 x 16 pixels and at the end the fixtures should overlap.
|
3. |
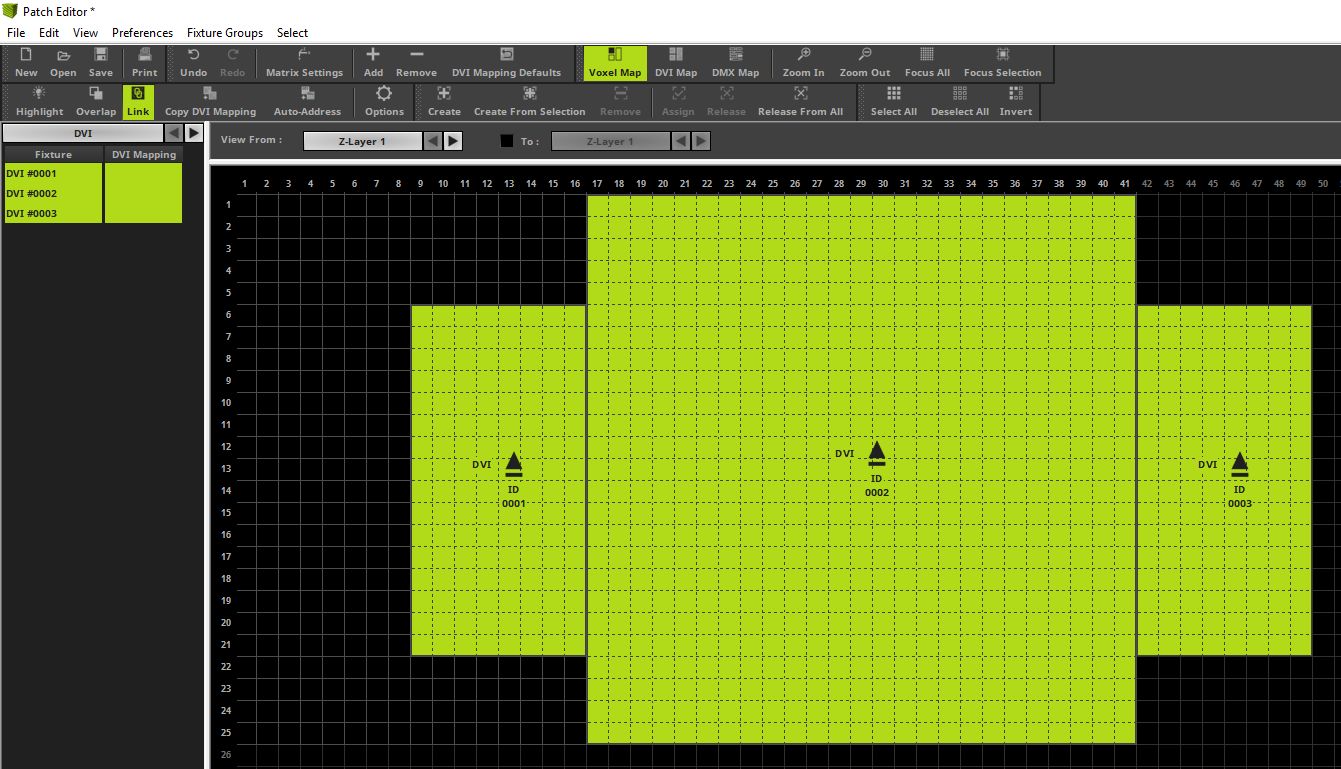
Before we rotate the desired fixtures we enable the Overlap mode. With the help of this option we are able to rotate at the current position. This option is necessary because MADRIX will also not rotate a fixture if it will overlap another fixture and the Overlap option is disabled. After Overlap is enabled the button will be illuminated in green.
|
4. |
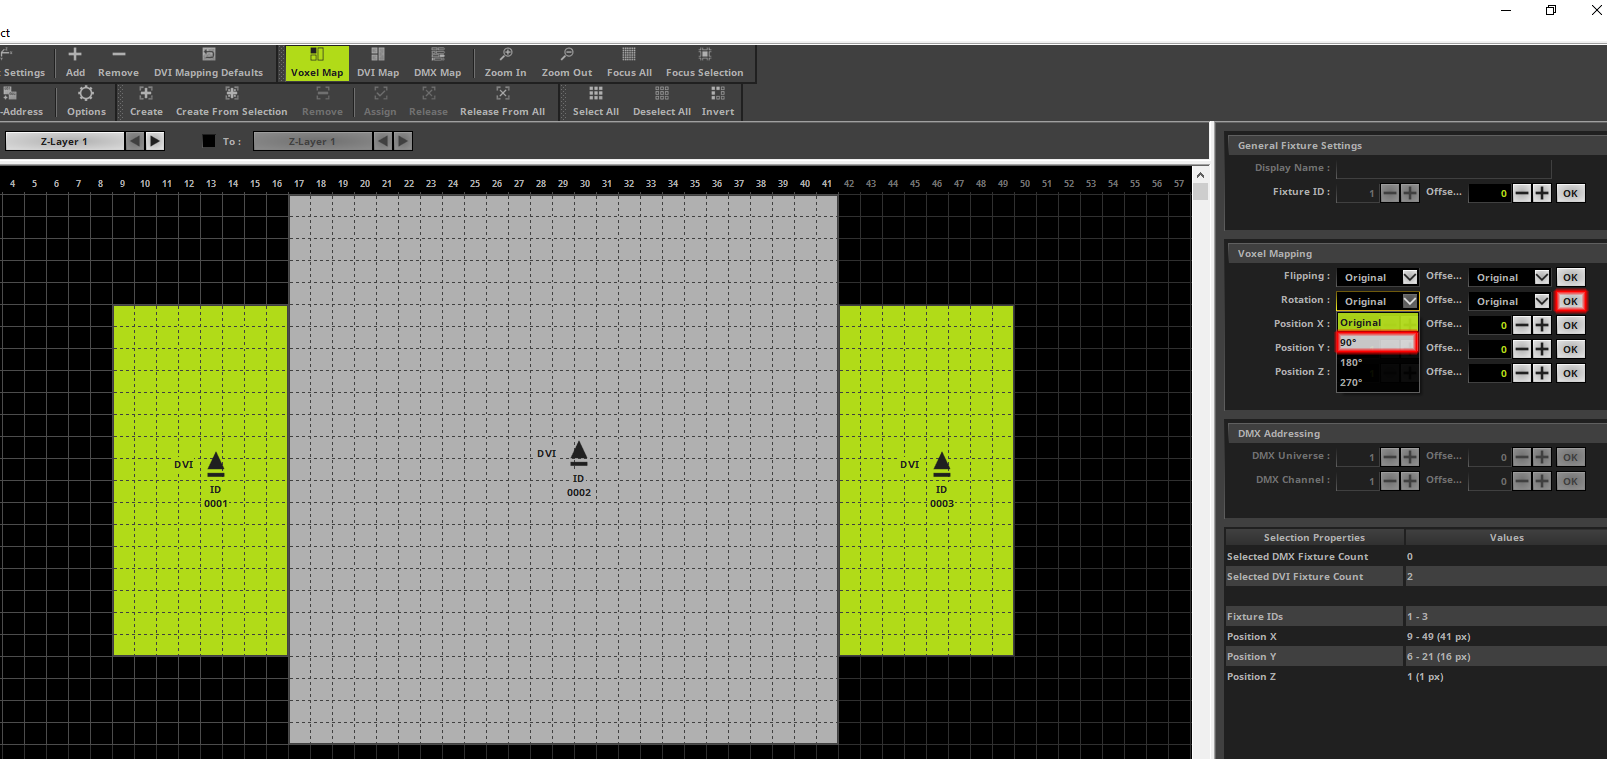
In this step we select the two fixtures we want to rotate. To select them we simply press and hold [Shift] + click at each fixture with the left mouse button. To rotate this two fixtures we go to the Rotation option at the Voxel Mapping section on the right side of the Patch Editor. In the Rotation menu we choose 90° and click OK.
|
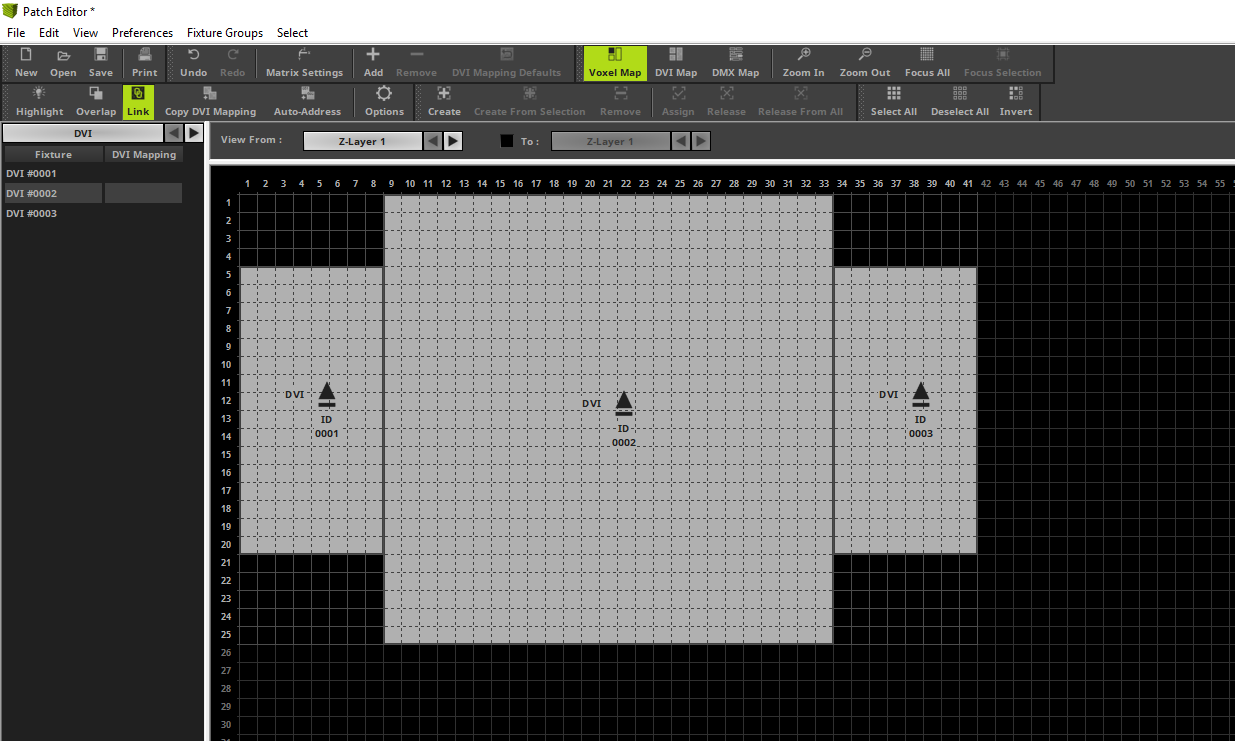
5. |
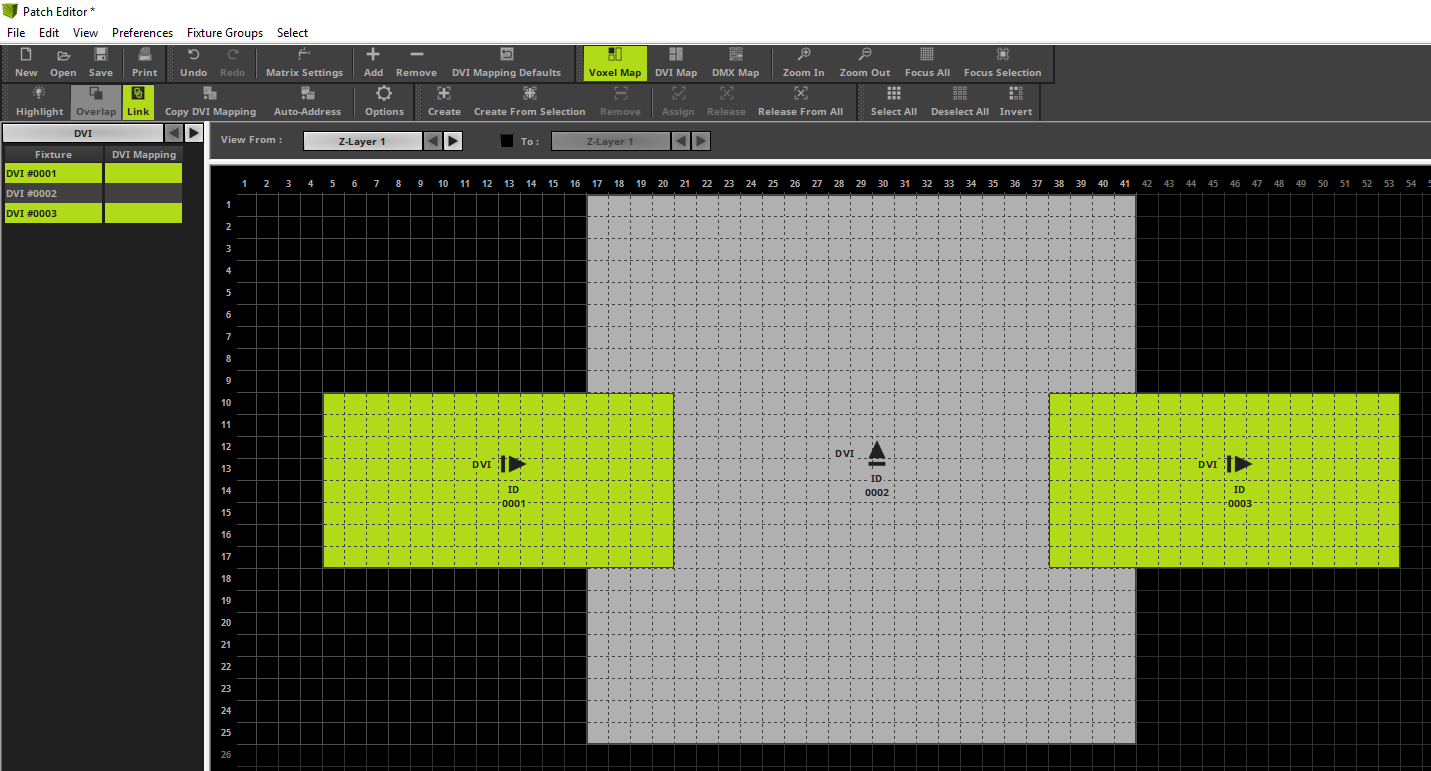
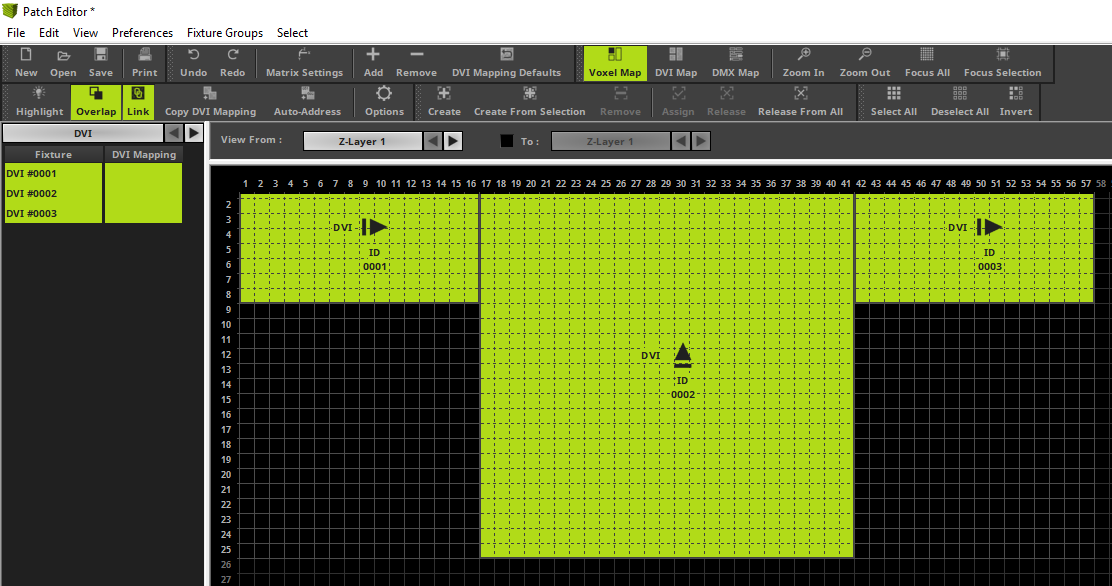
Now we can see that both fixtures are rotated around their own center.
|
6. |
According to our task we have to move the two rotated fixtures to the top of the patch. Also this two fixtures have to be placed that no fixture will be overlapped.
When we have a closer look at the fixtures we can see an arrow on each of them. An arrow to the top means the fixture is not rotated. If the arrow is pointing to the left side, the fixture is rotated by 90°.
|
7. |
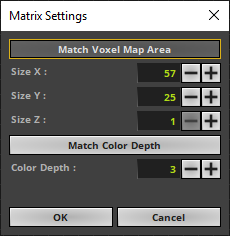
As always when we have changed something in the Patch Editor we have change the size of the Voxel Map Area in MADRIX. Please open the Matrix Settings window, click the Match Voxel Map Area button and click OK.
|
8. |
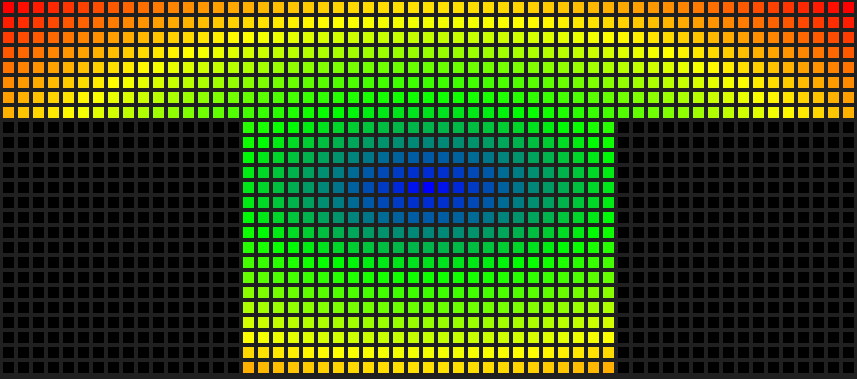
When we now have a look at the MADRIX previews we can see a patch like in the following image.
|
9. |
Normally we have finished the task correctly. Please select all fixtures via [Ctrl + A].
|
10. |
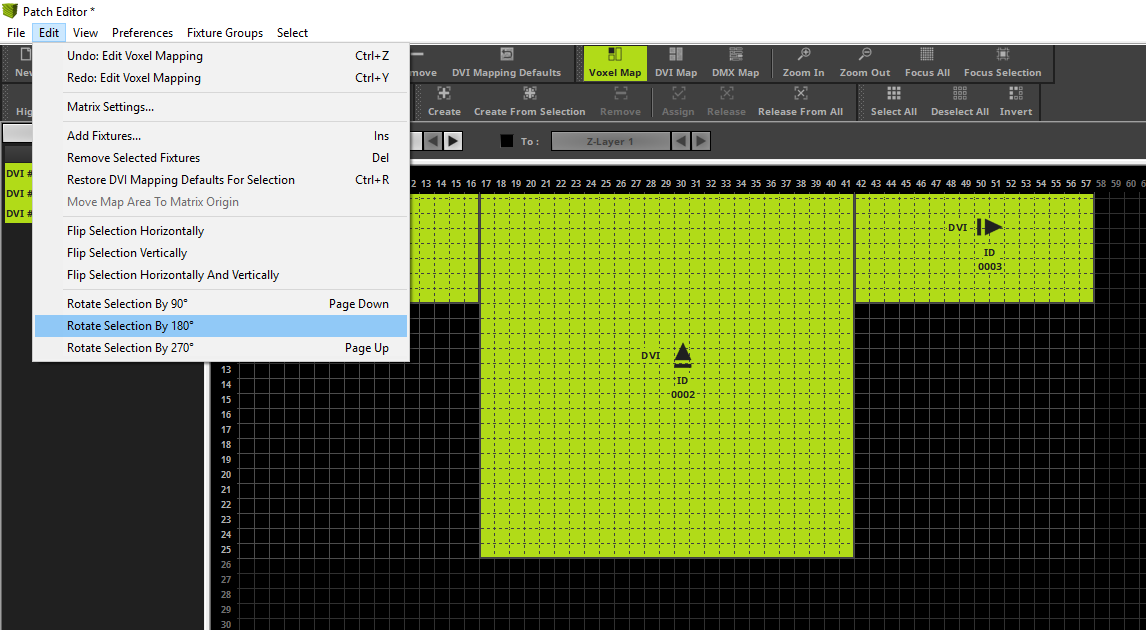
Now please go to Edit > Rotate Selection By 180°.
|
11. |
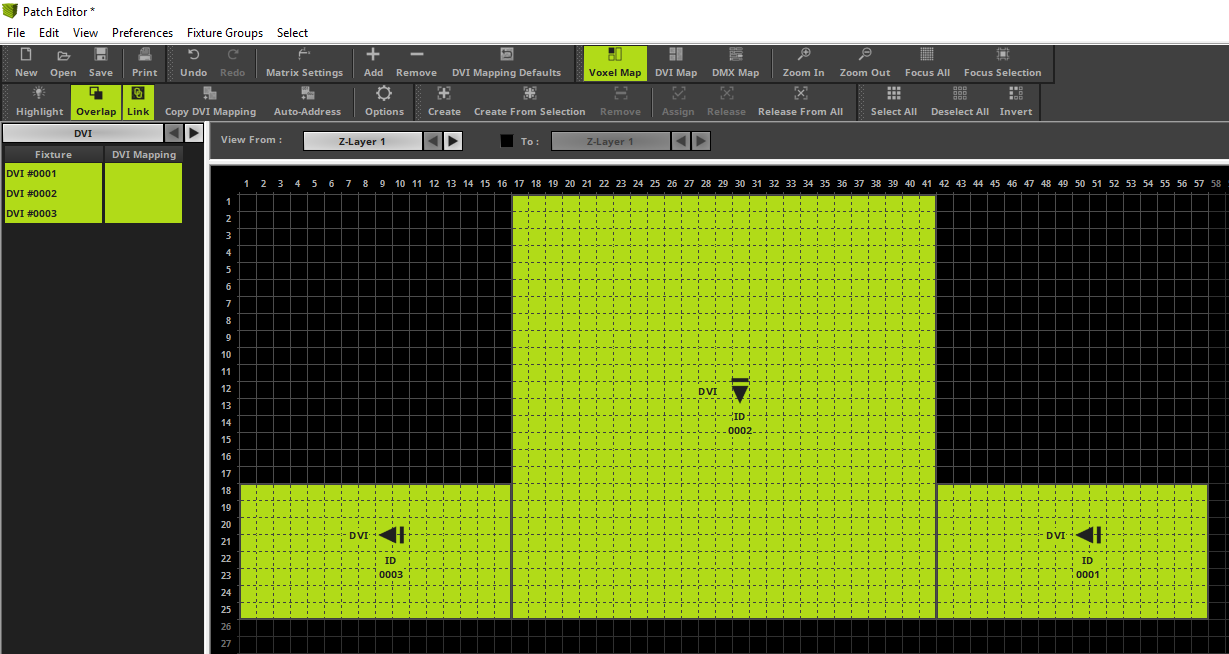
Now we can see all selected fixtures are rotated by 180° clockwise around the common center .
|

Congratulations! You have successfully learned the different ways how to rotate fixtures MADRIX 5.