In this tutorial you will learn how to use tiling for Effect Layers in MADRIX 5.
Date: 06/2021
MADRIX Version: 5.4b (Created with)
Corresponding Video Tutorial: »Tiling Of Effect Layers
Note:
•In this tutorial we will work with the previous created MADRIX patch of the tutorial: »2D Patch With The Matrix Generator For DVI Output.
•With the help of tiling MADRIX is able to repeat or mirror the content of the effect layer.
Task:
The effect SCE Wave / Radial with a Diamond shape and a Width of 30 should be repeated 4 times and mirrored horizontally and vertically.
1. |
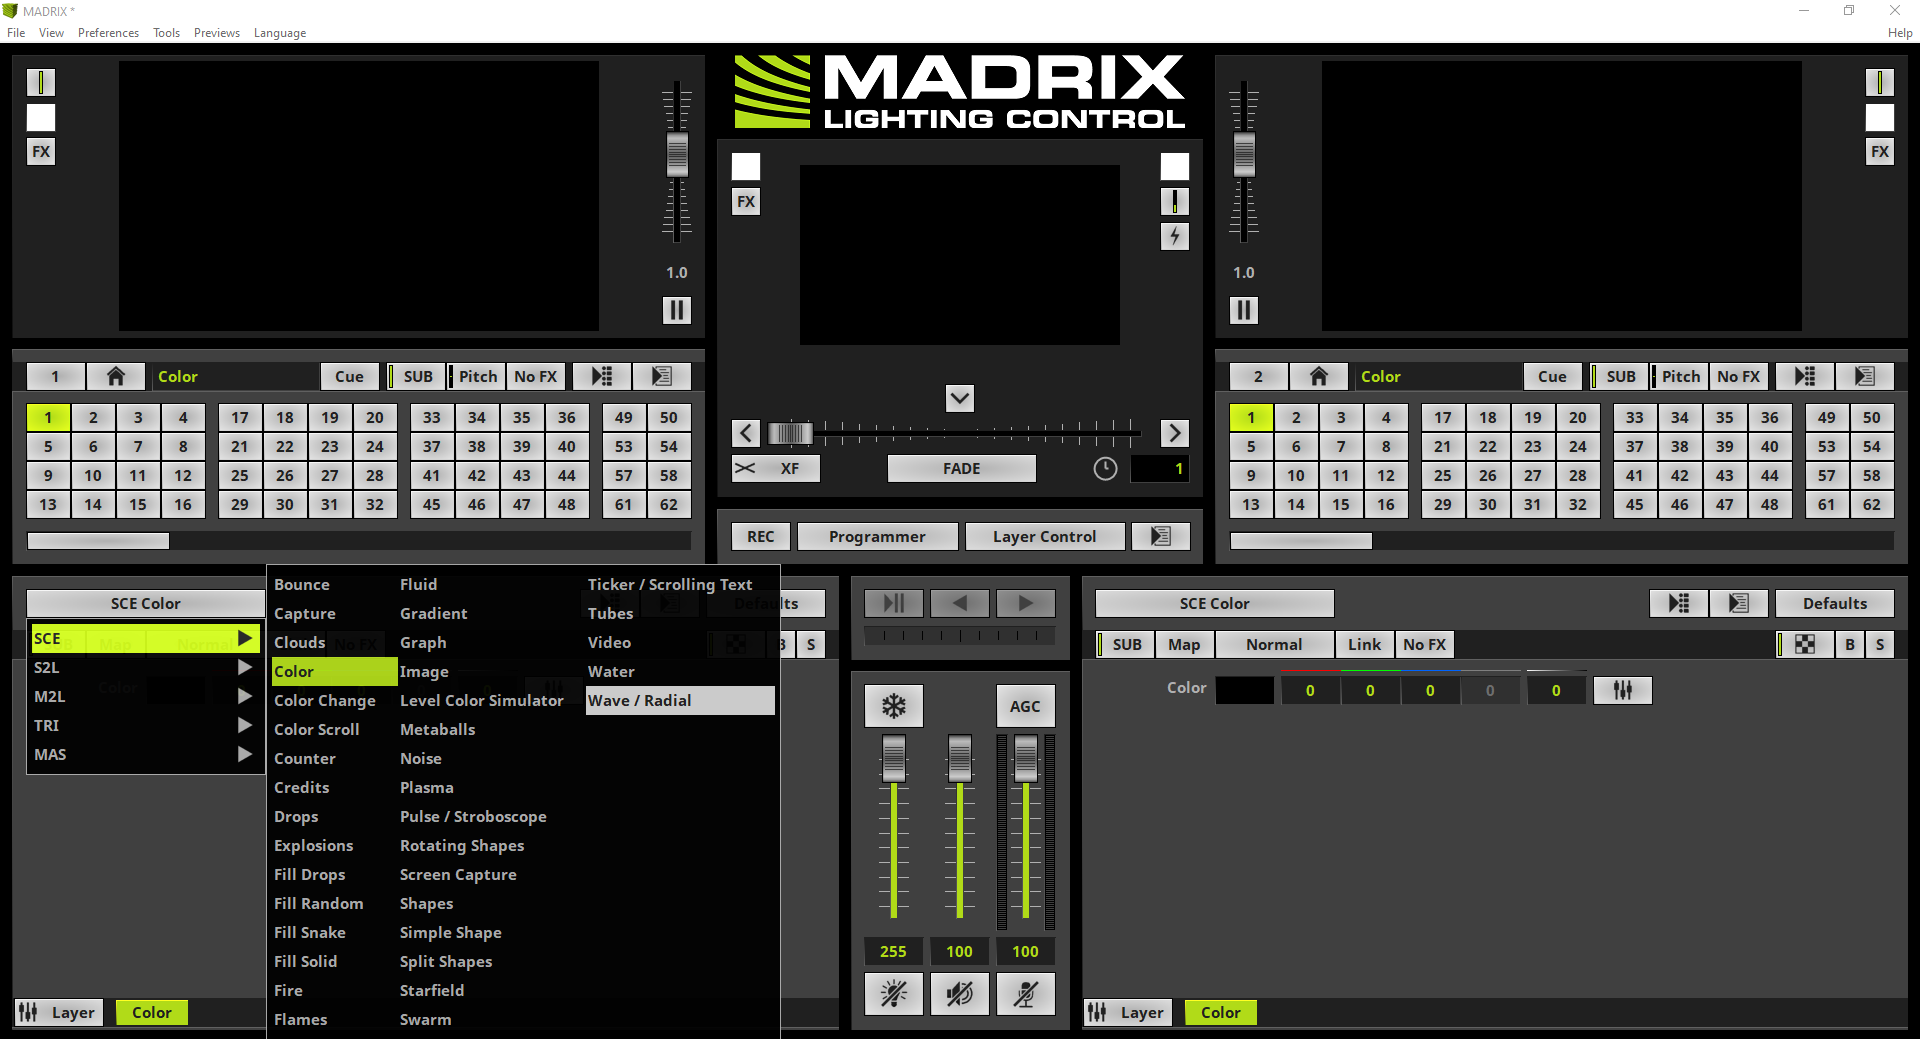
After we load the created patch of the tutorial: »2D Patch With The Matrix Generator For DVI Output we will change the effect to SCE Wave / Radial.
|
2. |
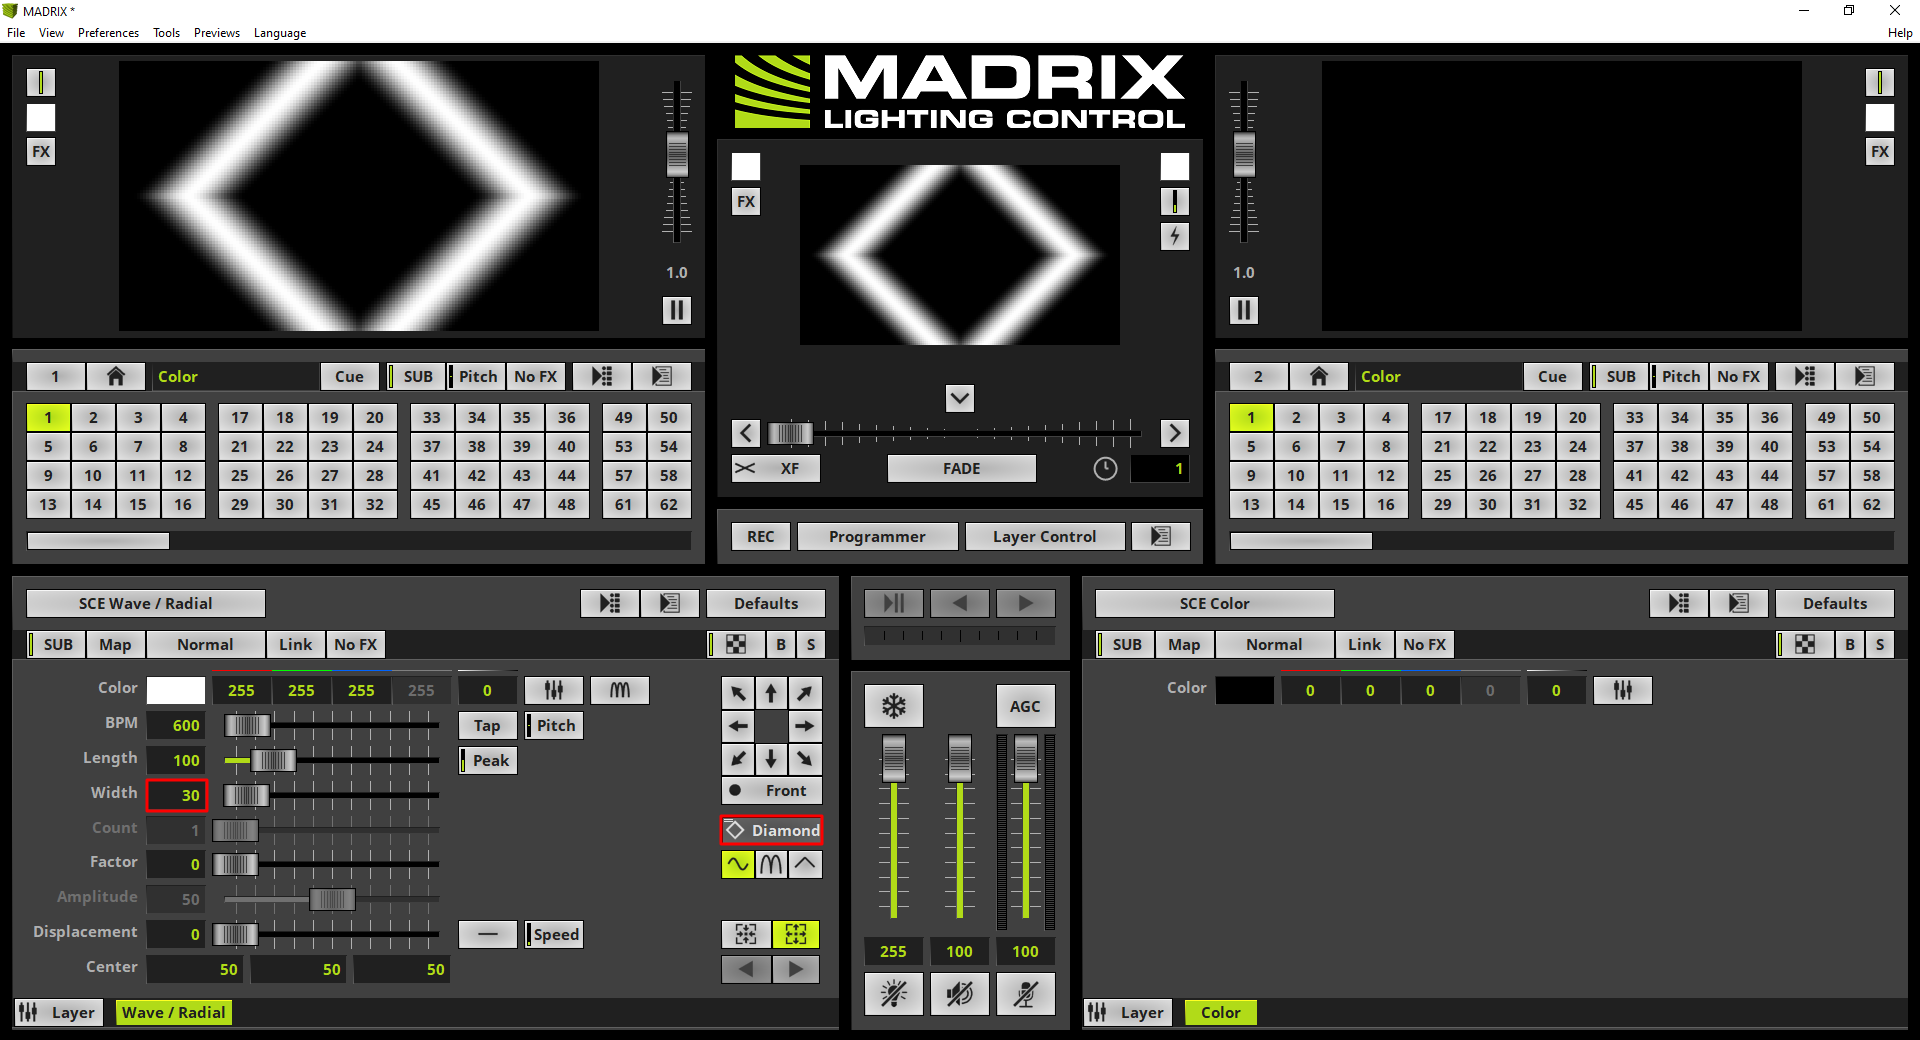
In this step we change the effect settings according to our task. •Width should be set to 30 •Shape type should be changed to Diamond.
We don't need to change the other effect parameter in this tutorial. If you want to learn more about the SCE Wave / Radial, please have a look to the manual chapter: »SCE Wave / Radial Effect.
|
3. |
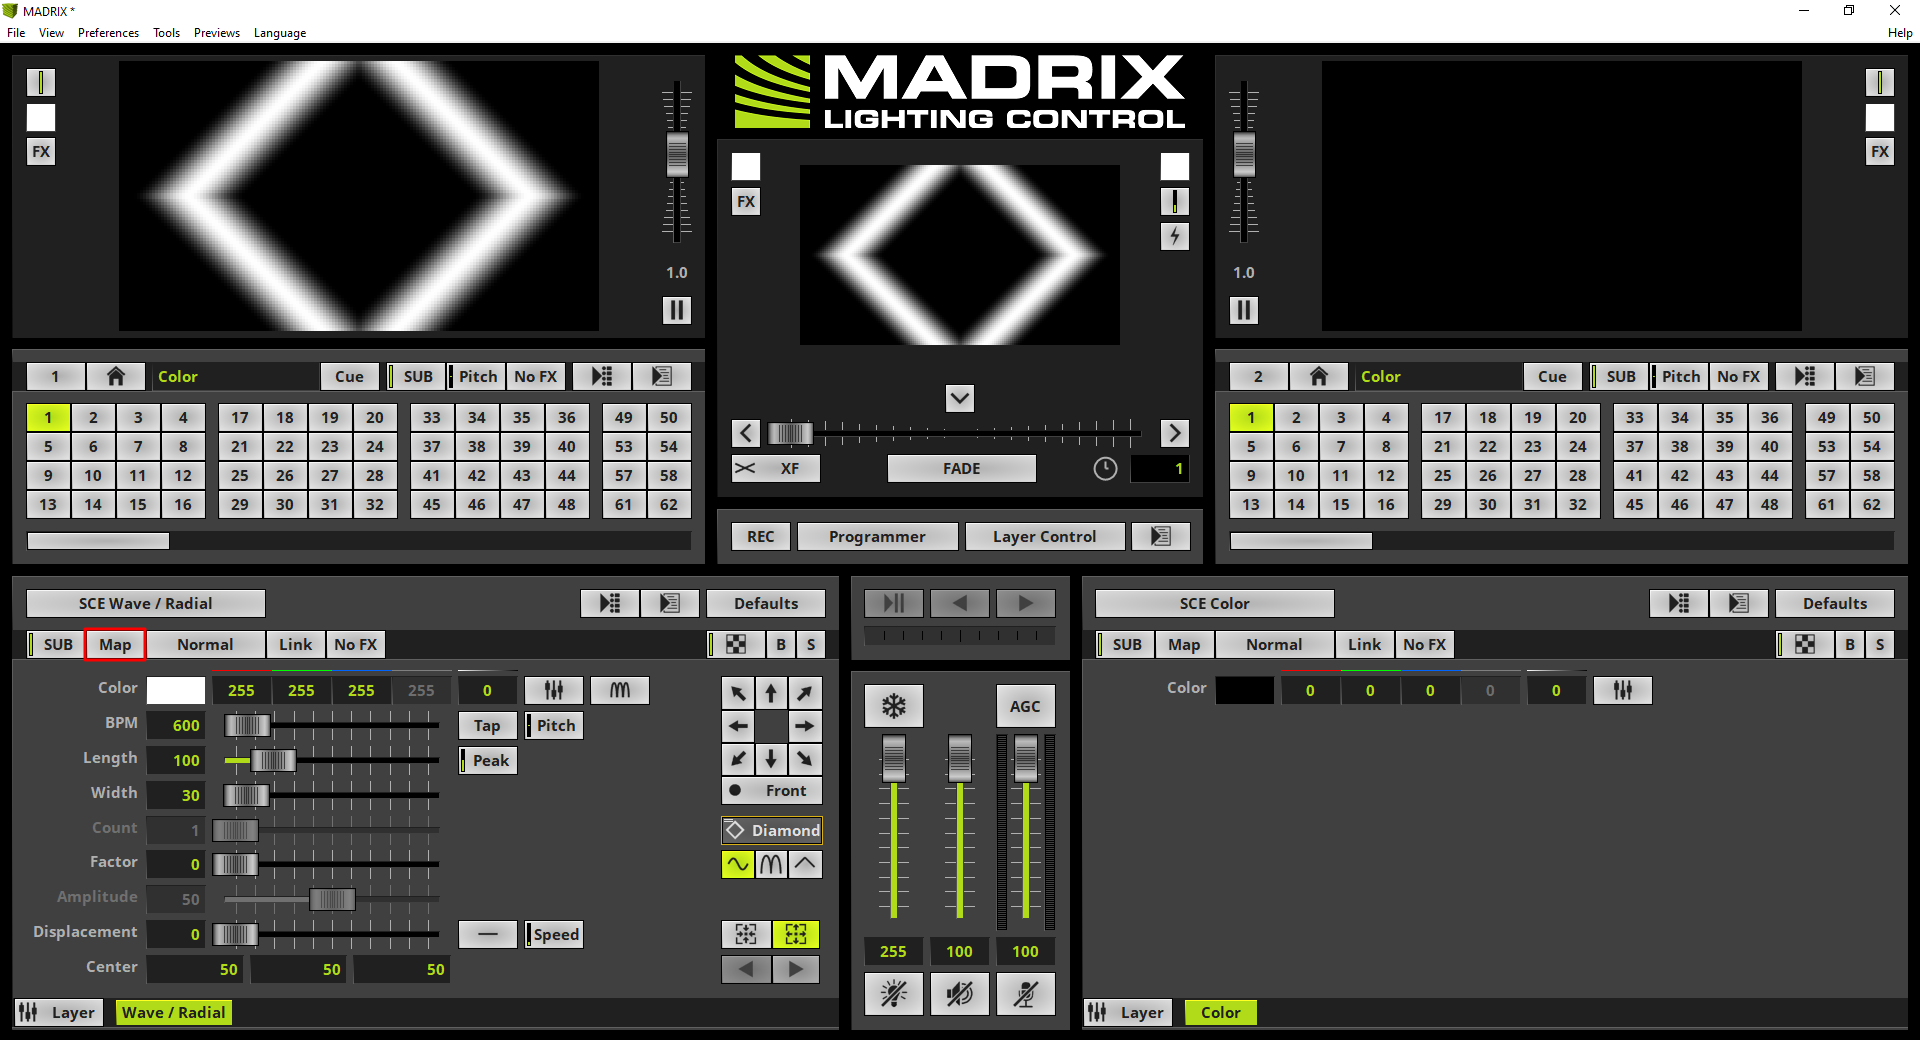
Now we will open the Map Settings window to set up the Tile settings. Therefore we click the Map button at the effect section of MADRIX. Pay attention: Please double check if the values of the Map Settings are displayed in Pixels or %. In this tutorial we will work with Pixel values. The representation can be changed in the middle of the Map Settings window.
|
4. |
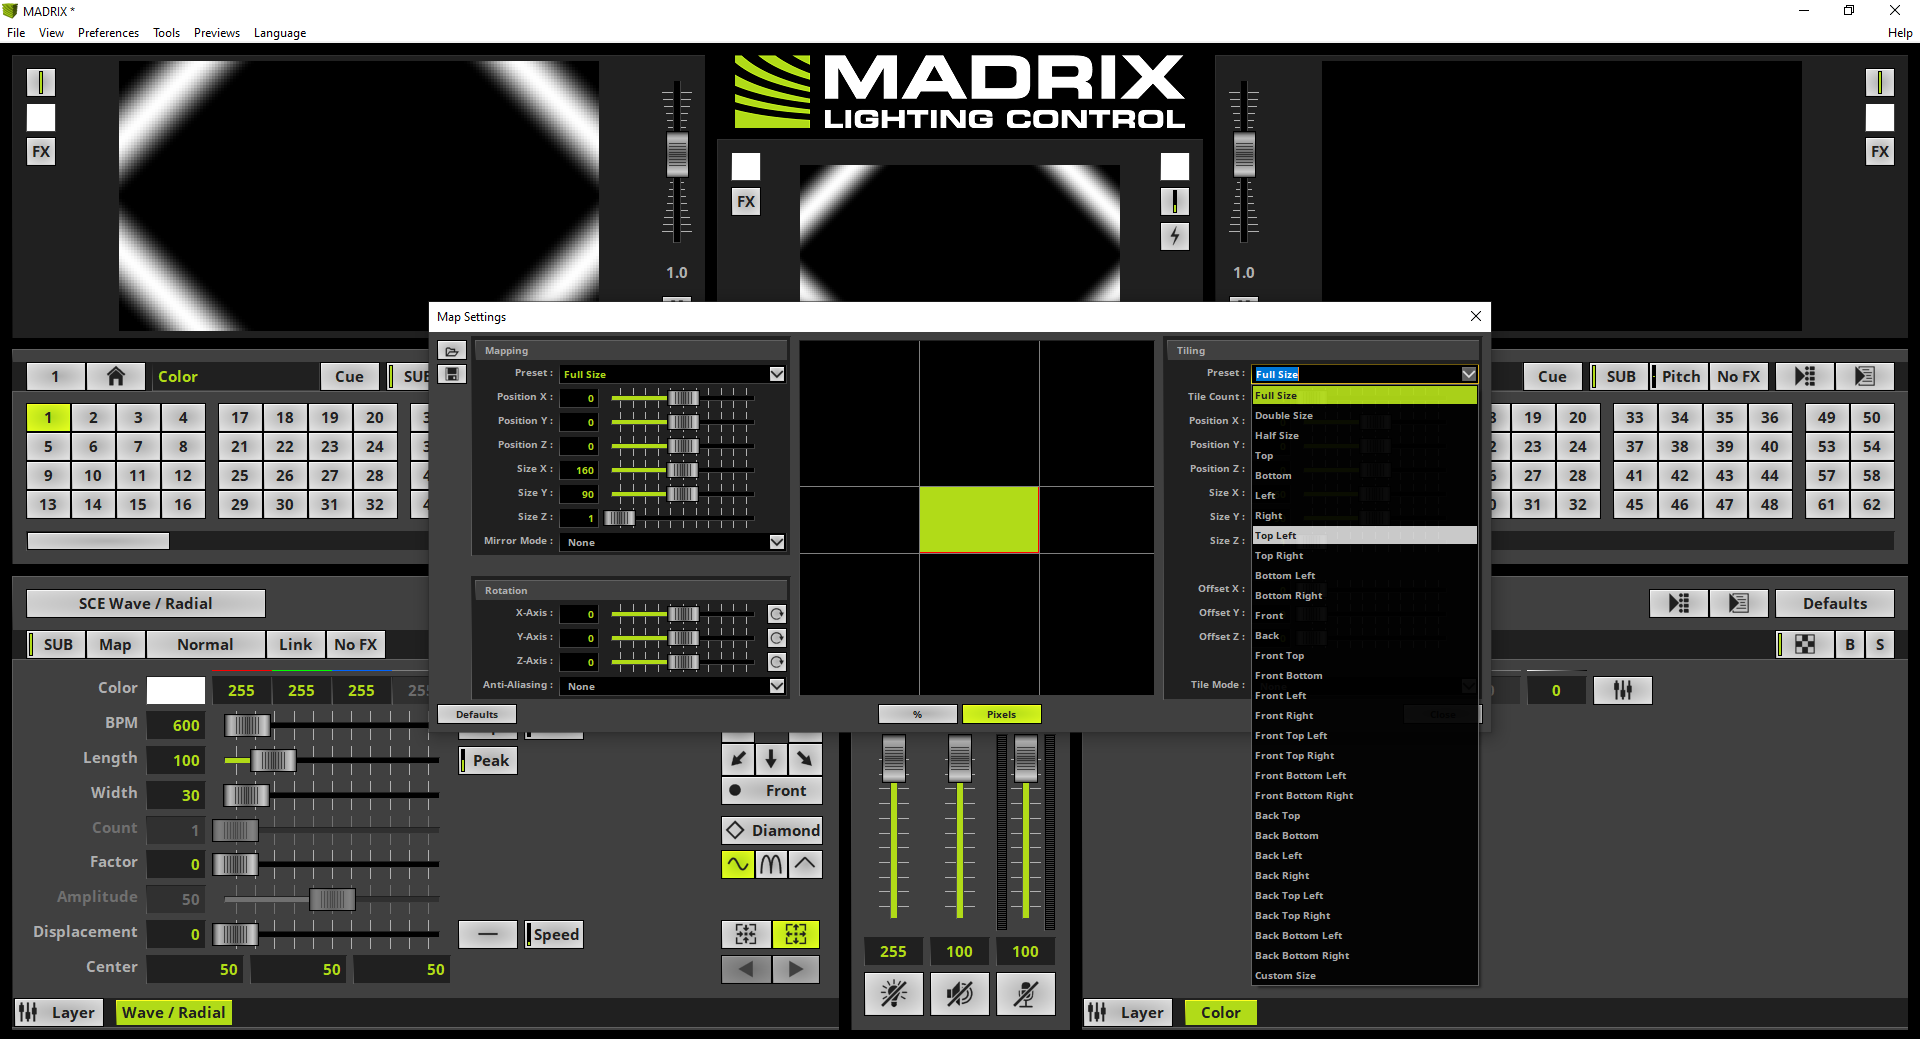
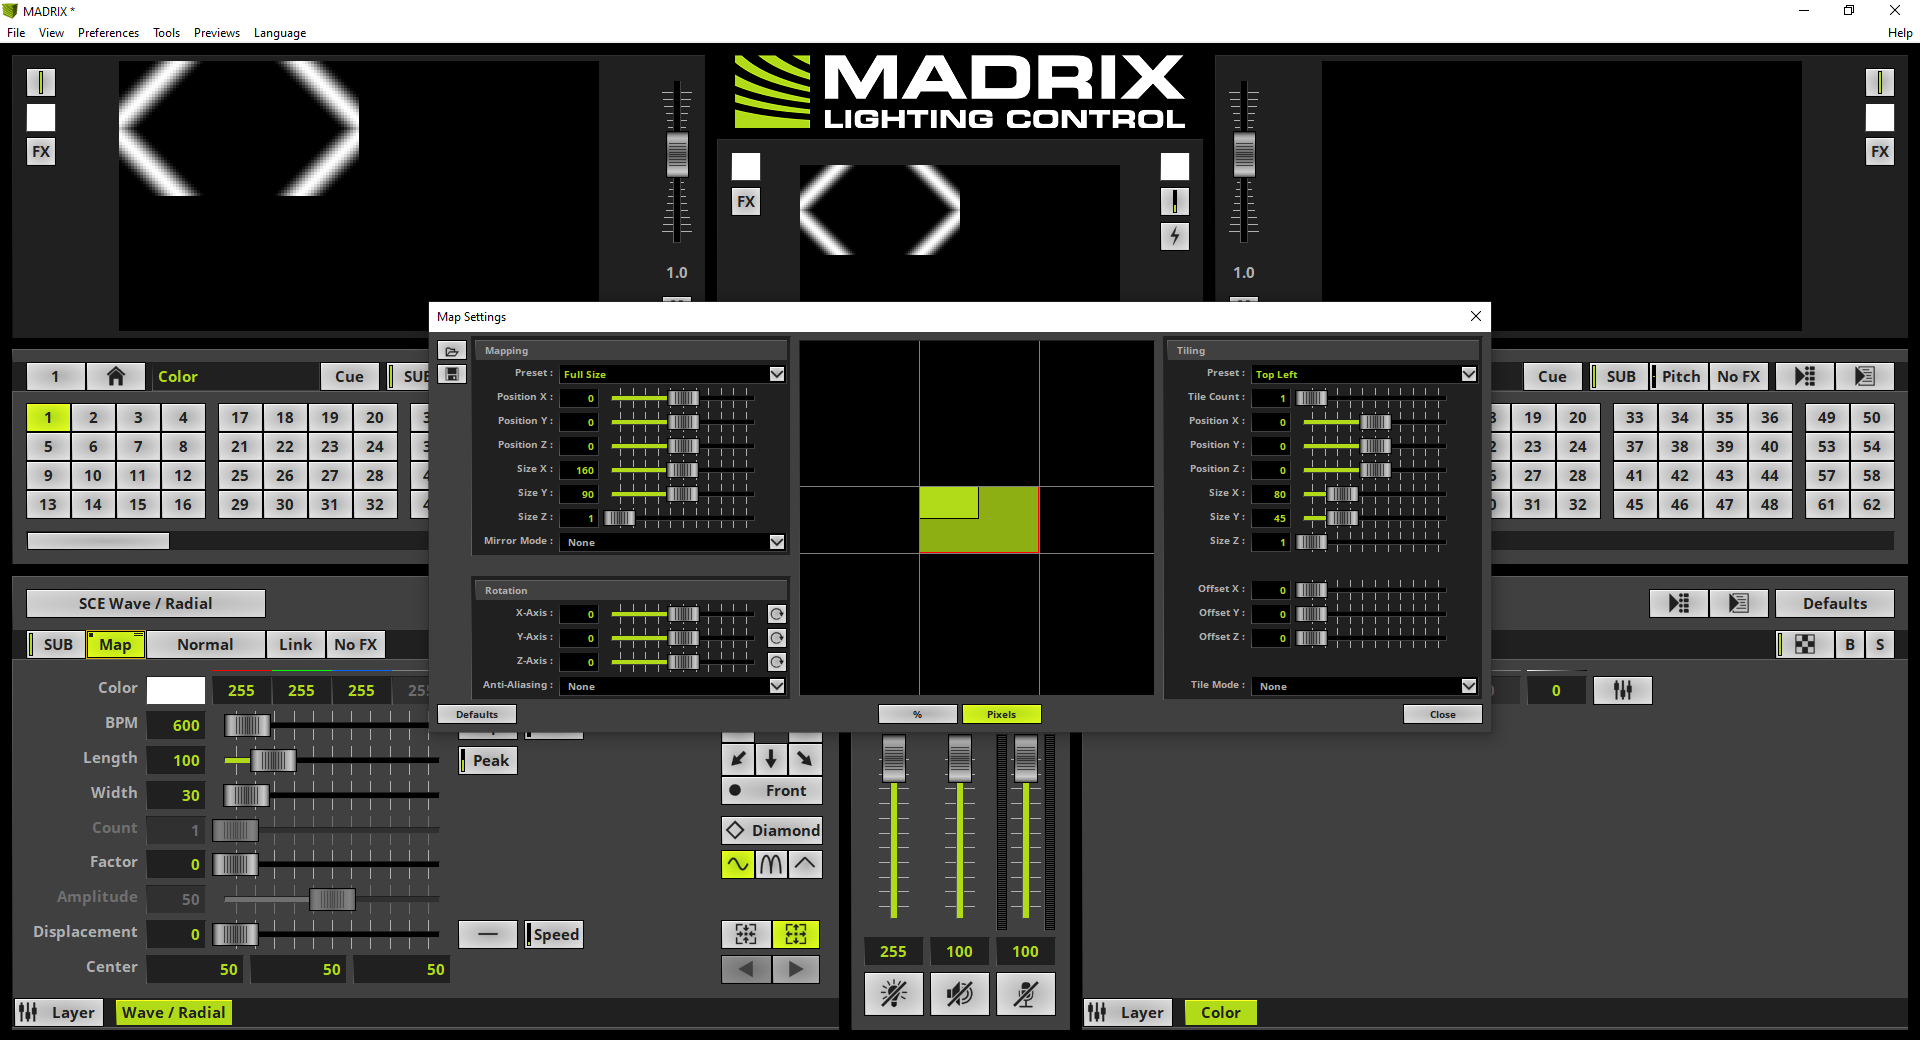
On the right side of the Map Settings window we will find the Tiling section. According to our task we have to tile it into 4 sections. Therefor we can use the Preset Top Left at the Tiling section.
|
5. |
After enabling the Preset Top Left we can figure out the current effect is running only to a quarter of the full patch.
|
6. |
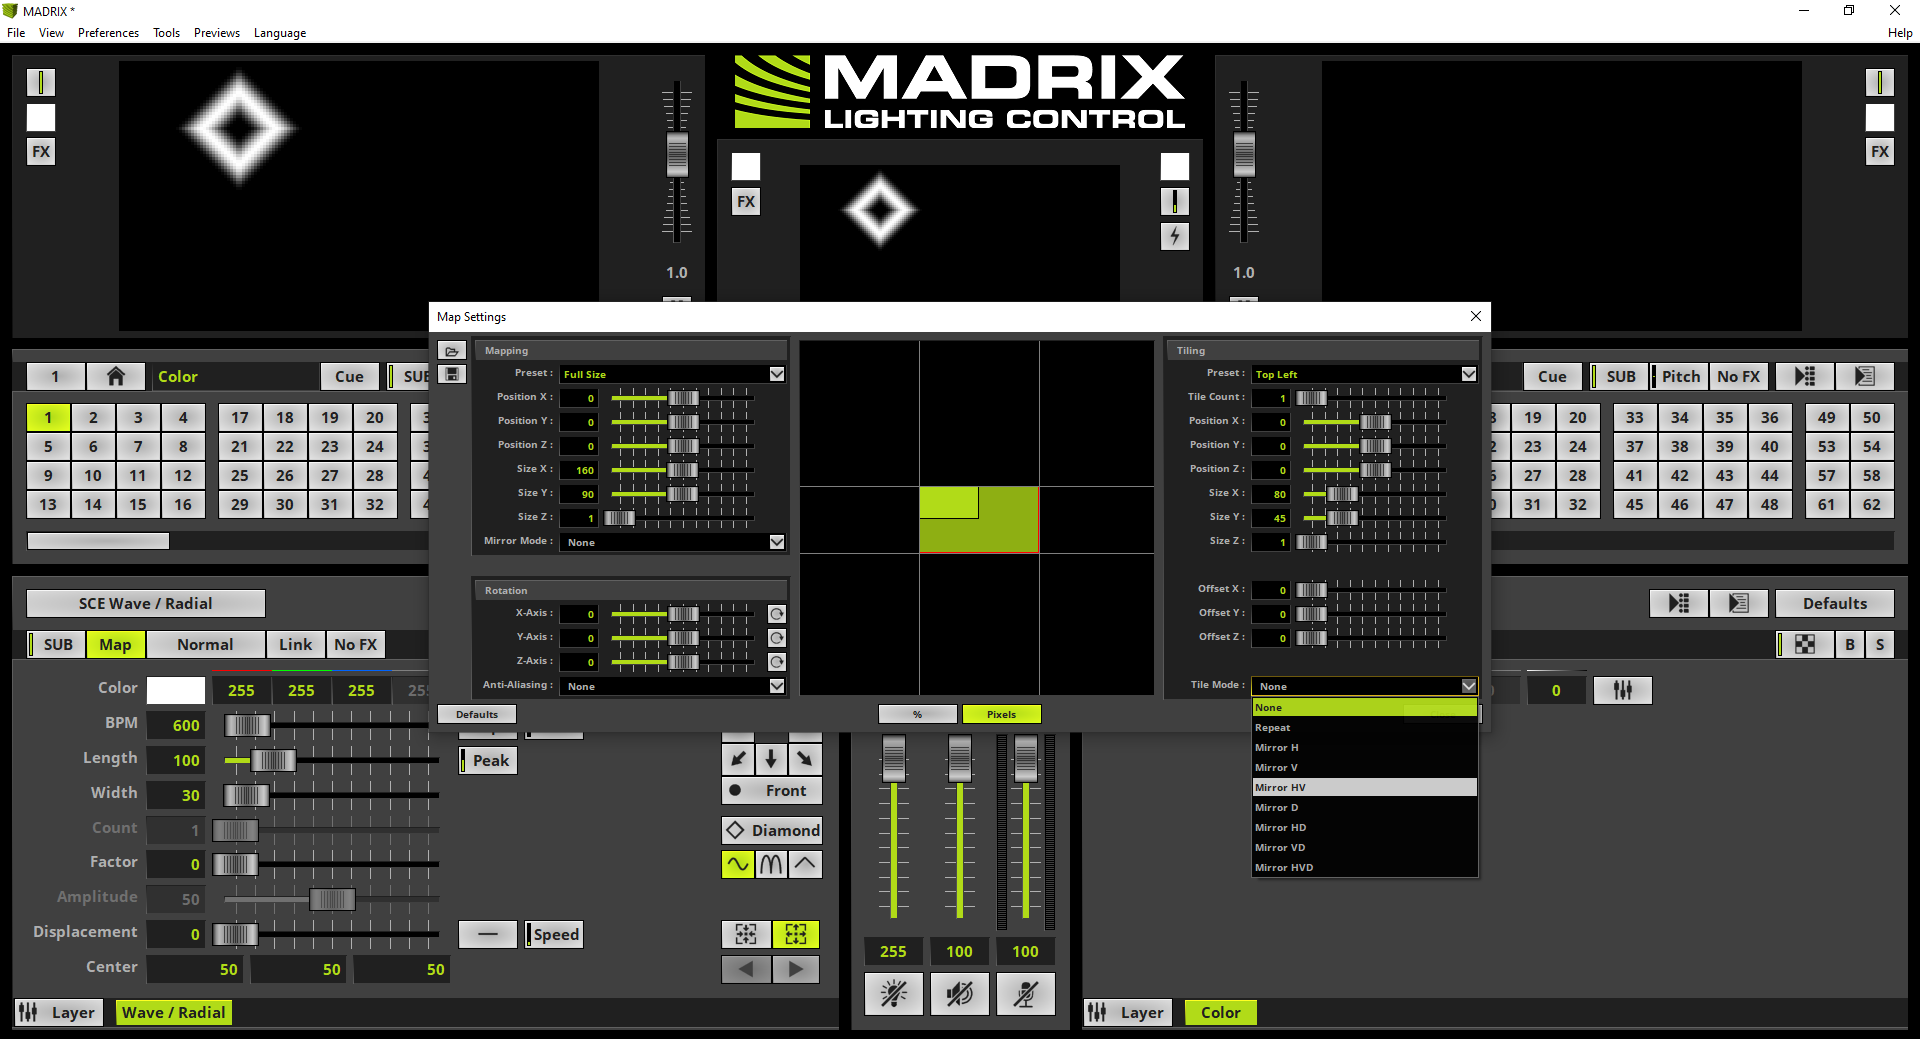
In our task we have to mirror the tiles vertically and horizontally. To enable this Tile Mode we select Mirror HV in the context menu.
|
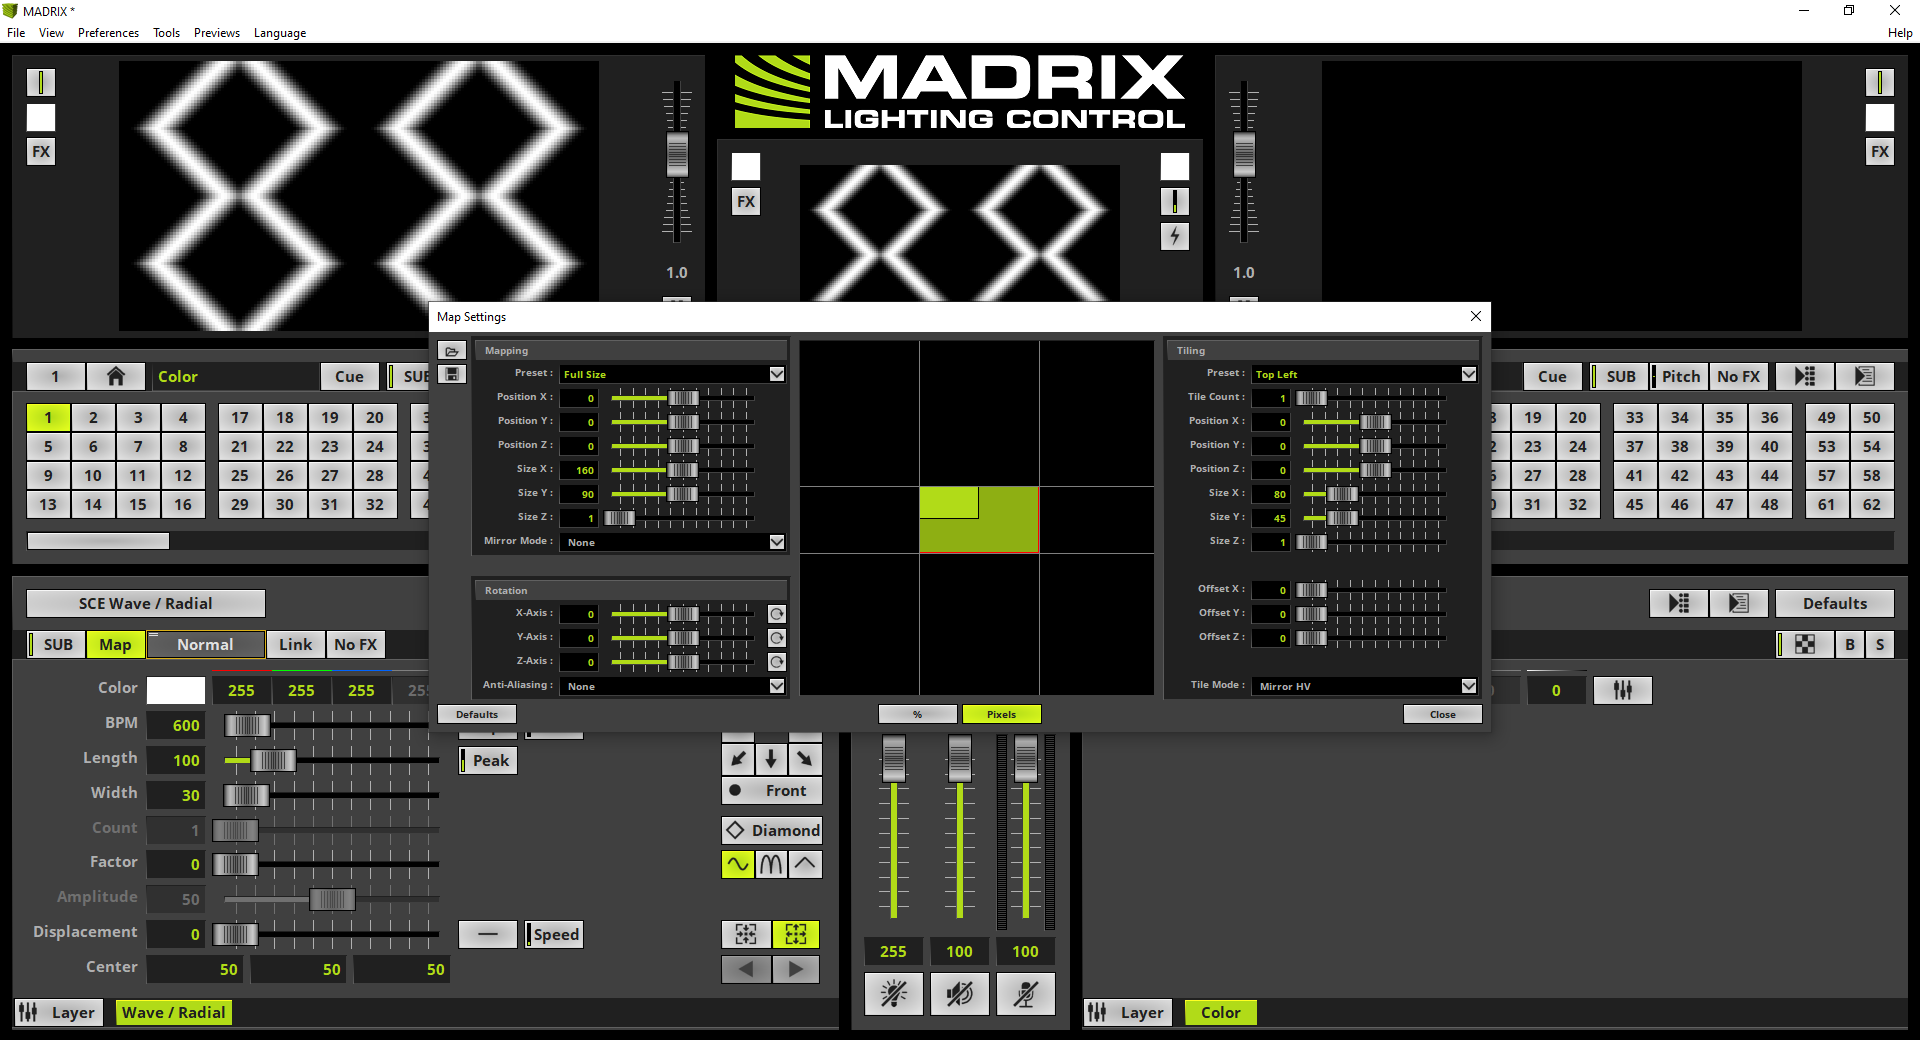
7. |
The SCE Wave / Radial effect will now be displayed tiled and mirrored in 4 different parts and we can close the Map Settings window.
|
Congratulations! You have successfully learned how to work with Tiling in MADRIX 5.