In this tutorial, you will learn how you can control MADRIX PLEXUS remotely in Stand-Alone Mode using DMX-IN.
Date: 10/2014
PLEXUS Firmware Version: 1.8.5168 (Created with)
1. |
Please connect MADRIX PLEXUS to power. |
2. |
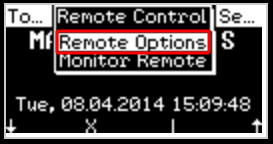
Press OK and navigate to the menu Remote Control > Remote Options
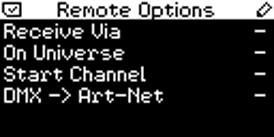
Open the Remote Options submenu by pressing the OK key.
|
3. |
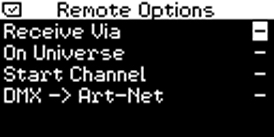
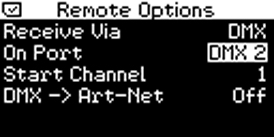
In this example, we want to change the value for Receive Via to DMX and the value for On Port to DMX 2.
You can change a value with help of the left and right arrow keys. After changing the value for Receive Via, please press the down key once and change the value for On Port by using the left and right arrow keys again. After setting these values, confirm the current settings by pressing the OK key. |
4. |
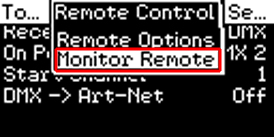
In this step, we want to test if the PLEXUS receives DMX data on DMX 2. In the PLEXUS menu, navigate to Remote Control > Monitor Remote and press the OK key. |
5. |
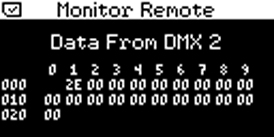
Now, you will see the Monitor Remote screen. If all the settings are correct and if you have connected a DMX sender to DMX 2, you will see the DMX input values on DMX 2.
|
Please Note: You can find an overview over all remote commands of MADRIX PLEXUS here: »Remote Commands
Congratulations! Now, you can control MADRIX PLEXUS remotely.
