In this tutorial, you will learn how you can connect a preprogrammed MIDI Controller to MADRIX.
Date: 09/2014
MADRIX Version: 3.3 (Created with)
For this example, we want to use the Numark NuVJ Controller. You can find a list of all preprogrammed MIDI controllers »here
Note: If your MIDI controller is on the list, please have a look at this tutorial »Creating A New MIDI Map For A MIDI Controller
1. |
Install the driver of your MIDI Controller according to the installation instructions of the controller's manual. |
2. |
Plug the MIDI controller into your PC. |
3. |
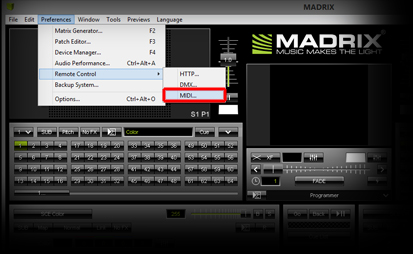
Start MADRIX and go to Preferences > Remote Control > MIDI...
Now, the Device Manager with an active the MIDI tab will be opened.
|
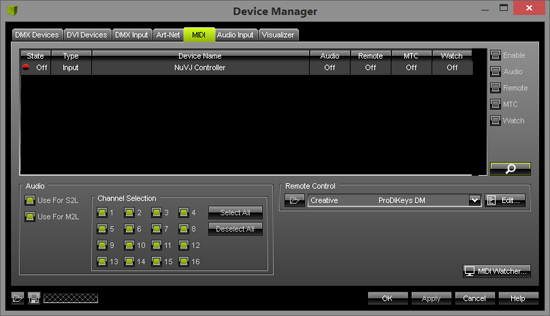
4. |
The device is still deactivated (Off; red light). We have to enable the MIDI controller and make it available for MIDI Remote. Therefore, select the device in the Device list, activate the Enable checkbox as well as the Remote checkbox on the right-hand side of the Device Manager.
|
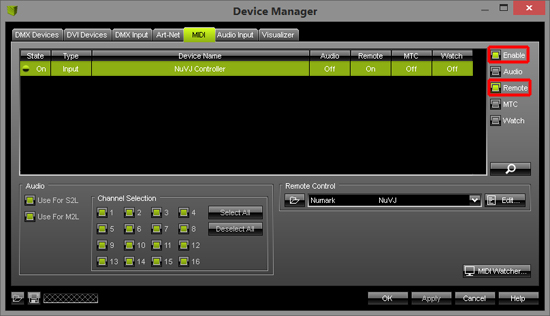
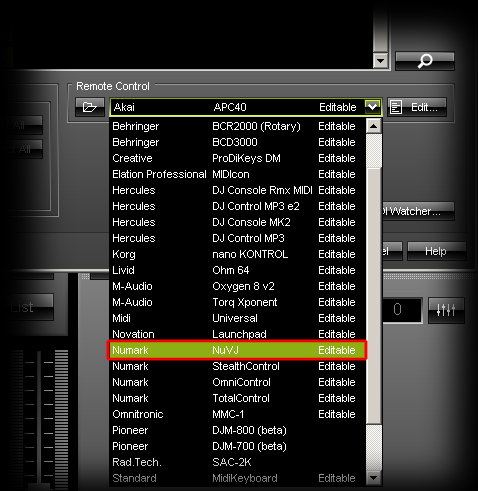
5. |
MADRIX will now interpret the input MIDI commands. But we will have to assign the correct MIDI controller configuration (MIDI Map). Go to the Remote Control section and click on the arrow on the right-hand side of the Edit field. In the drop-down menu, search for and select the connected MIDI controller. For this example, we will select Numark NuVJ
Click OK |
6. |
Now you can control MADRIX with the MIDI controller. If you want to change the assignment of keys of the controller, have a look to this tutorial »Changing The Predefined MIDI Map Of A MIDI Controller |
Congratulations! You have connected a preprogrammed MIDI controller to MADRIX.