This tutorial shows you how you can set the DMX universe assignment when using more than one Art-Net node together with MADRIX.
Date: 09/2014
MADRIX Version: 3.3 (Created with)
Note: Before you start to read this tutorial, it is recommended to work through the tutorial »Connecting MADRIX With An Art-Net Node
1. |
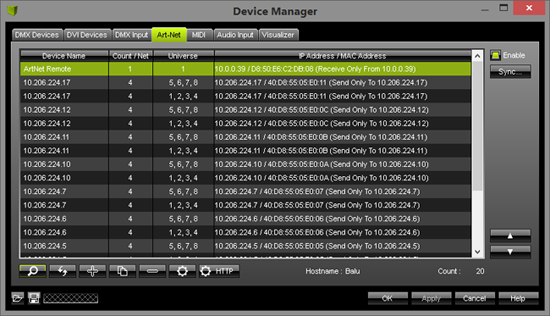
Start MADRIX. In this example, we have connected 9 MADRIX LUNA 8.
|
2. |
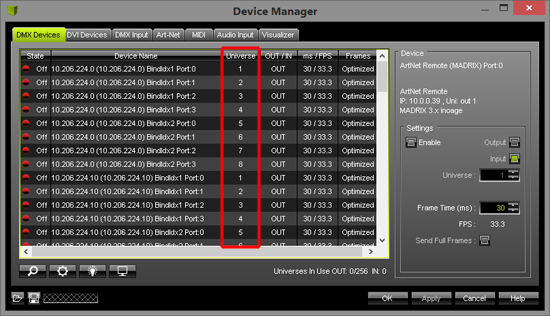
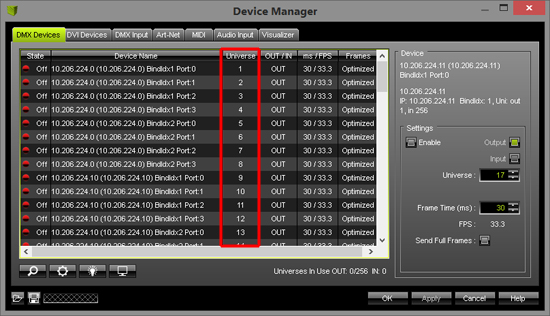
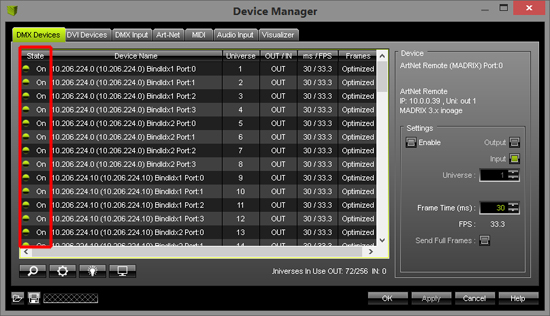
Please switch to the DMX Devices tab of the Device Manager and have a look at the column Universe. You will see that all connected 8-port MADRIX LUNA nodes are listed with their individual ports. They were automatically set to DMX universe 1 to 8.
|
3. |
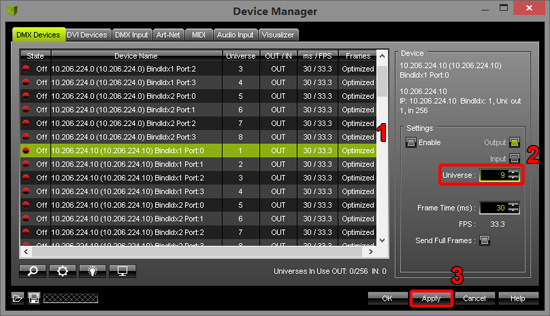
In our case, we want to set every port to a unique universe number. To do so, select the desired Port, change the Universe, and click Apply.
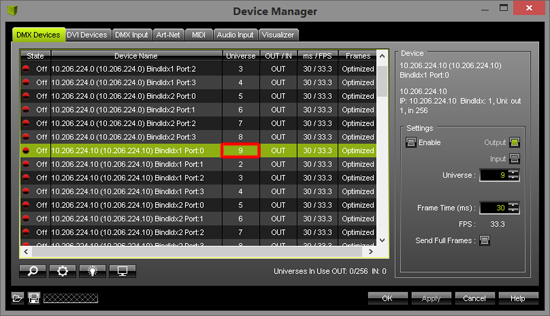
Note that the virtual DMX universe has been changed to 9.
|
4. |
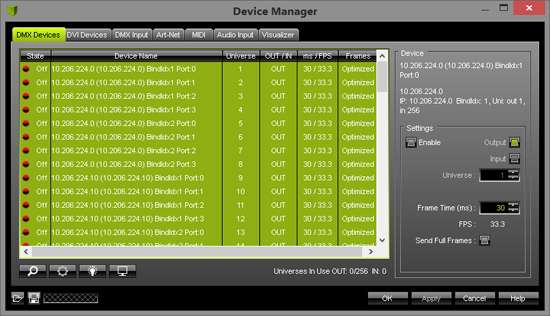
Repeat Step 3. for all devices and ports.
|
5. |
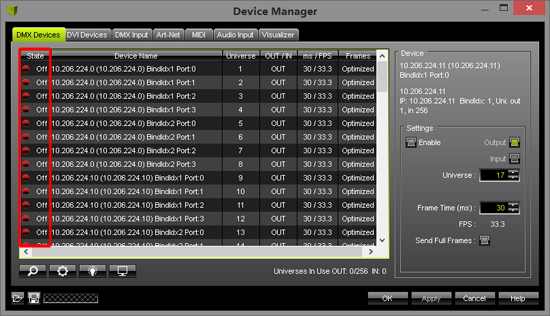
All ports are still set to Off. That means that no DMX data is being sent to this port right now.
To switch all ports to On, we will be selecting all ports first.
|
6. |
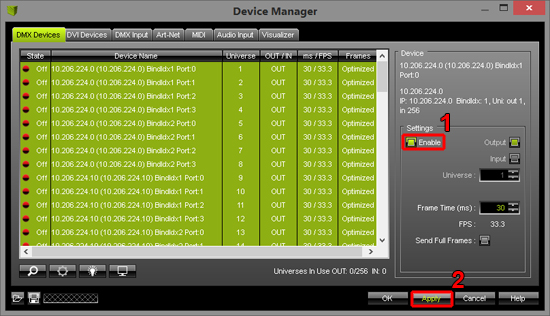
Activate all selected ports by clicking the Enable checkbox. Confirm with Apply
Now, all selected ports are switched to On.
Note: The fixture assignment of the Patch Editor needs to align with the DMX universe assignment in the Device Manager. Set up MADRIX according to your requirements. In this example, data for DMX universe 9 will be sent to the node with the IP address 10.206.224.10, Port 0. |
Congratulations! You have successfully changed the virtual DMX universes assignment in MADRIX.