This topic includes:
▪Menu
In addition to the regular Event view, you can customize and set up if and how you would like to be notified in case of events.
When an event occurs, it is categorized, which in turn triggers the assigned actions.
[Alternatively, you can choose to leave the useful defaults as provided.]
By default, all events are shown in the Events view [except for category Validation].
First, learn more about »Events
▪Go to the menu Preferences > Event Configuration...
[Keyboard shortcut: Ctrl + Alt + E]
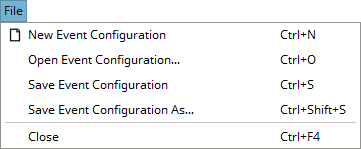
▪New Event Configuration - Resets any configuration of Actions, Categories, or Events that may have taken place and restores the default settings. All custom actions will be deleted and the event and category mappings will be reset.
[Keyboard shortcut: Ctrl + N]
▪Open Event Configuration... - Loads a previously saved Event Configuration file [of the file type *.revcx].
[Keyboard shortcut: Ctrl + O]
▪Save Event Configuration - Stores an Event Configuration in an external file [of the file type *.revcx] in order to preserve it.
- Sensible information [such as, user name, password, and command line commands] will be saved and encrypted with the Advanced Encryption Standard AES 256.
[Keyboard shortcut: Ctrl + S]
▪Save Event Configuration As... - Stores the Event Configuration as a separate, duplicate file. And allows you to choose a different name.
- Sensible information [such as, user name, password, and command line commands] will be saved and encrypted with the Advanced Encryption Standard AES 256.
[Keyboard shortcut: Ctrl + Shift + S]
▪Close - Closes the Event Configuration window.
[Keyboard shortcut: Ctrl + F4]
Overview
Actions allow you to define the kind of notification or action that should be triggered when an event occurred.
By default, events are always shown in the Events view [except category Validation].. Learn more »Events
|
Add Action - Creates a new action. |
|
Remove Action - Removes the currently selected action. [Select an action via the selection field to the right. See Select Action below.] |
|
Edit Action Label - Allows you to change the name of the action. |
|
Select Action - Allows you to choose which action configuration you would like to see or edit. |
Adding Actions
1] Click + to create a new action.
![]()
2] Choose which type of notification. Choose from E-Mail or Shell Script.
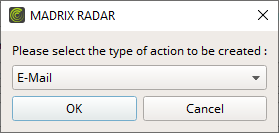
3] Configure the notification as shown below.
E-Mail Notifications
Allows you to let the software periodically send e-mail notifications to you automatically.
A message includes a text file [of the file type *.txt] in the attachment which contains all events that occurred.
You can choose to have messages sent only in case events were reported or always; even if no events occurred.
Configure all settings as described below.
First, choose an e-mail service provider:
▪Microsoft
▪Custom
Provider Microsoft
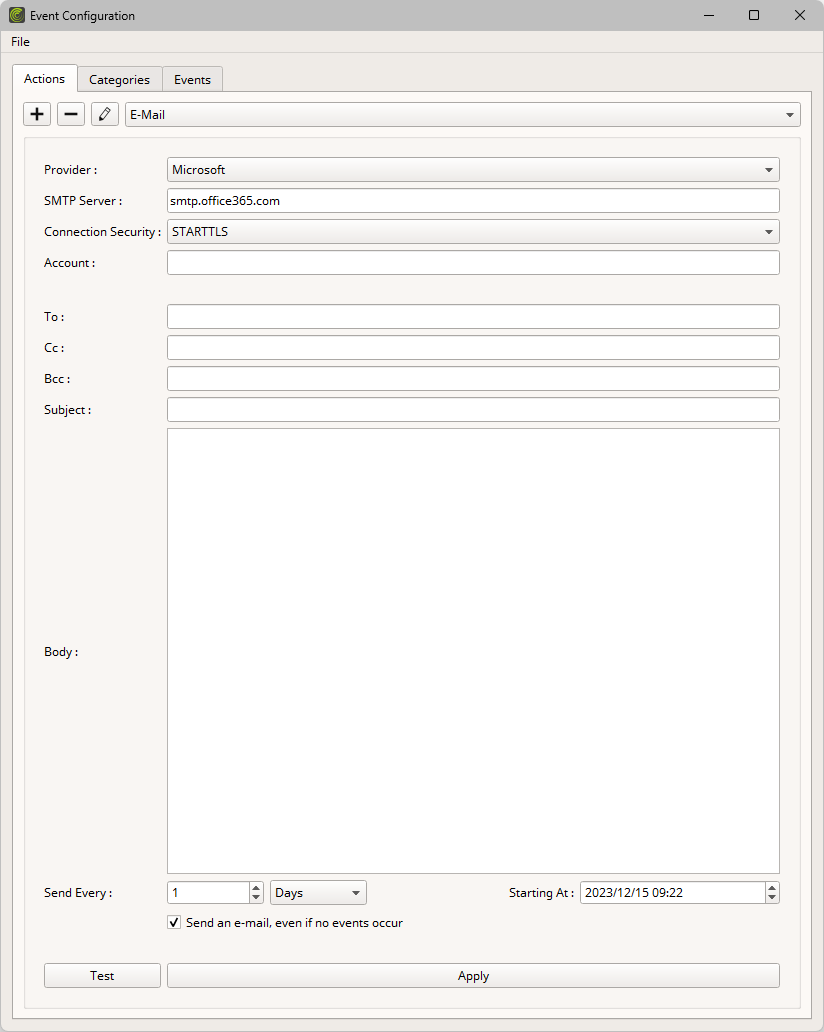
▪SMTP Server - Enter the e-mail server's address from which e-mails are sent.
- The default value is smtp.office365.com
▪Connection Security - Choose the used security setting of the SMTP server:
- No Encryption
- STARTTLS [default value]
- TLS
▪Account - Enter the e-mail address / account name of your Microsoft account.
▪To - Enter the e-mail address to which the automatic reports should be sent to [for example, receiver@company.com].
- Enter one e-mail address or enter several addresses and separate them via spaces [ ], commas [ , ], or semicolons [ ; ].
▪Cc - Enter the e-mail address to which the automatic reports should be sent to as a carbon copy [for example, receiver@company.com].
- Enter one e-mail address or enter several addresses and separate them via spaces [ ], commas [ , ], or semicolons [ ; ].
▪Bcc - Enter the e-mail address to which the automatic reports should be sent to as a blind carbon copy [that is, hidden] [for example, receiver@company.com].
- Enter one e-mail address or enter several addresses and separate them via spaces [ ], commas [ , ], or semicolons [ ; ].
▪Subject - Enter the subject line of the sent e-mail reports.
▪Body - Allows you to enter any additional text.
▪Send Every - Defines how often e-mail messages are sent. Enter any number and choose the time interval [Minutes, Hours, Days, Weeks, Months].
- Valid values range from 1 minute to 12 months. The default value is 1 day.
- Starting At - Allows you to define the start date, when the software begins sending messages. Set up the date and time accordingly [YYYY/MM/DD HH:MM].
- If the date is set to a past point in time, one message will be sent retroactively.
- Send an e-mail, even if no events occur - Enable to still send the e-mail reports although no events can be reported. Disable to deactivate this functionality.
▪Test - Directly tries to send an e-mail [with the current settings] in order to test the functionality and server settings [without having to wait until an event occurs].
▪Make sure to confirm any changes with Apply
[See also below.]
Authorization
1] Once you apply your settings, your default web browser will open in order to authorize your Microsoft account.
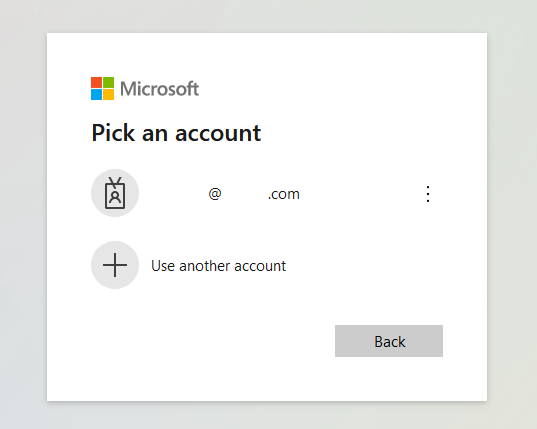
2] Select your Microsoft account and you will be asked for your account Password.
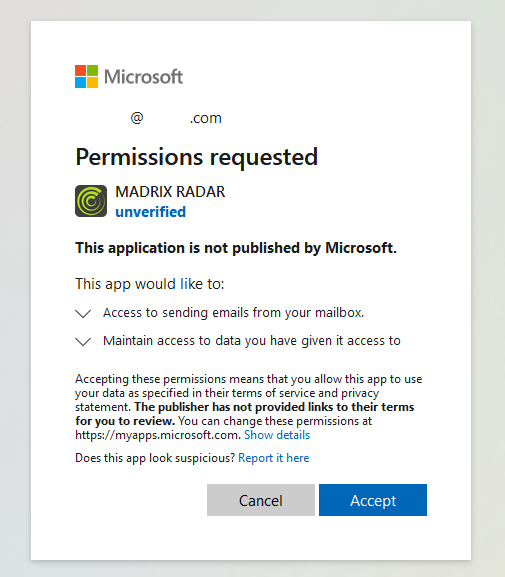
3] Once logged in successfully, permissions will be requested for MADRIX RADAR to access the functionality to send e-mails through your Microsoft account. Please choose Accept in order to proceed.
4] The web page will show the successful configuration. You may close the web page then.

5] You can send a test message by using the Test button.
Provider Custom

▪SMTP Server - Enter the e-mail server's address from which e-mails are sent.
▪Connection Security - Choose the used security setting of the SMTP server:
- No Encryption
- STARTTLS
- TLS [default value]
▪Account - Enter the account credentials.
▪Password - Enter the password for your account.
▪To - Enter the e-mail address to which the automatic reports should be sent to [for example, receiver@company.com].
- Enter one e-mail address or enter several addresses and separate them via spaces [ ], commas [ , ], or semicolons [ ; ].
▪Cc - Enter the e-mail address to which the automatic reports should be sent to as a carbon copy [for example, receiver@company.com].
- Enter one e-mail address or enter several addresses and separate them via spaces [ ], commas [ , ], or semicolons [ ; ].
▪Bcc - Enter the e-mail address to which the automatic reports should be sent to as a blind carbon copy [that is, hidden] [for example, receiver@company.com].
- Enter one e-mail address or enter several addresses and separate them via spaces [ ], commas [ , ], or semicolons [ ; ].
▪Subject - Enter the subject line of the sent e-mail reports.
▪Body - Allows you to enter any additional text.
▪Send Every - Defines how often e-mail messages are sent. Enter any number and choose the time interval [Minutes, Hours, Days, Weeks, Months].
- Valid values range from 1 minute to 12 months. The default value is 1 day.
- Starting At - Allows you to define the start date, when the software begins sending messages. Set up the date and time accordingly [YYYY/MM/DD HH:MM].
- If the date is set to a past point in time, one message will be sent retroactively.
- Send an e-mail, even if no events occur - Enable to still send the e-mail reports although no events can be reported. Disable to deactivate this functionality.
▪Test - Directly tries to send an e-mail [with the current settings] in order to test the functionality and server settings [without having to wait until an event occurs].
▪Make sure to confirm any changes with Apply
Shell Script Notifications
Overview
Allows you to execute commands in the PowerShell.
PowerShell is an integral tool of the Windows operating system for advanced scripting. It is already installed and available with Windows 10.
Configure all settings as described below.
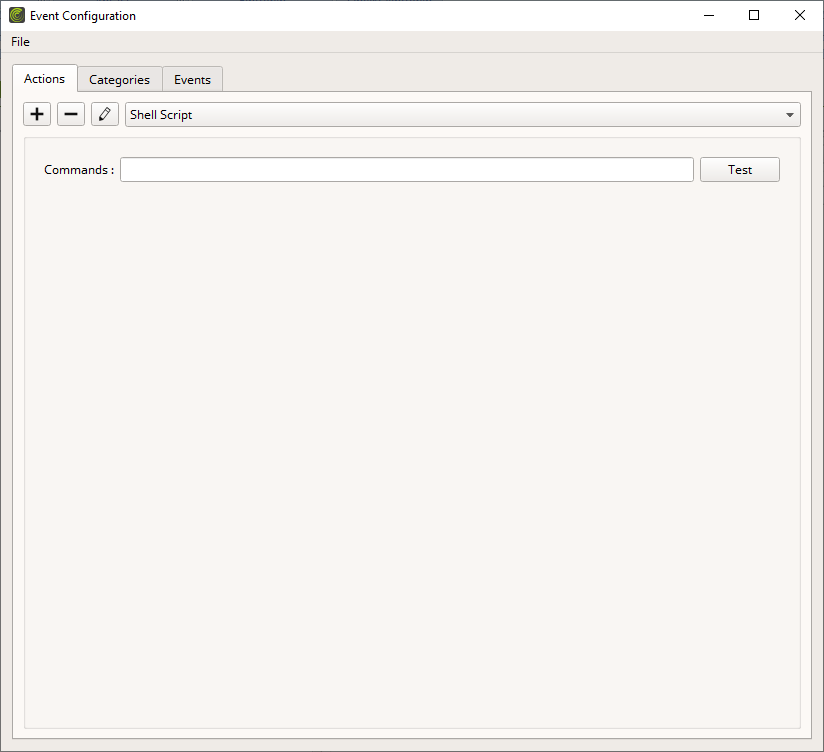
▪Commands - Enter the command which you would like to execute.
- See below for examples.
▪Test - Directly executes the entered command in order to test its functionality [without having to wait until an event occurs].
Command Examples
Executing Shell Scripts via the PowerShell provides numerous possibilities. Here are several examples on how to use these capabilities:
▪Let your computer make a short beep sound:
[console]::beep(1000,400)
▪Start another software application, such as MADRIX 5:
start-process -FilePath "C:\Program Files\MADRIX5\Madrix.exe"
[C:\Program Files\MADRIX5\Madrix.exe is the default installation directory. MADRIX 5, in turn, could for example automatically start a Cue List, run a script or macro, or control a lighting fixture as a status light.]
▪Start a batch file:
start-process -FilePath "C:\Test\MyTestFile.bat"
[C:\Test\MyTestFile.bat define the directory and specific file to launch. Batch files are scripting files that can start a more complex process or several tasks at once.]
▪Write into a text file:
"Alert" | Out-File C:\test\process.txt
[Alert is the string that is written into the file. C:\test\process.txt define the directory and specific file to write into. Directory and file need to exist before the functionality can be used. MADRIX 5 Script can read from text files, for example.]
▪Sending HTTP requests to MADRIX 5:
Invoke-webrequest -URI http://10.0.0.49/index.html?SetStorage=S1P5
[See the MADRIX 5 HTTP Remote Control Commands at »help.madrix.com for more information.]
▪Sending HTTP requests to MADRIX AURA:
Invoke-WebRequest -URI http://10.84.0.8/remote.cgi?Intensity
[See the MADRIX AURA User Manual at »help.madrix.com for more information.]
▪Combining several commands into a single HTTP request [for MADRIX 5 for example]:
Invoke-webrequest -URI http://10.0.0.49/index.html?SetAudioOutputMute=1"&"SetBlackout=1
[The & character needs to be embedded into "" regarding PowerShell scripting.]
Removing Actions
1] Select the action you wish to remove.
![]()
2] Click -
![]()
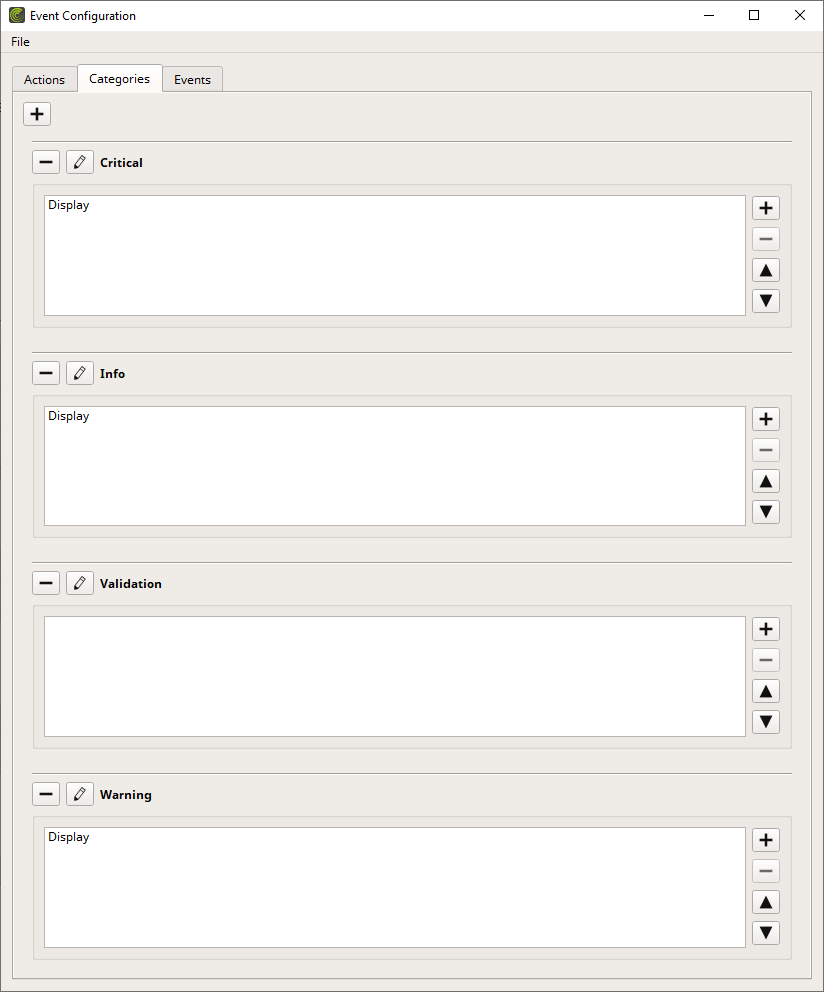
Overview
The Categories tab allows you to define different classes of events. This allows for more granular filtering and sorting [in the Events view, for example]. And you can set different notification settings [actions] for each category.
All categories are listed alphabetically.
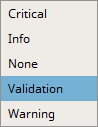
By default, 4 categories have been defined [Critical, Info, Validation, Warning].
Configure categories as described below.
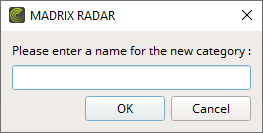
Adding A New Category
1] Click + in the upper left corner to create a new category.
![]()
2] Enter a name for the new category. Confirm with OK. Abort the process via Cancel.
Renaming A Category
1] Click Edit next to the category name you wish to rename.
![]()
2] Change the current label or enter a new name. Confirm with Enter. Abort the process with Cancel.

Removing A Category
1] Click - next to the category name you wish to remove.
![]()
2] Confirm with Yes. Abort the process via Cancel.
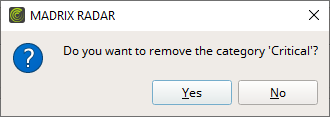
Please note: Any event that was assigned to a category that has now been removed is no longer assigned to a category.
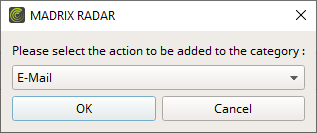
Assigning Actions [Notifications]
|
Assign Action - Assigns an action to the particular category.
|
|
Remove Assigned Action - Removes the currently selected action from the category again. Select the action first. |
|
Prioritize Assigned Action - Allows you to rearrange assigned actions. Actions will be processed consecutively. Actions higher in the list will be processed first. |
|
Deprioritize Assigned Action - Allows you to rearrange assigned actions. Actions will be processed consecutively. Actions lower in the list will be processed last. |
Overview
The Events tab allows you to assign events to the different categories.
When an event occurs, it is categorized, which in turn triggers the assigned actions.
All possible events are listed here.
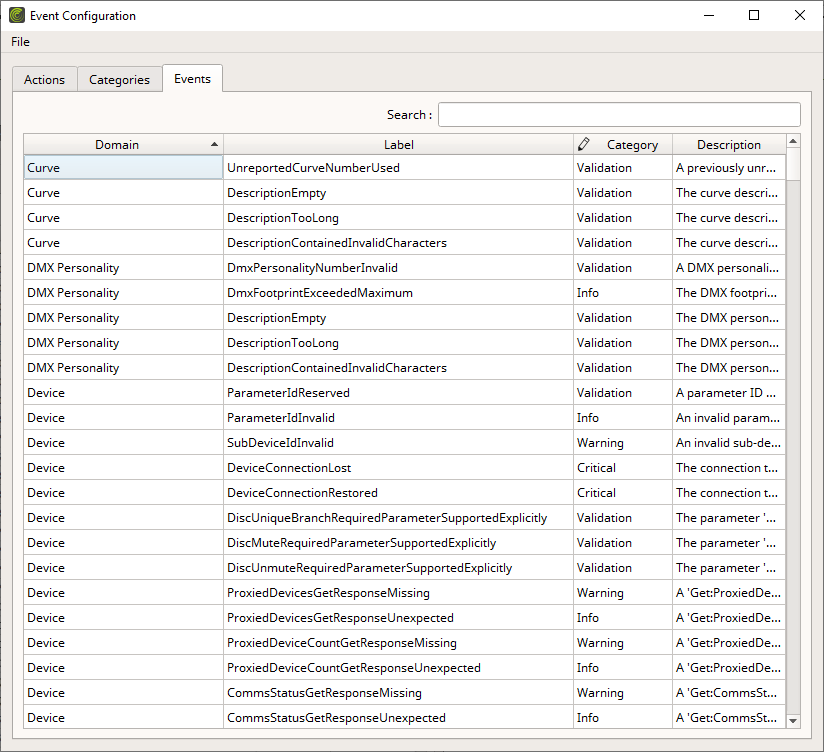
Domain |
Shows the type of events. |
Label |
Shows the description of each specific event. |
Category
|
Can be edited and allows you to assign each event to one of the categories you have defined. - Assign an event to a category [or leave the defaults]. |
Description |
Shows an in-depth explanation of the event. |

Context-Menu
▪Right Mouse Click - Perform a click with your right mouse button on an entry.

Copy Selected Cell To Clipboard |
Copies the currently selected cell [that is, single information] into the clipboard/temporary memory. [Keyboard shortcut: Ctrl + C] |
Copy Selected Rows To Clipboard |
Copies the currently selected line or lines [that is, all parameter information] into the clipboard/temporary memory. [Keyboard shortcut: Ctrl + Shift + C] |
Search

▪Search - Enter any text in order to search all parameters in the list.
- Any device/line that includes the search term will be shown. All others are temporarily filtered out.
- Terms can be case-insensitive. You don't have to use capital letters.
- Feel free to use terms that are incomplete. For example, mad will include results for MADRIX.
- You may specify certain columns by using a colon [:].
- For example: eve:max shows all lines that include events referring to maximums by referencing the column Event, for example.
Special Events
In order to monitor if the connection to RDM devices/sub-devices/fixtures has been lost, use the following events:
▪DeviceConnectionLost
[Indicating that the connection has been lost.]
▪DeviceConnectionRestored
[Indicating that the connection has been restored successfully.]
▪By default, these events are set to the Critical Category.
In order to monitor if the connection to interfaces has been lost, use the following events:
▪InterfaceConnectionLost
[Indicating that the connection has been lost. The average time it takes before such an event is registered is: 3 minutes.]
▪InterfaceConnectionRestored
[Indicating that the connection has been restored successfully.]
▪By default, these events are set to the Critical Category.
In order to monitor if the value of a specific sensor reaches below its minimum or above its maximum, use the following events:
▪SensorValueBelowTotalMinimum/SensorValueBelowNormalMinimum
▪SensorValueAboveTotalMaximum/SensorValueAboveNormalMaximum
▪By default, these events are set to the Critical Category.