In this tutorial you will learn how to work with background images in the MADRIX 5 Patch Editor.
Date: 08/2019
MADRIX Version: 5.1 (Created with)
Corresponding Video Tutorial: »Working With Background Images In The Patch Editor
Task:
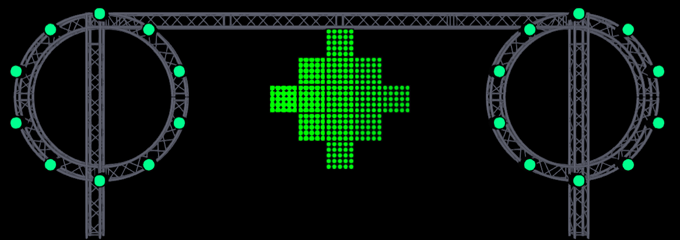
Now we have to create a patch for non regular shapes according to the image below. Today we are in the happy position to define the DMX addresses by our own.
1. |
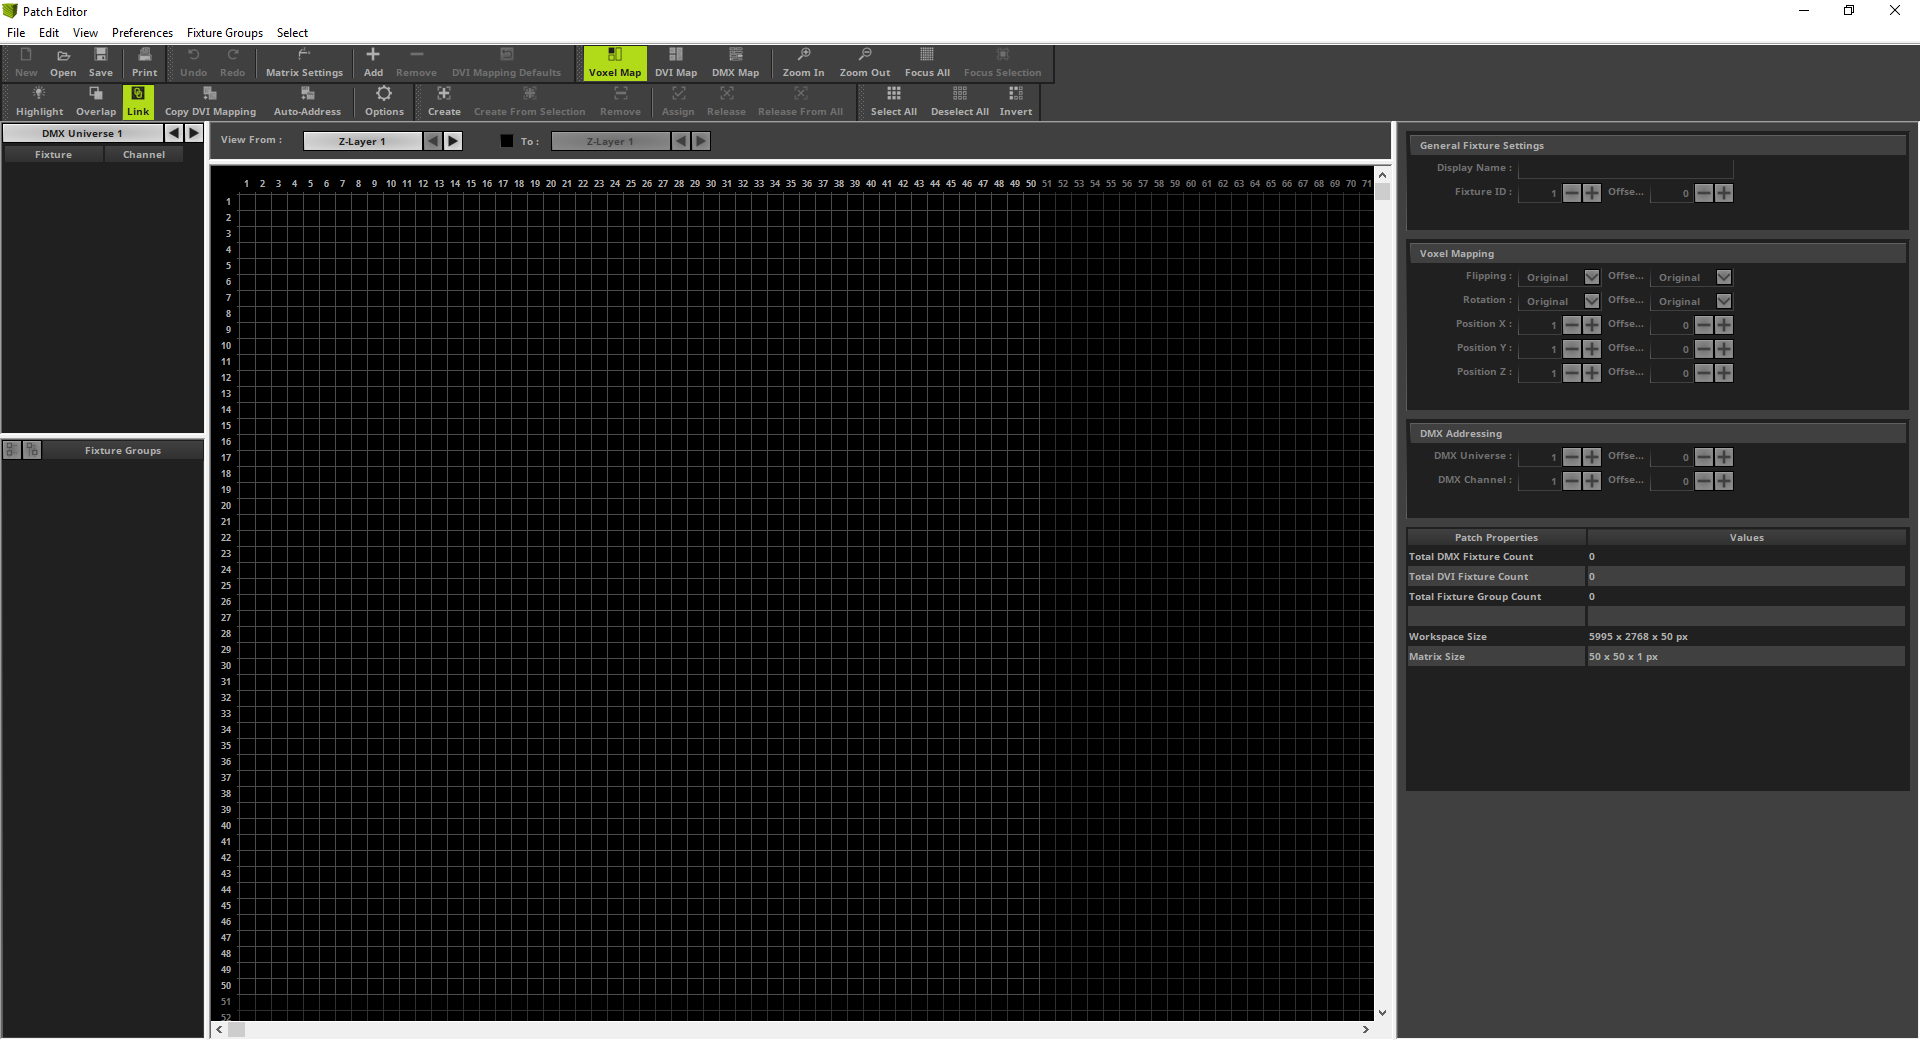
We will start with an empty patch. So please open the Patch Editor and create New patch. If you don't know how to create an empty patch in MADRIX 5, please have a look at the following tutorial:
|
2. |
With the help of the background image functionality of the Patch Editor in MADRIX 5 we can easily create a patch for this design.
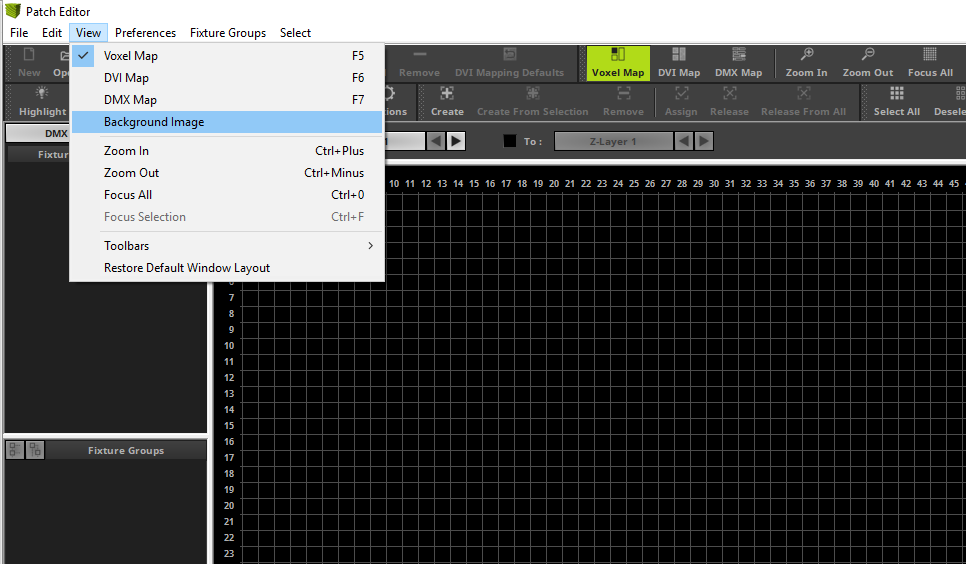
To add a background image in the Patch Editor of MADRIX 5 please go to View > Background Image.
|
3. |
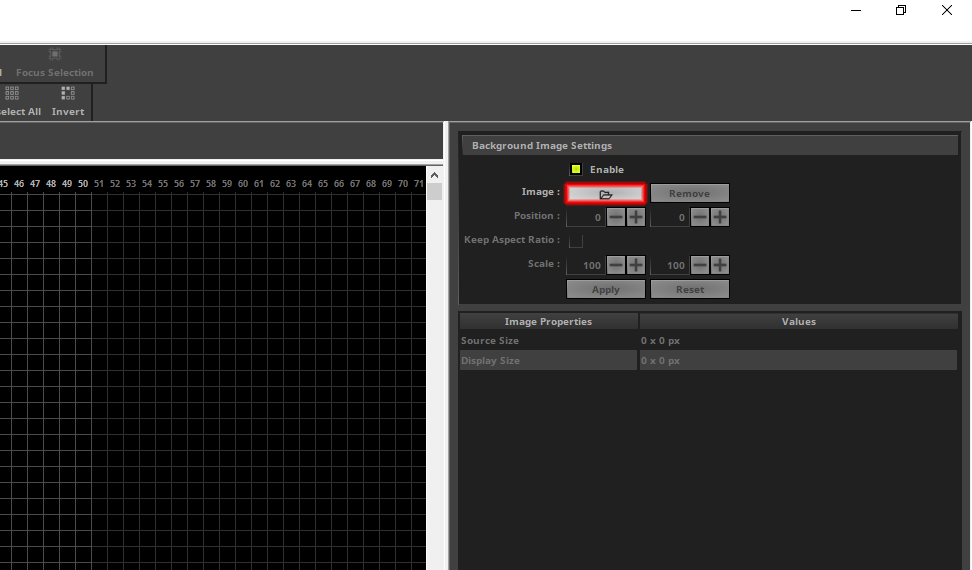
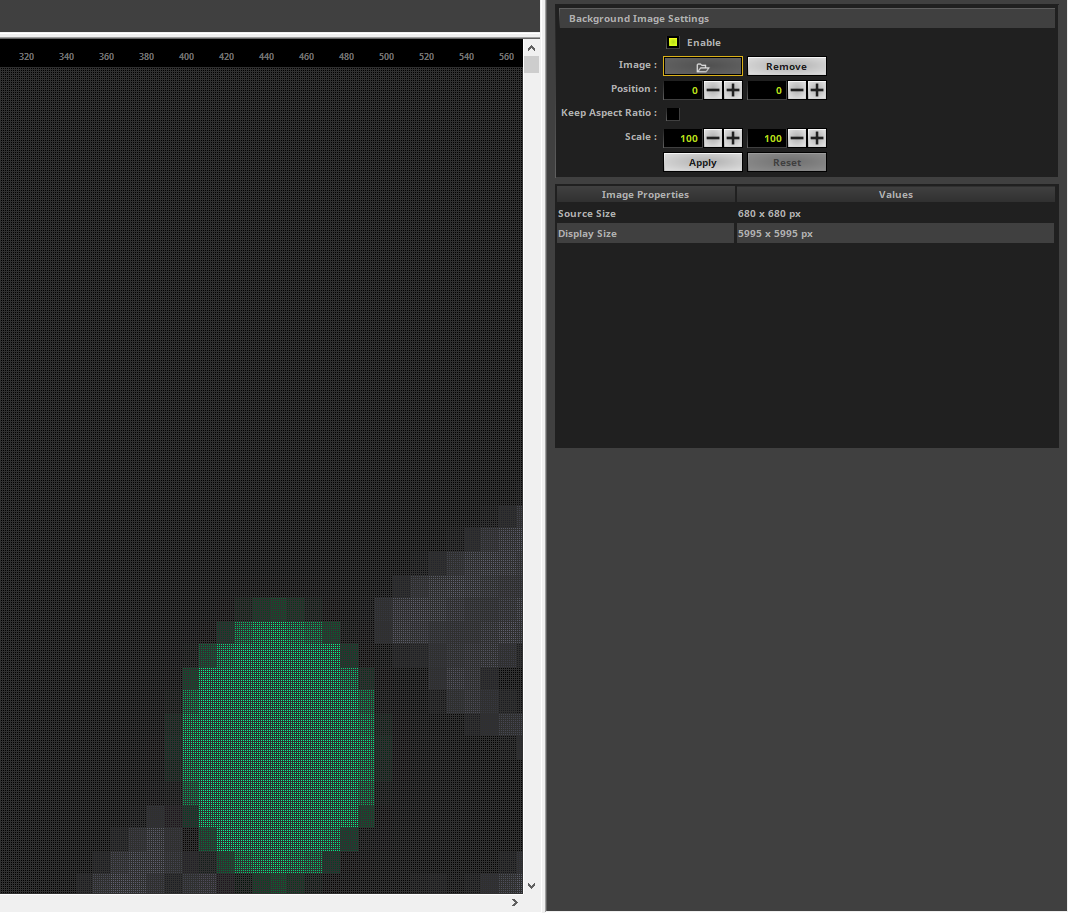
Now we can load a background image in the Settings section on the right side of the Patch Editor. To load the background image please click the Load button next to Image. In the next dialog you can choose the desired image.
|
4. |
After you load an image the size of the image could be to big. The Background Image Settings provides the possibility to Scale an image. If you want, you can Keep the Aspect Ratio.
|
5. |
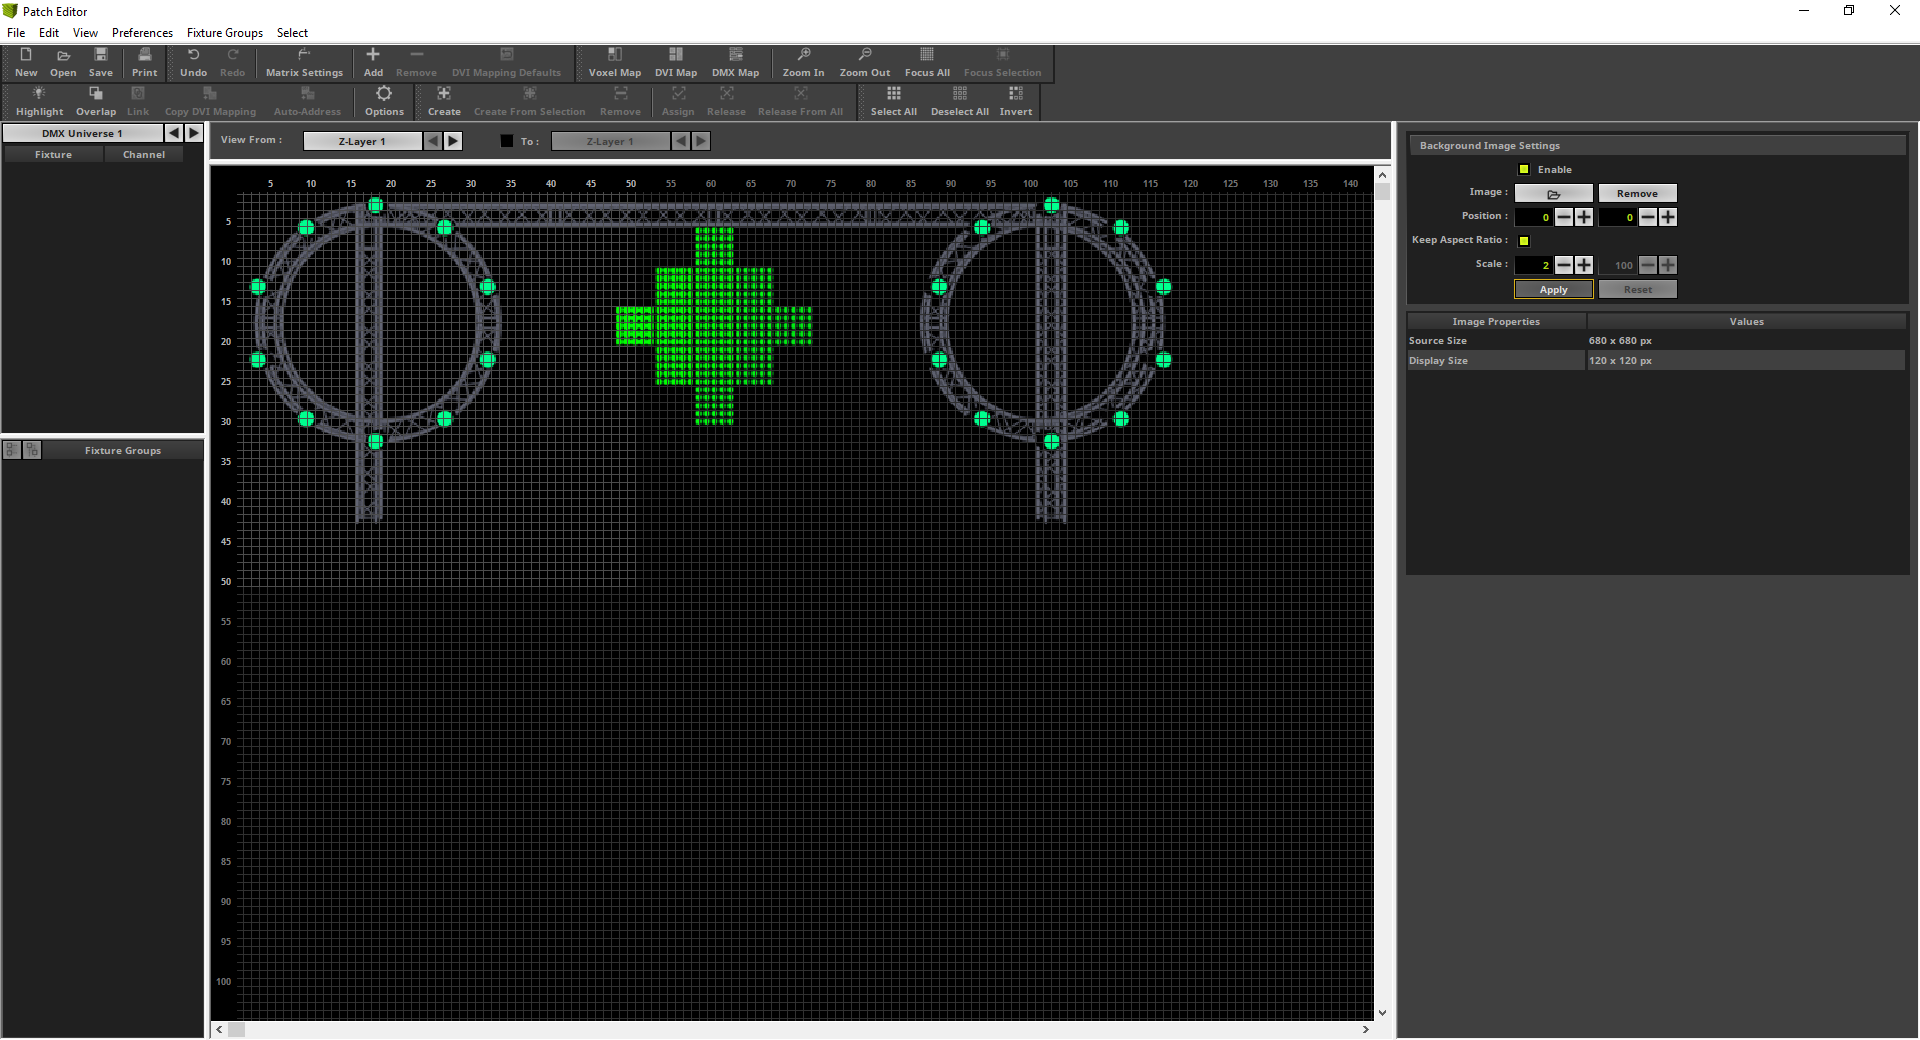
In this example the Keep Aspect Ratio option is Enabled and the Scale factor is set to 2.
|
6. |
After setting the correct size and position of the image we can start to patch the fixtures. To patch fixtures we have to go back to the Voxel Map view (View > Voxel Map) [Keyboard Shortcut F5].
|
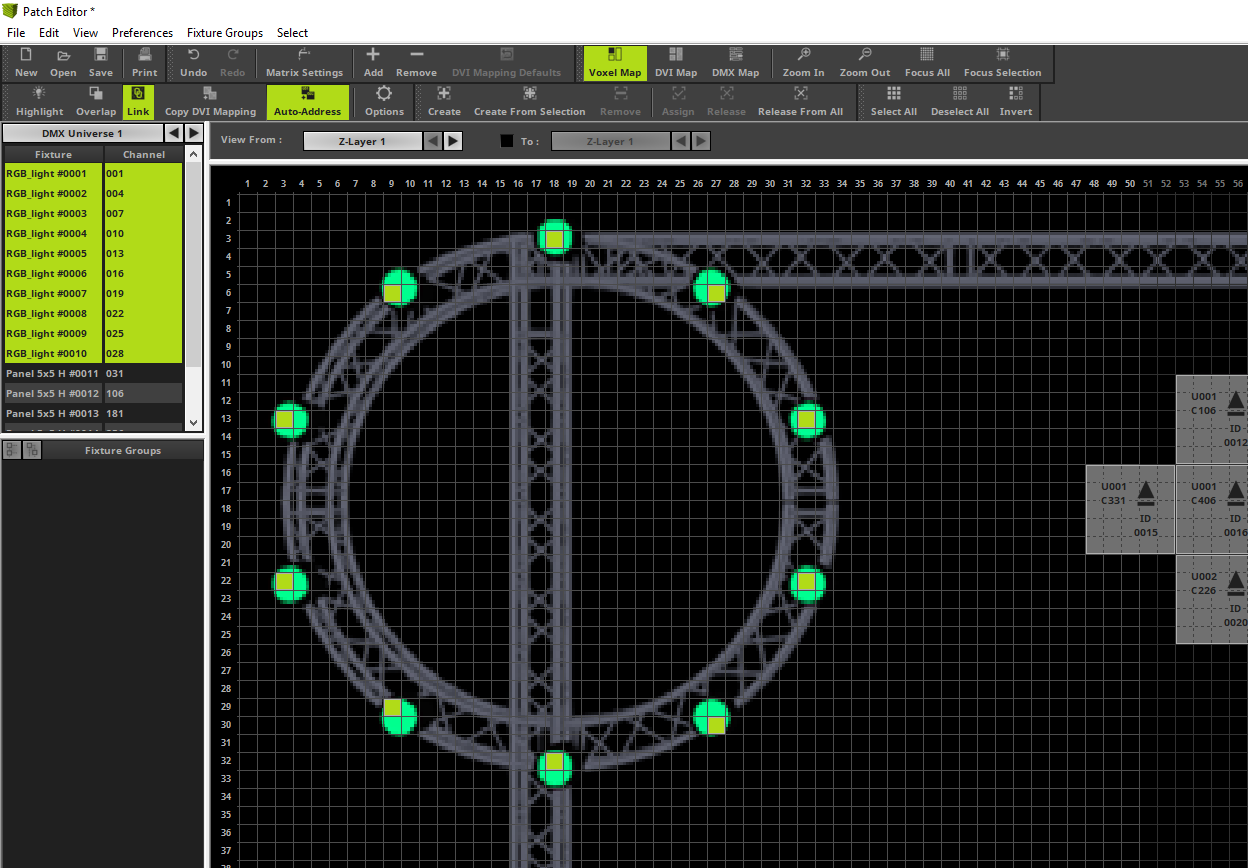
7. |
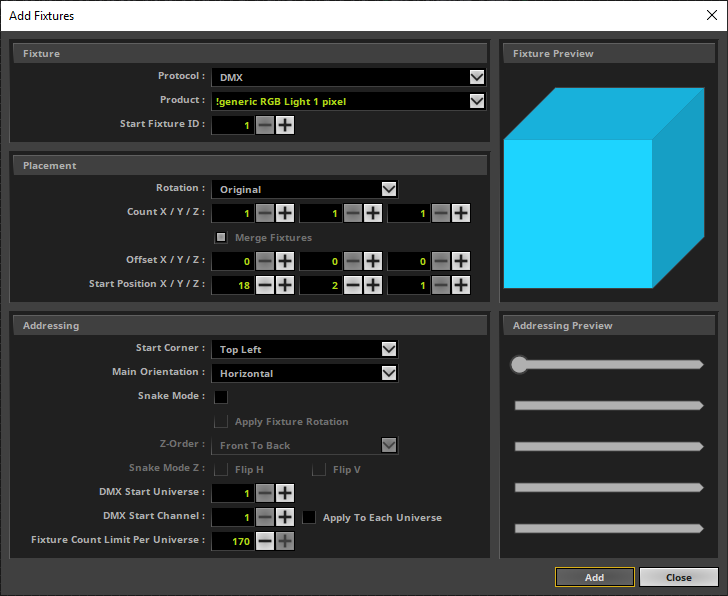
Now let us add the fixtures for the left circle. In this example we will use the "!generic RGB Light 1 pixel" fixture to patch the fixtures in the circle. If the position is not exact, you can easily change the position via Drag & Drop.
|
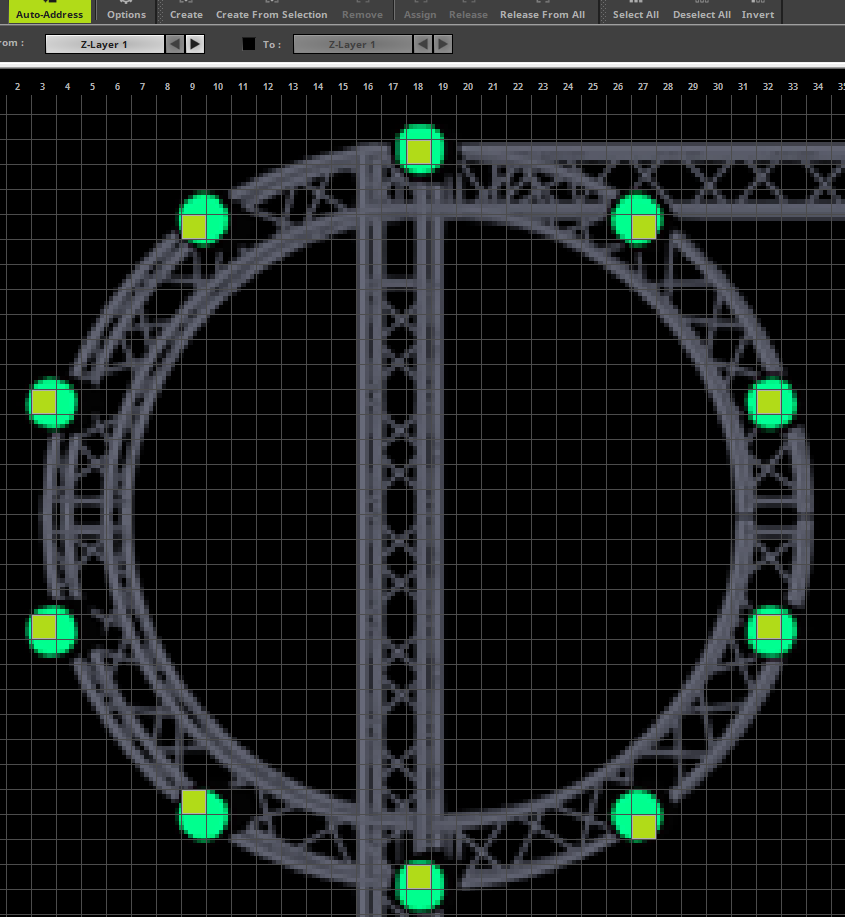
8. |
After we have add one fixture we can copy this fixture and move it to another position. To copy a fixture please select the desired fixture, press and hold [Ctrl key] + the [left mouse button] and move the mouse. Now you can drag a copy of the selected fixture and drop it at a desired position. Of course in our example we will drop it at a position where a PAR can is located in the image. If Auto Address is enabled in the toolbar of the Patch Editor, MADRIX will automatically set the DMX Start Address to the next free DMX Address. We will repeat to copy the fixtures clockwise around the left truss circle.
|
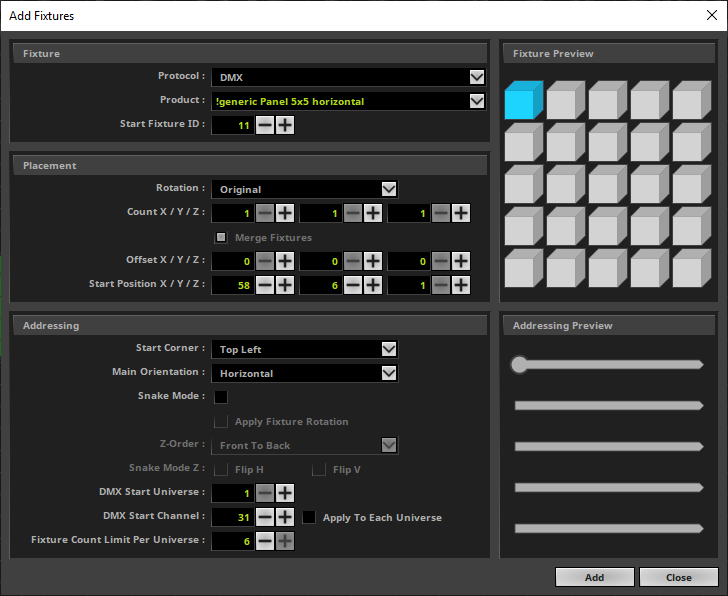
9. |
In this step we want to add the fixtures for the Diamond structure. According to the image there are 5 x 5 pixel panels installed. We want to add one !generic Panel 5x5 horizontal fixture at Start Position X 58 and Start Position Y 6. Because of the enabled Auto-Address the Patch Editor will set the DMX Start Channel to the next free DMX channel.
|
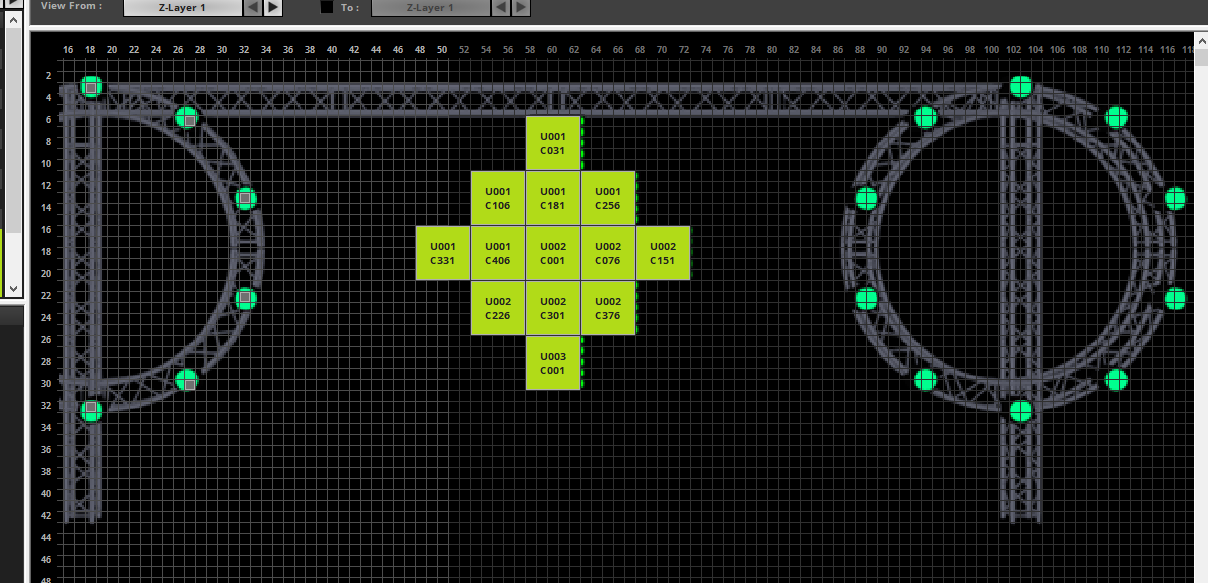
10. |
After we added the first fixture of this diamond shape we can easily copy and paste the other fixtures to create the shape according to the background image in the Patch Editor. As explained in Step 8 we can easily select the already patched !generic Panel 5x5 horizontal fixture. Please press and hold [Ctrl key] + the [left mouse button] and move the mouse. Now you can drag and drop the copy of the fixture to the left side of the next line. We will repeat this until we create the complete shape.
|
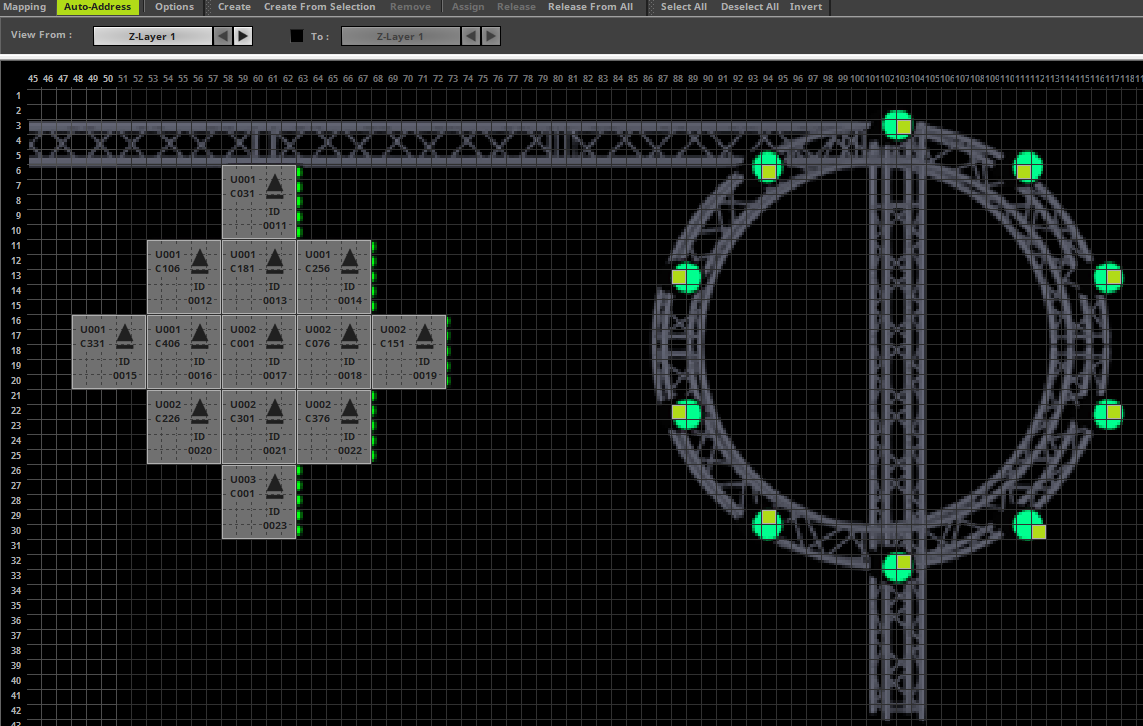
11. |
When we have a look at our patch respectively image, we can see we haven't patched the fixtures of the right circle. We know circles on the left and right side are identically arranged. That means we can easily copy the fixtures which we have added for the left side and drop it to the right circle- Therefor please select all fixtures of the left circle.
|
12. |
After you have selected the fixtures of the left circle please copy it like explained in Step 8 and drop it at the location of the right circle.
|
13. |
To ensure that we have created the patch at the matrix origin we will go to Edit > Move Map Area To Matrix Origin. Now the Patch Editor will automatically move the fixtures to the top left position.
|
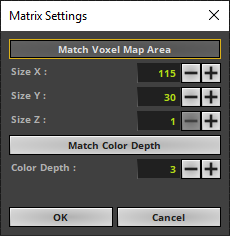
14. |
In the last step we have to resize the size of the matrix. Therefore please open the Matrix Settings and press the Match Voxel Map Area button. Now MADRIX will change the settings for Size X, Size Y and Size Z automatically.
|
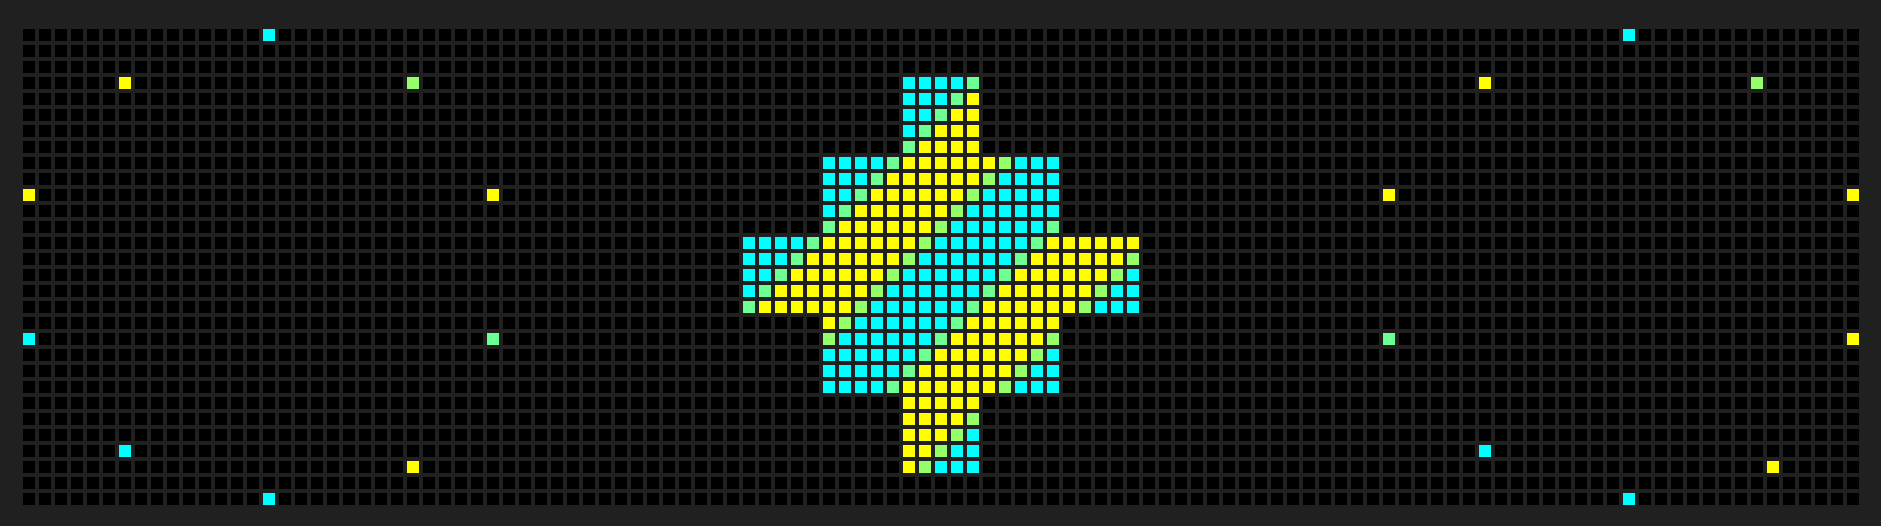
15. |
When we now close the Patch Editor, we can see the patched fixtures are aligned according to the background image in the preview. Note: The background image of the patch is only in the Patch Editor visible. |


Congratulations! You have successfully learned how to create a patch with a background image in MADRIX 5.