This tutorial shows you how to create new Fixtures with the MADRIX Fixture Editor and how to import this new fixtures in MADRIX 5.
Date: 06/2021
MADRIX Version: 5.4b (Created with)
Note:
How to create fixtures in MADRIX 5 you can learn in the tutorial: »Working With An Alternative Fixture Library.
Task:
In this tutorial we want to create two new fixtures and prepare MADRIX 5 to work with it. The manufacturer for both fixtures will be MADRIX. The first one is a 3 channel RGB and the second one is a 13 DMX channels, 4 pixels RGB fixture with an additional dimmer channel.
You can use the result of this tutorial to to create the patch »2D Patch With The Patch Editor For DMX Output. Simply patch the created fixtures instead of the "!generic" fixtures.
Below are the DMX charts:
|
|
|
|
||||||||||||||||||||||||||||||||||||||||
1. |
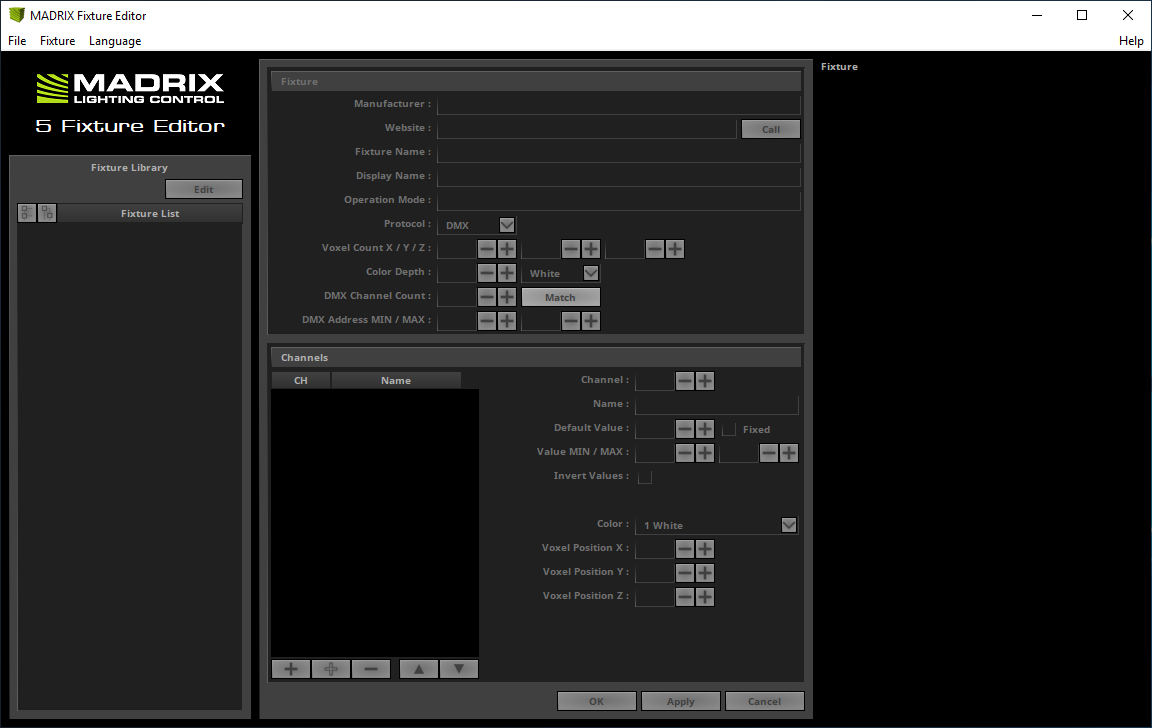
To create a new fixture respectively fixture library for MADRIX 5 we have to use the MADRIX 5 Fixture Editor. The Fixture Editor is a sperate software tool. We can open it via Windows Start > MADRIX 5 > MADRIX 5 Fixture Editor. By default a blank MADRIX 5 Fixture Editor opens.
|
2. |
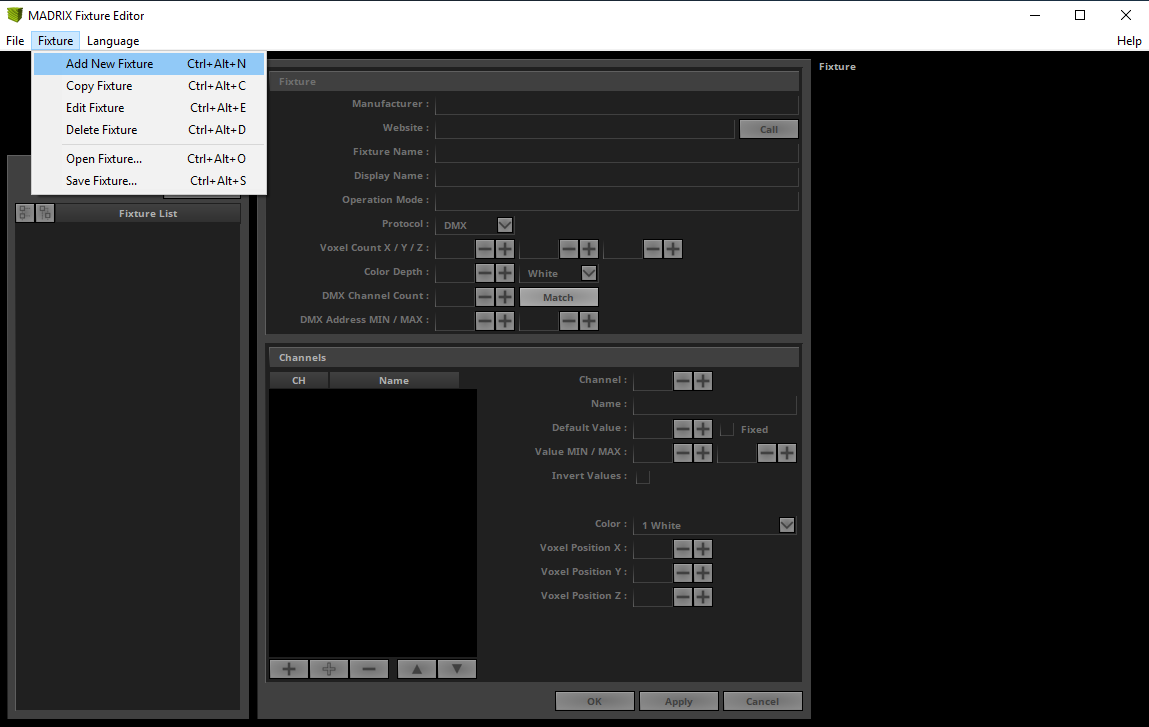
To create a new fixture please go to Fixture > Add New Fixture.
|
3. |
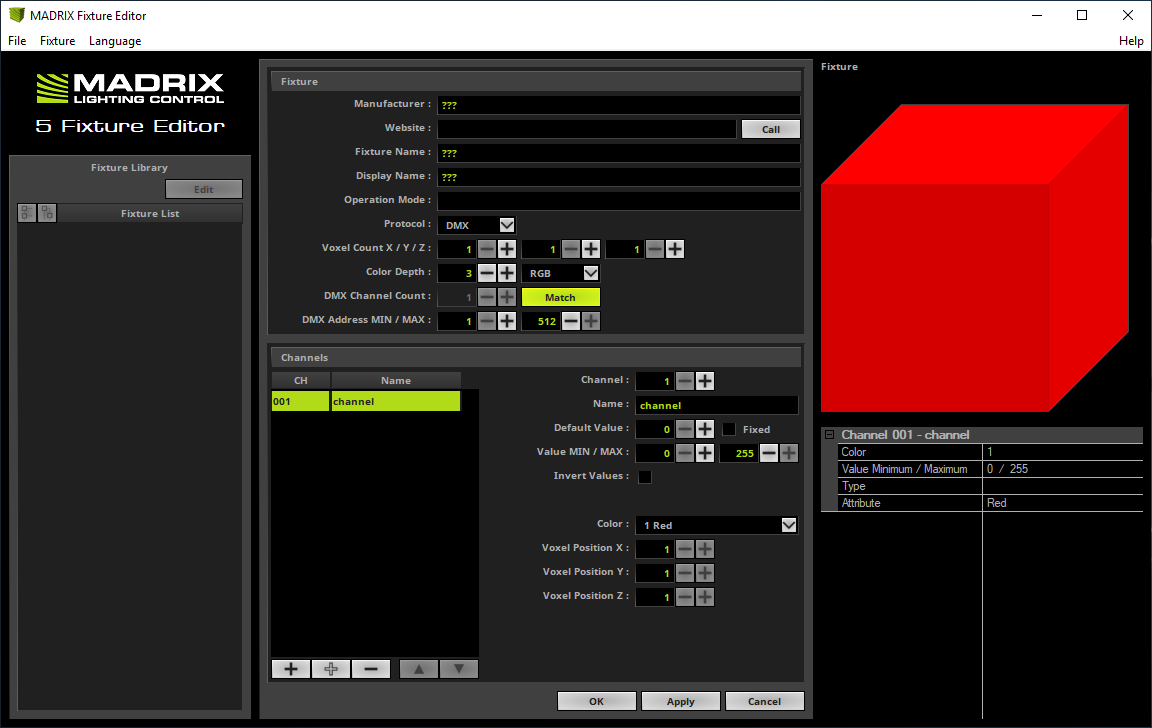
The Fixture and Channel section of the Fixture Editor is active now and we can add the desired settings.
|
4. |
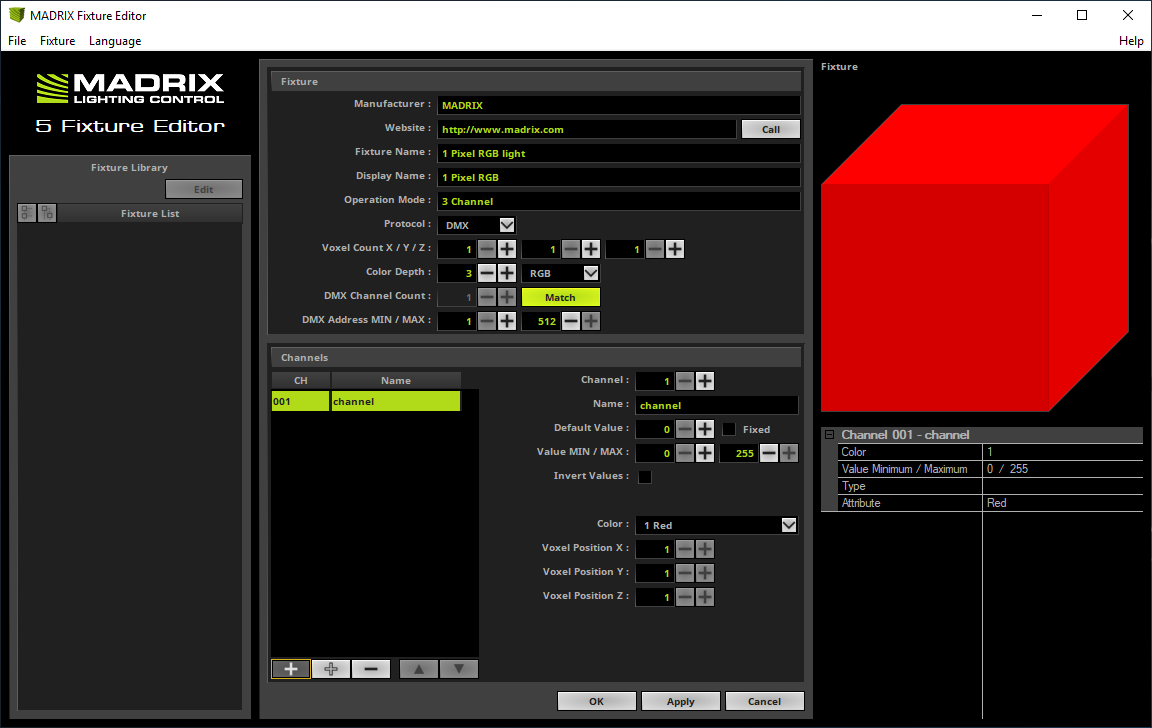
The first fixture we want to add is the "3 Channel RGB light". We set:
•Manufacturer: MADRIX •Website: https://www.madrix.com •Fixture Name: 1 Pixel RGB light •Display Name: 1 Pixel RGB •Operation Mode: 3 Channel
We don't need to change the other settings of the Fixture section, because settings for a 3 channel RGB one pixel fixture are already set by default.
|
5. |
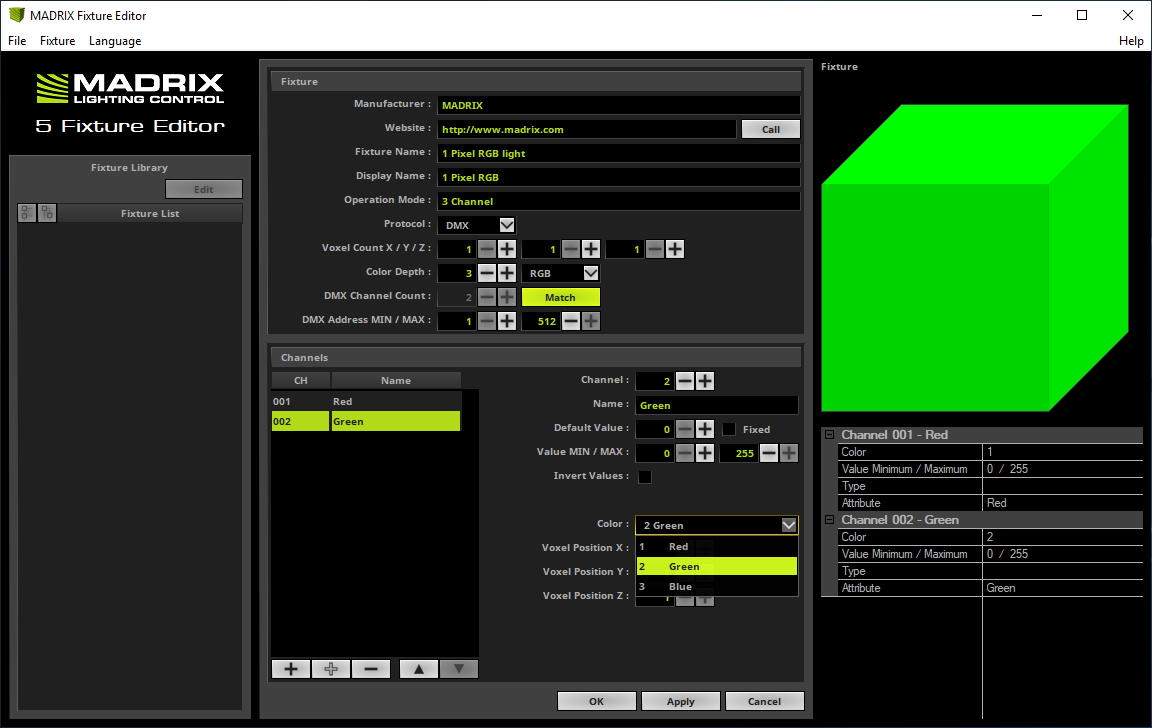
Now we can start to add and assign the DMX channels according to the DMX Chart of the fixture.
|
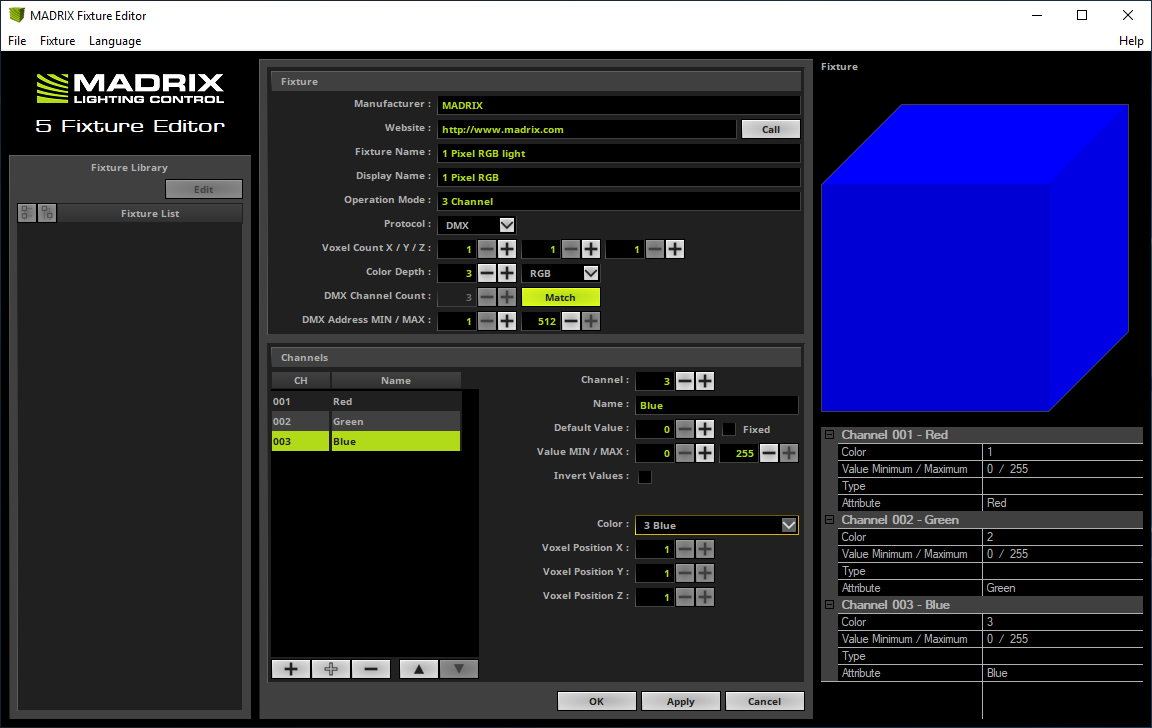
6. |
The last channel of the fixture we have to add is the channel number 3 which we have to assign to the Blue Color.
|
7. |
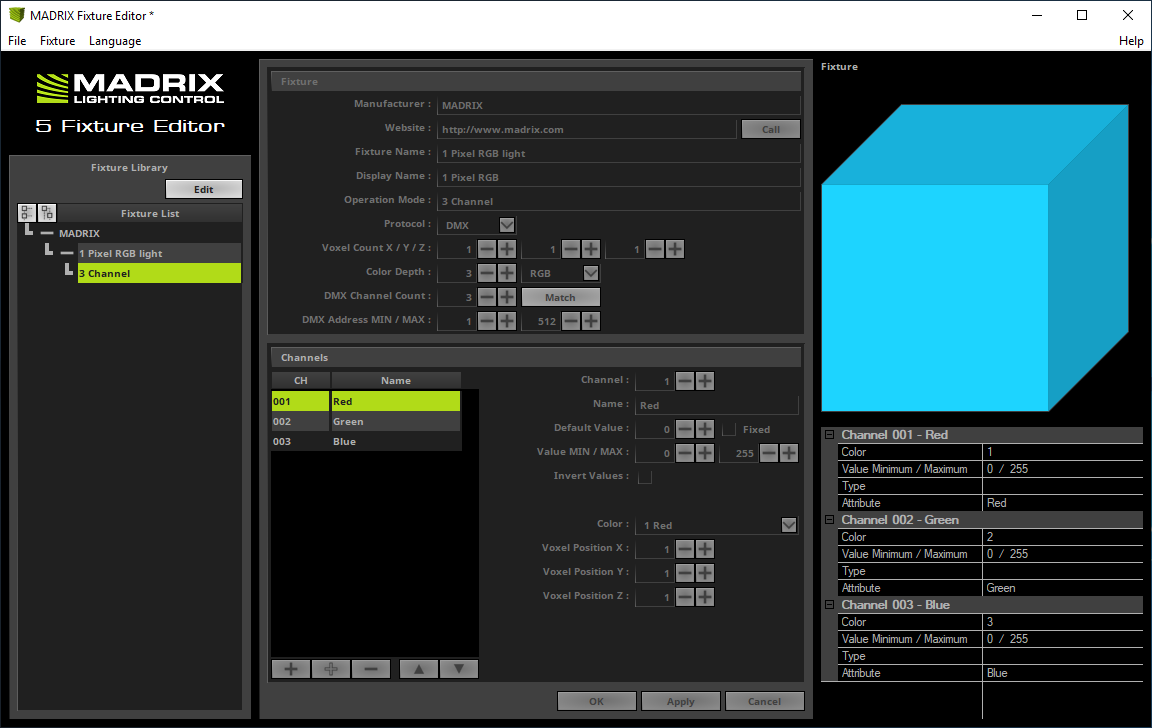
After adding the 3 channels and assigning the correct colors we click OK and the fixture will be added to the Fixture List.
|
8. |
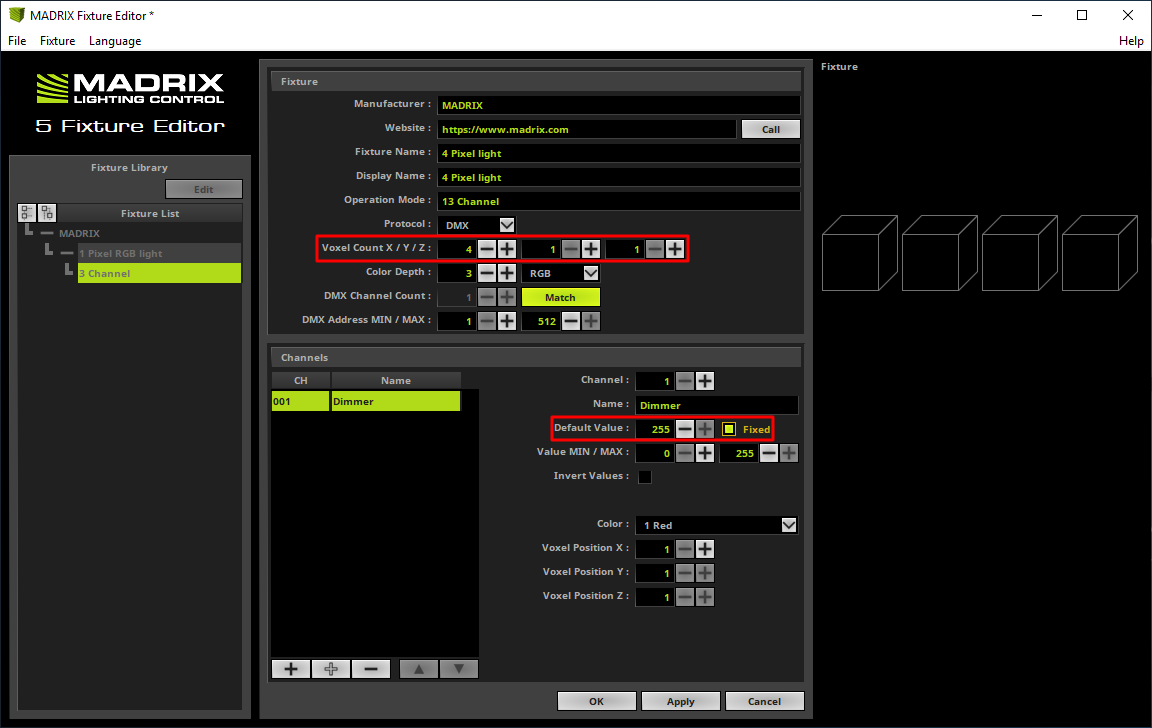
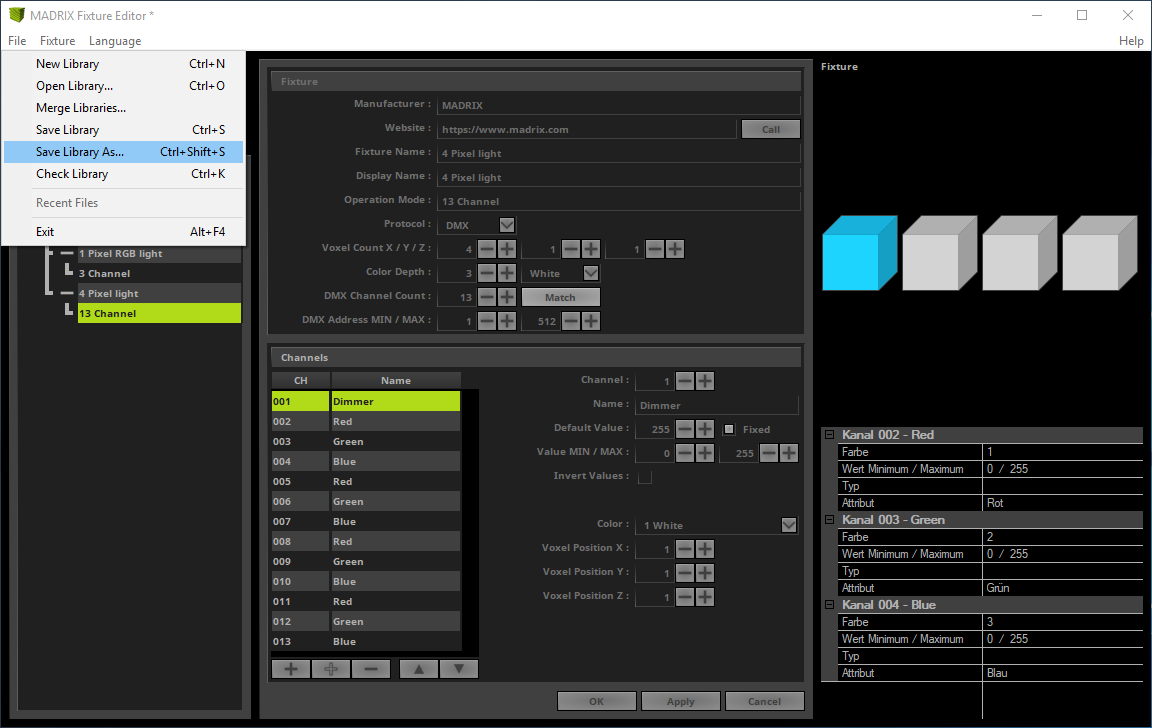
According to our task we have to add a second fixture. The second fixture is a "13 channel fixture" with 4 separate controlled RGB pixels. As we have learned in Step 4 we want to fill the settings for the fixture first: •Manufacturer: MADRIX •Website: https://www.madrix.com •Fixture Name: 4 Pixel light •Display Name: 4 Pixel light •Operation Mode: 13 Channel
For this fixture we also have to change the Voxel Count X to 4.
According to the DMX Chart of this fixture the first DMX channel is the Dimmer channel. Please note: MADRIX is controlling all dimmer values with the help of the color. That means the dimmer must always be full on. We will handle this behavior with the Default Value at 255 and the option Fixed needs to be Enabled.
|
9. |
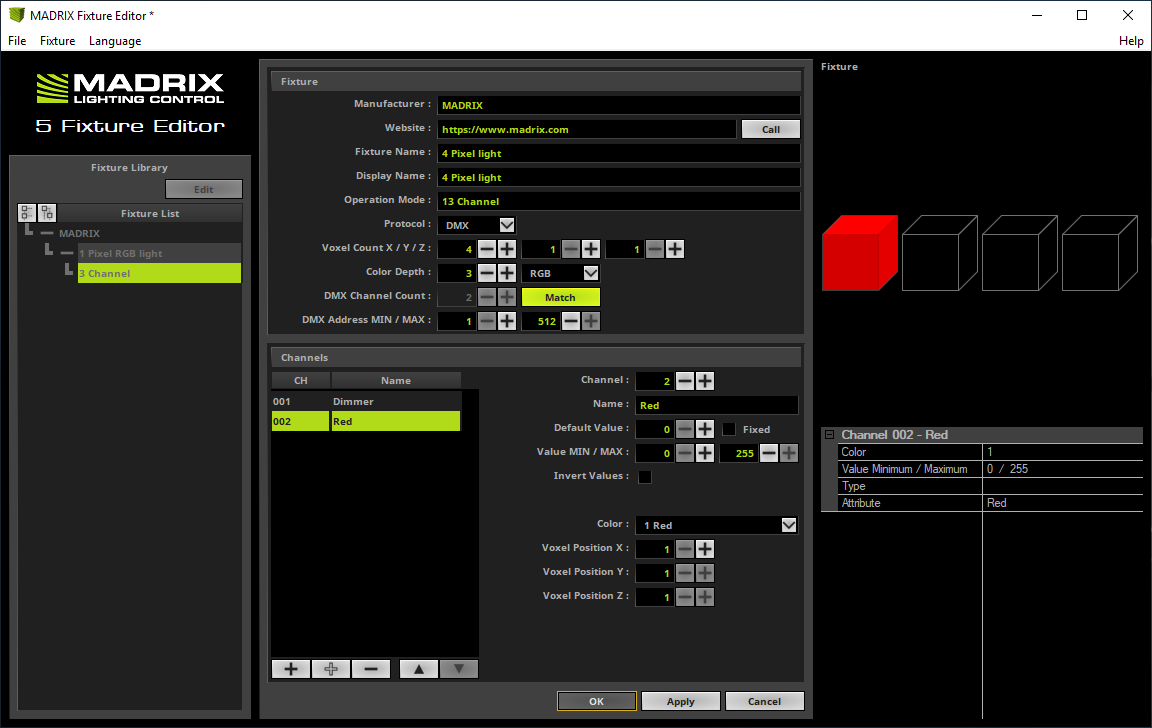
The next DMX channel is responsible for the color Red. Simply click the left + button at the bottom of the Channel List. Now please change the Name to Red and double check if the assigned Color is also set to Red.
|
10. |
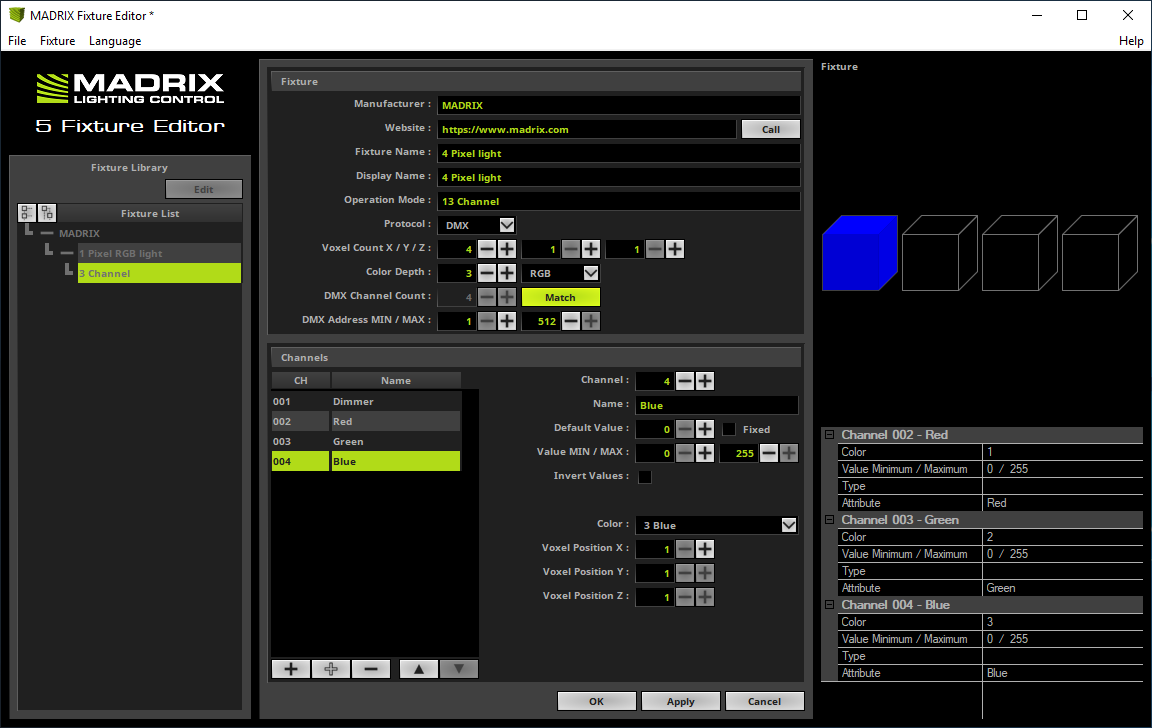
We add the next two DMX Channels respectively colors as we have already learned in Step 5 and Step 6.
|
11. |
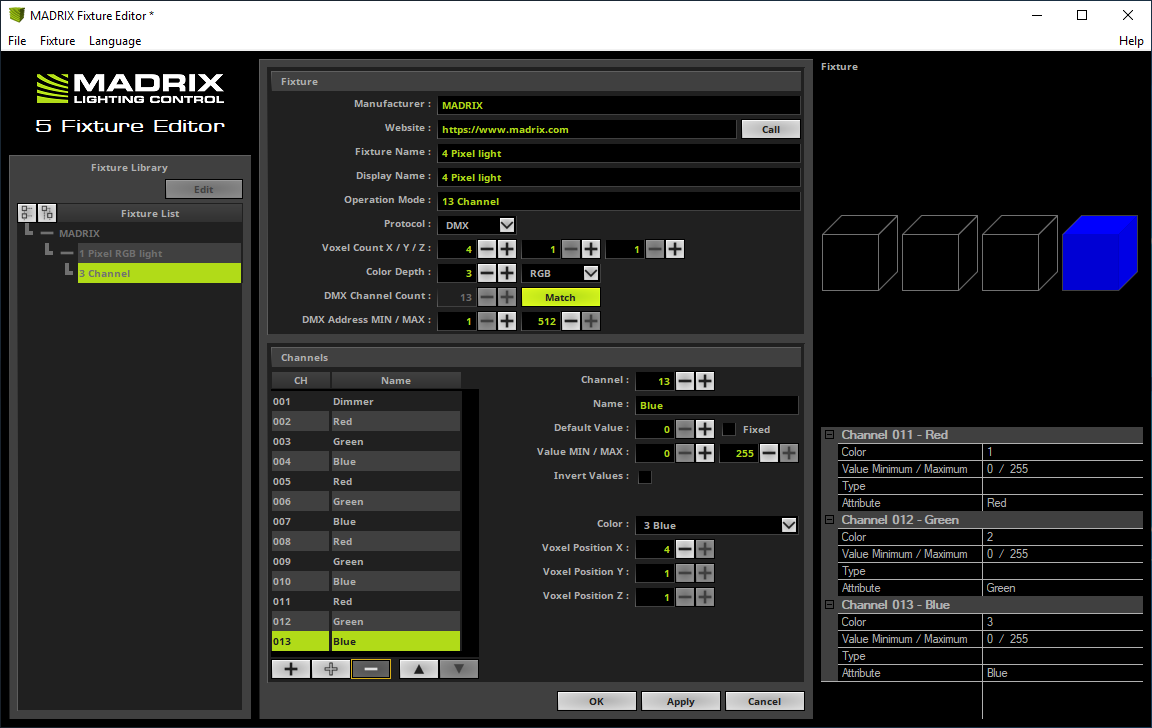
When we now click the + button again, the Fixture Editor will automatically add the next channel and assign the colors to the second pixel. So you can add all channels for all pixels very fast.
|
12. |
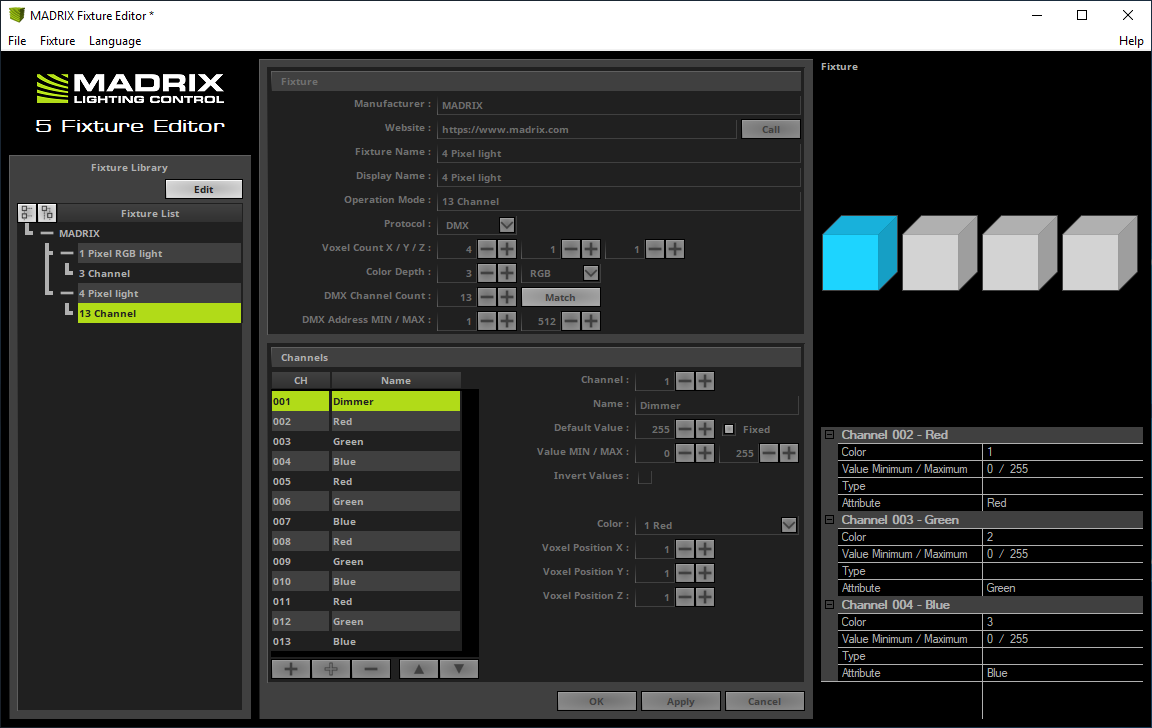
After we click OK a second fixture will be added to the Fixture List.
|
13. |
After we have added the desired fixtures with different operation modes it is recommended to check the fixture library for errors. To check it please go to File > Check Library.
|
14. |
If everything was created correctly, the following hint will appear.
|
15. |
In the last step we have to save the previous created fixture library at a desired location and name on your PC. To save the new created fixture library we select File > Save Library As.
|

Congratulations! You have successfully learned how to create a fixture library with two fixtures in the MADRIX 5 Fixture Editor.