This topic includes:
| ▪ | Step-By-Step Configuration |
![]()
WYSIWYG is a 3rd-party visualizer software by CAST Software. MADRIX has been officially implemented into WYSIWYG since WYSIWYG R23.
A maximum of 64 DMX universes can be sent to WYSIWYG in this way.
[Alternatively, use Art-Net directly.]
1] Install the WYSIWYG driver for MADRIX.
2] Activate WYSIWYG in MADRIX.
3] Connect MADRIX with WYSIWYG.
1] Installing The MADRIX WYSIWYG Driver
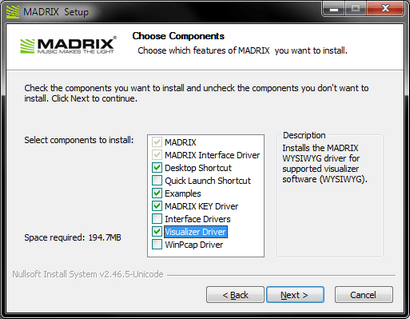
| ▪ | To use WYSIWYG with MADRIX, you have to install the MADRIX WYSIWYG driver first. |
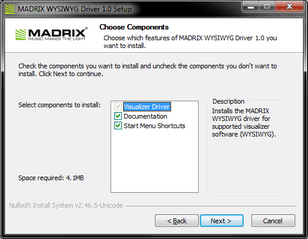
| ▪ | During the MADRIX installation process, make sure to select the check box Visualizer Driver |
| ▪ | If you have already installed MADRIX without this component, re-install MADRIX. Learn more »Installation Process |
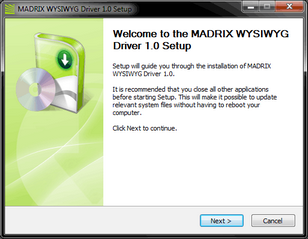
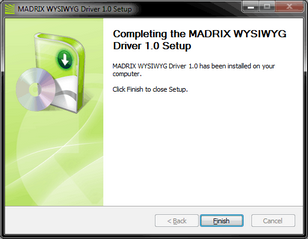
| ▪ | During the MADRIX installation process, a second setup wizard will be launched for the MADRIX WYSIWYG driver. |
| ▪ | Follow these steps: |
|
Step 1]
|
||||||||||
|
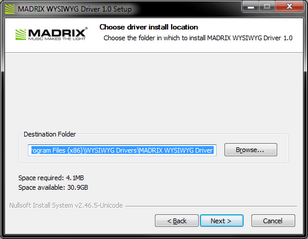
Step 2]
|
||||||||||
|
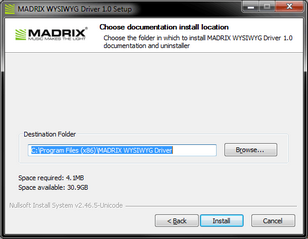
Step 3]
|
||||||||||
|
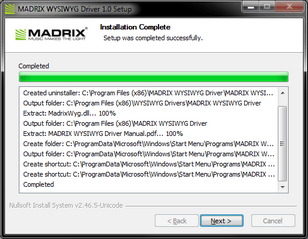
Step 4]
|
||||||||||
|
Step 5]
|
||||||||||
|
Step 5]
|
||||||||||
|
Step 7]
|
||||||||||
|
Step 8]
|
2] Activating WYSIWYG In MADRIX
| ▪ | Go to Preferences > Device Manager... > Visualizer [Keyboard shortcut: F4 > Visualizer] |
| ▪ | Activate Enable |
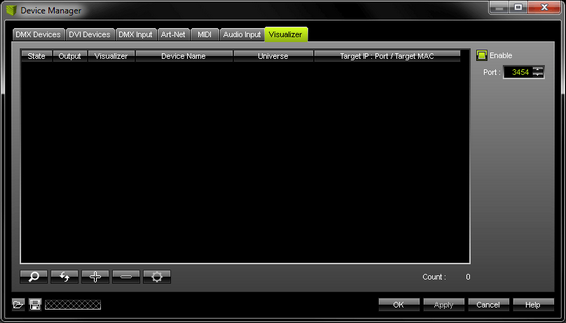
| ▪ | Port - Make sure that the port number matches the port number in MADRIX WYSIWYG Driver Configuration window. The default Port is 3454. [To open the MADRIX WYSIWYG Driver Configuration window, you have to double-click the tray icon in the Windows system tray of the computer that WYSIWYG is running on.] |

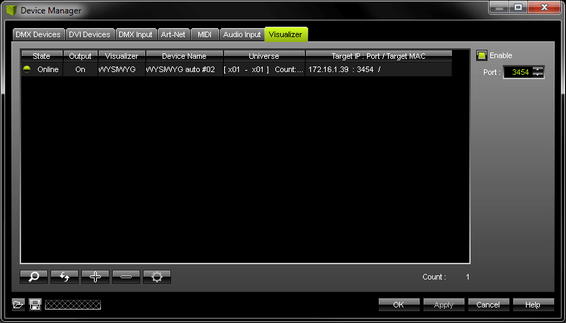
| ▪ | A] Click [MADRIX will automatically search for running WYSIWYG devices on your local computer or in the network. Make sure that the port number matches the port number in the MADRIX WYSIWYG Driver Configuration window. |
| ▪ | Your WYSIWYG device should appear in the list [displaying State Online]. |
B] New - Allows you to manually add a WYSIWYG device.
| ▪ | Configure your manually added devices as described next. |
| ▪ | Select your device in the list and click |
| ▪ | A new window will open [WYSIWYG Device Configuration]. |
- Enable - Activates or deactivates DMX output to the WYSIWYG device.
- Device Name - Allows you to change the label of the device in MADRIX.
- Start Universe - Defines which data is sent to the WYSIWYG device starting with this DMX universe. Please set up this setting!
- End Universe - Defines which data is sent to the WYSIWYG device ending with this DMX universe.Please set up this setting!
- Pay special attention to the End Universe. Make sure to set it up correctly and corresponding to WYSIWYG!
- IP Address - Enter the correct IP address of the WYSIWYG device. If the device was detected automatically, you do not need to change it.
- Network Port - Enter the correct network port of the target computer, on which WYSIWYG is running. If the device was detected automatically, you do not need to change it.
You can only enable DMX Output if the State of WYSIWYG Device is Online. In other words, the WYSIWYG driver must be up and running on the same computer or in the network.
| ▪ | If the connection is established, a message will be display that reads X MADRIX device(s) connected in the WYSIWYG Driver Configuration. |
WYSIWYG can connect up to 20 computers running MADRIX and vice versa.
3] Connecting To MADRIX In WYSIWYG
| ▪ | Start WYSIWYG. |
| ▪ | Switch to LIVE mode. |
![]()
| ▪ | Open the LIVE menu. |
| ▪ | Choose Device Manager... |
| ▪ | A new window box will be displayed. |
![]()
| ▪ | Click New > Consoles |
| ▪ | Navigate through the console library until you find MADRIX. Select MADRIX and then click Insert |
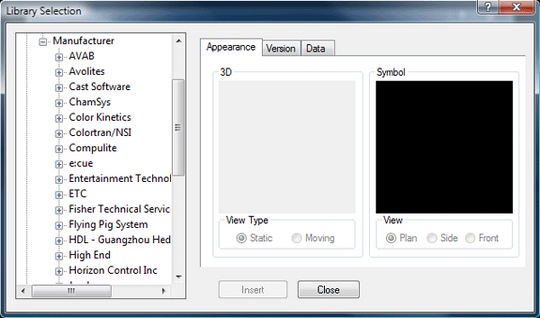
| ▪ | Now, the MADRIX console should appear in the Device Manager |
| ▪ | Select it and click on Properties |
| ▪ | Address - In the Property window box fill in the IP address of the computer that runs MADRIX [e.g., 192.168.2.33]. - If MADRIX and WYSIWYG run on the same computer, enter 127.0.0.1 |
| ▪ | Confirm with OK |
| ▪ | Click Connect in the Device Manager window box. |
For more information on how to create and edit patches, please refer to the WYSIWYG documentation.