Overview
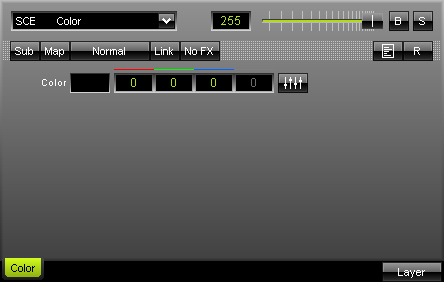
The MADRIX interface is equipped with two effect areas (Effect Area A and Effect Area B). By default, it will look like this:

Standard Buttons And Controls
Selecting An Effect
|
Via a drop-down list in the upper left corner of such an Effect Area, you can select one of the various effects. Read more information on how to work with effects in the chapter Effects. Learn more about the different effects in the chapter MADRIX Effects. |
Layer Opacity
|
Regulate the intensity of a single layer with the help of this slider or input field. For more information, see Layers. |
Blind And Solo Mode
|
These are the "Blind" button and the "Solo" button. For more information, see Layers. |
Submaster
|
To adjust the intensity of an effect or layer, please click and hold the "Sub" button. Make adjustments by moving your mouse up or down. An activated Submaster will turn green. More details can be found in the chapter Storage Places, Submaster, and Cue. The Submaster allows you to solely adjust the intensity of the running effect or layer. To adjust the intensity of all running effects you have to use the Master Fader. |
Mapping
|
If you want to map, tile, or rotate an effect, please click the "Map" button. A new window will open. The features are described more precisely in the chapter Map, Tile, And Rotation. |
Mix Modes
|
This button sets the mix mode and functions as a drop-down list. Just like in image-editing software, you can use different mix modes to mix layers with each other. The button is labeled "Normal" by default. For more information, see Layers. |
Link Mode
|
This "Link" button activates the option to link layers. Linking layers is very useful to create new effects. For more information, see Layers. |
Link Mode
|
This "FX" button allows you to instantly change the visual outcome of this effect or single layers. For more information, see Layers. |
Storage Place Macro
|
This button opens the Storage Place Macro Editor. Storage Place macros affect an entire Storage Place including its effect and all of its layers. Fore example, you could change the opacity of three different layers of this effect at the same time. You can find more details in the chapter Macros & Scripts. |
Reset
|
All effects have a reset button "R". This button restores default settings of the single layer and thus the effect. |
Frame Fade
|
Several effects have an additional "Frame Fade" button. This feature creates a very smooth effect; especially when slow movements are involved. It renders the output more softly. An activated button will turn green. |
Layer Tab
|
Every layer has its own tab at the bottom of an Effect Area. Learn more in the chapter Layers. |
Layer Button
|
This button provides several options to work with layers. A context menu will appear. Learn more in the chapter Layers. |
Tips
Perform a double-click on sliders, faders, etc. and they will be reset to their default value.
Use the spacebar on your keyboard to perform various actions. If the selected control is a button, the button will be clicked. If the selected control is a check box, this toggles the check box. If the current control is an option, this selects the option. If an edit field (Color Edits) is selected, you can switch between the values 0 and 255.
Individual Buttons And Controls
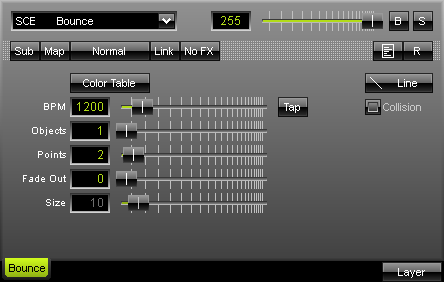
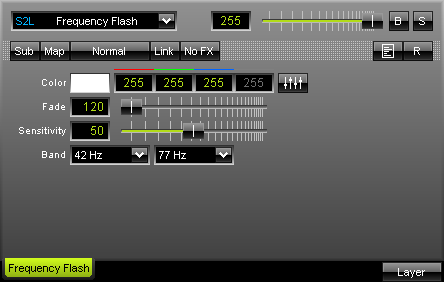
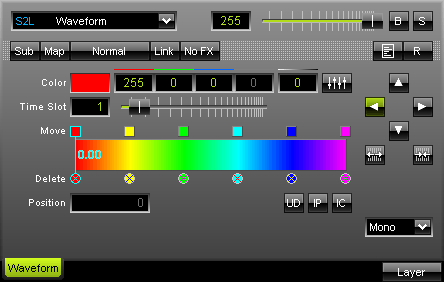
Each effect has its own buttons and controls. Have a look at the three examples below and you will see that the standard controls (which are described above) are always there, while the middle part changes with every effect.


