In this tutorial you can learn how to work with already created Global Colors and Global Color Lists in MADRIX 5.
Date: 07/2023
MADRIX Version: 5.6 (Created with)
Corresponding Video Tutorial: »Using Global Colors And Color Lists
Note:
In this tutorial we will work with the result of the tutorial »Creating Global Color Lists.
If you don't know how to work with Layers in MADRIX, it is recommended to have a look at the following tutorial: »Add And Rename Layers.
If you are not familiar how to select he MADRIX effect please have a look at the MADRIX manual: »MADRIX Effects.
Task:
We have to assign the already created Global Colors and Color Lists to some MADRIX effects.
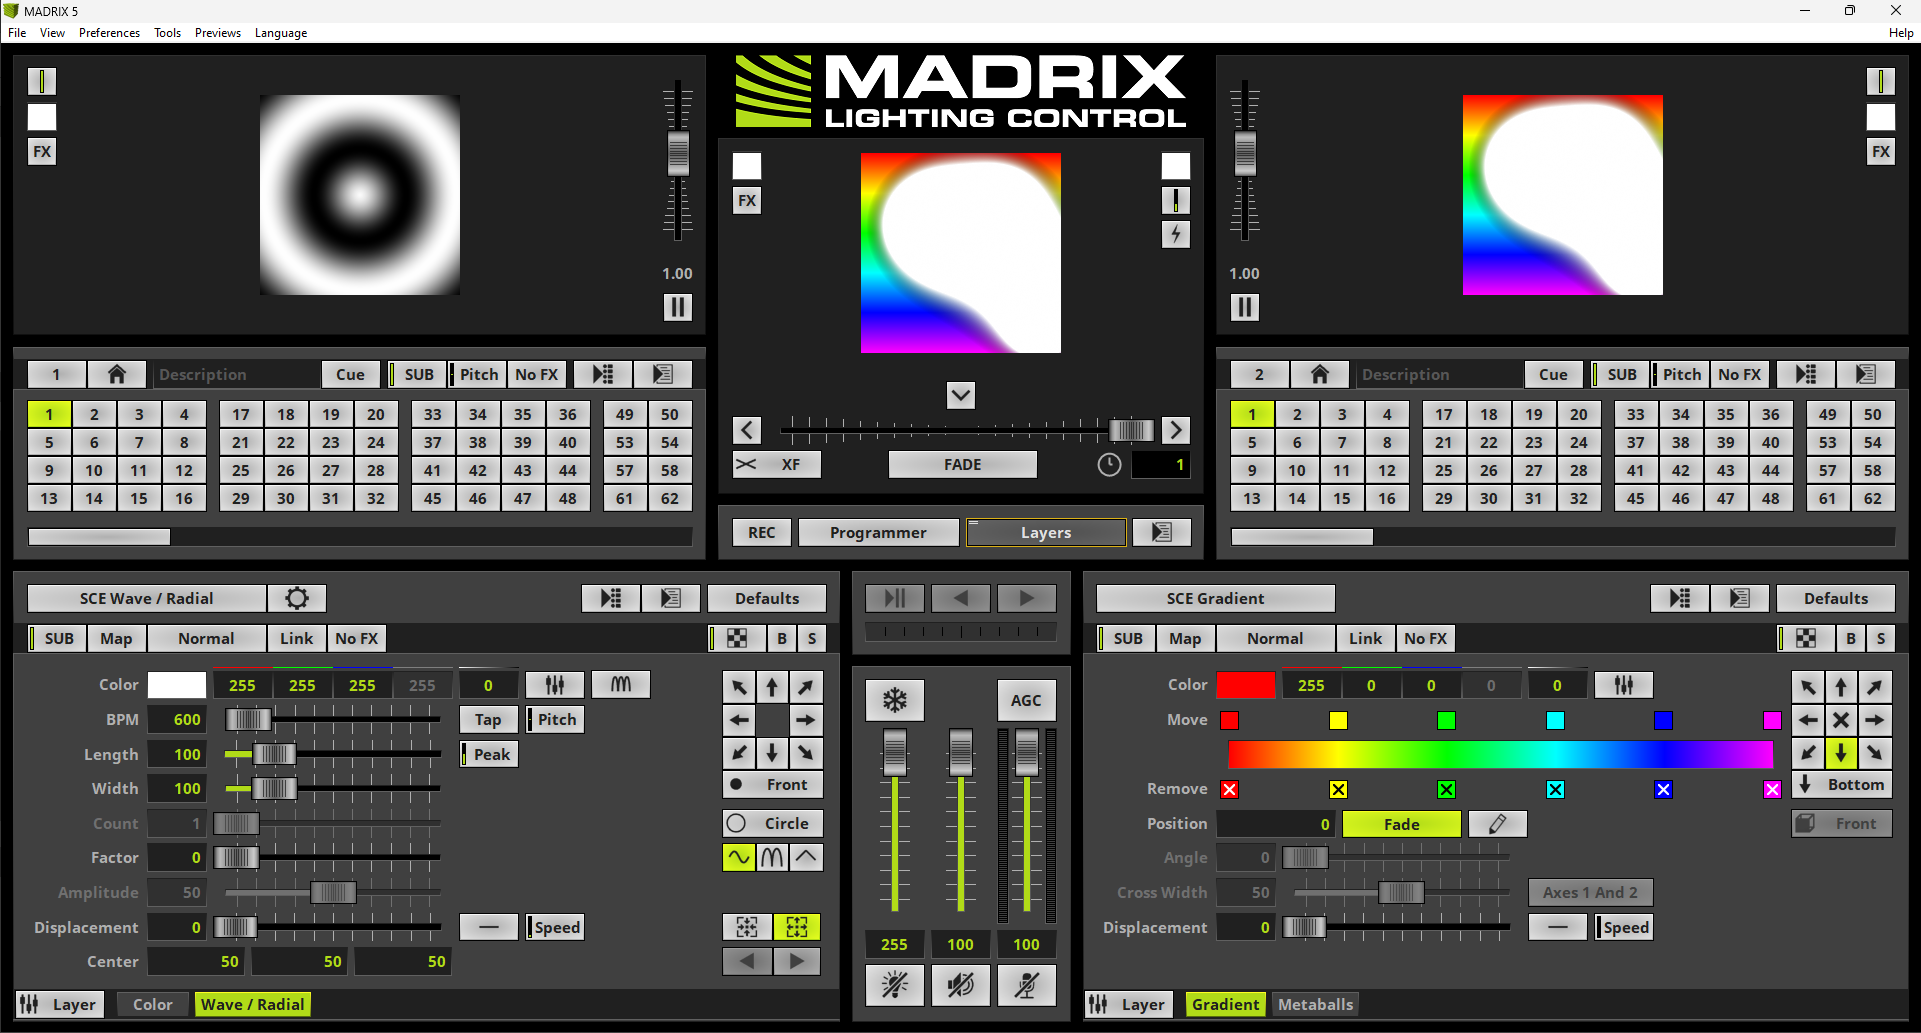
At Storage 1 Place 1 a SCE Color and a SCE Wave / Radial effect is assigned. The SCE Color layer should work with Global Color: 3 (Sunrise Orange) and the SCE Wave/Radial layer should work with Global Color: 2 (Blue).
And at Storage 2 Place 1 a SCE Gradient and a SCE Metaballs effect is assigned. The SCE Gradient layer should work with the Global Color List: 2 (Orange-Purple) and the SCE Metaballs layer should work with the Global Color List: 1 (RGB).
All other parameters of the different effect layers are default.
1. |
The effects at Storage 1 Place 1 and Storage 2 Place 1 are already created. That means at Storage 1 Place 1 a SCE Color is assigned to layer 1 and at layer 2 a SCE Wave / Radial is assigned. At layer 1 of Storage 2 Place 1 a SCE Gradient and at layer 2 a SCE Metaballs are assigned. All the effect are working with the default parameters.
|
2. |
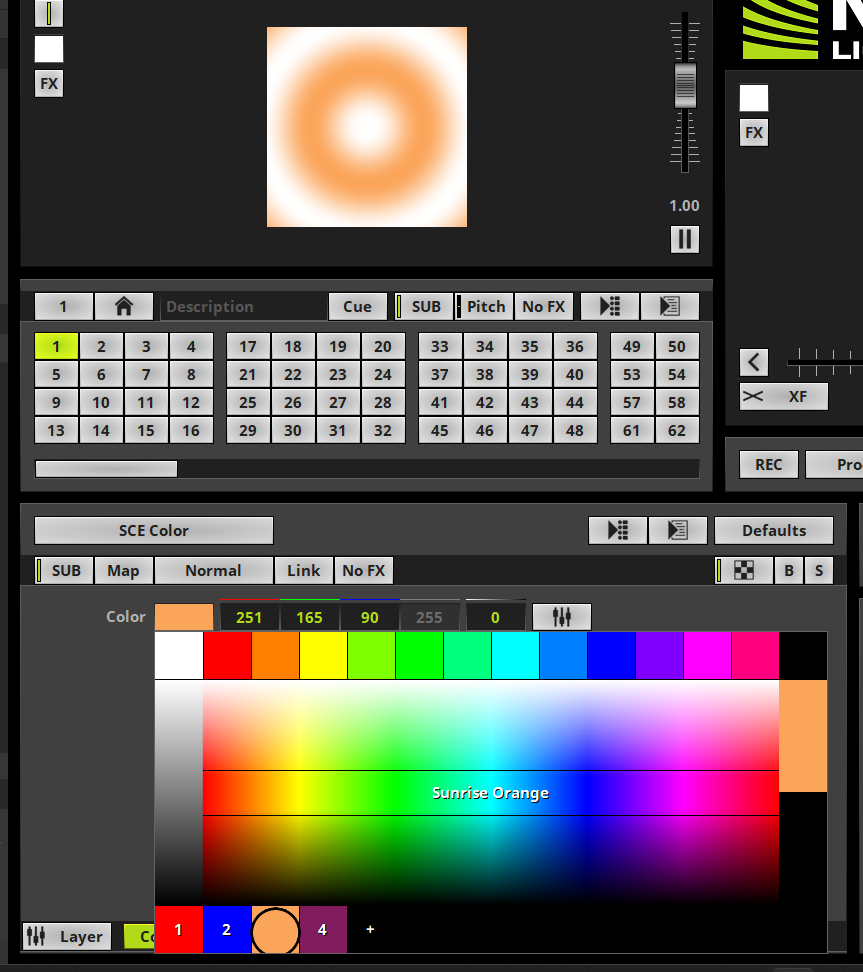
Now we will start. As first step we are changing the color of the SCE Color layer to the Global Color 3. Therefor we select the SCE Color layer at the programming view (the layer name is now illuminated in Green). To assign the Global Color 3 we navigate to the color filed, perform a click on it, hold the mouse button and move the mouse to the color 3 at the bottom color line below the Color Picker.
|
3. |
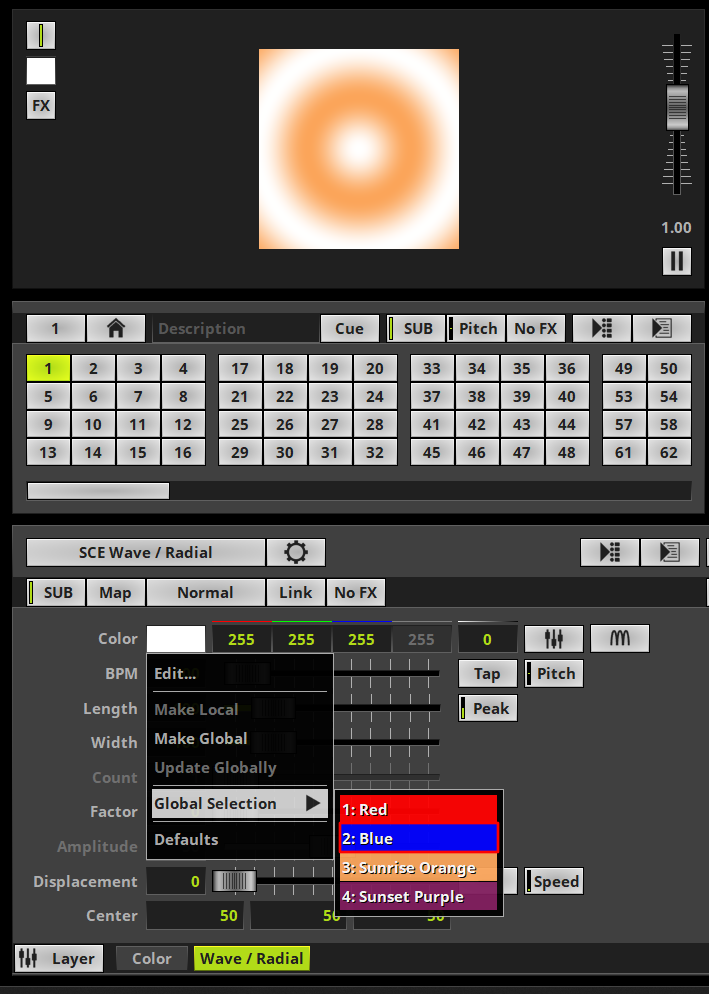
In this step we activate the SCE Wave / Radial layer of Storage 1 Place 1. In this step we are performing a right click at the Color Field and select Global Selection > 2: Blue from the context menu according to our task.
Alternatively you can select the color as explained at Step 2.
|
4. |
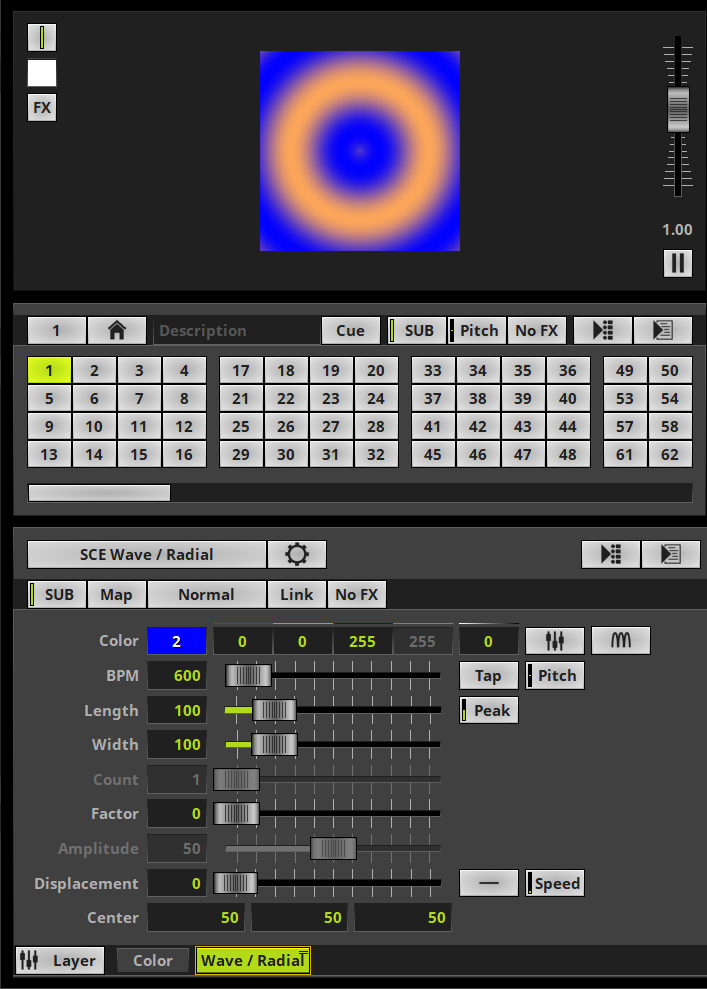
Now we have assigned the Global Colors for Storage 1 Place 1. When we have a closer look at the color field we can see a number in it. This number indicates the desired Global Color is used.
|
5. |
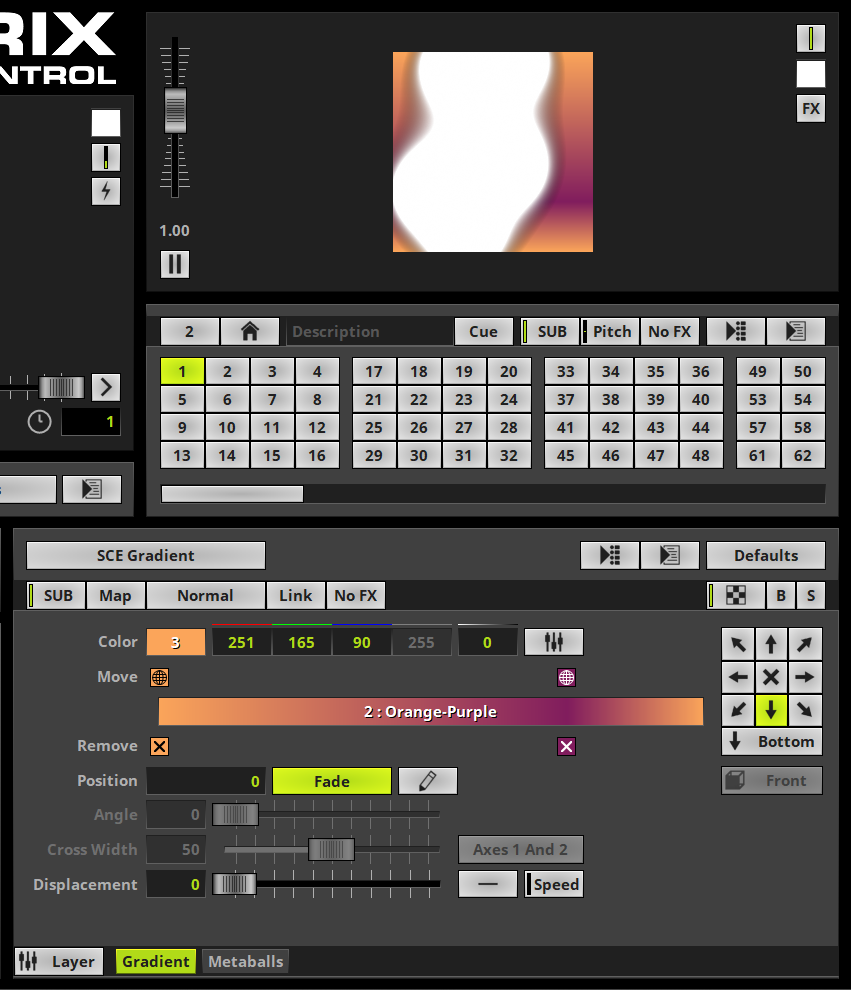
Now we want to have a look at Storage 2 Place 1. For the background layer (Gradient layer) we have to assign Global Color List 2 (Orange-Purple). Therefor we select the Gradient layer. Now we perform a right click at the Gradient Control and select Global Selection > 2: Orange-Purple.
|
6. |
The Global Color List is now assigned to this gradient. If a Global Color List is assigned and the Description of it is set, you we can find it as description in the Gradient Control. Otherwise only the Global Color List ID will be visible.
|
7. |
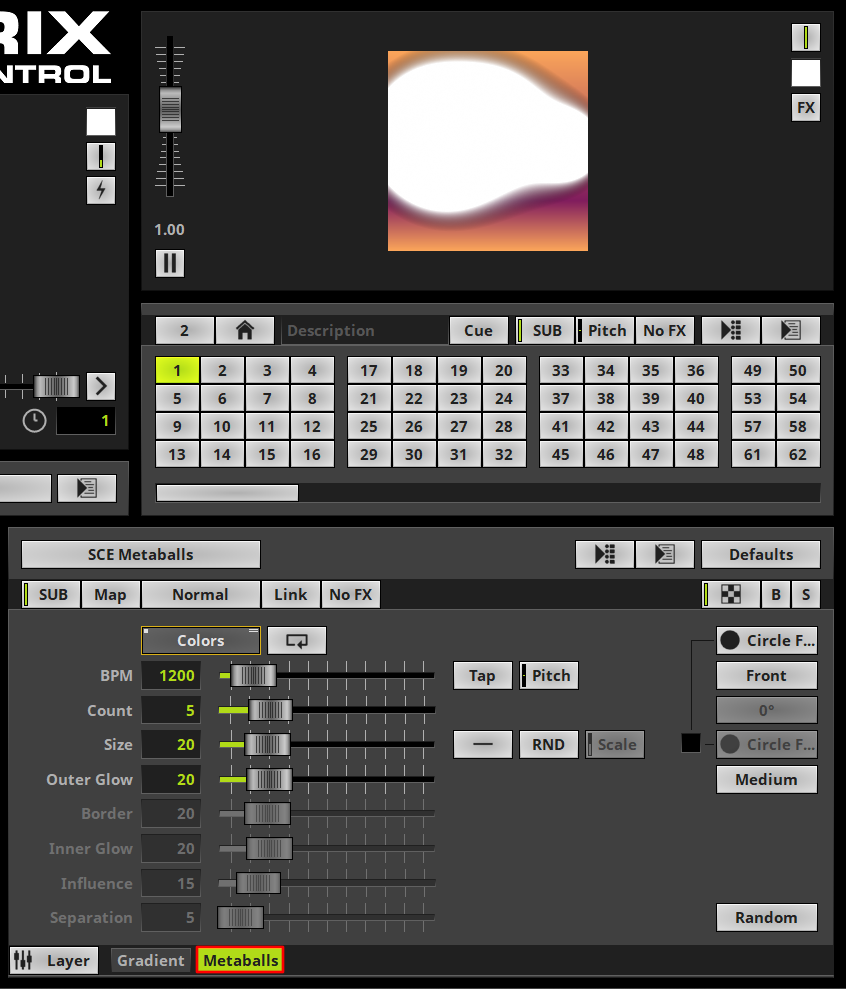
Now we activate the Metaballs layer of this effect.
|
8. |
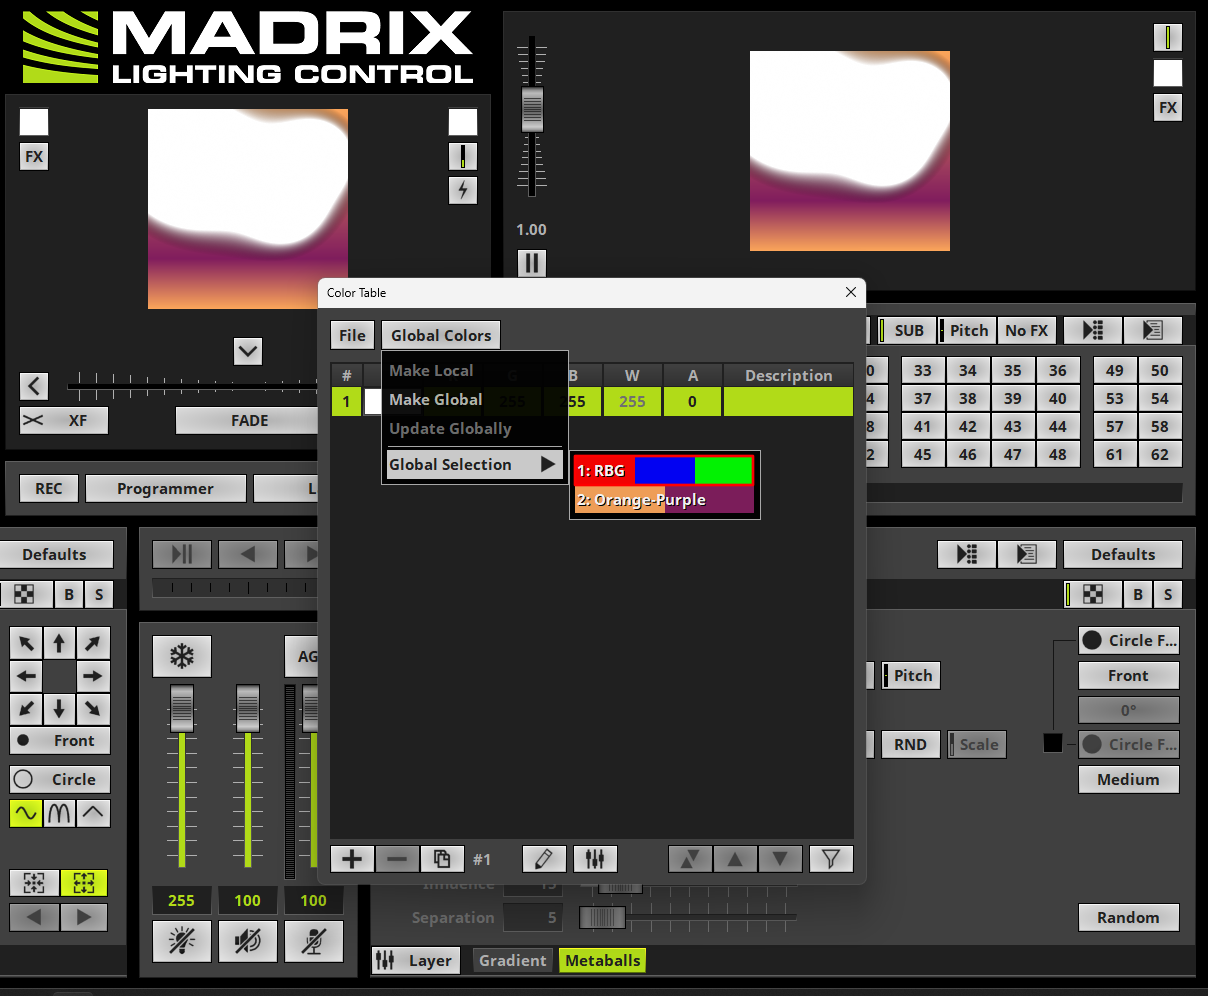
At the Metaballs layer we open the Color Table with a click at the Colors button on top of the effect settings. Now we can assign the required Global Color List: 1 (RGB) At the Color Table we click the Global Colors button and select Global Selection > 1: RGB from the context menu.
|
9. |
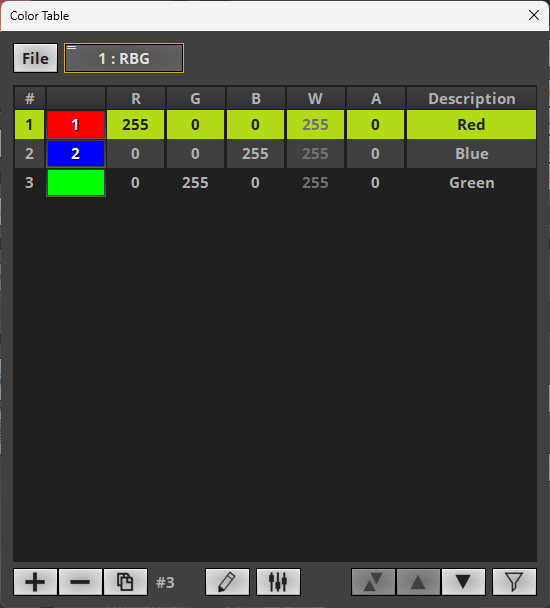
As soon as a Global Color List is selected we can find the Global Color ID and Description on the button. In the Color Table we can find all colors of this Global Color List. If the colors are Global Colors, the Global Color ID will be displayed at the color field and the associated description can be found at the Description column of every entry.
|
10. |
Now we have assigned all Global Colors and Global Color Lists according to our task.
|


Congratulations! You have successfully learned how to work with Global Colors and Global Color Lists in MADRIX 5.