This tutorial shows you how to enable the output for DVI based fixtures.
Date: 11/2019
MADRIX Version: 5.2 (Created with)
Corresponding Video Tutorial: »Enable The Output For DVI-Based Fixtures
Note:
•DVI based fixtures are fixtures which are connected to an output port of your graphic card like a Scaler of LED Walls, Monitors, Projectors. The connection can be DVI, HDMI, VGA, Display Port.
•We will work with the result of this exercise in the tutorial »Configure DVI Based Fixtures.
Task:
In this tutorial we will enable the output for a DVI Wall with the resolution of 160 x 90 as patched in the Tutorial »2D Patch With The Matrix Generator For DVI Output.
1. |
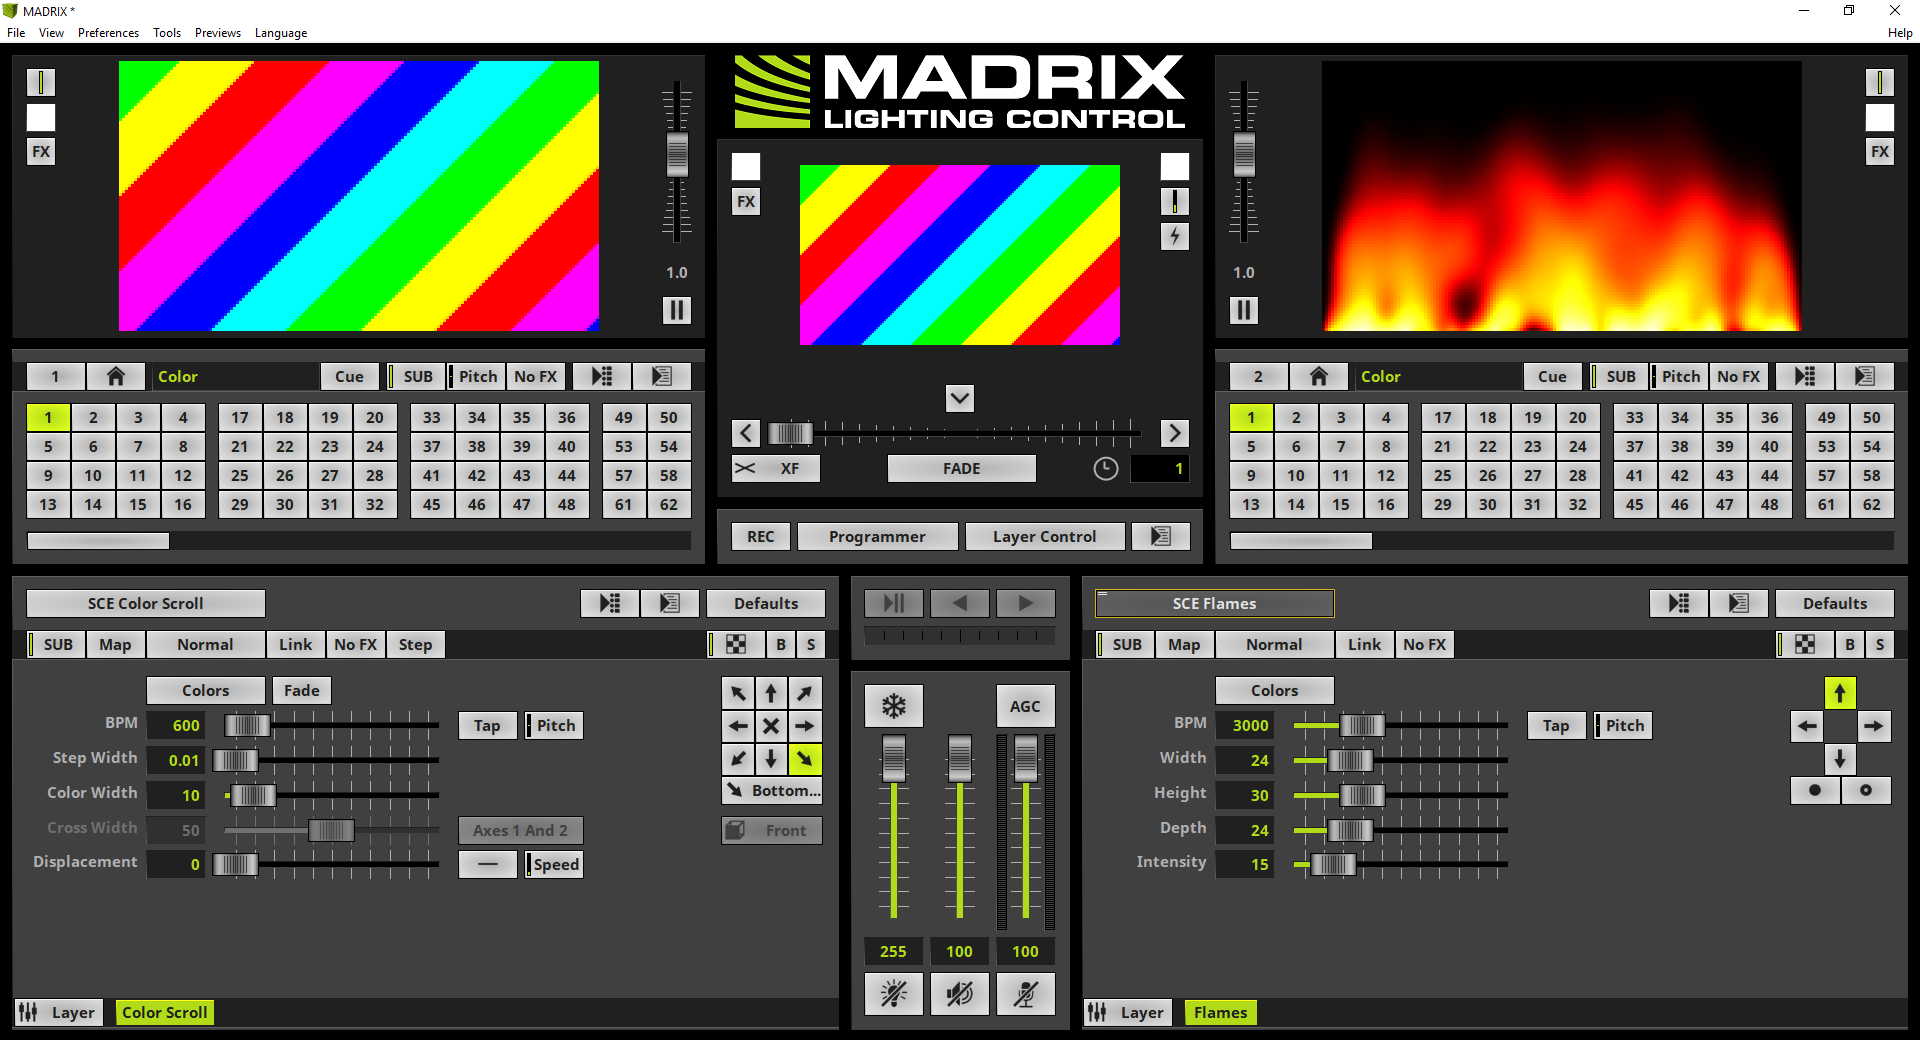
Please create or load the MADRIX Patch like explained in the Tutorial »2D Patch With The Matrix Generator For DVI Output. Please note: It is very important that the patch consists of DVI fixtures.
|
2. |
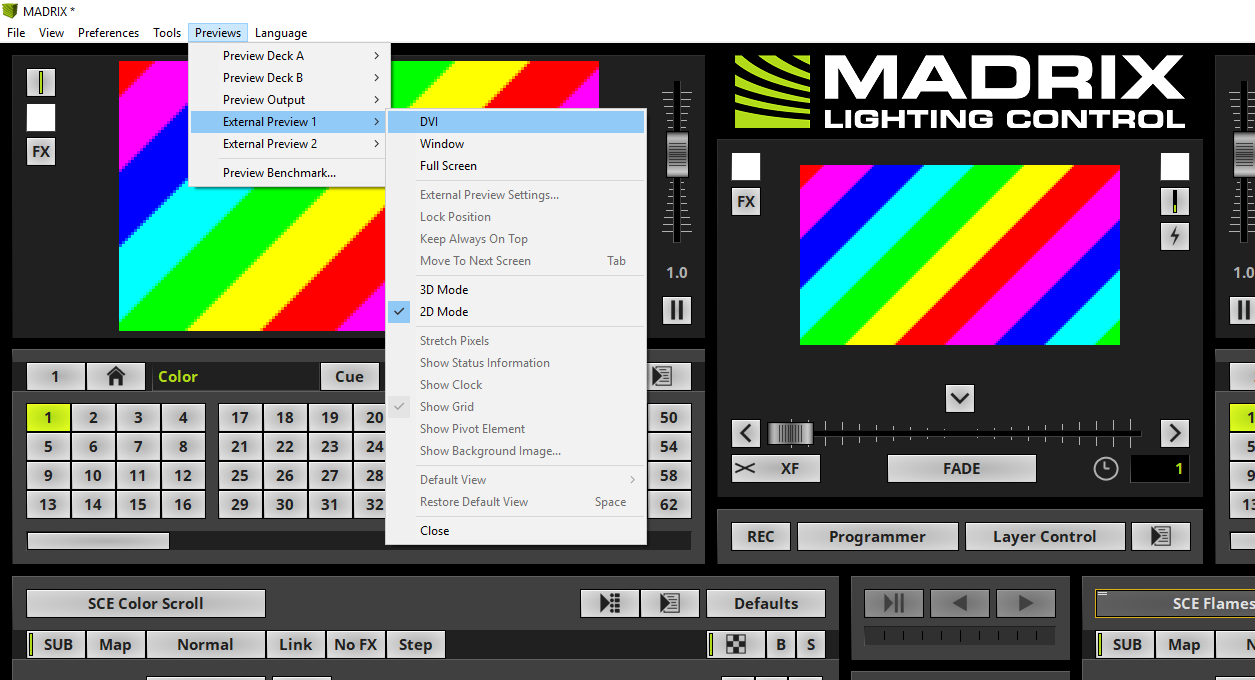
When we want to send the output data to a connected DVI Wall which is connected to an additional graphic card output, we have to open a DVI Preview window. Therefore please go in MADRIX to Previews > External Preview 1 > DVI.
|
3. |
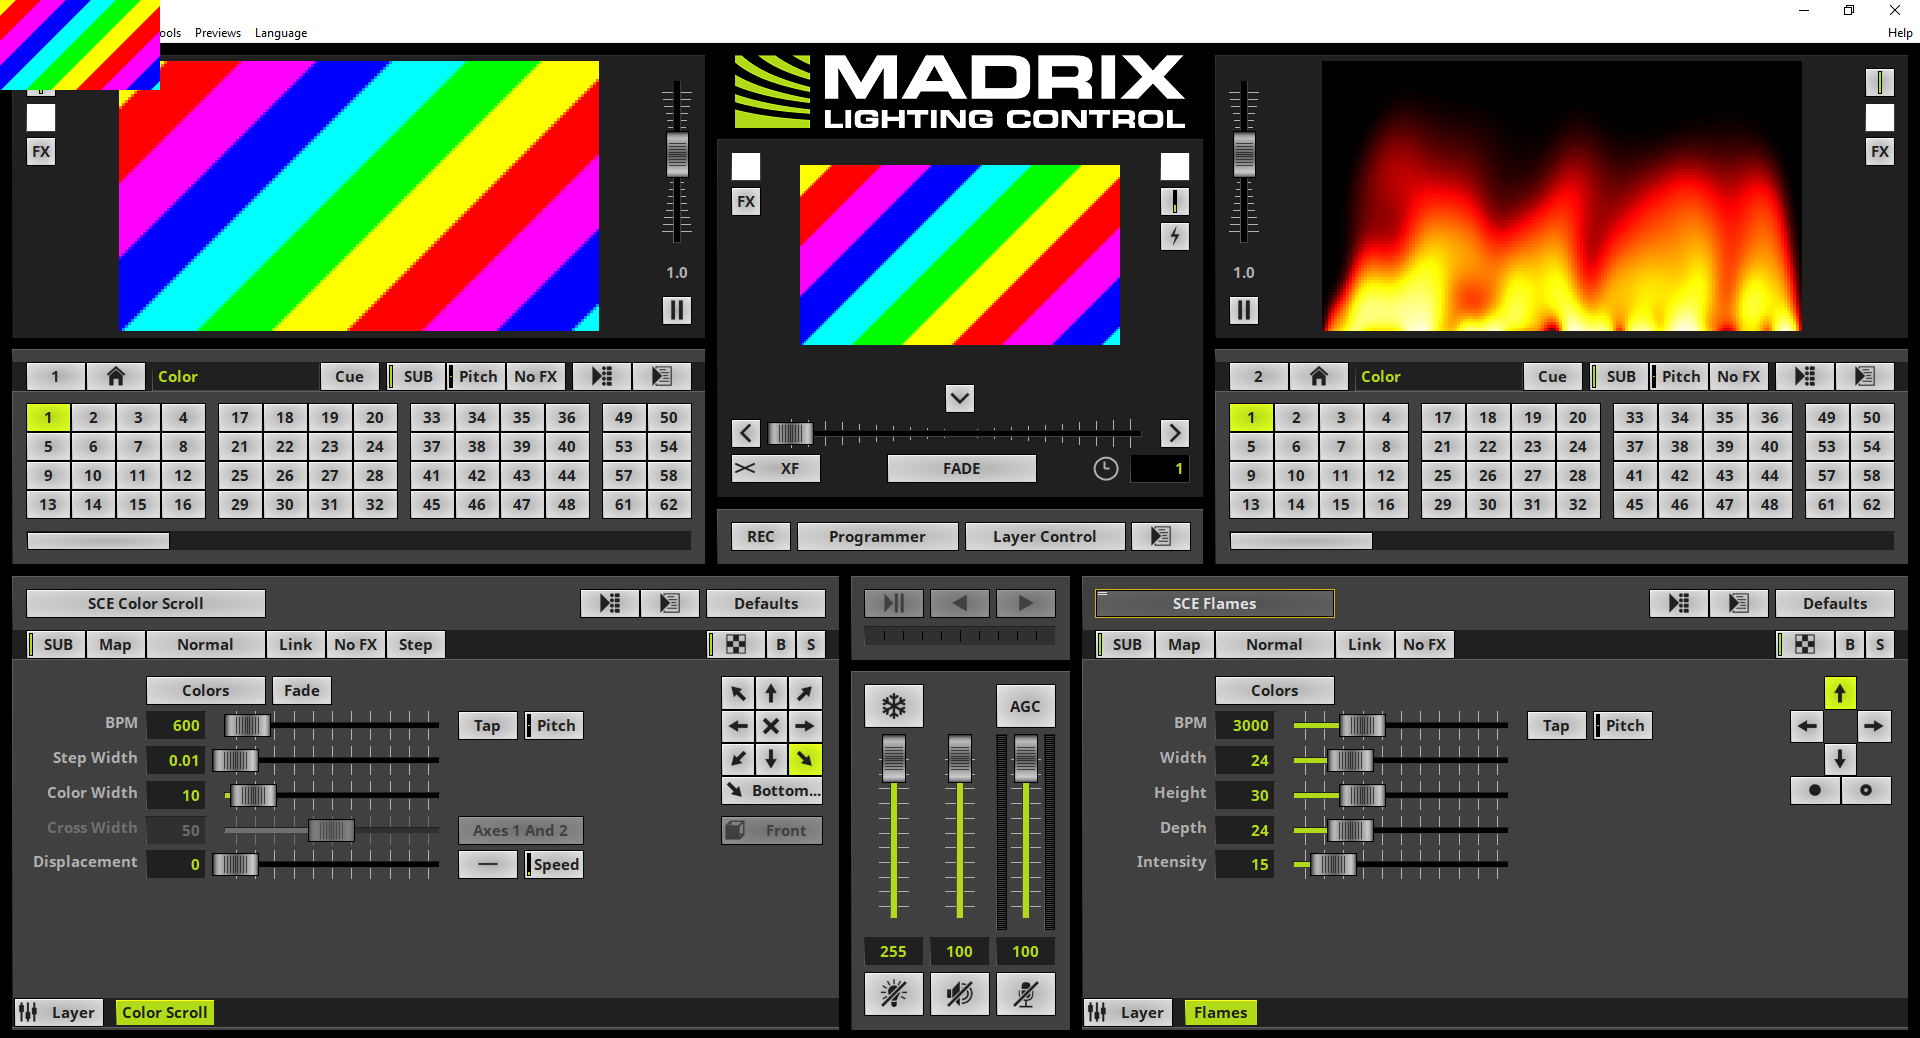
After you enabled the External DVI Preview window you will find it by default at the at the Top Left Corner of the MADRIX User Interface. Now you can move this Window via Drag & Drop to the position where the connected DVI Wall is capturing the signal.
You can find more information about the configuration of the DVI Preview Window in the tutorial: »Configure DVI Based Fixtures.
|
Congratulations! You have successfully learned how to enable the DVI Preview Window in MADRIX 5.


