In this tutorial you will learn how to modify cue segments of the timeline in MADRIX 5.
Date: 06/2022
MADRIX Version: 5.5 (Created with)
Corresponding Video Tutorial: »Modify Cue Segments In The Timeline Editor
Note:
In this tutorial we will work with the result of the tutorial: »Modify Audio Files
Task:
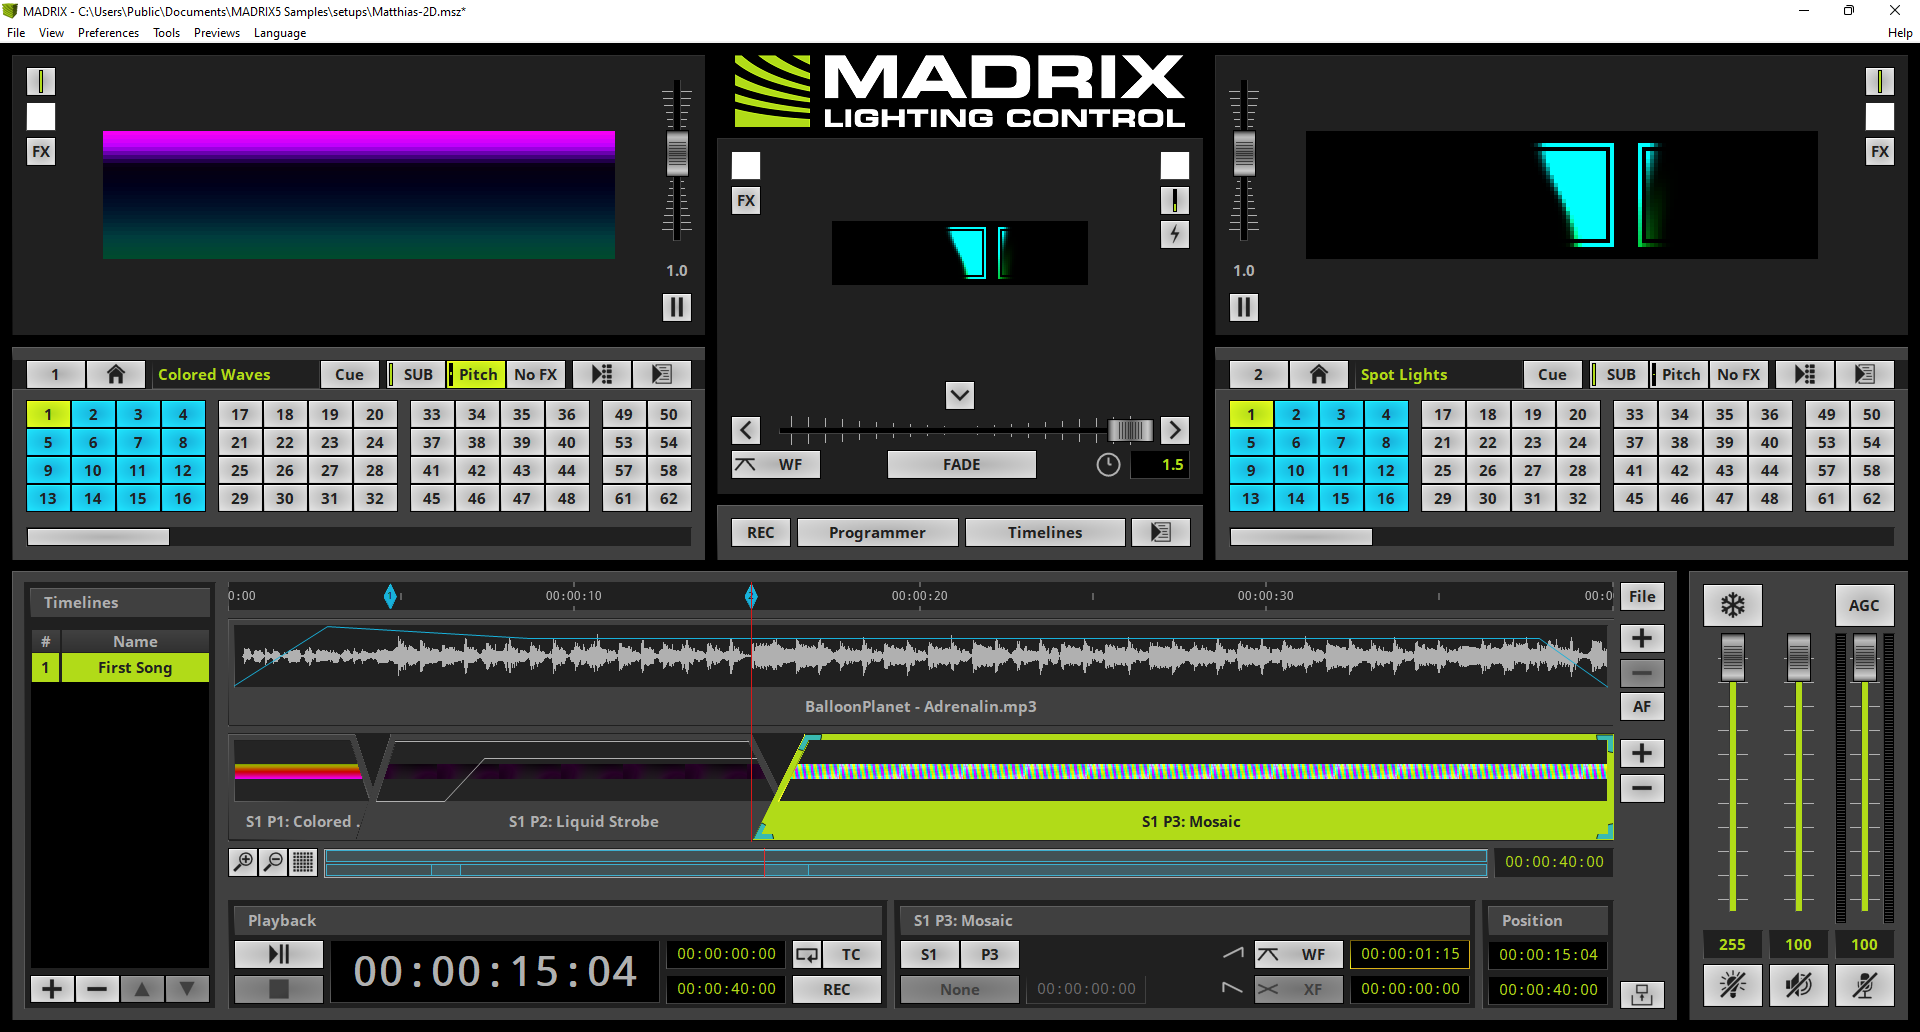
As task we have to modify the timeline in the following way:
•Trim the timeline to 40 seconds playback time
•Add a Crossfade between Cue Segment 1 and 2 of 1 second
•Add a Whitefade between Cue Segment 2 and 3 of 1 second 15 frames
•Fade-in the Layer Opacity of Layer 1 and Layer 2 of Cue Segment 2 with different values
1. |
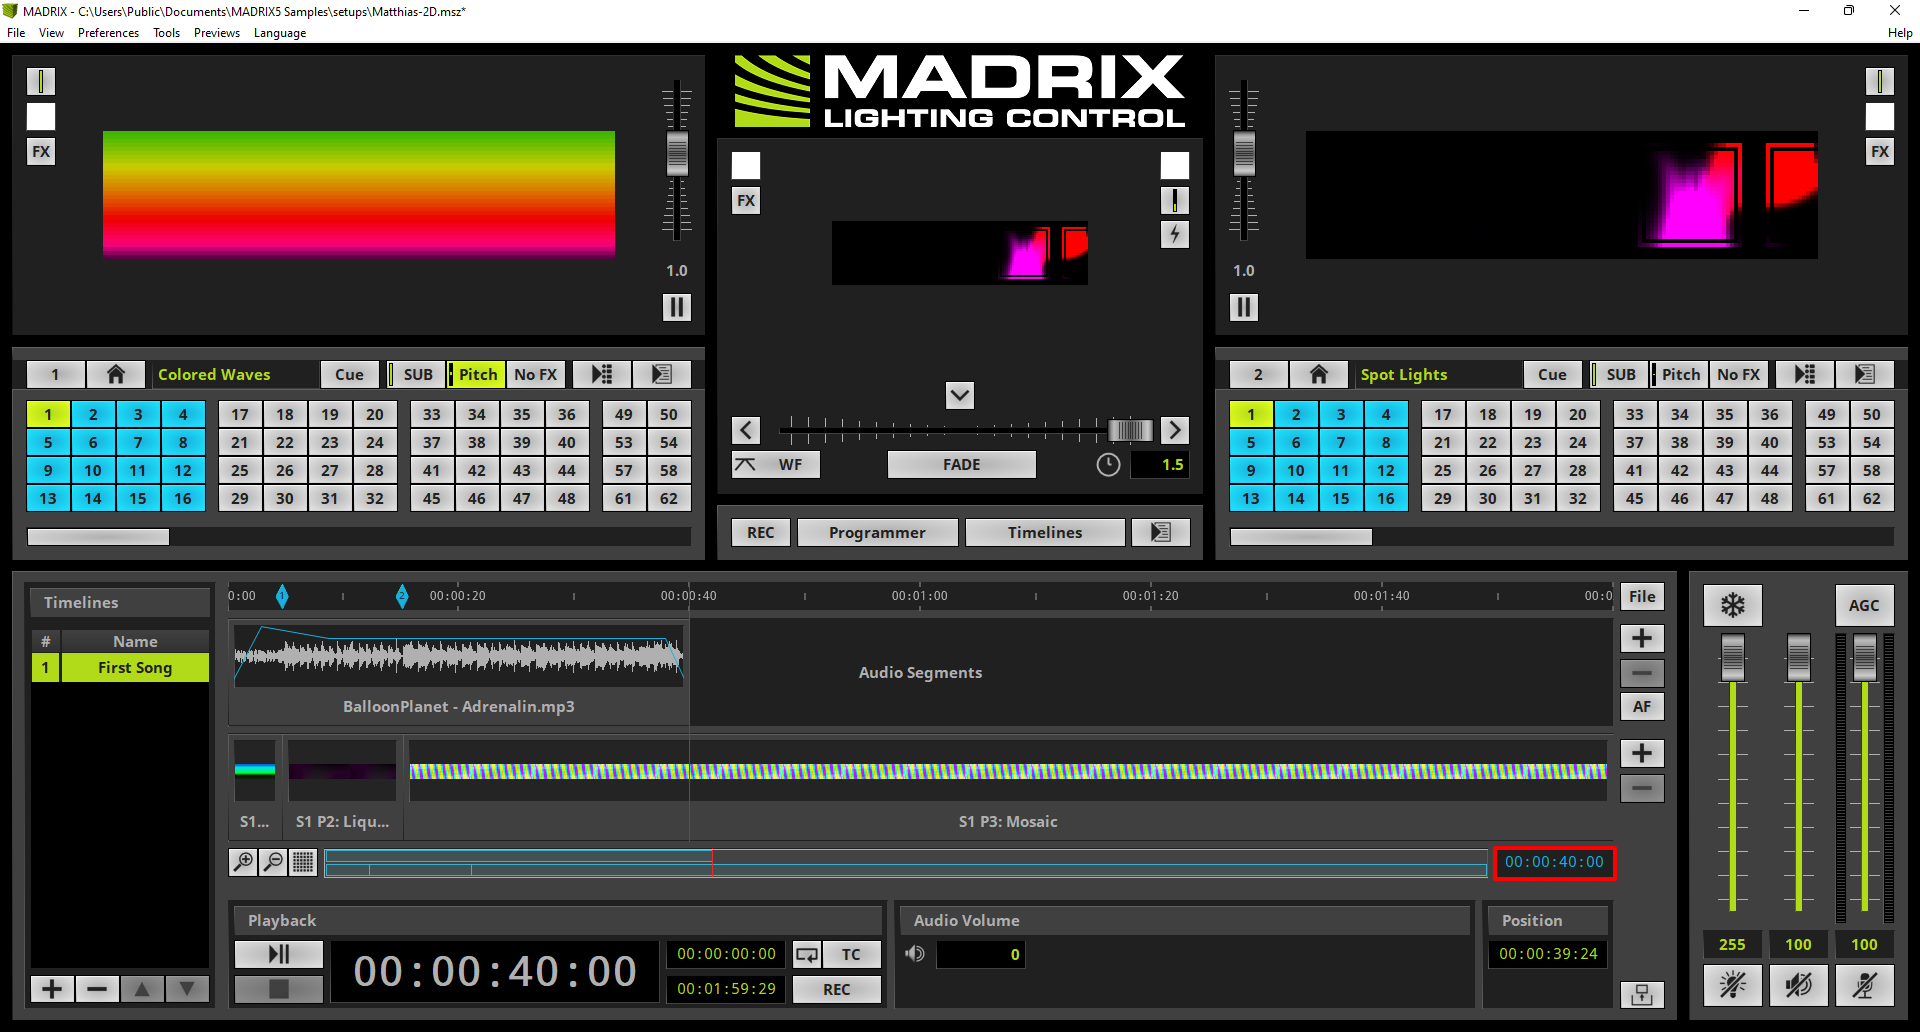
According to your task we want to trim the length of the timeline to 40 seconds. Therefor we navigate to the Timeline Duration settings and type 00:00:40:00.
|
2. |
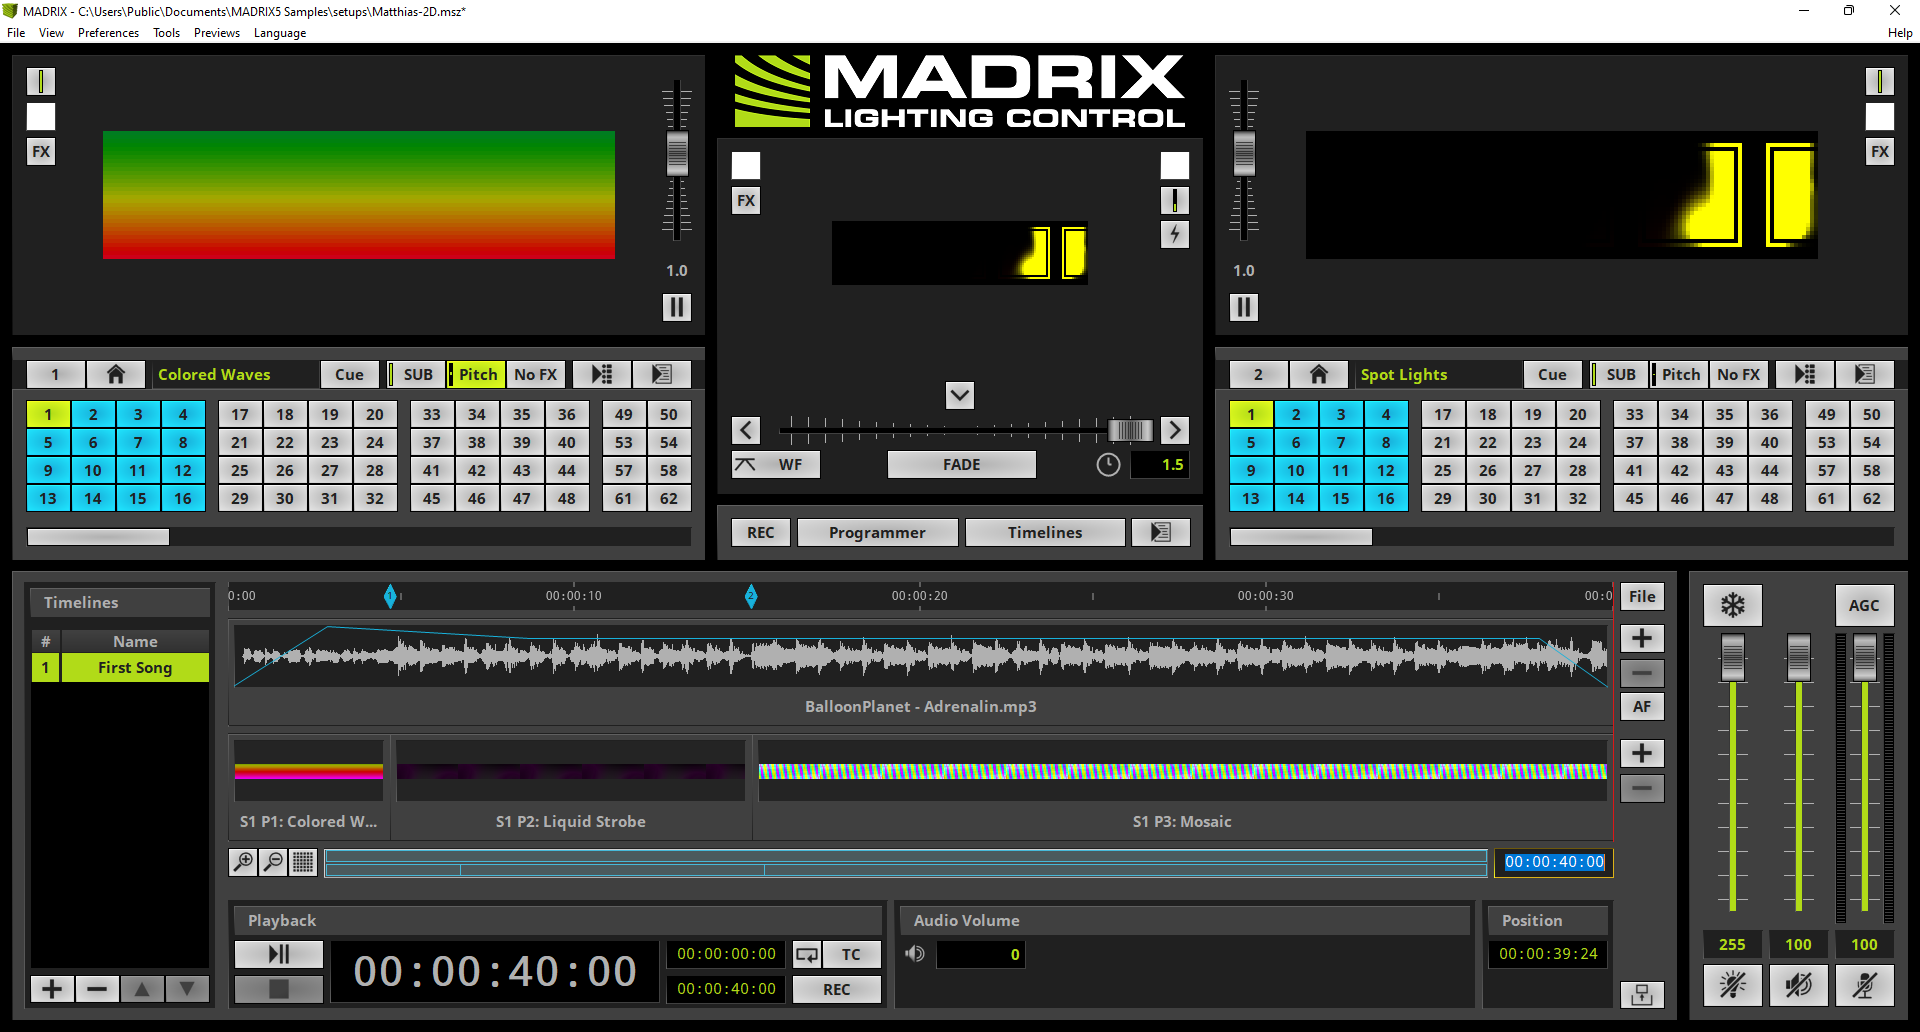
After pressing Enter on the keyboard the duration of the timeline will be set to 40 seconds.
|
3. |
In this step we want to modify Fade Time between Cue Segment 1 and Cue Segment 2. To modify it simply select the first Cue Segment and now you can grab the top corner of it and move it to the left. Furthermore you can double check and set the fade out time with the help of the Settings section. According to our task we have to set a fade time of 1 second.
|
4. |
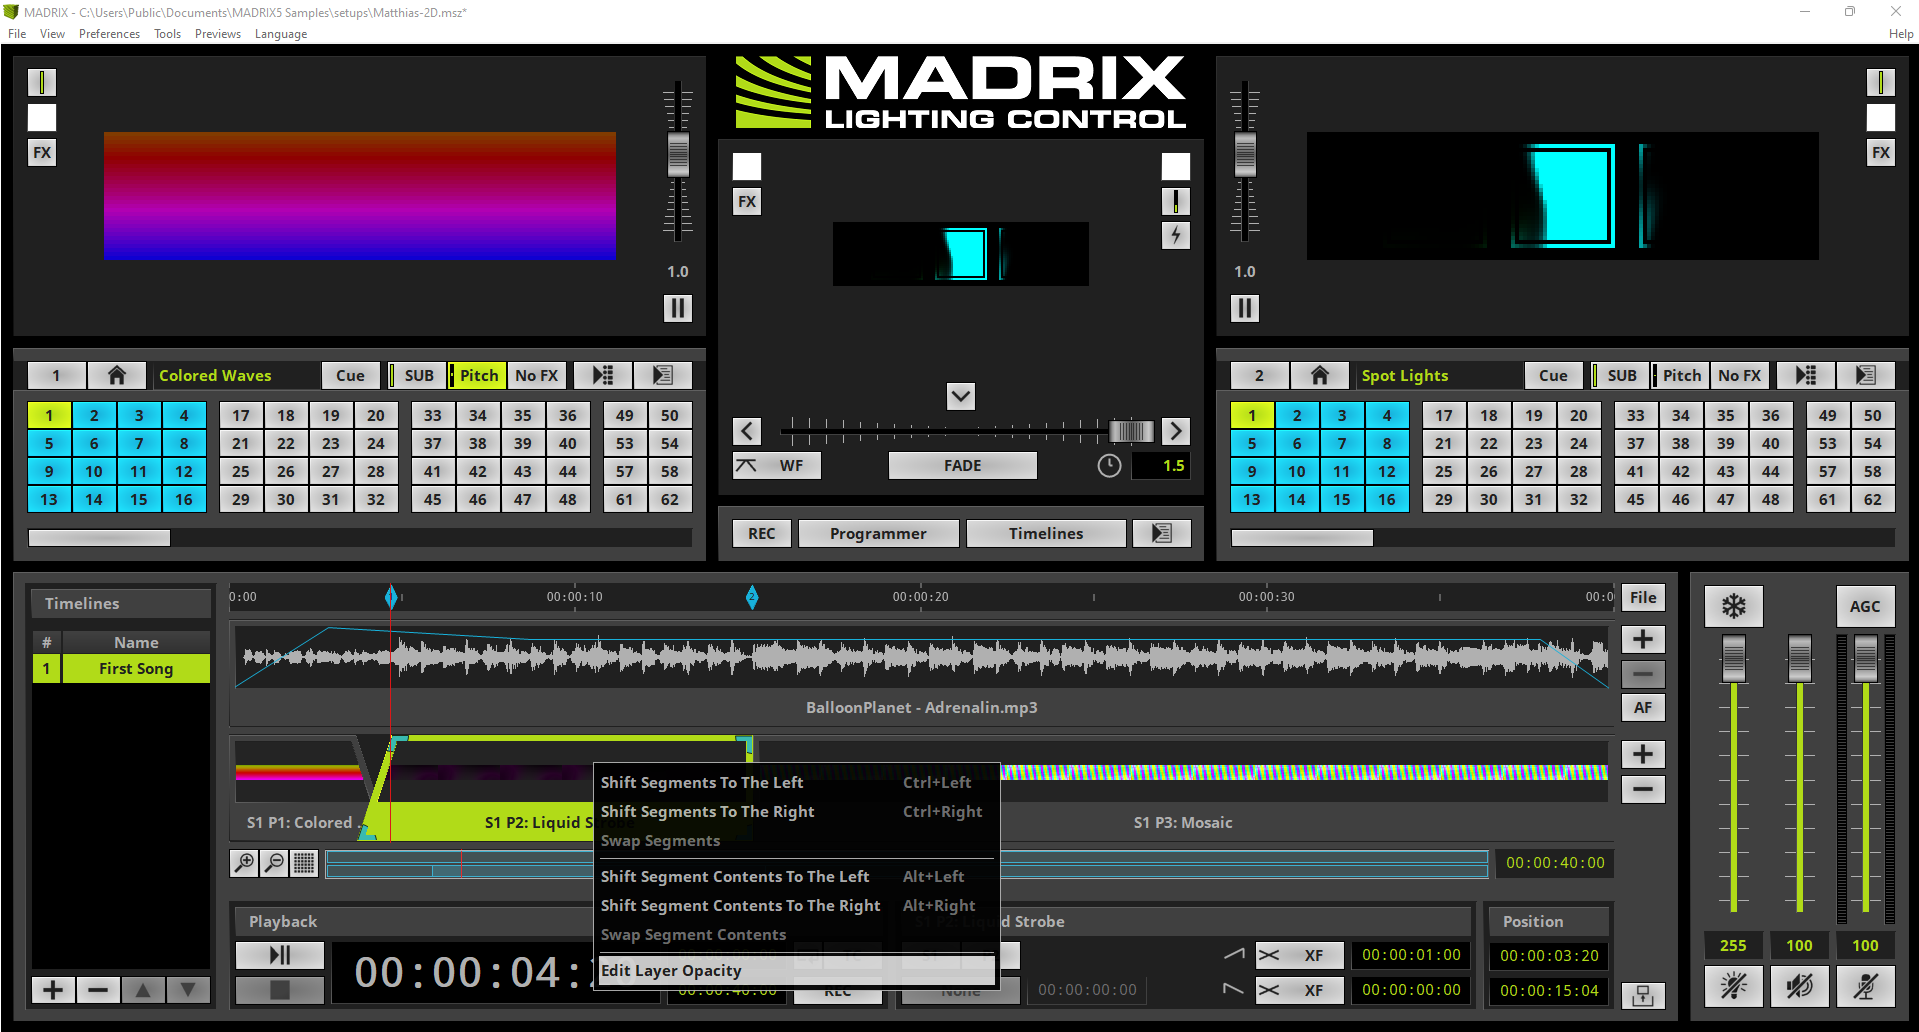
Now we want to modify the Layer Opacity of the second Cue Segment. We select the second one and perform a right click at the Cue Segment. In the context menu we select Edit Layer Opacity.
|
By default the modification of the Layer Opacity of Layer 1 is selected. According to the task we have to create a fade-in for Layer 1 and Layer 2. So we add 2 layer opacity adjust points. One point should be set at position 0 with value 0 of the second Cue Segment and the second one should be placed at a desired position. In this example it will be placed at 1 second 1 frame with the value 255.
Note: •To add a layer opacity adjust point simply click at the selected Cue segment. If you grab a point you can change the time and the opacity value via your mouse. •You will be able to modify a selected layer opacity adjust point with the help of the Settings section to set concrete values for the timing and layer opacity.
|
|
6. |
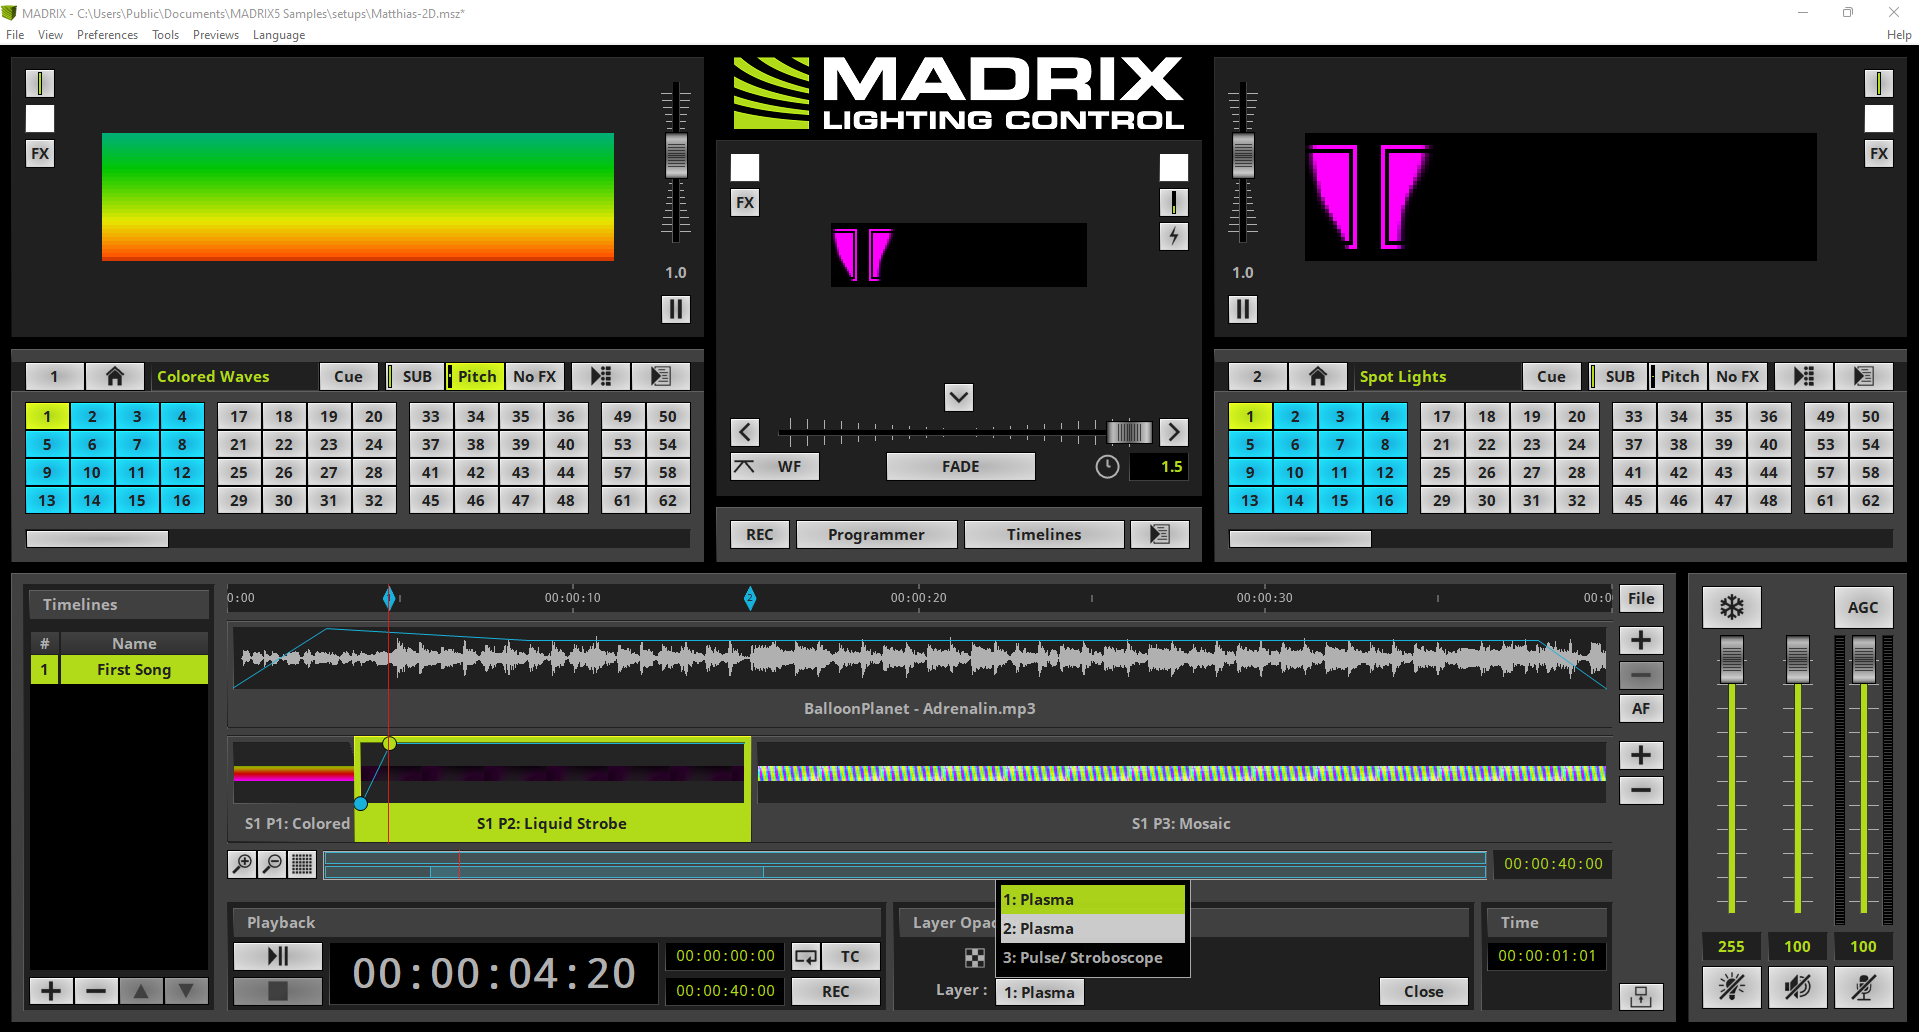
In this step we want to start the modification of the Layer Opacity for the second Layer. Therefor we click the Layer button at the Settings section and select 2: Plasma.
|
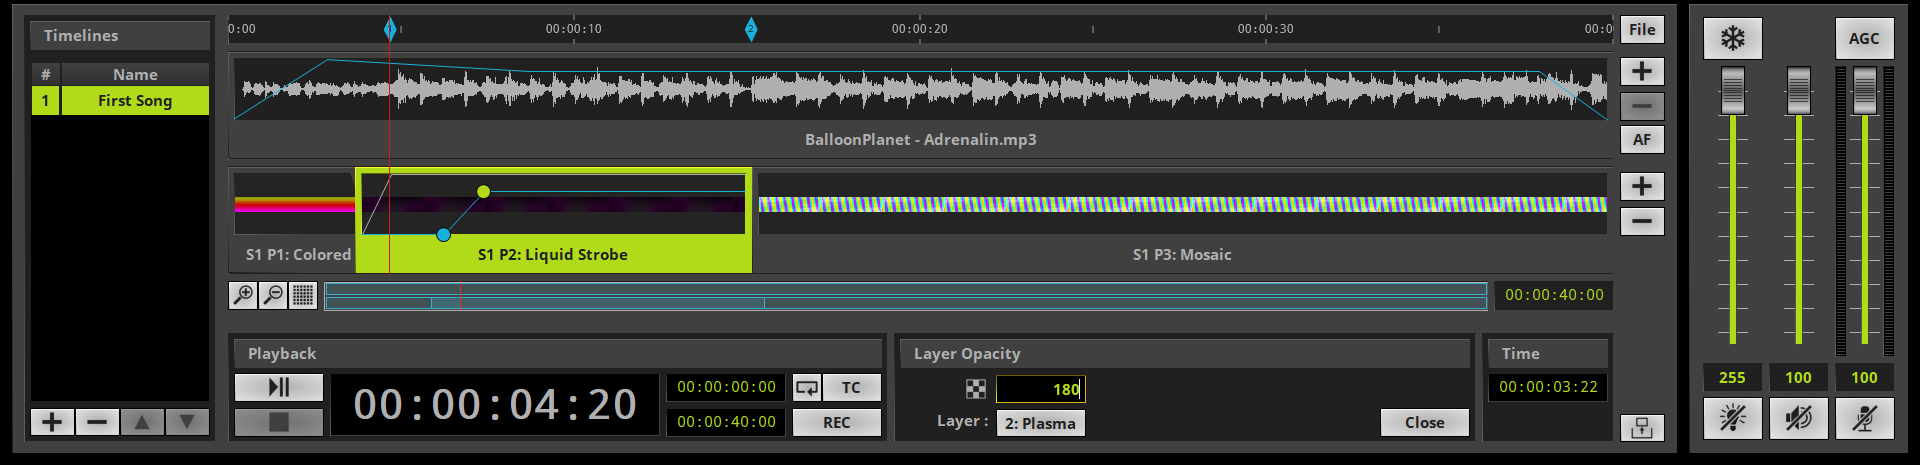
7. |
We want to add again 2 layer opacity adjust points. This layer should faded in with a delay. So we add one point at a desired position with value 0 and the second one should be placed at a desired position behind position of the first one with the value 180.
|
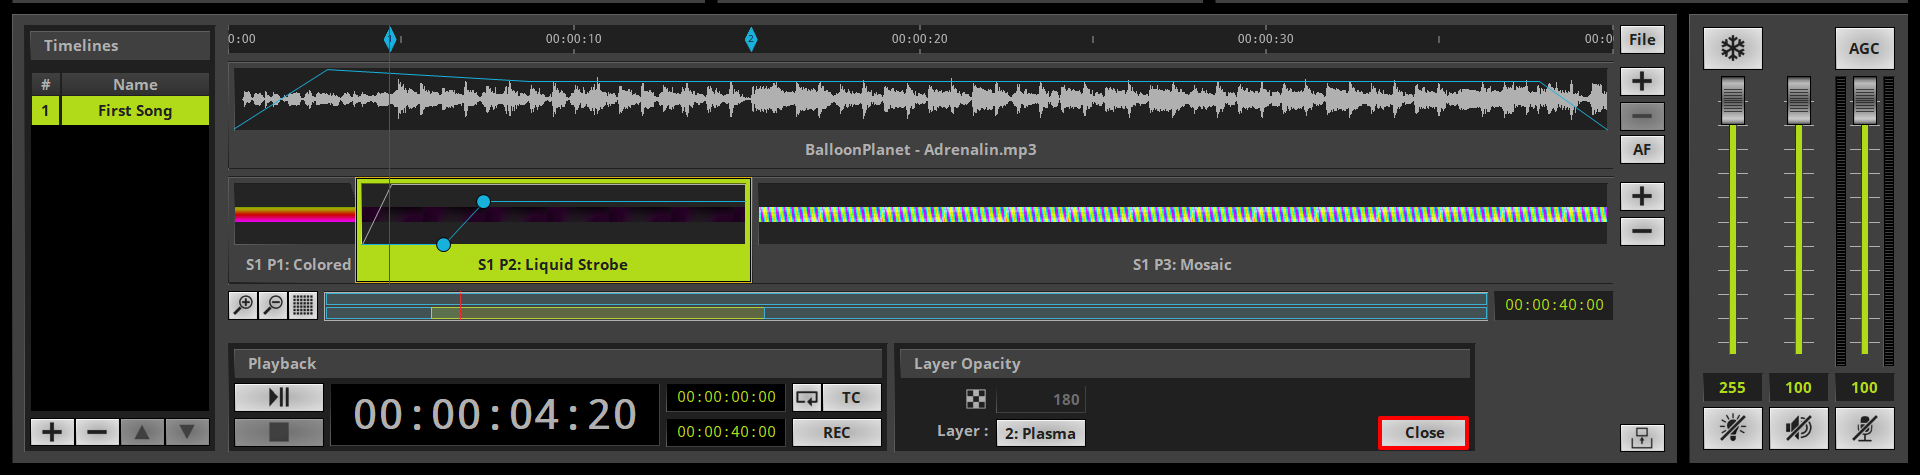
8. |
After all Layer Opacity settings are done we can close the settings for it. Therefor we click the Close button at the Settings section.
|
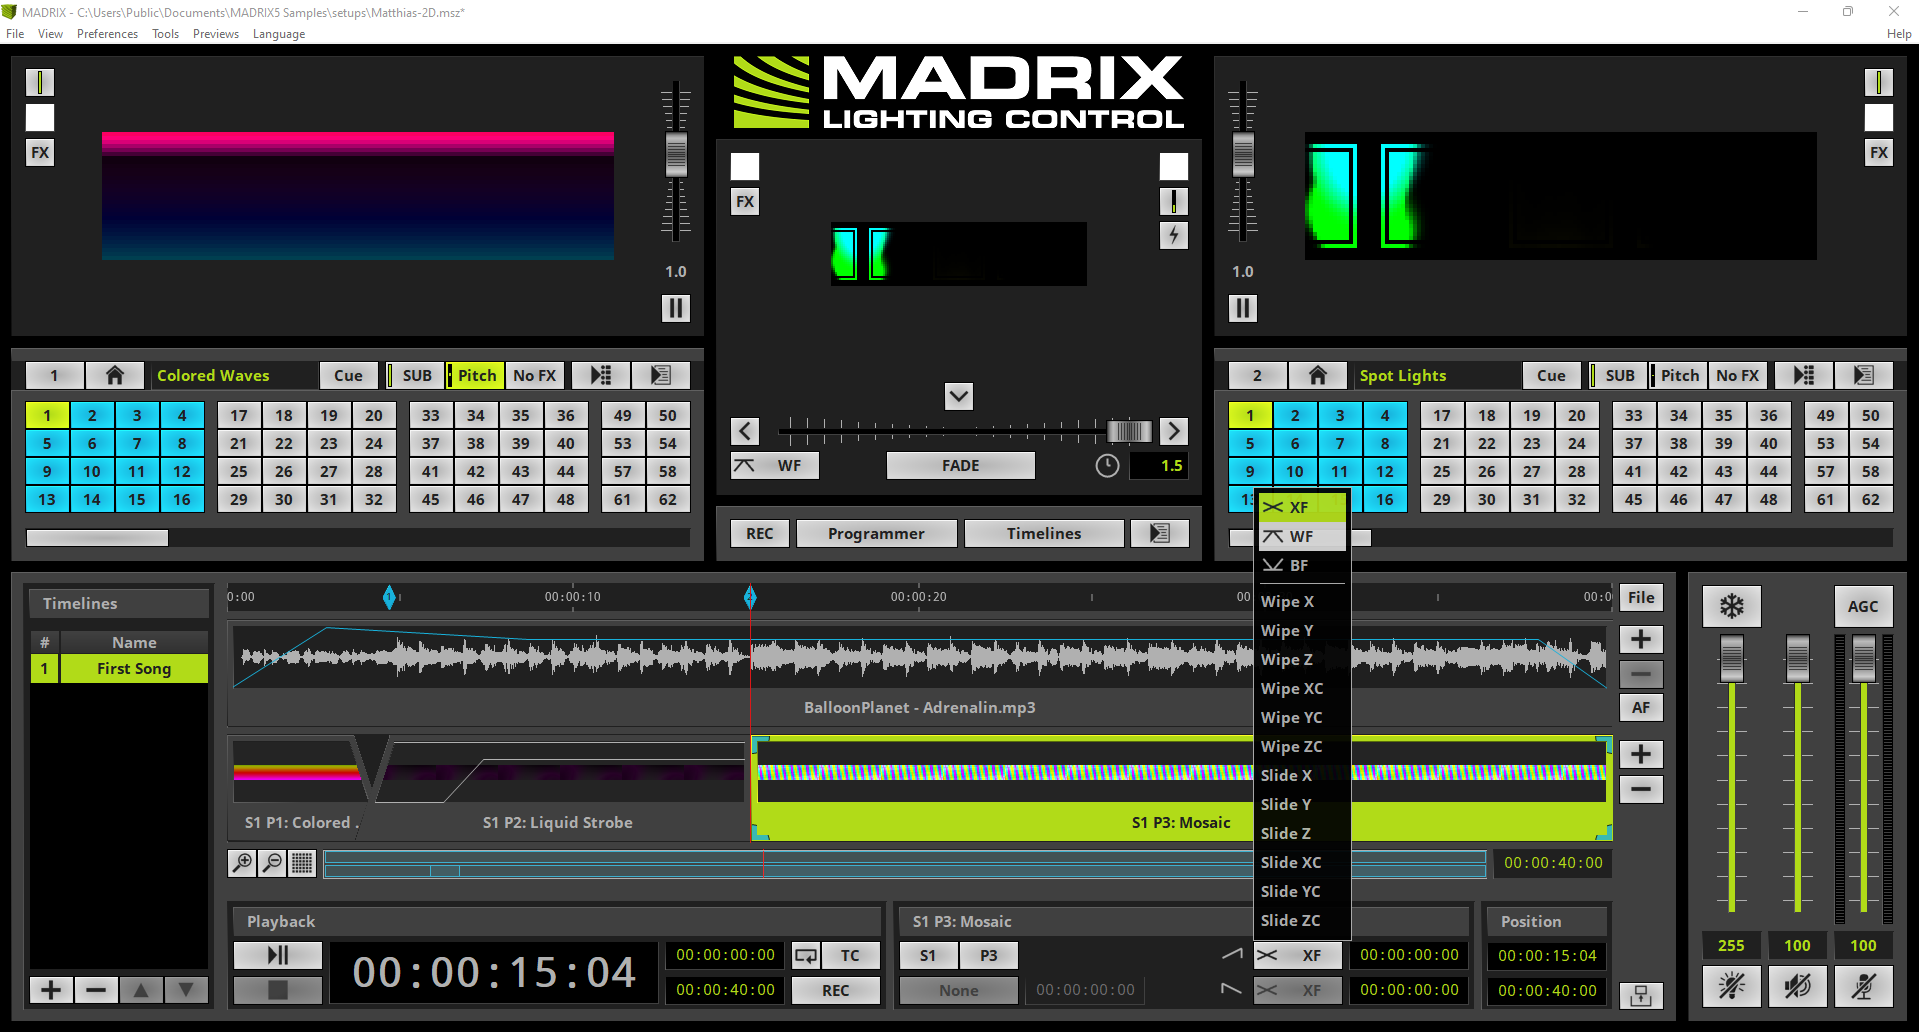
9. |
In this step we want to change the fade type for the fade between Cue Segment 2 and 3 to White Fade. To perform this modification we have to select the third Cue Segment. Now we click the Fade-In type button and select WF.
|
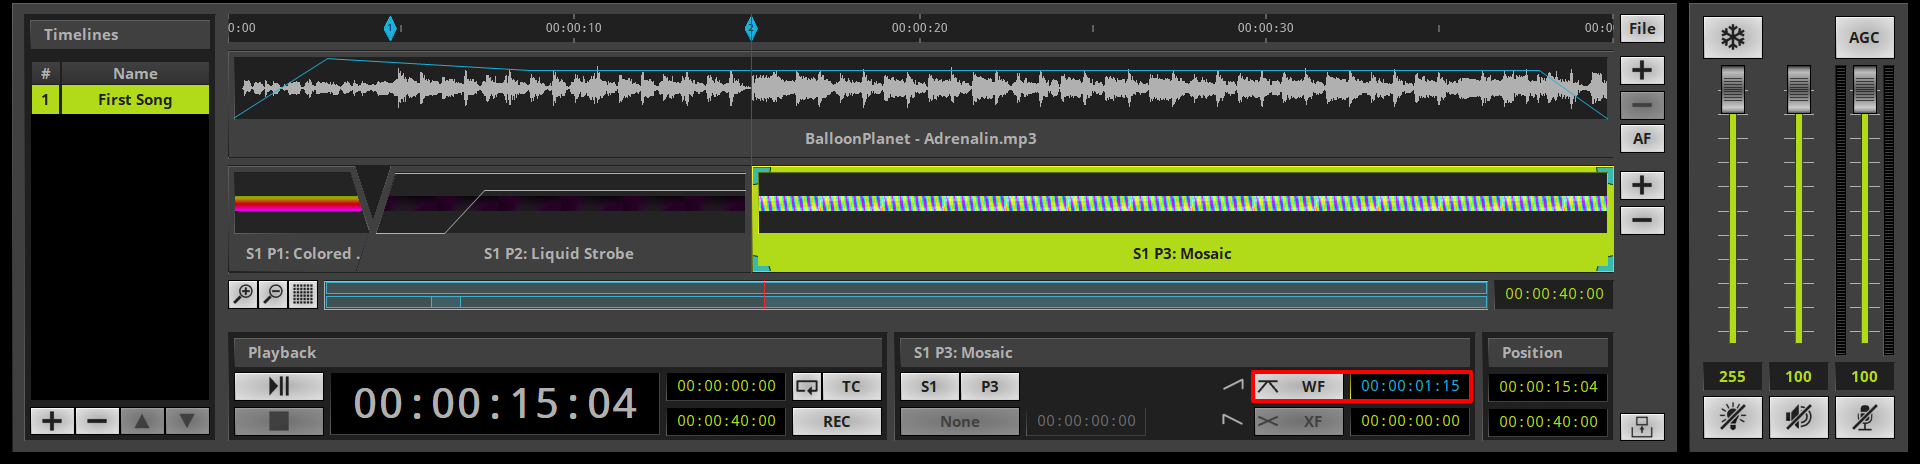
10. |
According to our task we have to change the Fade-In time to 00:00:01:15.
|
11. |
After pressing Enter the Fade-In Time will be accepted and we can see the modification at the Cue Segment.
|


Congratulations! You have successfully learned how to modify Cue Segments with the help of the Timeline Editor in MADRIX 5.