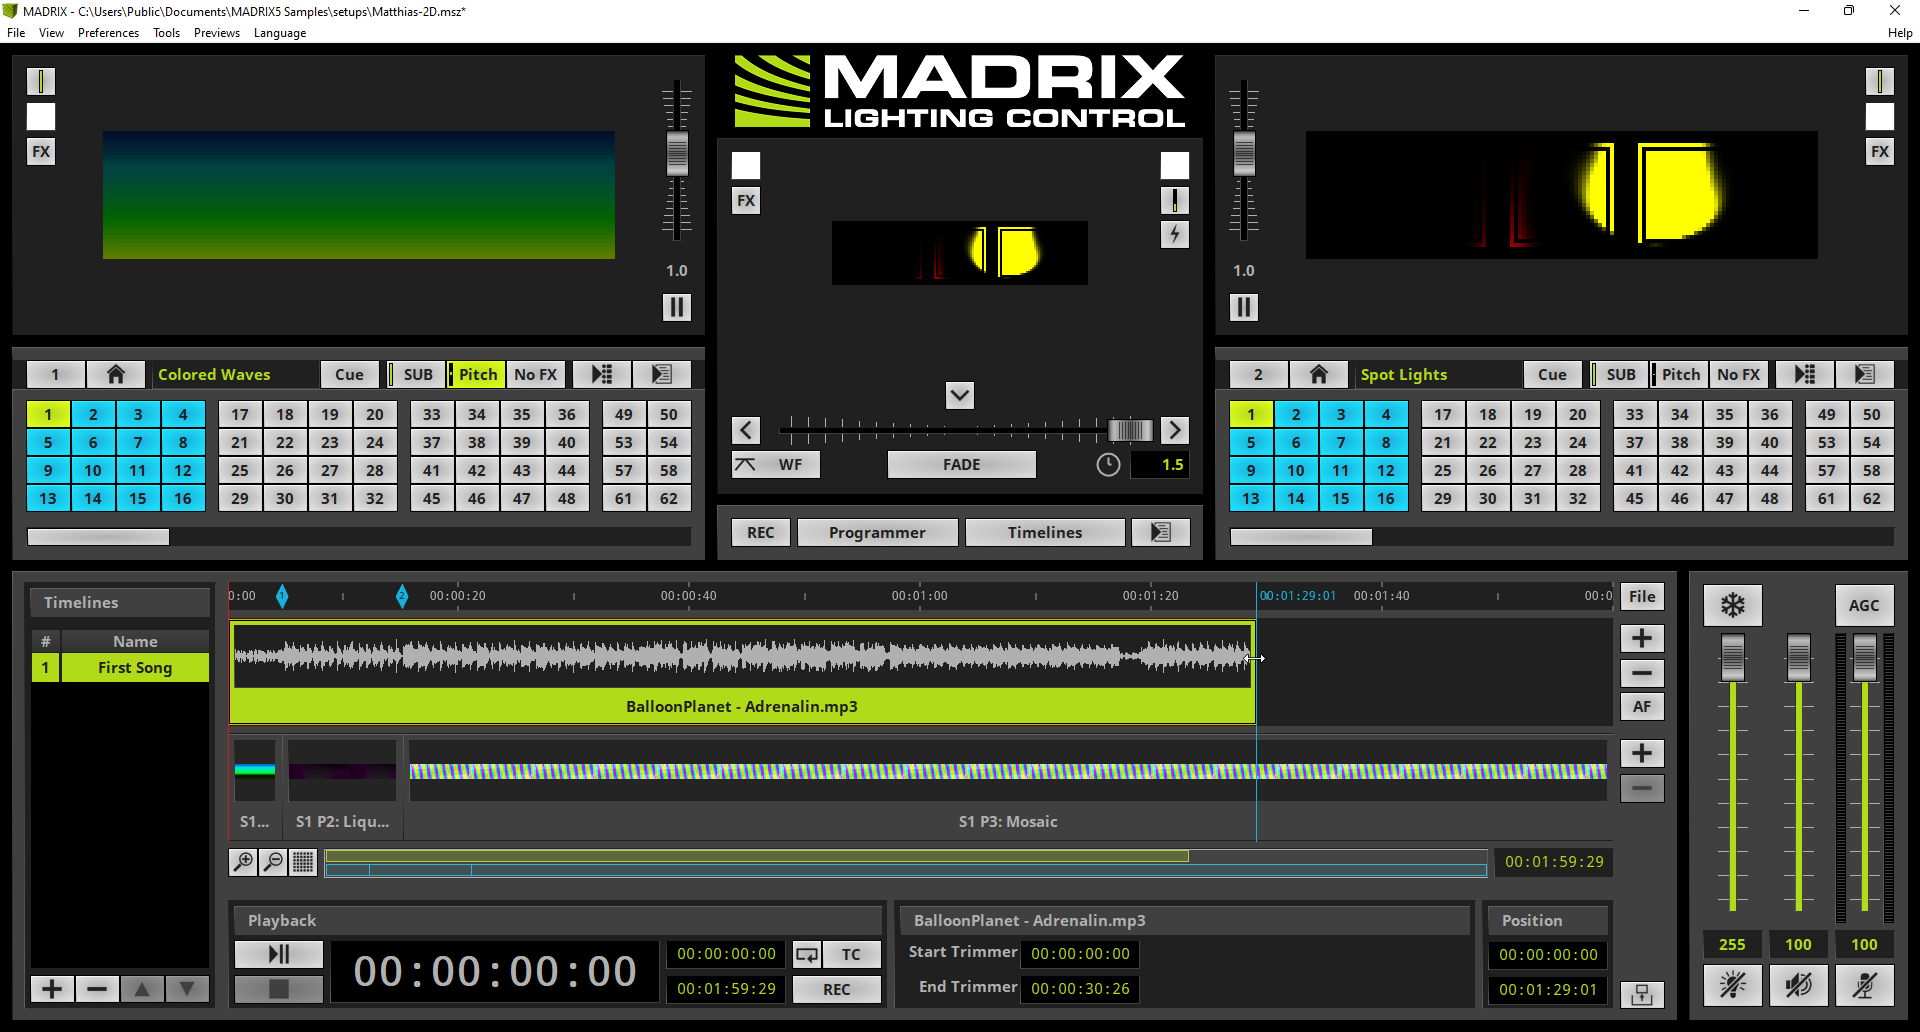
This tutorial shows you how to use modify audio files at the Timeline Editor in MADRIX 5.
Date: 06/2022
MADRIX Version: 5.5 (Created with)
Corresponding Video Tutorial: »Modify An Audio File In The Timeline Editor
Note:
•In this tutorial we will work with the created Timeline of the tutorial: »How To Create Timelines
•The result of this tutorial will be used in the tutorial: »Modify Cue Segments
Task:
In this tutorial we will trim the audio file to 40 seconds, modify the audio value to fade-in and fade-out the audio file. Furthermore we will change the value of it from 100 percent to 80 percent at a desired point.
1. |
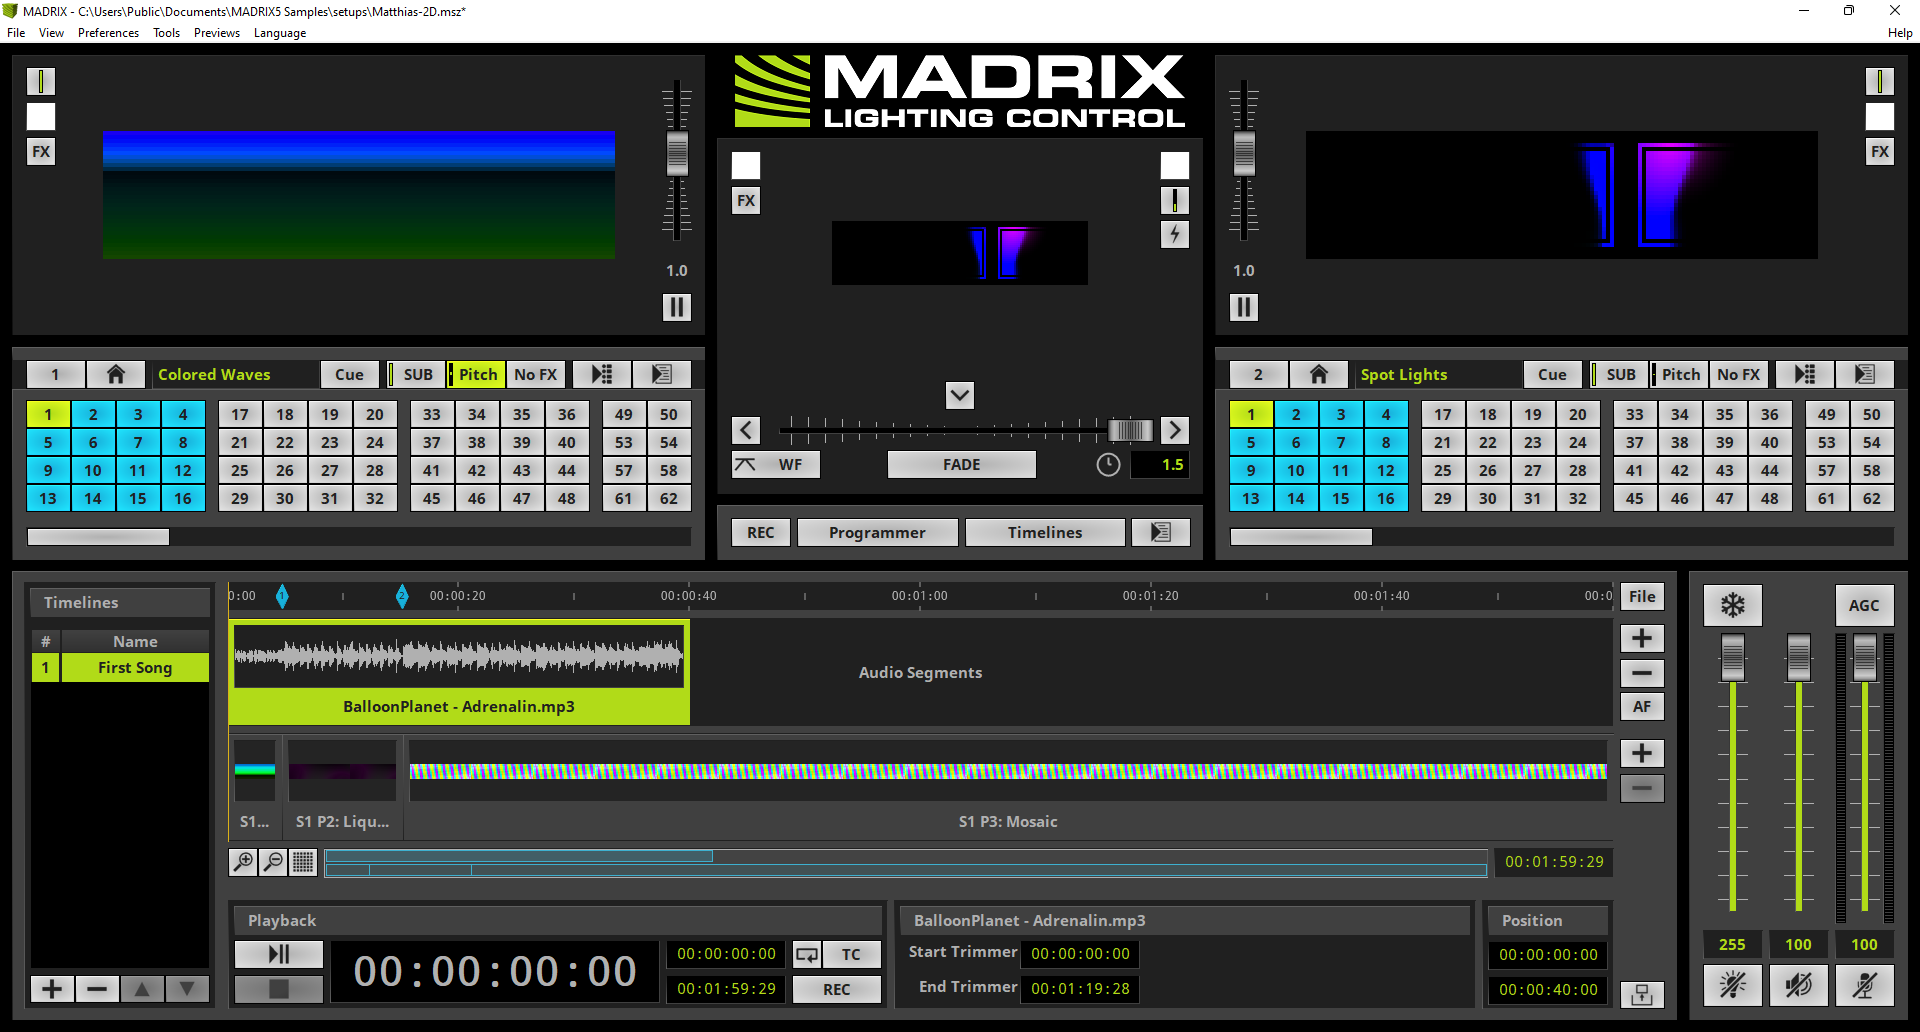
In the first step we want to trim the audio file. Therefor simply navigate with the mouse to the end of the audio track. The mouse pointer will change to a double arrow. Now please click and hold the left mouse button down and move the mouse.
|
2. |
According to our task we have we move the mouse to second 40 and we can release the mouse button.
|
3. |
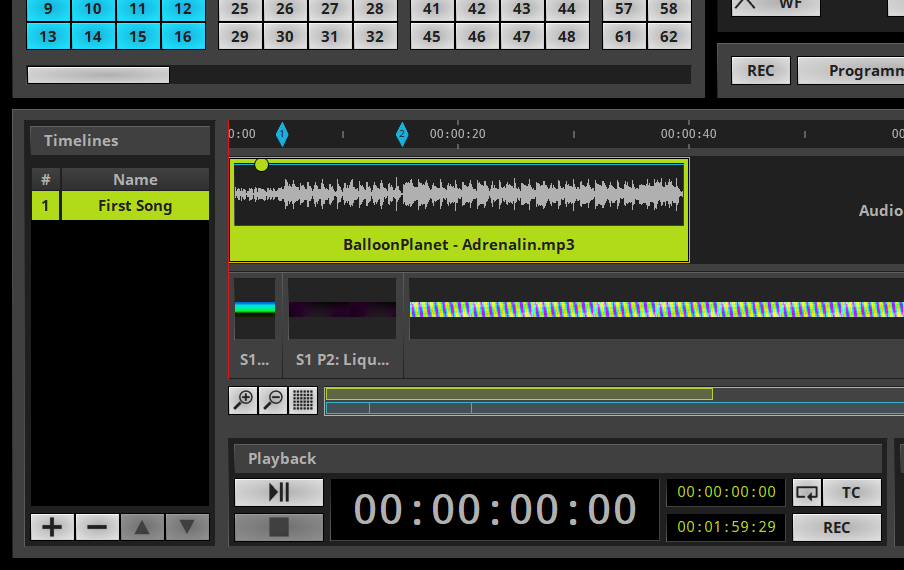
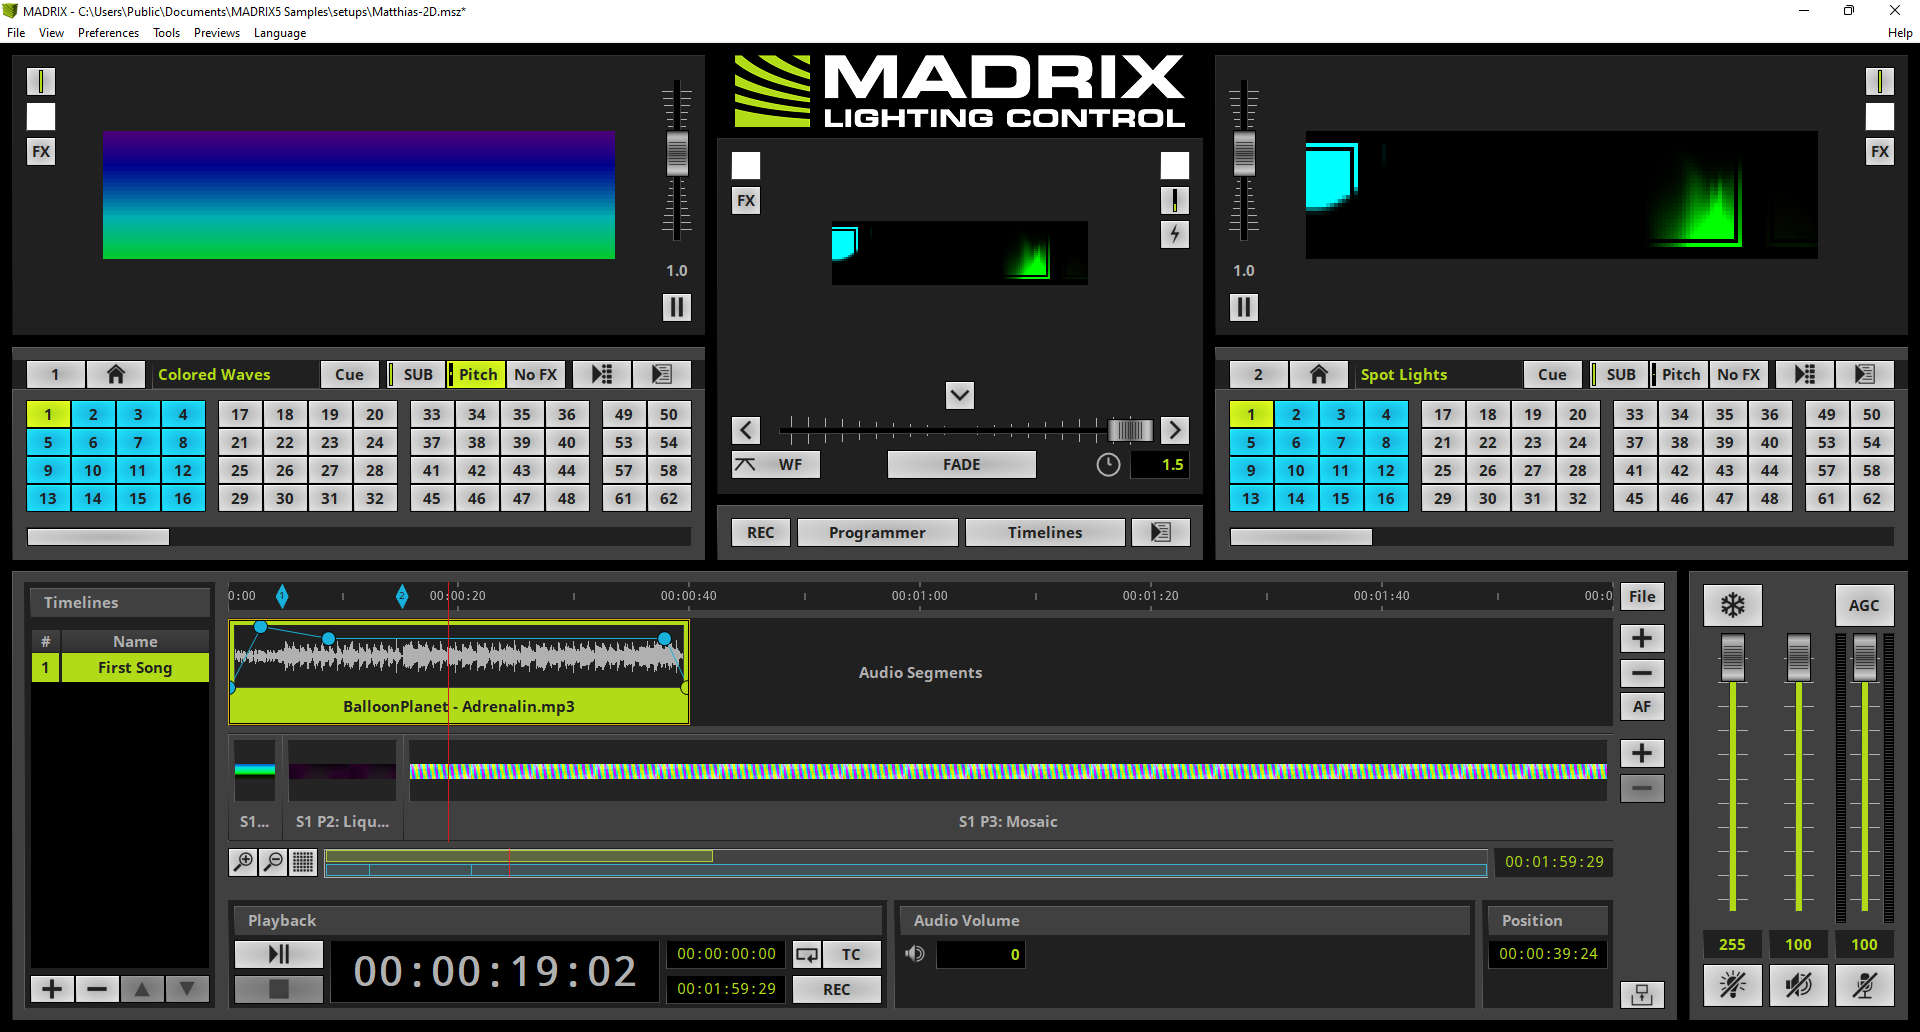
Now we want to modify the audio volume of the track. Therefor perform a click at a desired point at waveform of the track and a new level adjustment point will be inserted. In this example we will add one point at level 100 percent and approximately 1 second after the start.
Note: You can simply move the point via drag and drop
|
4. |
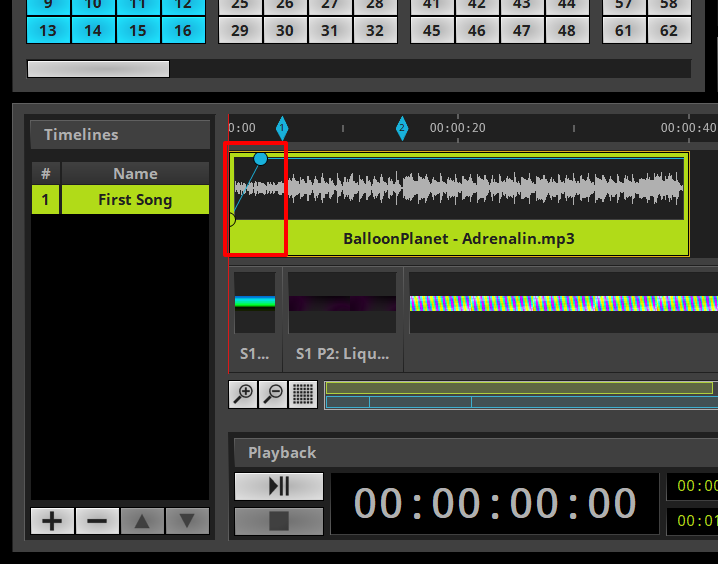
In this step we will add a second level adjustment point at the beginning of the track with the value 0.
With the help of these two points we have created a kind of fade-in effect for the audio file.
|
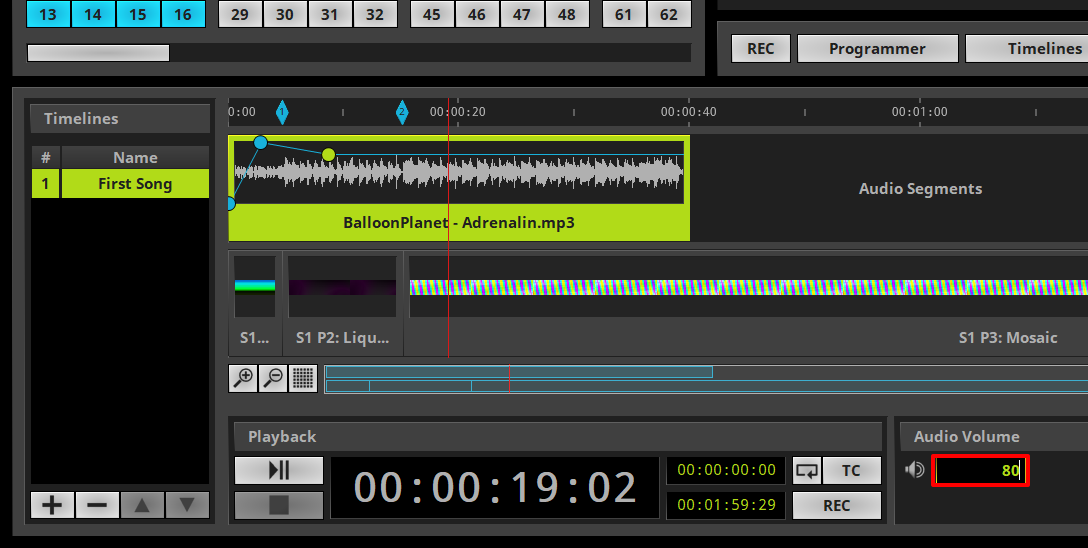
5. |
According to our task we want to add another level adjustment point at a desired position and change the audio volume to 80. Therefor we click again at the waveform at the Timeline Editor and we want to modify the value by typing the value 80 at the Settings section of the Timeline Editor.
|
6. |
Like the fade-in with 2 level adjustment points we want to create a fade-out. To insert a level adjustment point for the beginning of the fade-out we perform a click at second 39 in the audio track and ensure the volume is still set to 80. To double check please have a look at the Settings section. We want to add a last level adjustment point at the end of the trimmed track and we change the value to 0. Now we have created a kind of fade-out effect for the audio track at the end of track.
Note: In the Settings section you will always be able to modify the selected object.
|
Congratulations! You have successfully learned how edit an audio track with the help of the Timeline Editor in MADRIX 5.