This tutorial shows you how to create a timeline with the help of the Timeline Editor in MADRIX 5.
Date: 06/2022
MADRIX Version: 5.5 (Created with)
Corresponding Video Tutorial: »Create A Timeline
Note:
The result of this tutorial will be used in the tutorial »Modify Audio Files
Task:
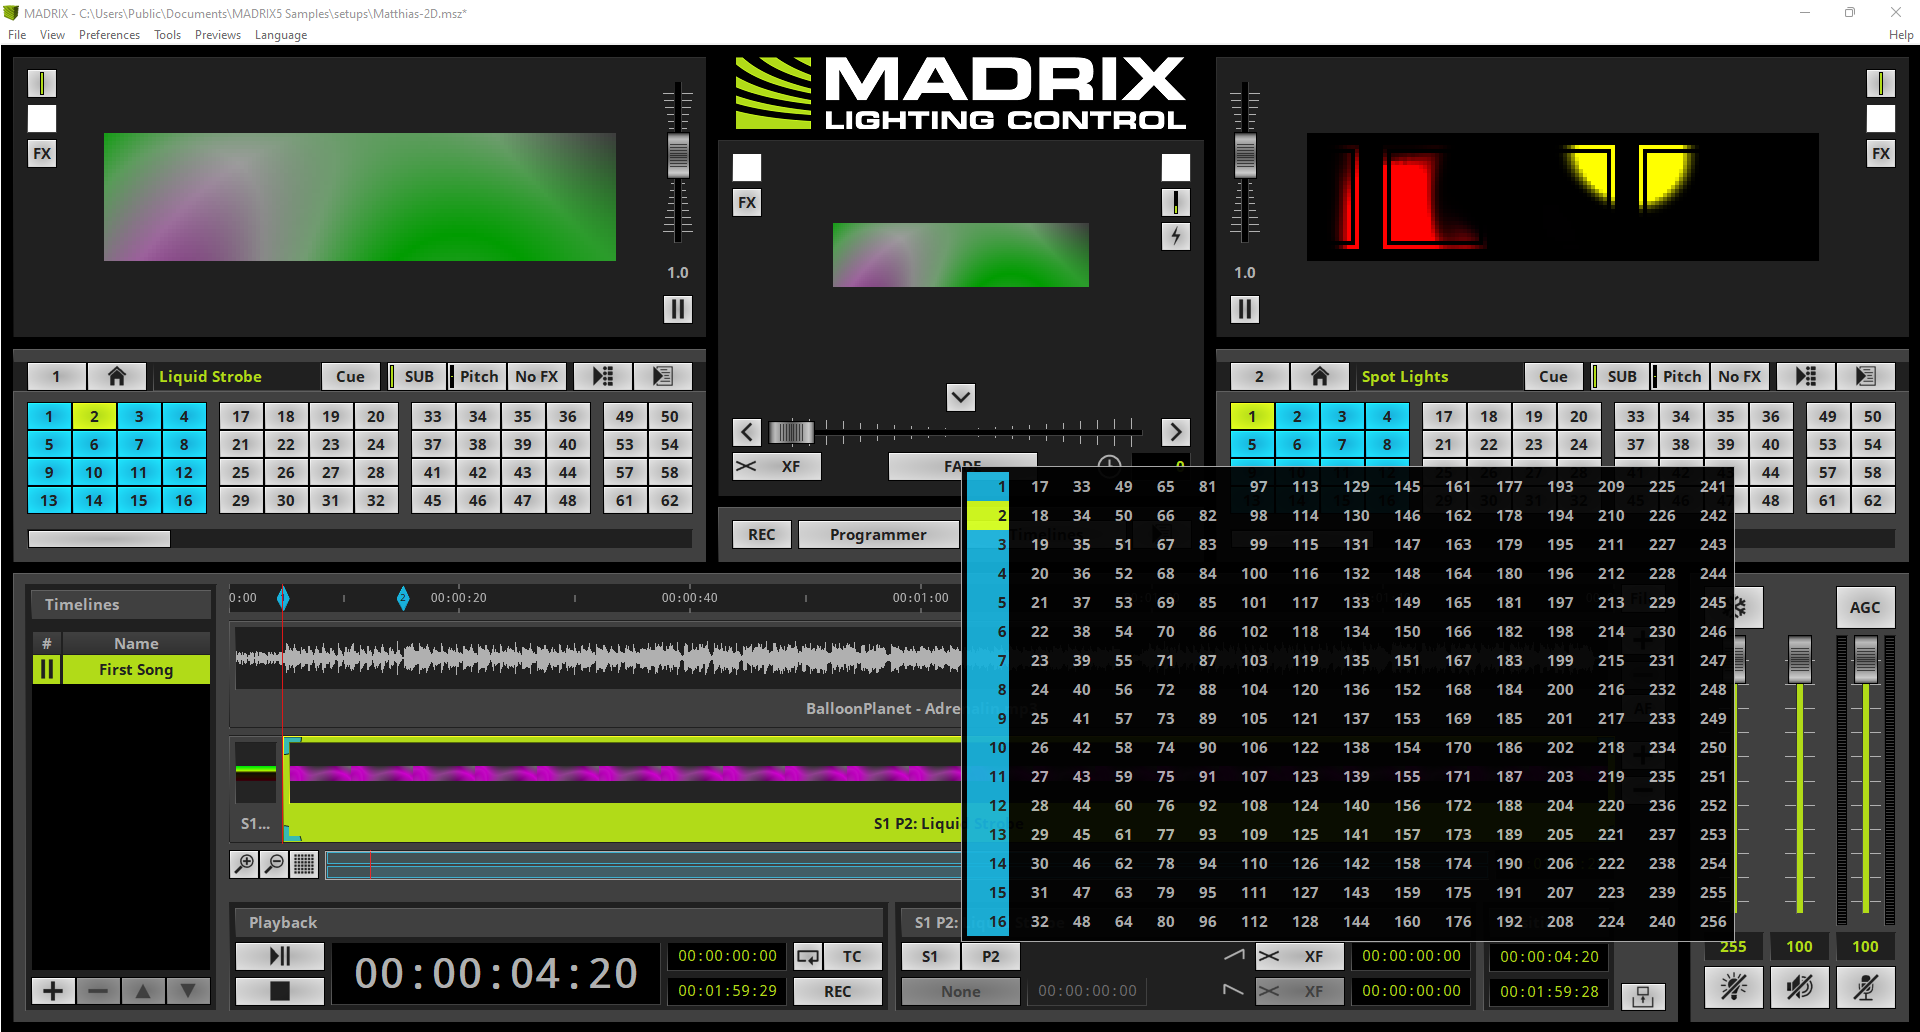
In this tutorial we will create a timeline which should be called First Song and the content of an already created MADRIX setup. The timeline should playback a desired audio file and we will add 3 cues to the timeline.
As setup we will load the Matthias-2D.msz sample setup which you will find in the MADRIX sample setups folder under Documents > Setups > MADRIX5 Samples.
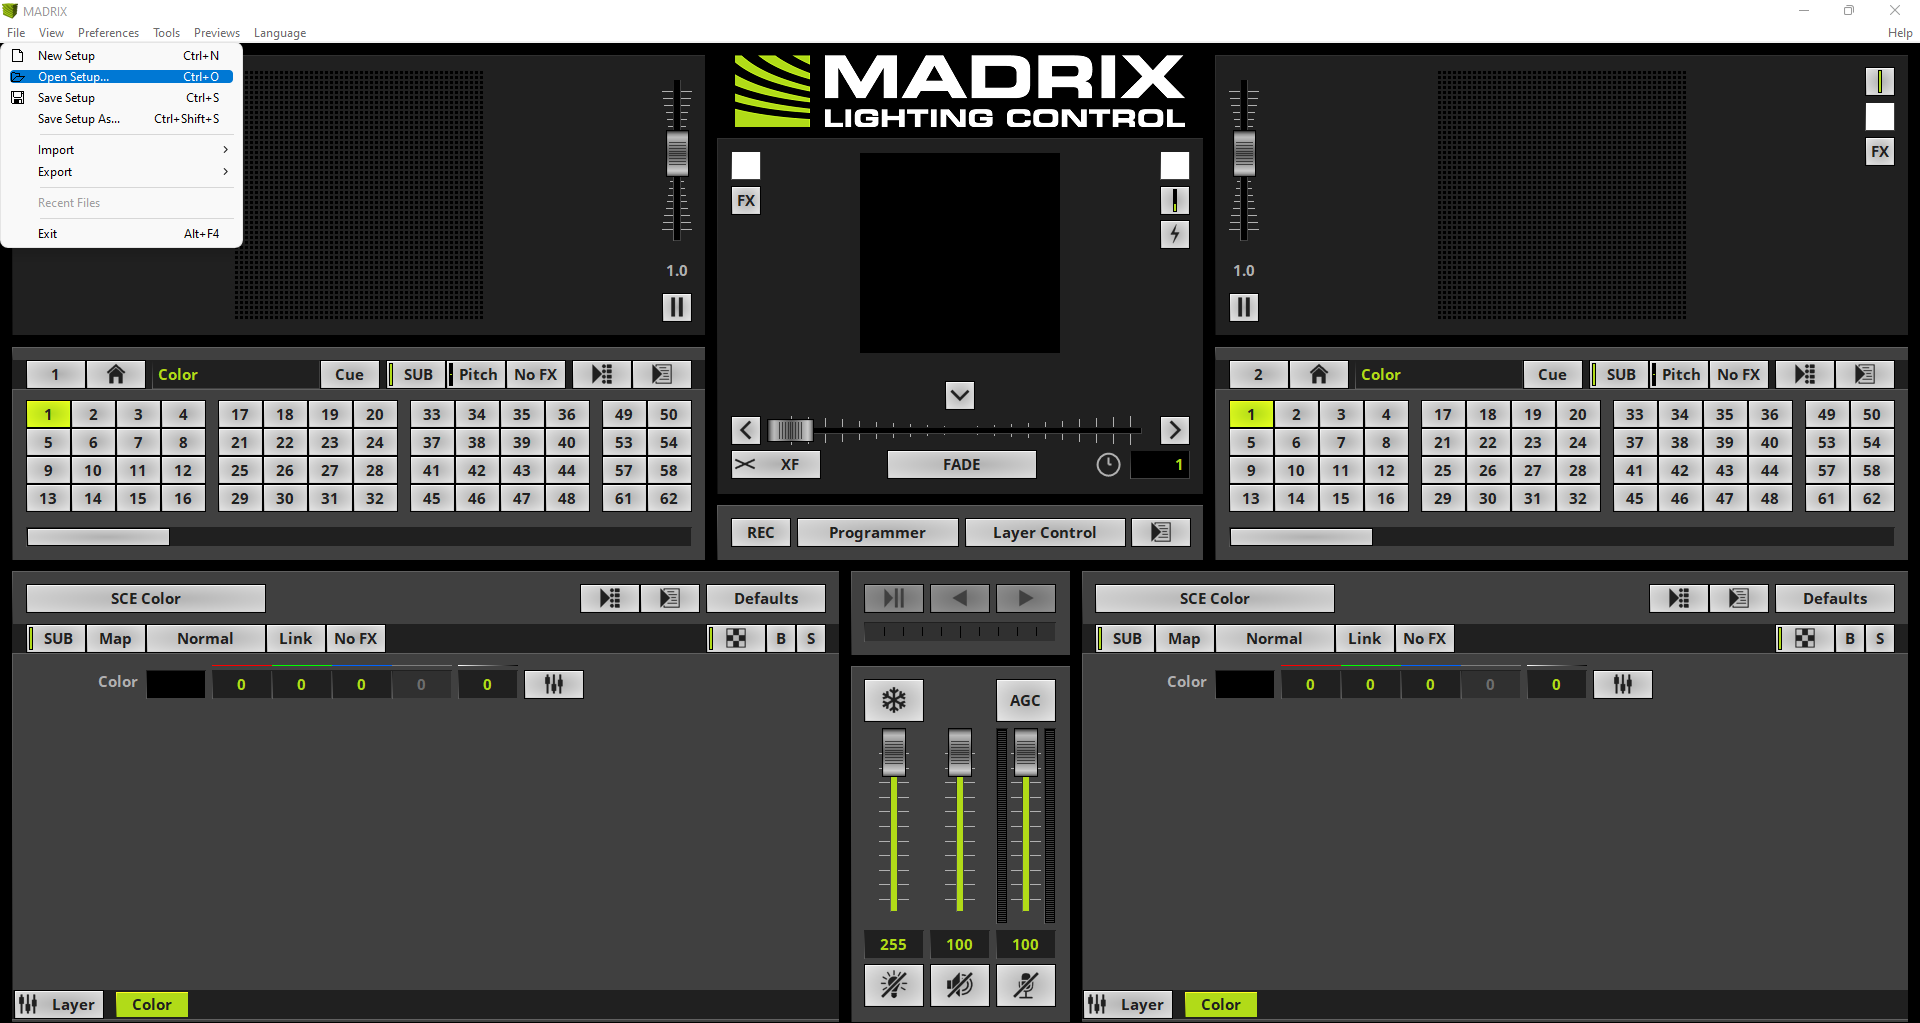
1. |
To load the setup we navigate to File > Open Setup...
|
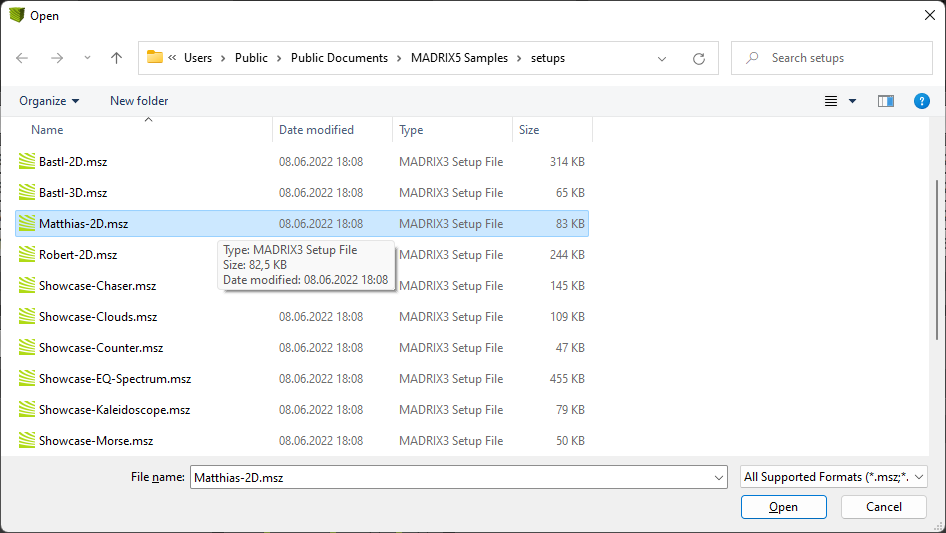
2. |
Please navigate to the folder: Documents > Setups > MADRIX5 Samples and select the file Matthias-2D.msz
|
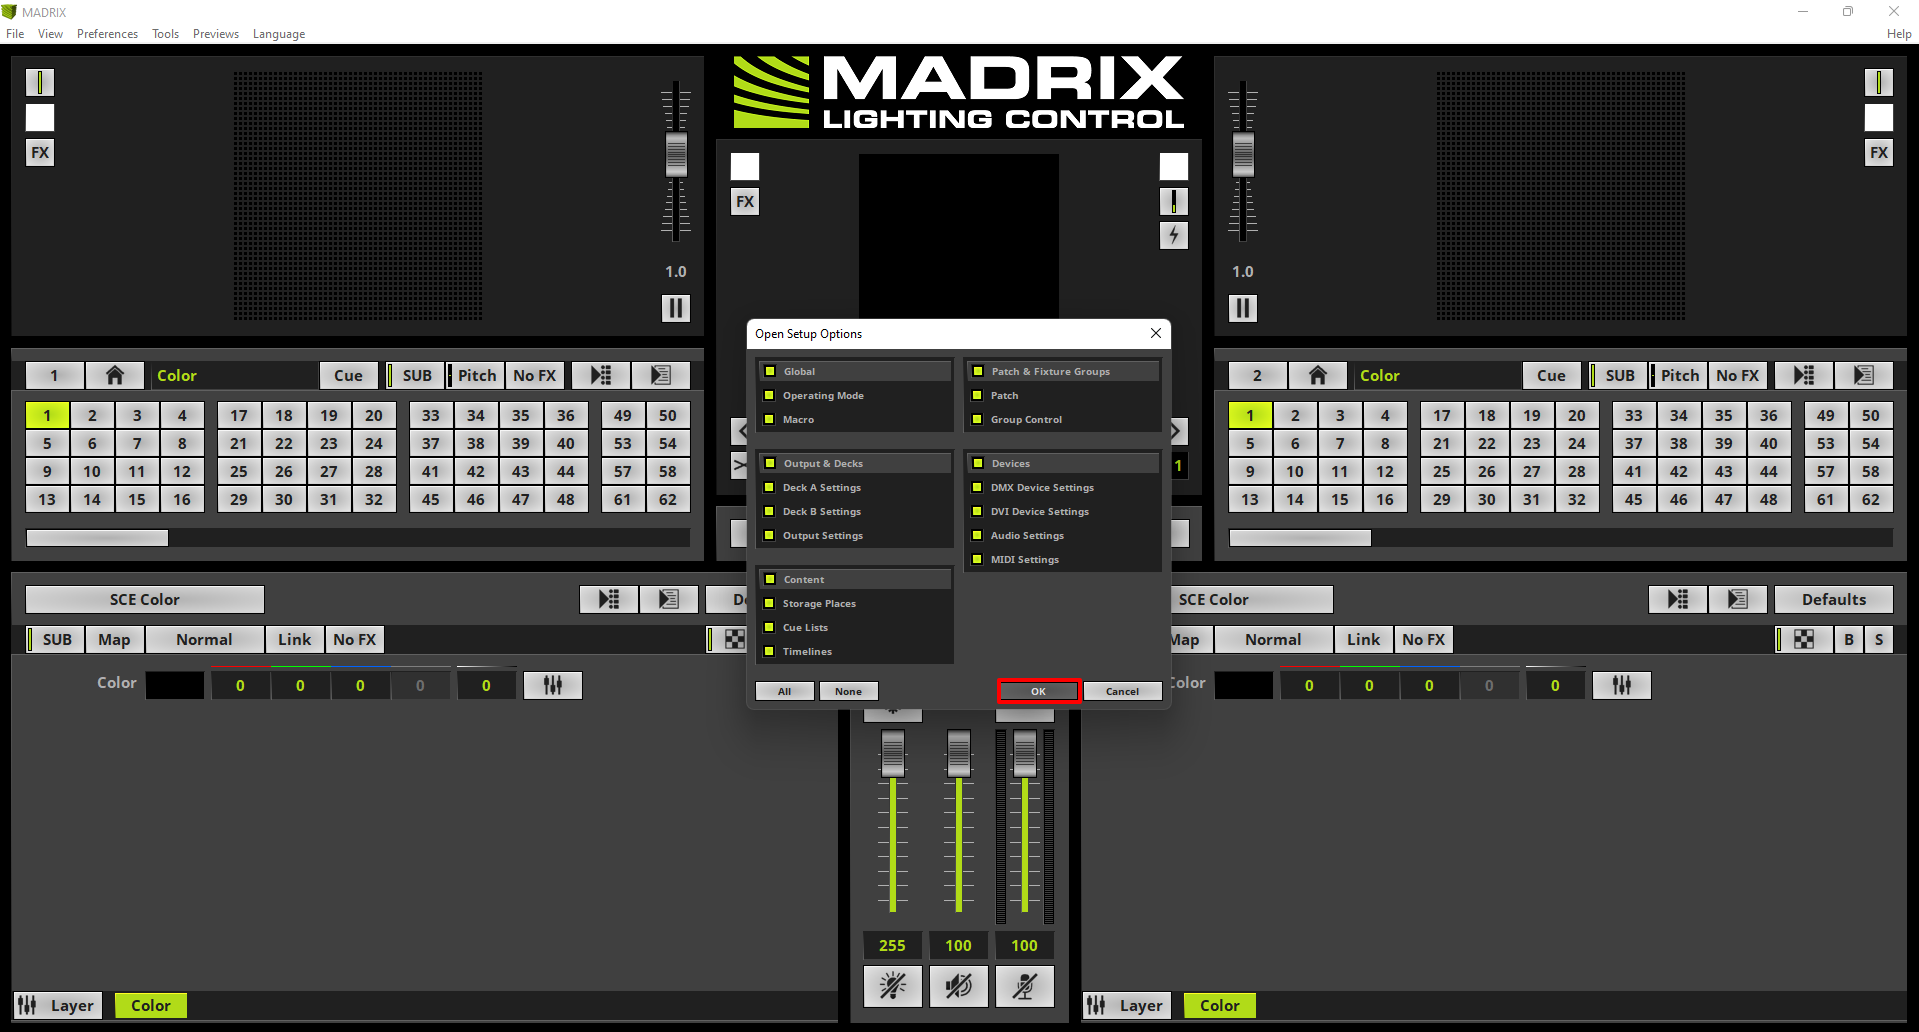
3. |
We will load all components. So we can click OK at the Open Setup Options.
|
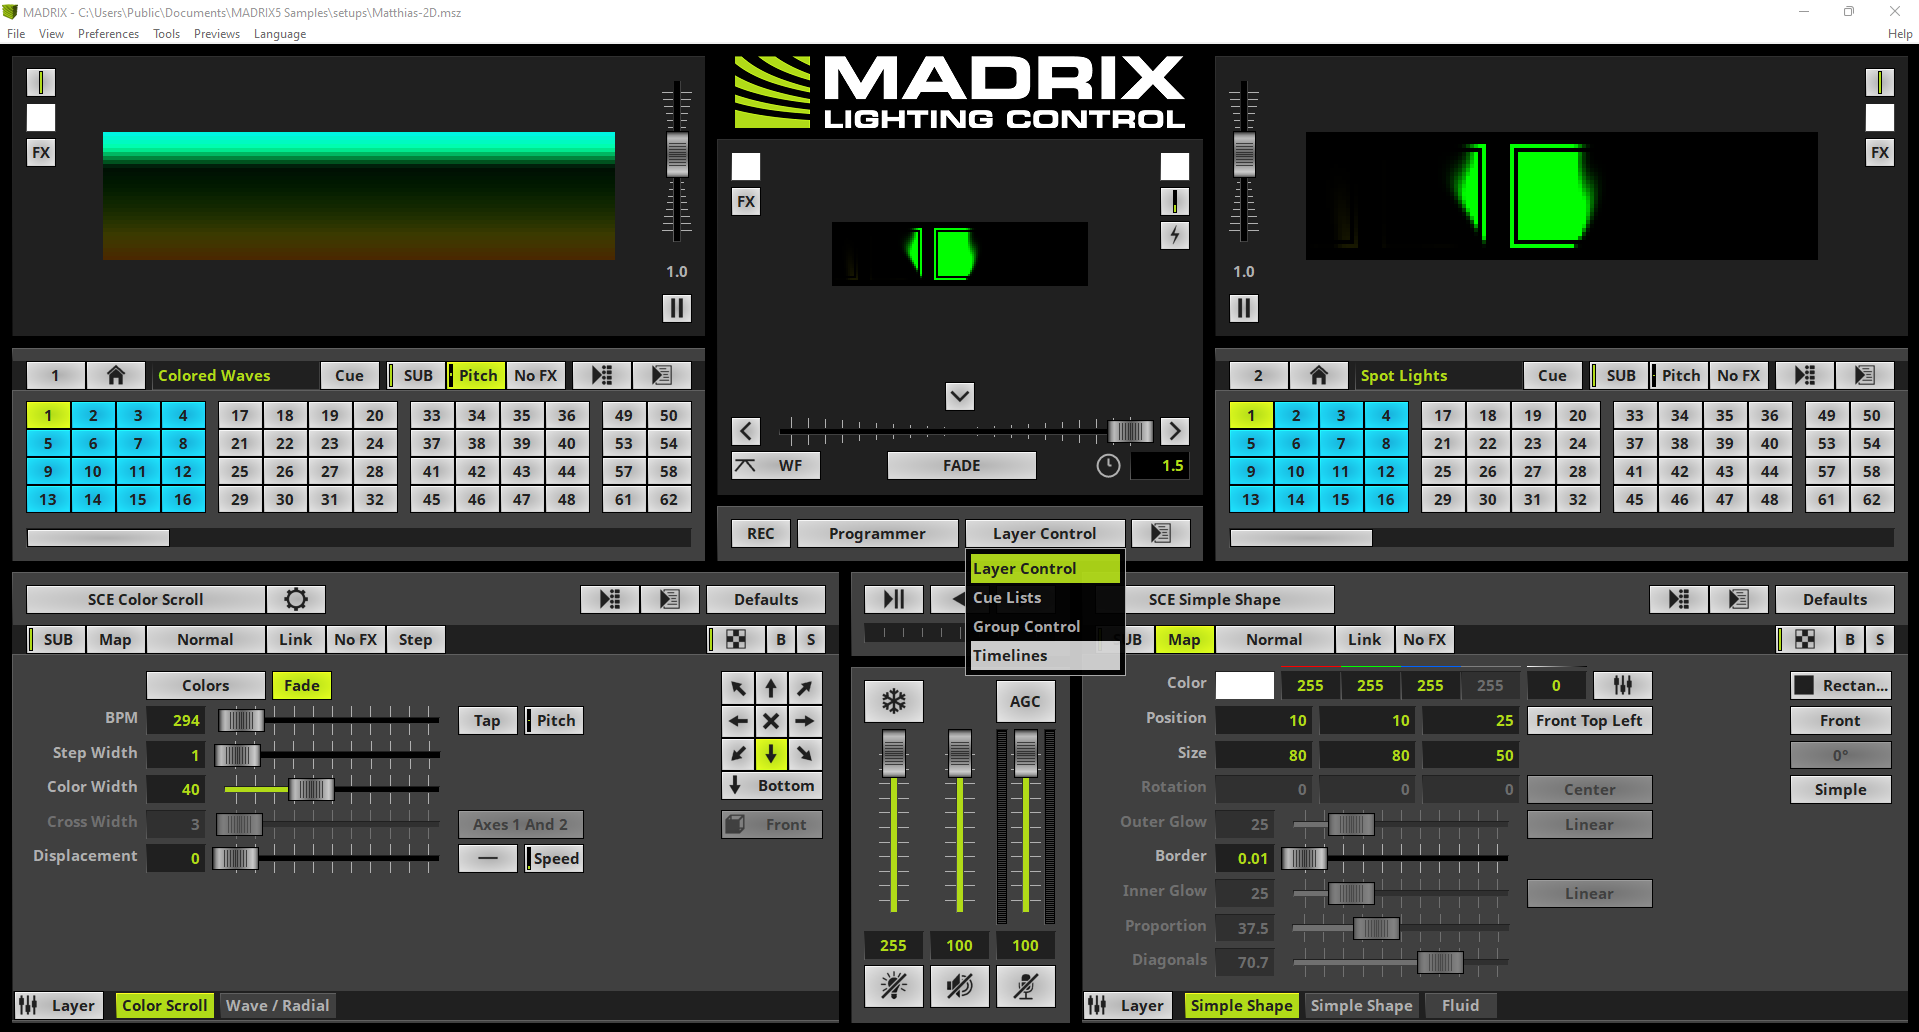
4. |
After the setup was loaded we change the view to Timelines. Therefor we select the Layer Control button and click Timelines in the context menu. [Keyboard shortcut: F10]
|
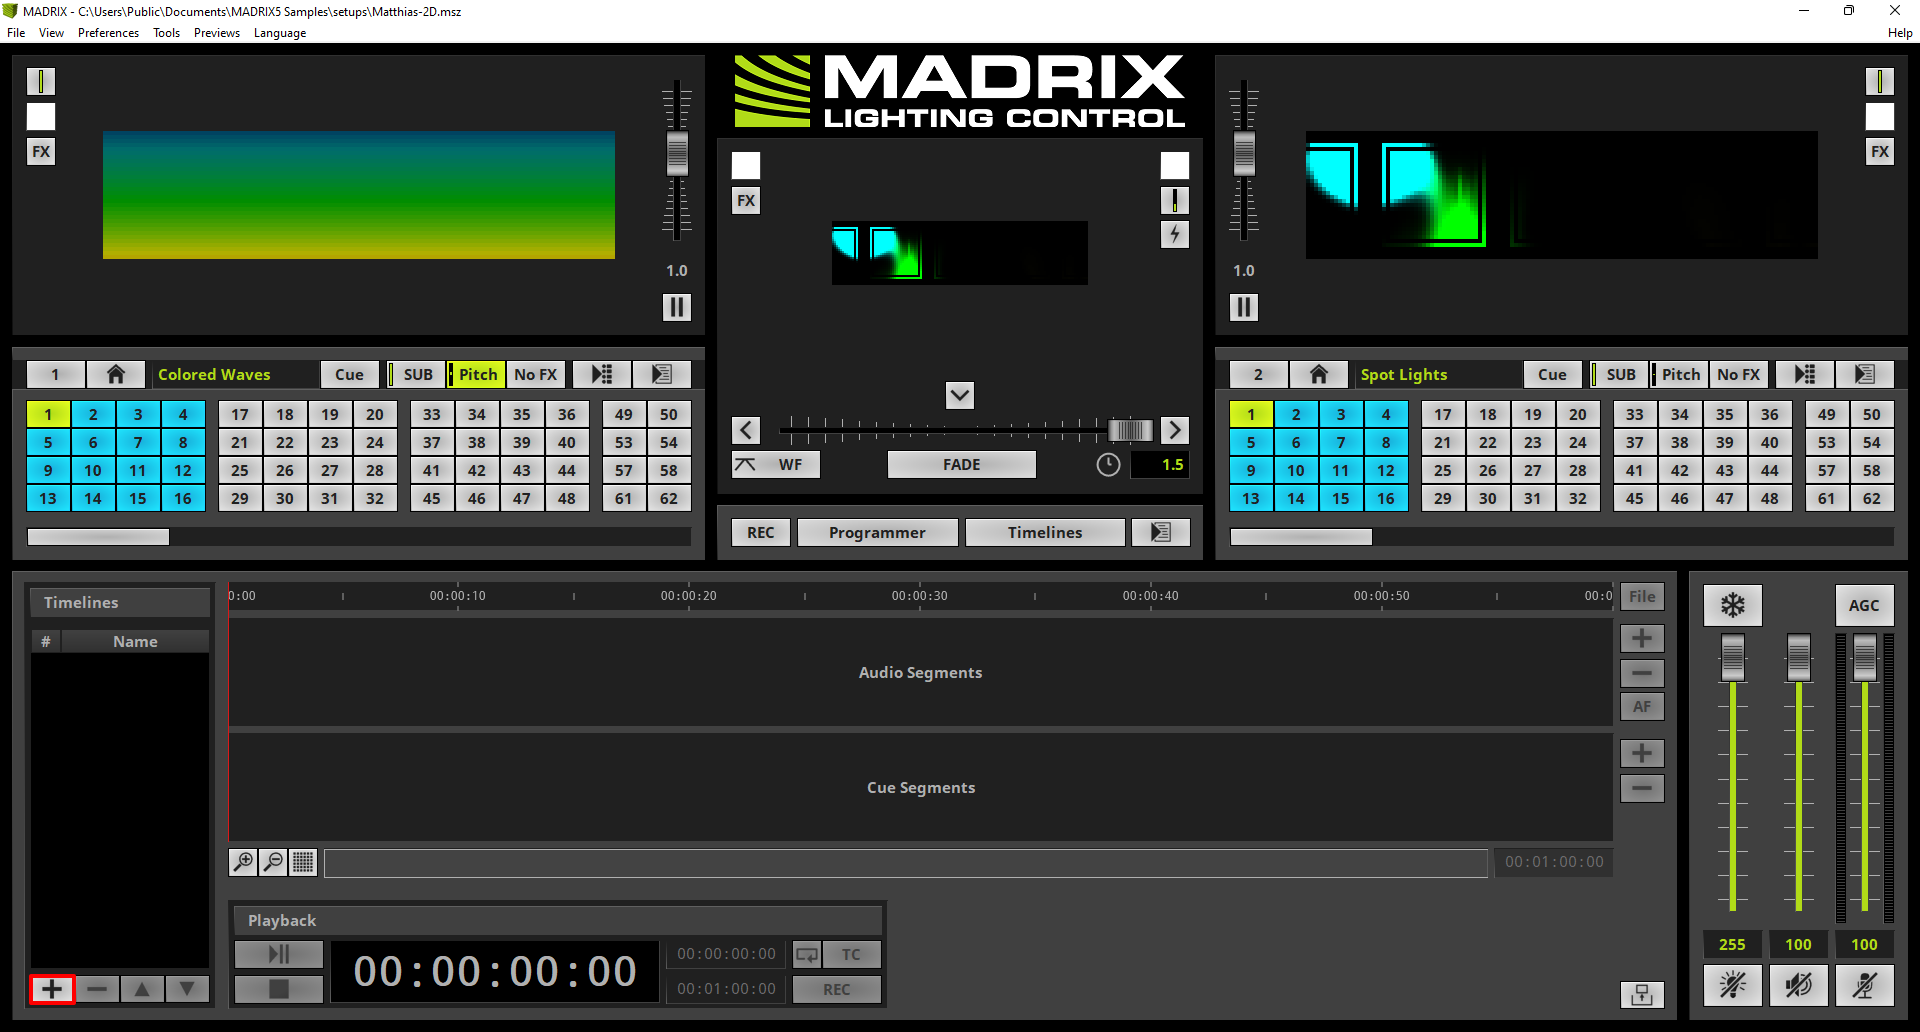
5. |
The Timeline Editor opens and we can add a new Timeline with a click at the + button.
|
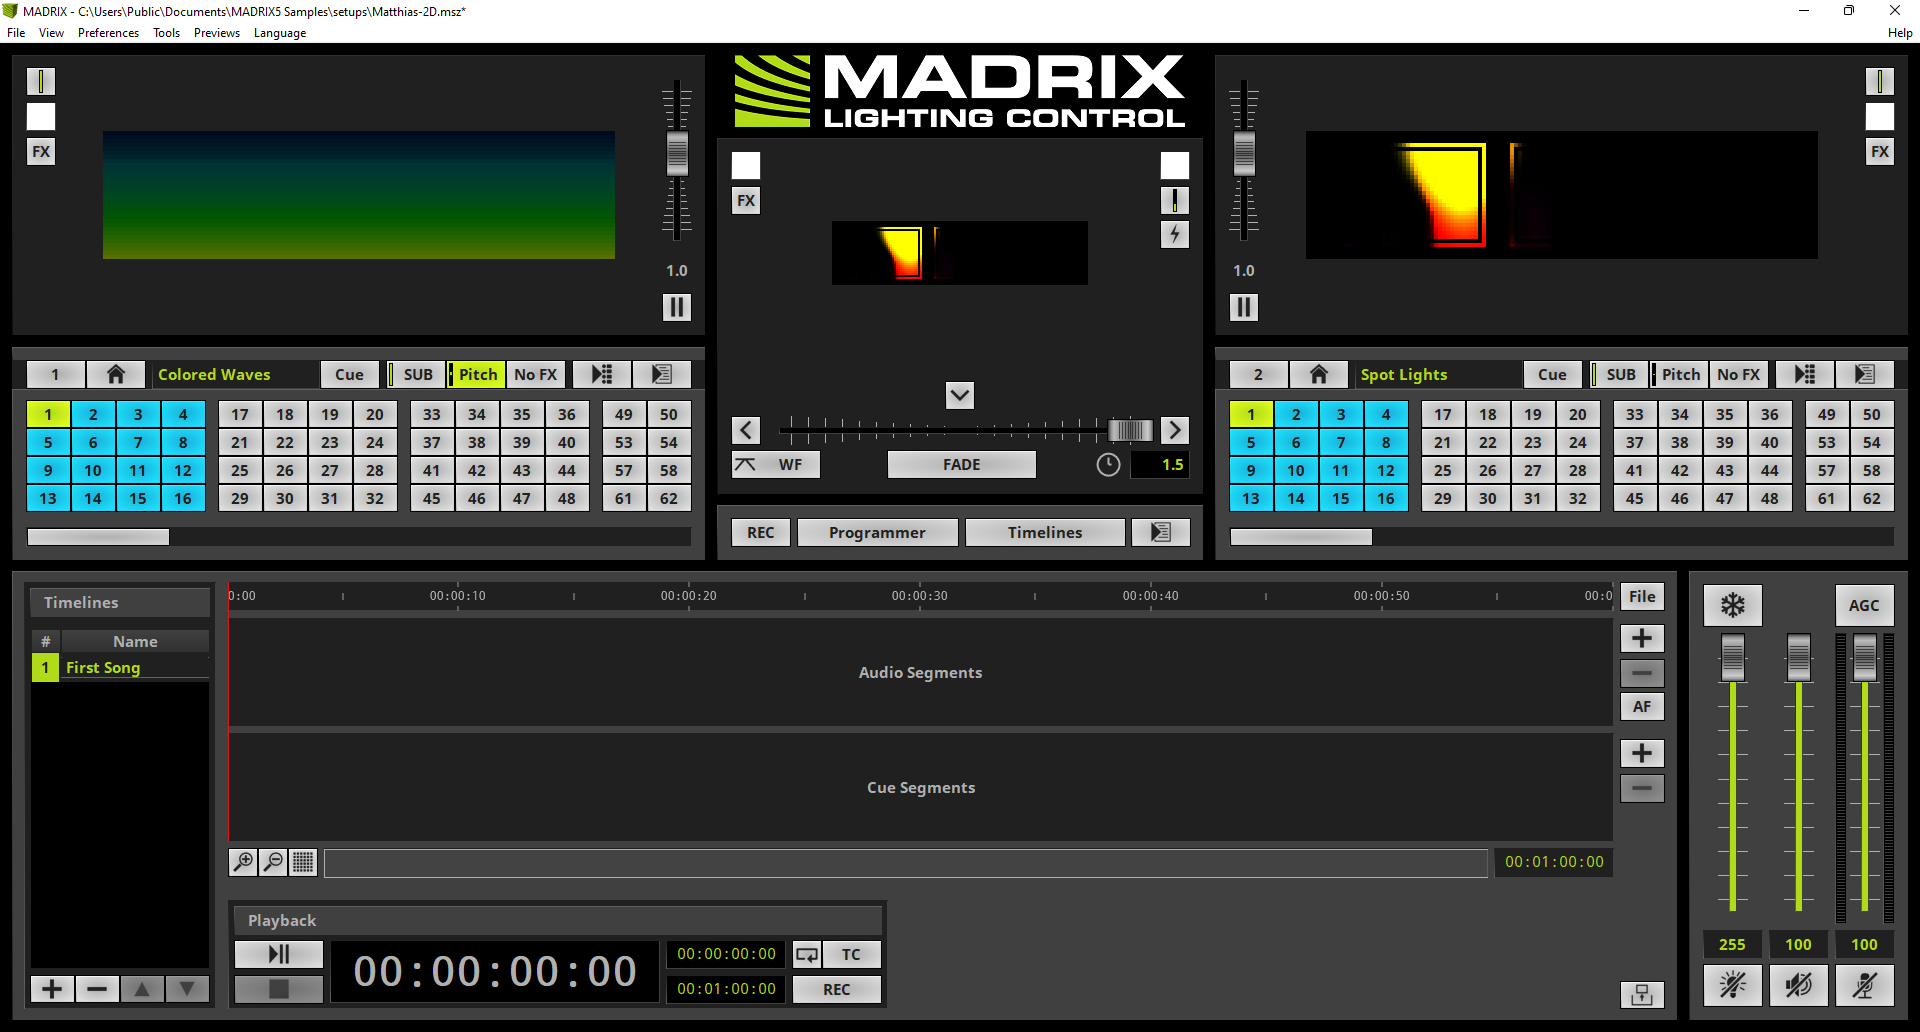
6. |
We rename the added timeline via a double-click at the column Name. In this tutorial we call the timeline First Song and press Enter.
|
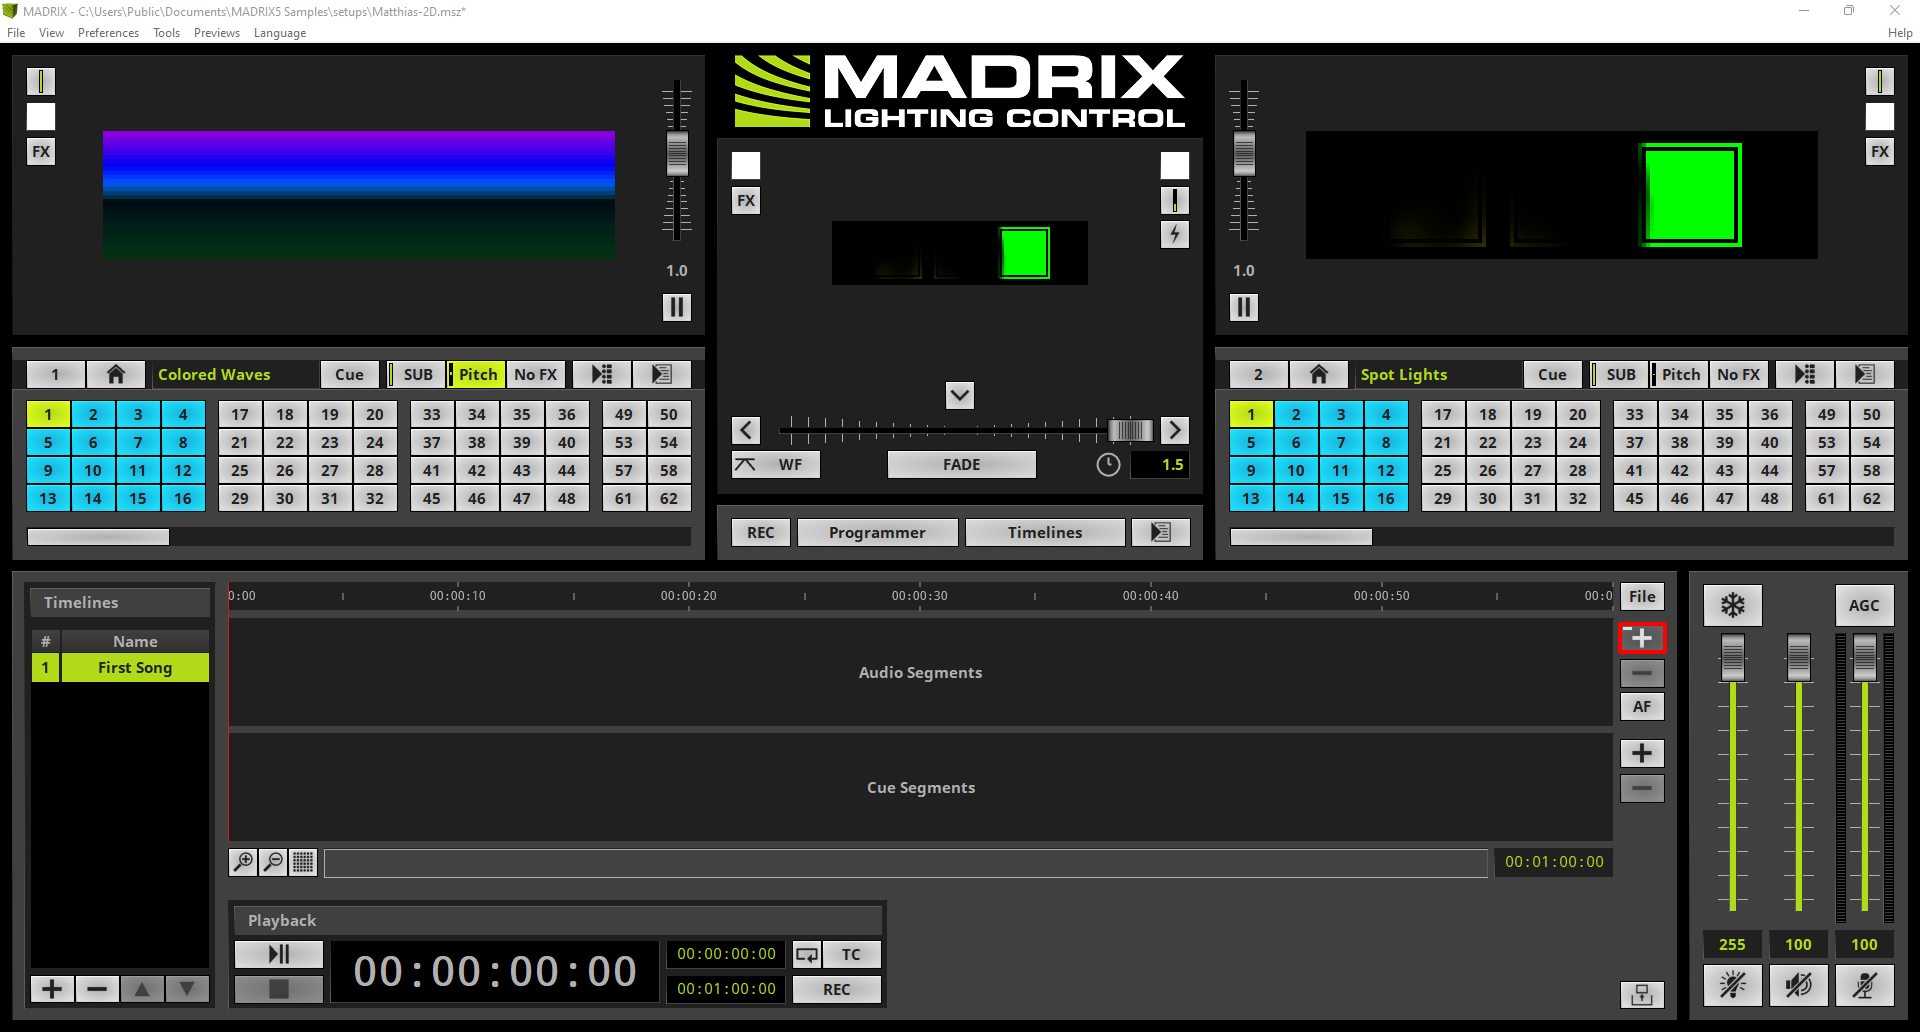
7. |
In this step we will load a desired Audio file. With a click at the + button at the Audio Segments section the open audio file window appears and you can select your desired audio file.
|
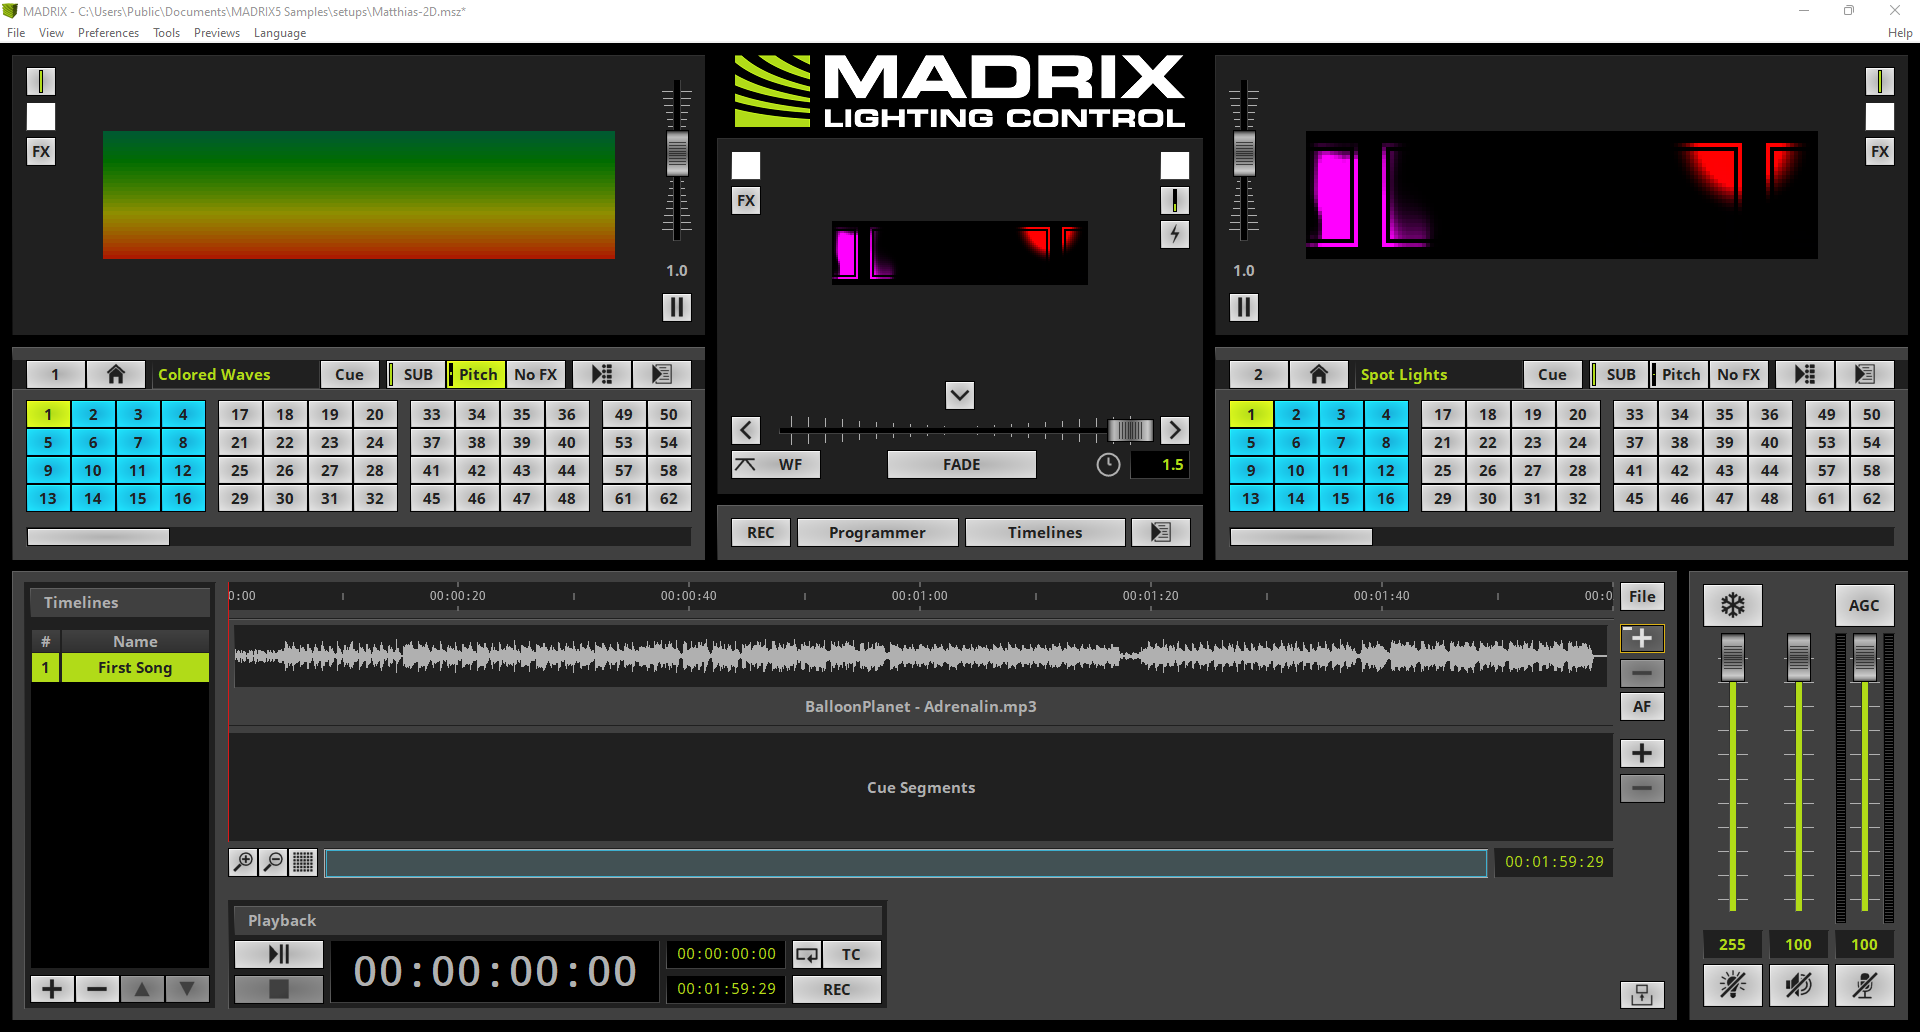
8. |
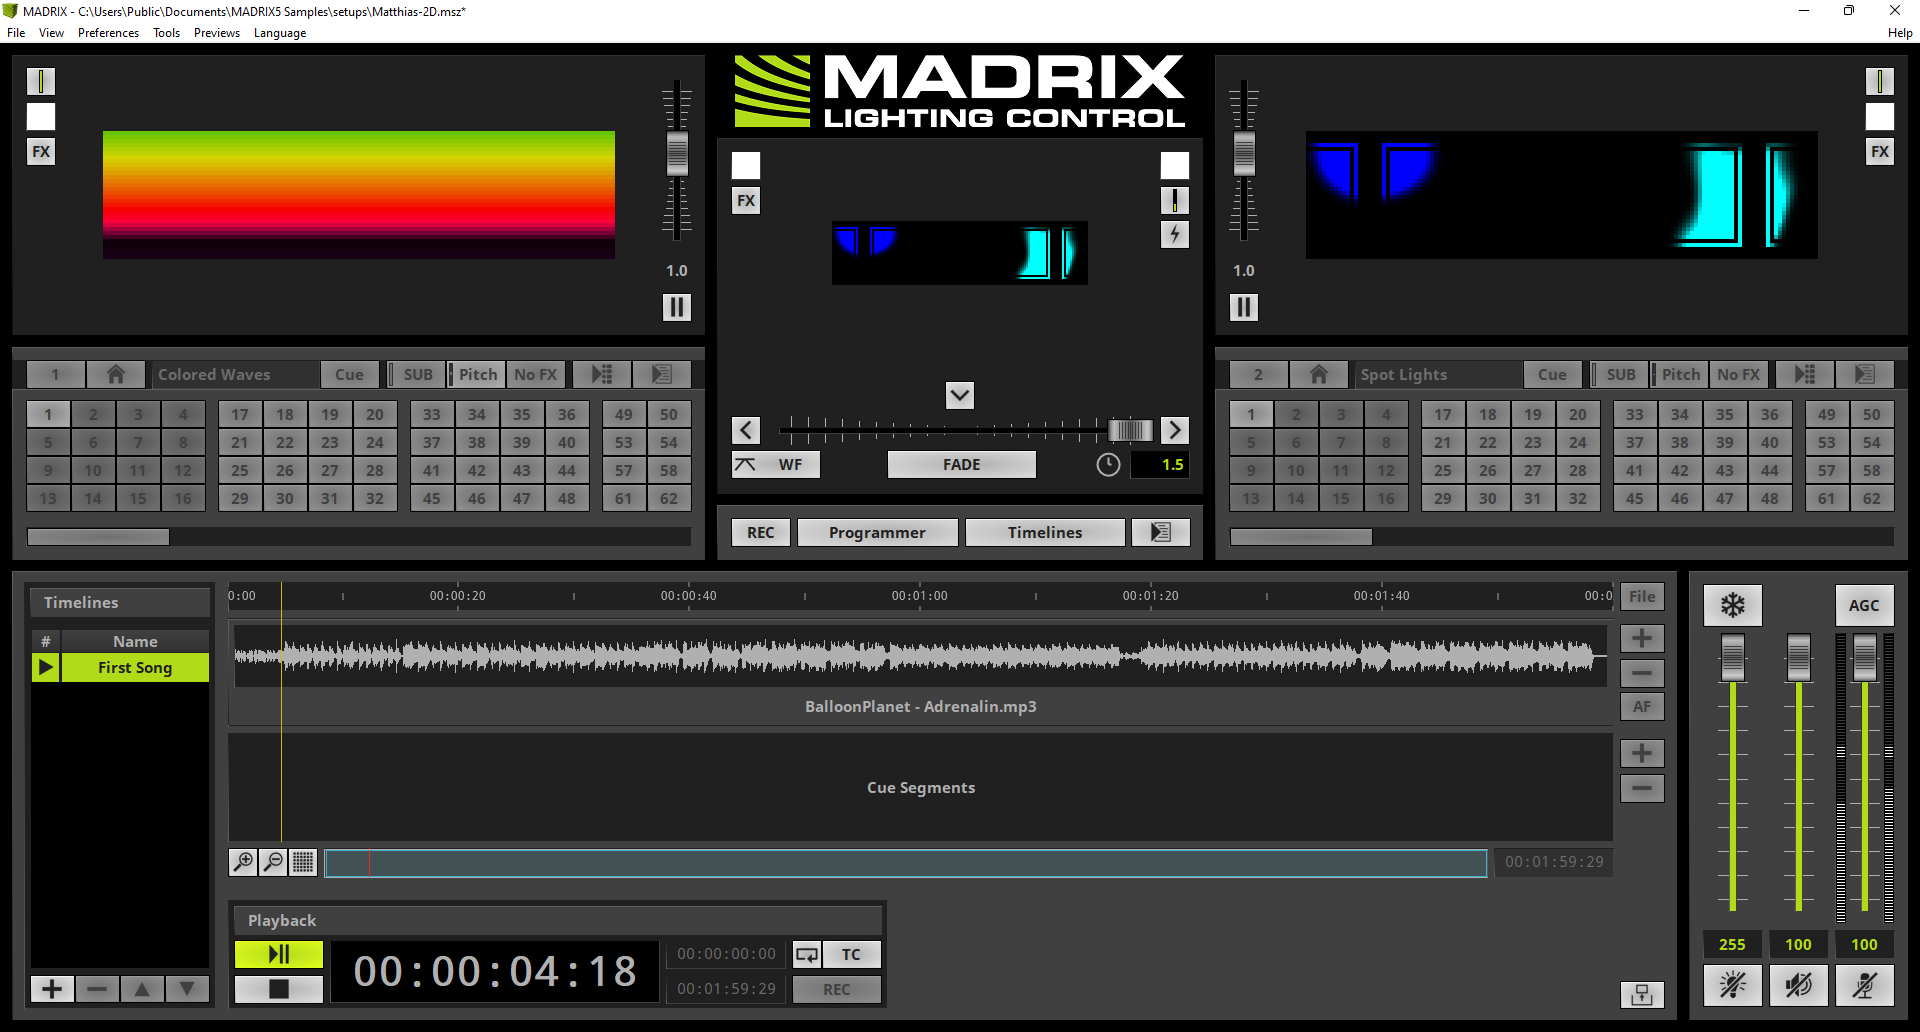
Once you opened an audio file you will see the analyzed wave form of the file.
|
9. |
Now we can start playing back the audio file via a click at the Play/Pause button at the Playback section.
|
10. |
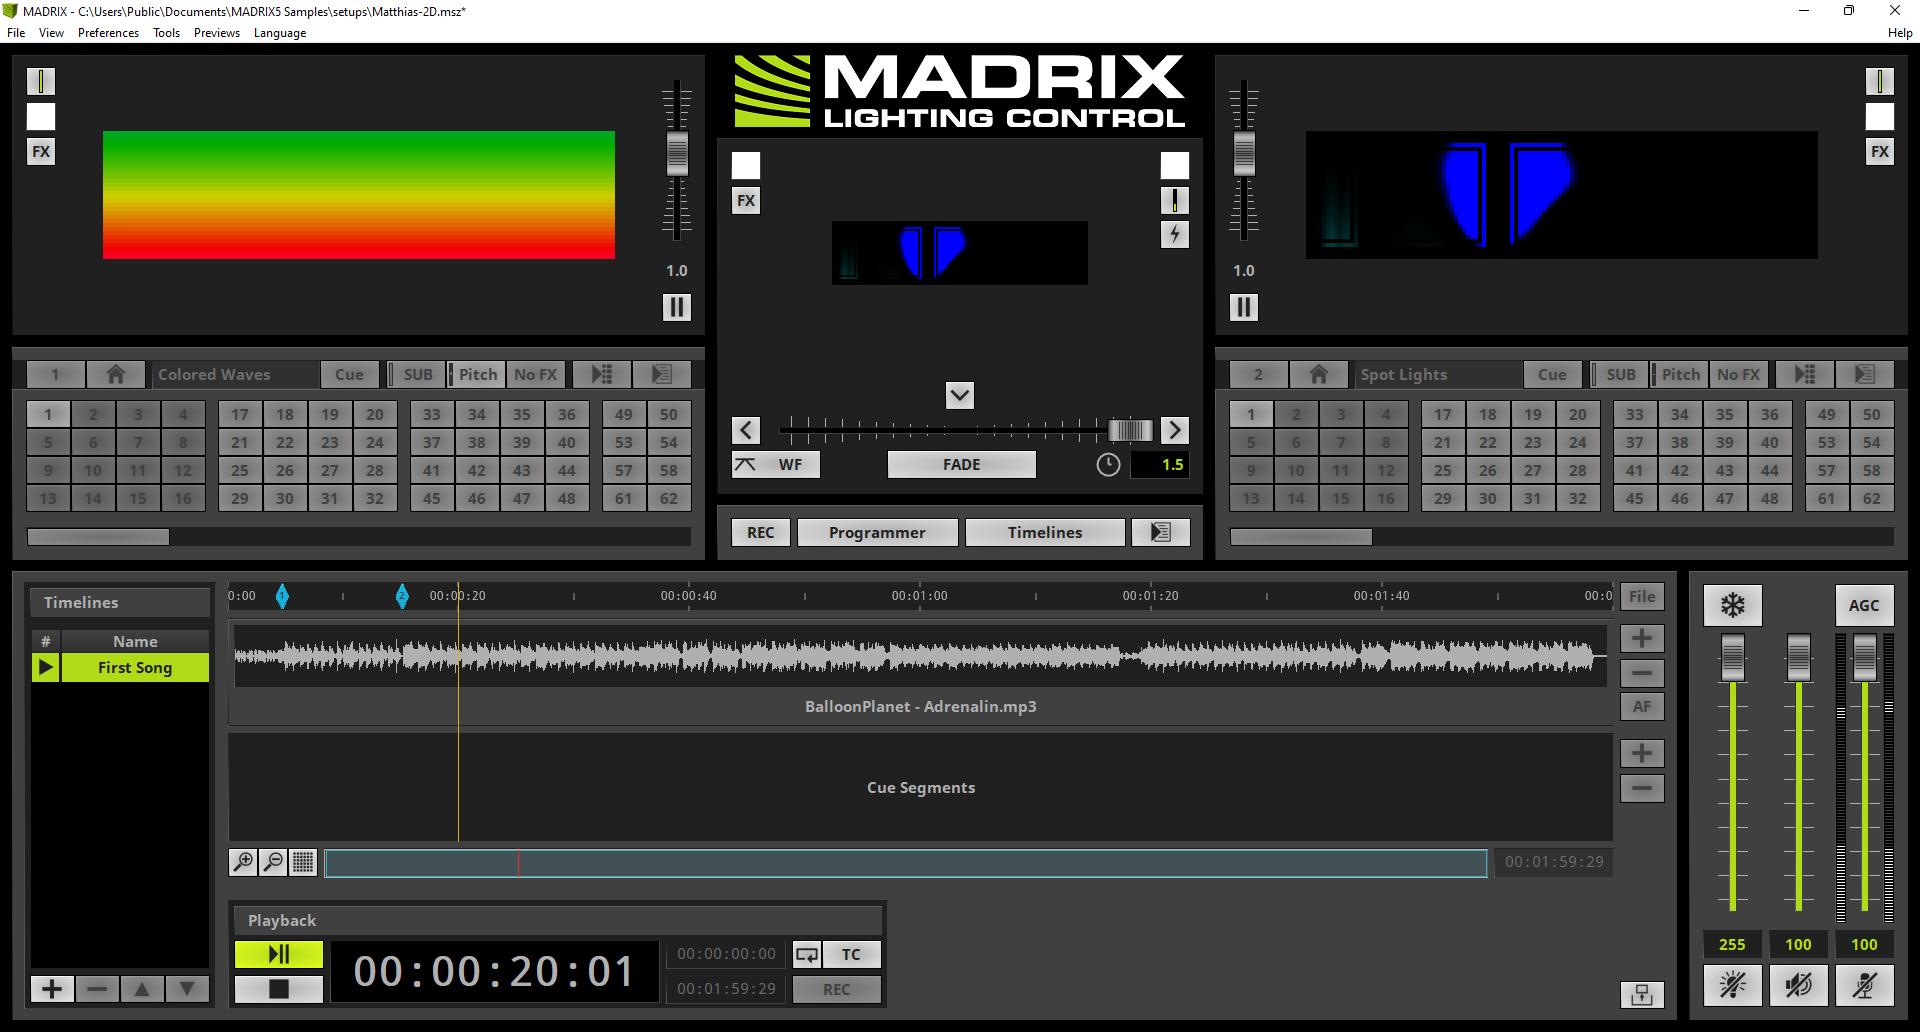
We are able to add Markers during the playback of a song. To add a Marker simply press the M at your keyboard. In this tutorial we will add to markers at conspicuous points of the track.
Note: •Markers can help you to place cues at your desired position. •You can add as many markers as you want.
|
11. |
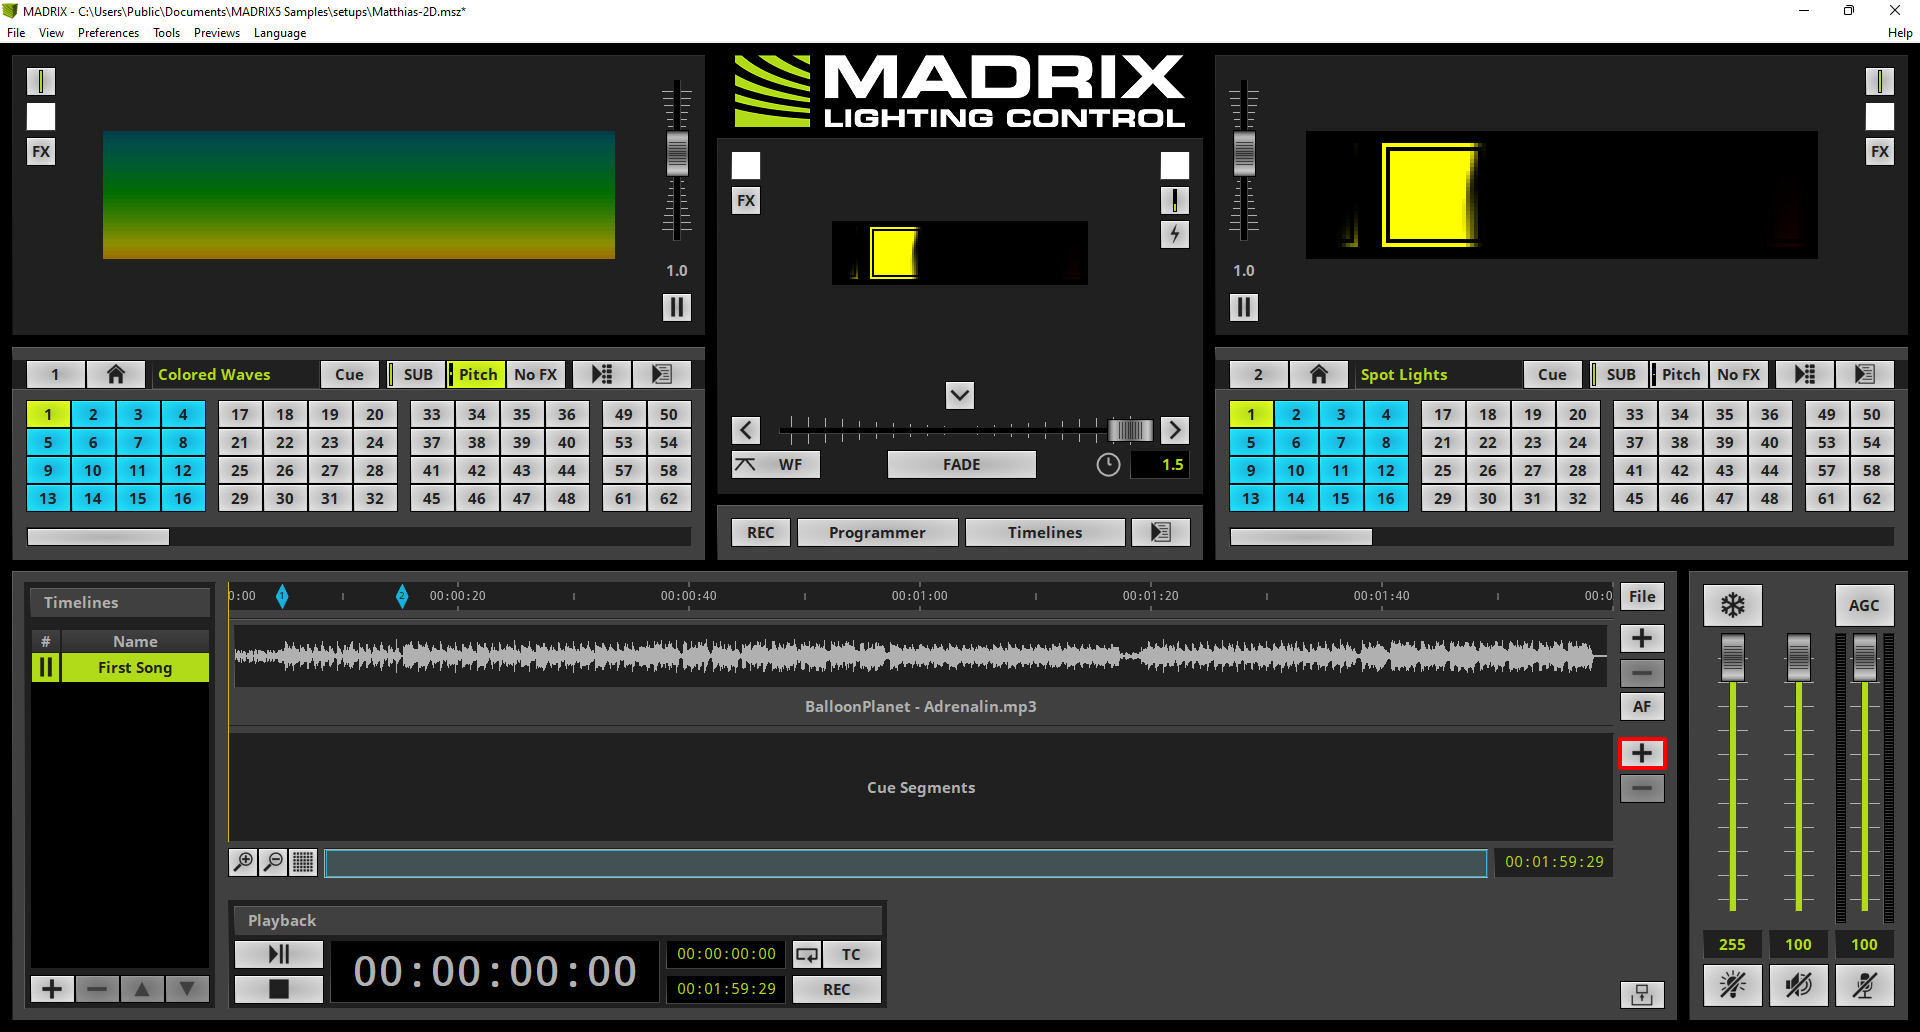
Now we move the playhead of the timeline to position 00:00:00:00 via a click at the timeline.
|
12. |
With a click at the + button a Cue Segment which is assigned at Storage 1 Place 1 will be added but you can change this assignment at the Cue section
|
13. |
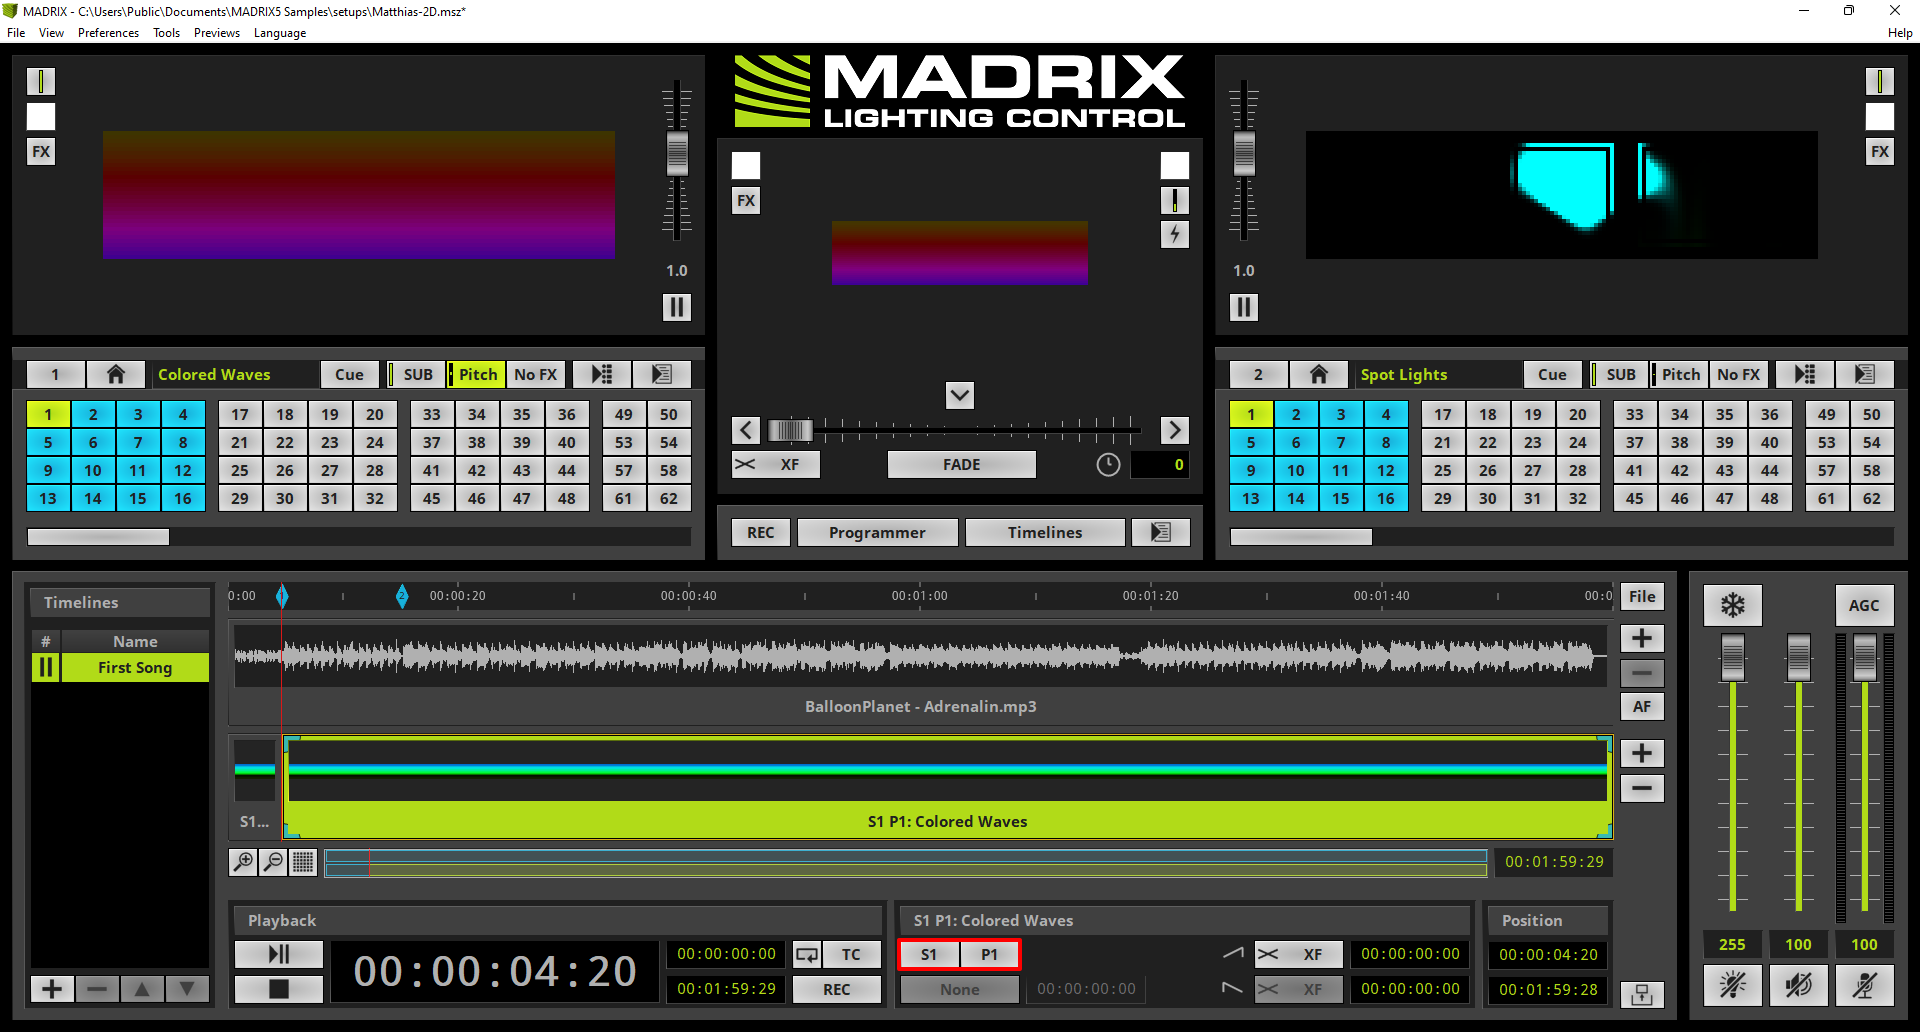
Simply select the desired Storage respectively Place to assign another Storage Place.
|
14. |
It is also possible to add a new Cue Segment via Drag and Drop. Therefor you have to perform a long-click (click and hold the mouse down for 2 seconds) at a desired Storage Place. Now you can move the still clicked mouse to the Cue Segment section of the Timeline Editor and the dragged Storage Place will snap to the playhead or a marker and you can drop it.
|

Congratulations! You have successfully learned how create a Timeline in MADRIX 5.