This tutorial shows you how to create Fixture Groups in MADRIX 5.
Date: 08/2019
MADRIX Version: 5.1 (Created with)
Corresponding Video Tutorial: »Create Fixture Groups
Note:
Before you start to read this tutorial, it is recommended to work through the tutorial »2D Patch With The Patch Editor For DMX Output.
Task:
We have to create Fixture Groups for different sections in the patch. A Fixture Group for PAR cans and a Fixture Group for the 4 Pixel RGB Batten needs to be created.
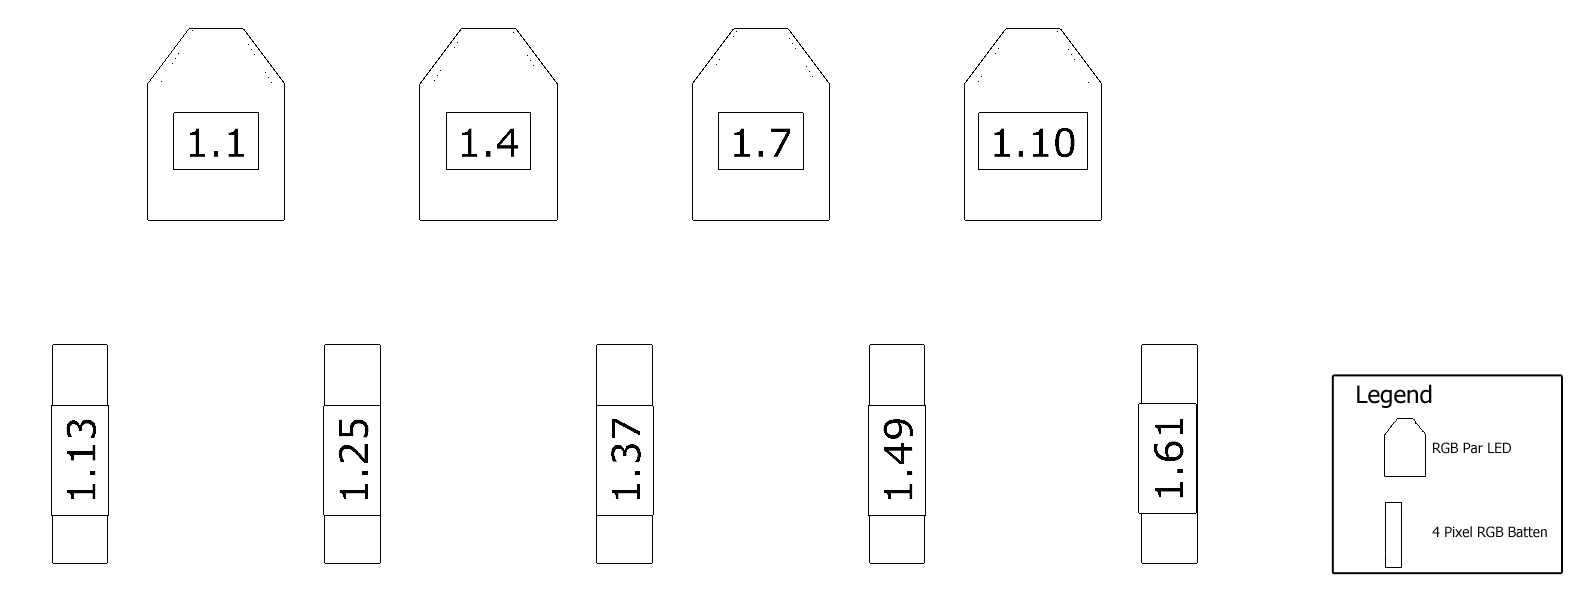
When we have a look at the patch plan we can get an overview where the fixtures are located in this patch:
1. |
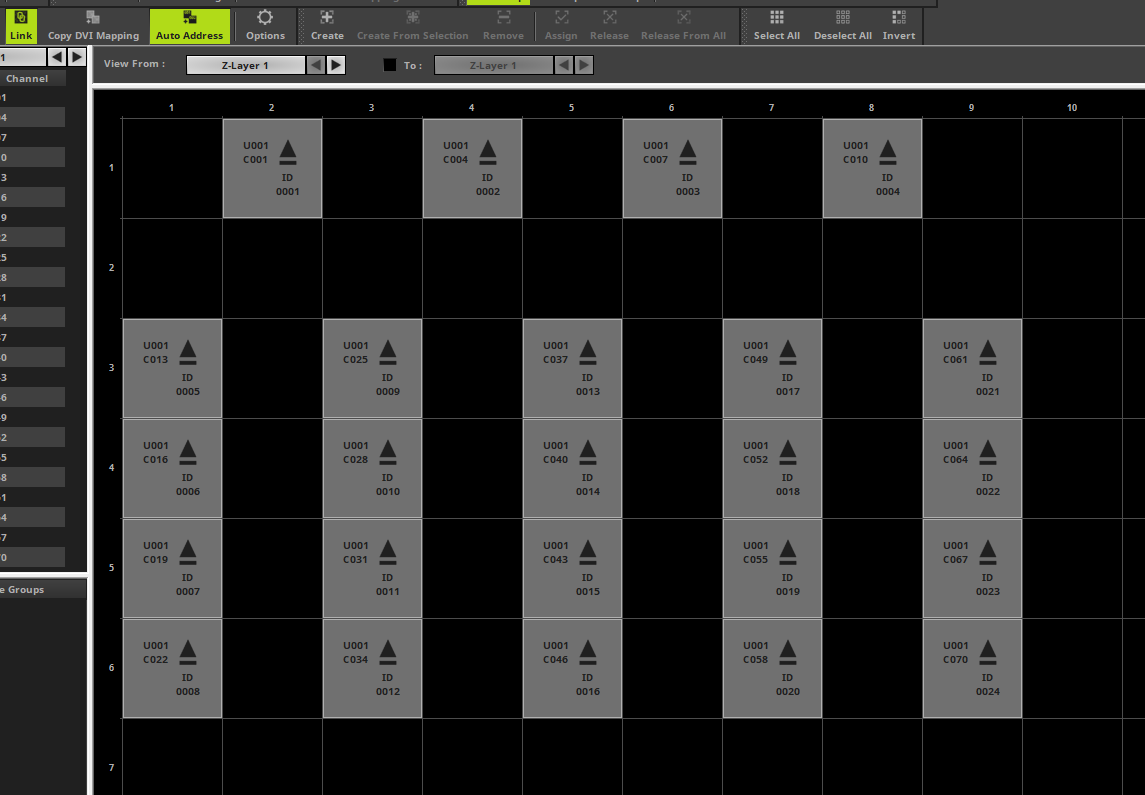
Please create the patch in MADRIX according to the tutorial »2D Patch With The Patch Editor For DMX Output. When you now open the Patch Editor via Preferences > Patch Editor [Keyboard Shortcut F3], you will find a patch which consists of 4 x RGB LED PAR cans and 5 x 4 Pixel RGB Battens.
|
To create a Fixture Group we have to select the fixtures which should be added to the Fixture Group.
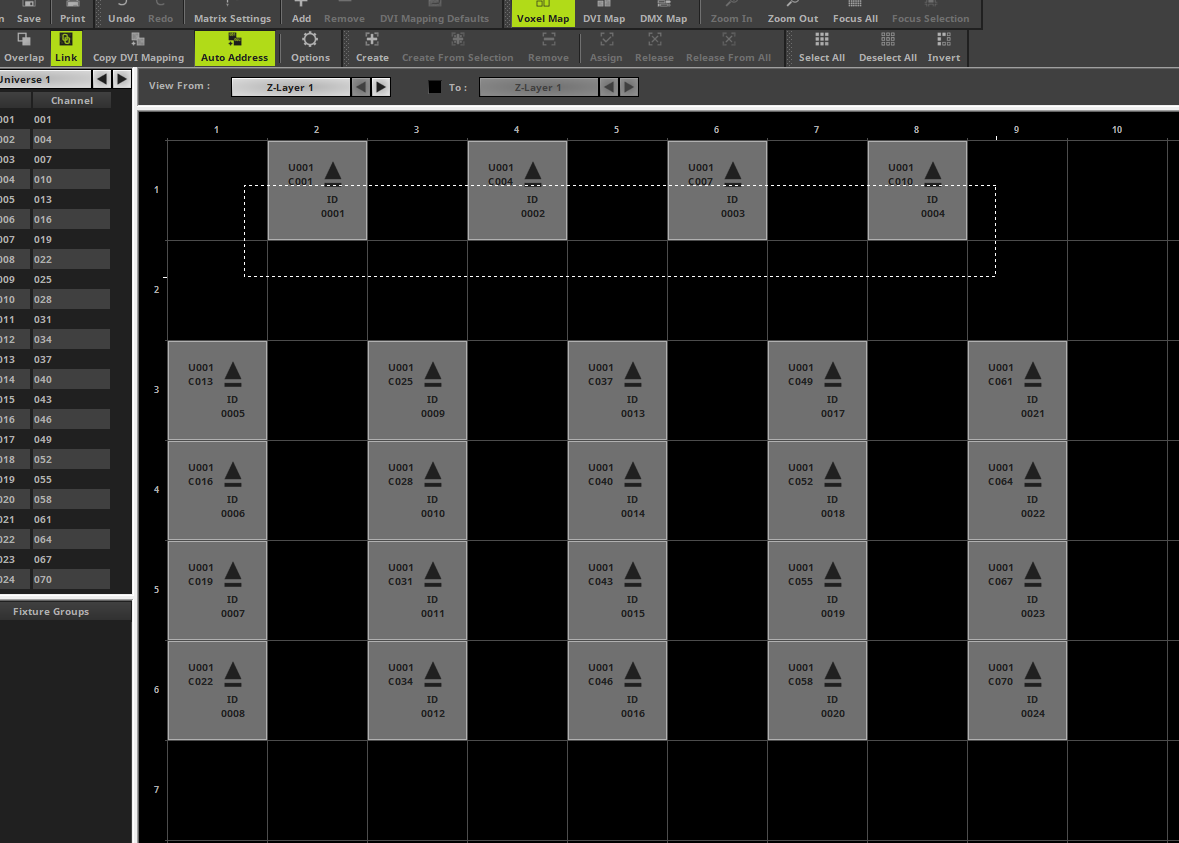
In the first step we want to select the LED PAR cans via bounding box.
|
|
3. |
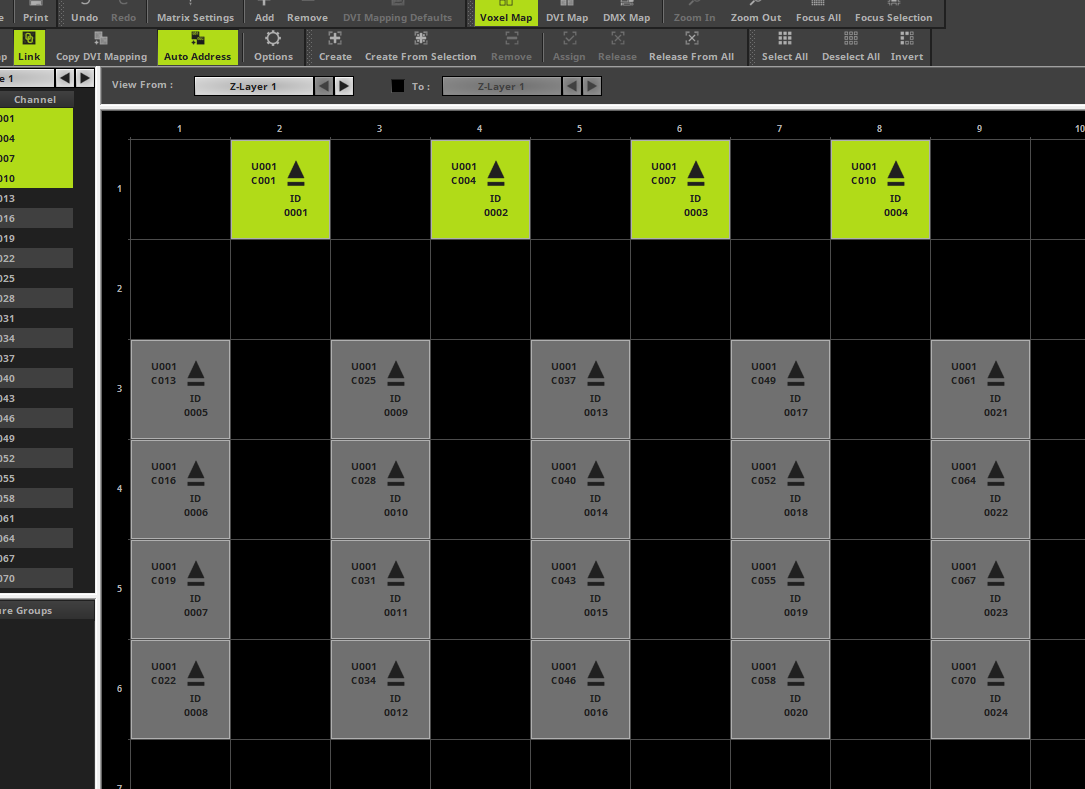
After releasing the [left mouse button] the fixtures LED PAR Cans will be selected.
|
4. |
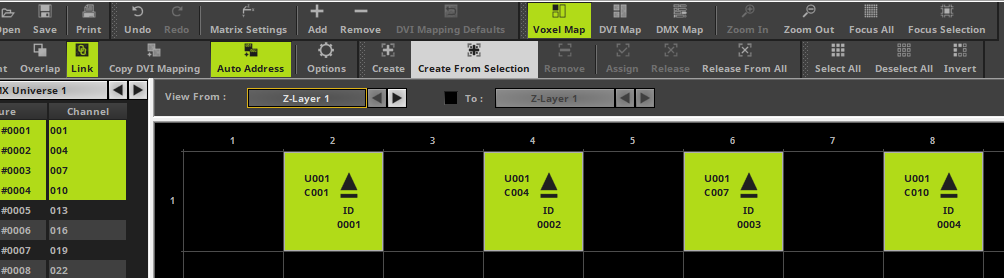
To create a Fixture Group please click the Create From Selection button in the toolbar of the Patch Editor.
|
5. |
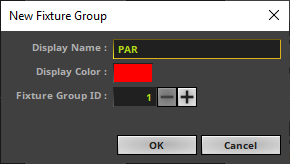
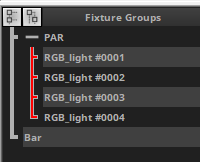
The New Fixture Group window opens and we can change some settings. •We change the Display Name to PAR. •As Display Color: we choose Red.
After we have changed this settings we click OK and now you will find the PAR group in the Fixture Groups list.
|
6. |
In the following steps we will create a group for the 4 Pixel RGB Battens. But in this step we create and empty Fixture Group first and assign the fixtures later to this group.
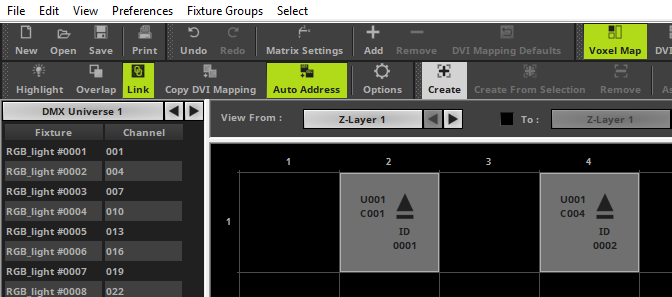
To create an empty Fixture Group in the Patch Editor please click the Create button in the toolbar.
|
7. |
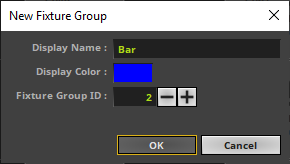
The New Fixture Group window opens again and we also change some settings. •We will change Display Name to Bar. •As Display Color: we choose Blue.
|
8. |
When we now click OK, we will find two Fixture Groups in the Fixture Groups List. The PAR Fixture Group already includes fixtures and the Bar Fixture Group doesn't.
|
9. |
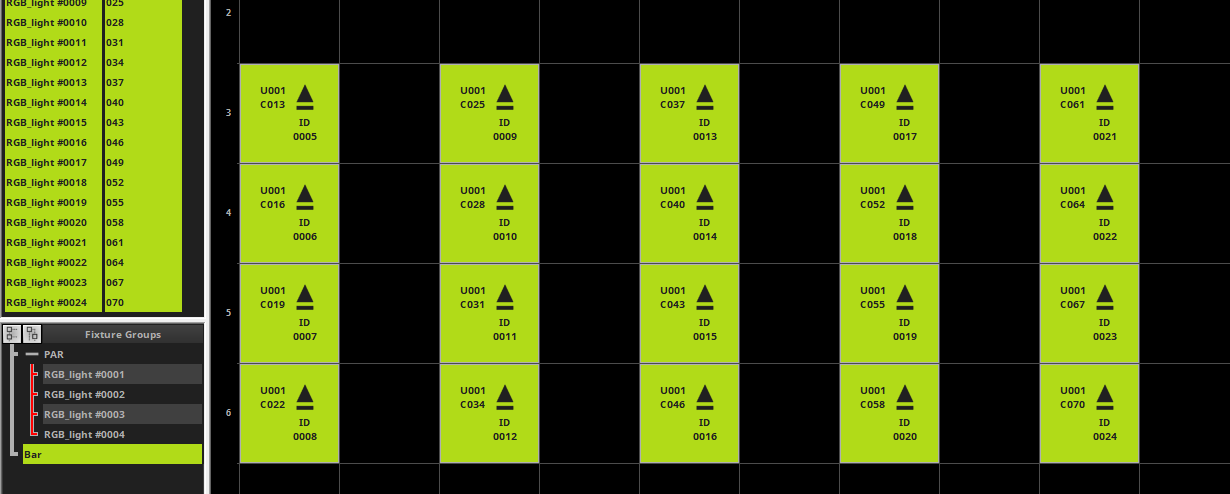
In this step we want to select all fixtures which are responsible for the 4 Pixel RGB Battens. Because we want to assign this fixtures to the Bar Fixture Group in the next step. Before we select the fixtures we select the Bar Fixture Group first. To select the fixtures we are using the bounding box method like explained in Step 2.
|
10. |
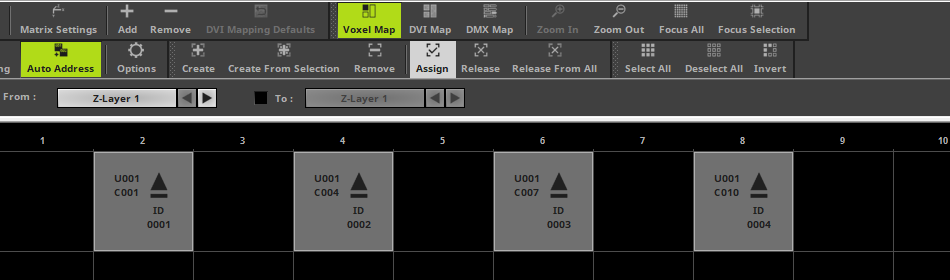
After you have selecting all 4 Pixel RGB Battens please click Assign in the Fixture Group section of the toolbar.
|
11. |
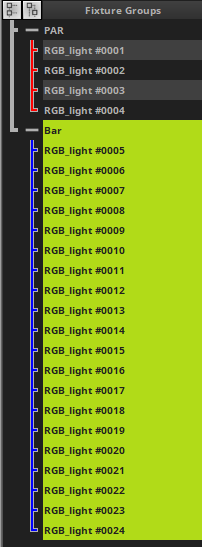
When we now have a look to the Fixture Groups List, we can see the Bar Fixture Group now has all 4 Pixel RGB Battens included.
|
Congratulations! You have successfully learned how to create Fixture Groups in MADRIX 5.