This tutorial shows you how you can work with the Link button in MADRIX.
Date: 10/2013
MADRIX Version: 3.0 (Created with)
The Link button is useful to create new lighting effects by using several Layers.
1. |
Please select a free Storage Place. In this example it is Storage 1 and Place 1. |
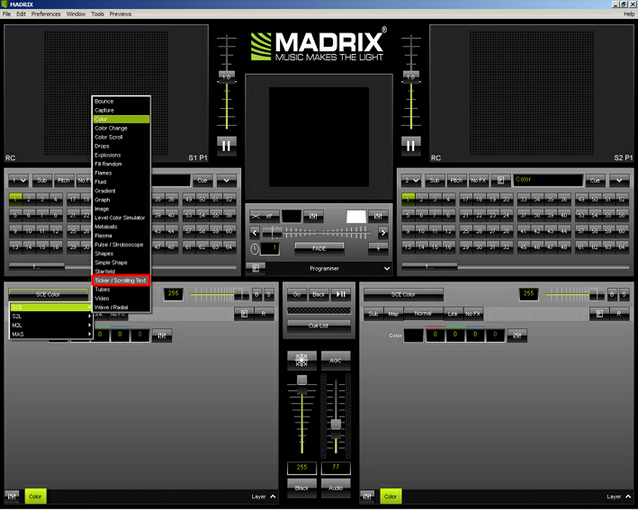
2. |
Select the SCE Ticker / Scrolling Text effect.
|
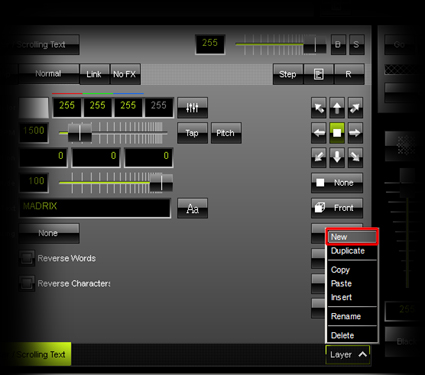
3. |
Now, add a new Layer. To do so, click the Layer button and select New
A new Layer will be inserted with the default effect SCE Color and black color. |
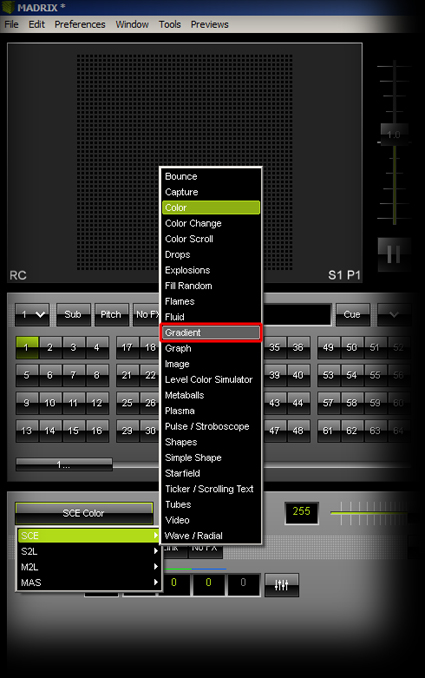
4. |
Change SCE Color to SCE Gradient for the second Layer.
|
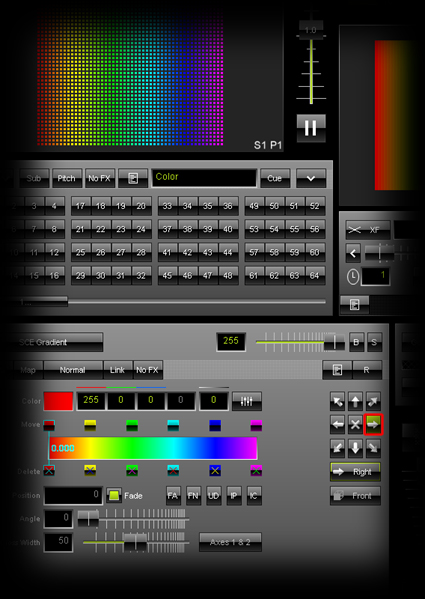
5. |
Change the direction of the Gradient to right
|
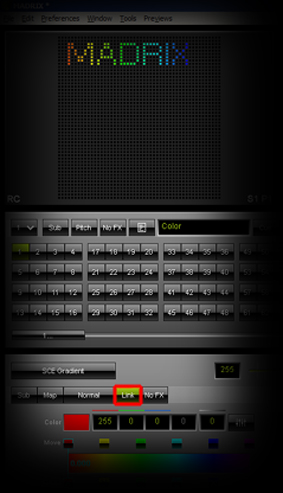
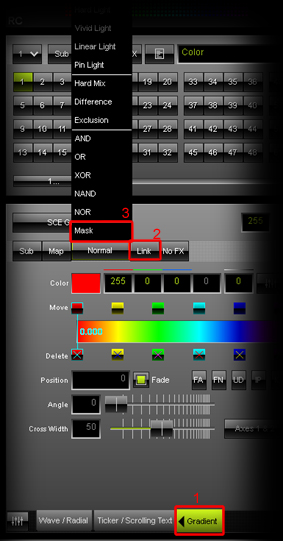
6. |
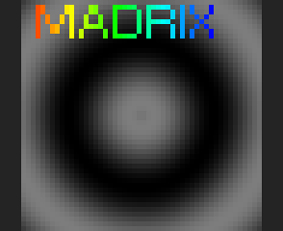
Now, activate the Link button on the Gradient Layer, which is the second Layer. You can see that the right Layer will be linked to the Layer left of it. In this example, SCE Gradient will be linked to SCE Ticker / Scrolling Text. The result is a colorful, scrolling text as shown in the following picture. |
7. |
As an advanced user, you might say: "Mix Mode Mask produces the same result!". That is correct if you are only using two Layers. Please add a new Layer as shown in Step 3.
|
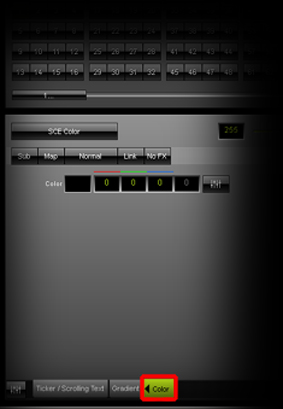
8. |
We have to change the order of the Layers. The newly inserted Layer should be in the background. That means that the "Layer" must be positioned on the very left of the three Layers. Hence, select the newly inserted Layer and click the arrow shown next to the label Color. The Layer will be moved to the second position. Click on the arrow again and the Layer will be moved to the first position on the left.
|
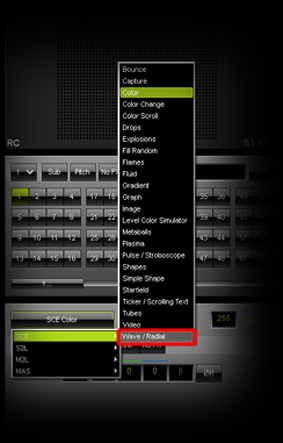
9. |
Change SCE Color of the first Layer to SCE Wave / Radial
|
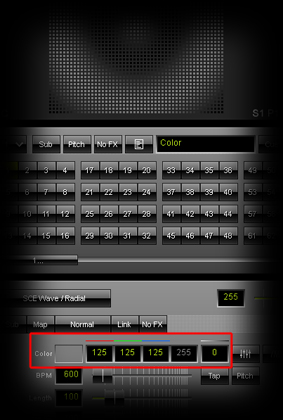
10. |
Change the color to Red = 125, Green = 125, Blue = 125
|
11. |
You should be able to see a colored text and a gray radial in the background on your Preview Left.
|
12. |
In this step, we want to see the difference between Mix Mode Mask and Link Mode.
Now, you can see a different result compared to Step 11. Mix Mode Mask causes all Layers behind this Layer to be colored.
|


Congratulations! You have learned how you can work with the Link button.