In this tutorial, you will learn how you can configure a MADRIX PLEXUS with the help of the PLEXUS Configuration window of the MADRIX software.
Date: 10/2014
MADRIX Version: 3.3 (Created with)
PLEXUS Firmware Version: 1.8.5168 (Created with)
1. |
Start MADRIX and connect MADRIX PLEXUS via USB or Ethernet to the computer that runs the MADRIX software. Please note: If you want to use the Ethernet network connection, make sure that the PLEXUS is connected to power via USB or the provided power supply. |
||||
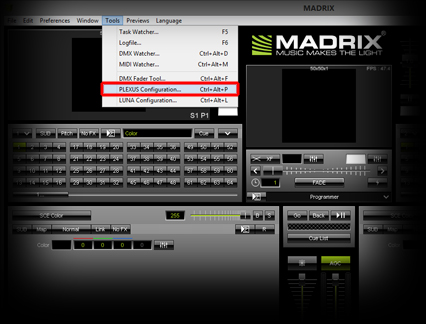
2. |
In MADRIX, go to the menu Tools > PLEXUS Configuration...
|
||||
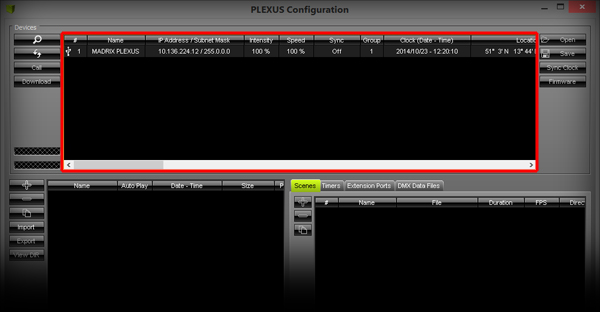
3. |
The PLEXUS Configuration window opens. In the upper list, you will find the connected PLEXUS devices and you can change all the settings of a PLEXUS.
|
||||
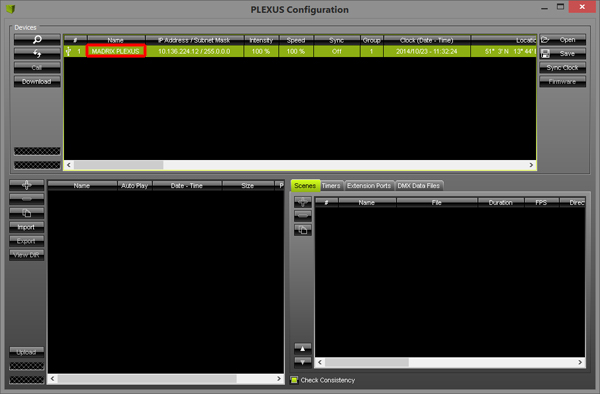
4. |
First, we want to change the name of the PLEXUS. Select the PLEXUS in the list and perform a double-click with the left mouse button on the name of this PLEXUS. The Name will now be editable. Enter any name. In this example, we are changing the name from MADRIX PLEXUS to PLEXUS 1.
|
||||
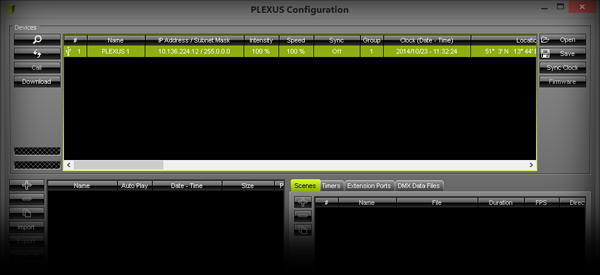
5. |
In this step, we will change the values for Brightness Dimmed and Dim After. Select the PLEXUS in the list again and scroll sideways to the right until you can see the columns Brightness Dimmed and Dim After.
|
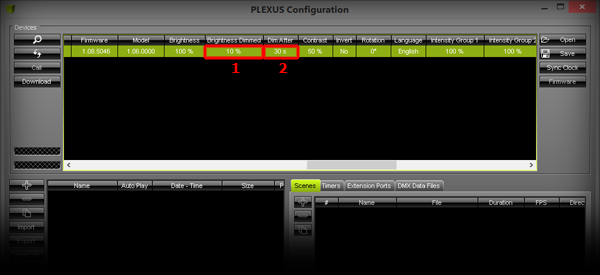
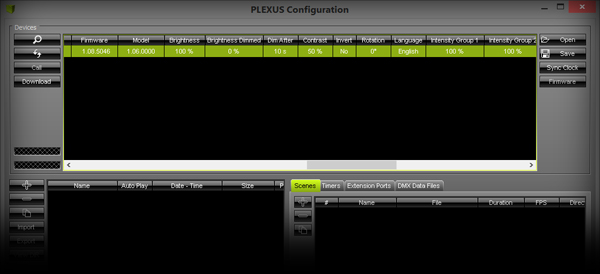
Congratulations! You have successfully changed the first settings. Change any other settings as required.