This topic includes:
If you open the MADRIX 3 Fixture Editor, you will see that no fixture library is loaded. At first, the tool is empty.
To load the default MADRIX Fixture Library file:
1] Select File > Open Library...
[Keyboard shortcut: Ctrl+O]
2] A new window will open.
3] Navigate to the installation directory of MADRIX:
- C:\Program Files (x86)\MADRIX3
4] Choose madrix.mflx and press Open

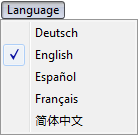
Before starting work with the MADRIX Fixture Editor, you can choose the language of the user interface.
| ▪ | In the menu Language, choose from: - Deutsch [German] - English - Español [Spanish] - Français [French] - 简体中文 [Simplified Chinese] |
[This user manual is only written in English.]
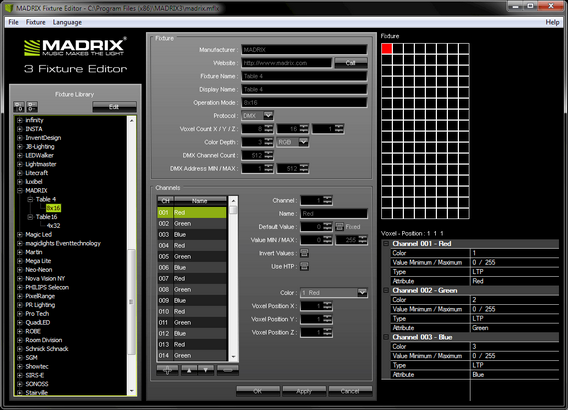
The MADRIX 3 Fixture Editor window is divided into 3 parts [from left to right]:
| ▪ | A Fixture Library list |
| ▪ | Fixture and Channel overviews |
| ▪ | A Fixture preview |

| ▪ | On the left-hand side, a tree structure represents the content of the currently loaded fixture library file. |
| ▪ | The items are arranged in alphabetical order. |
| ▪ | Each top branch of the structure names a lighting fixtures manufacturer. |
| ▪ | Every item has one or more sub-items representing the fixture profile or a variation of the fixture profile for different modes. |
|
|
||
|
|
||
|
|
In the center of the Fixture Editor window, the configuration for the currently selected fixture and channels is displayed and can be changed. Learn more »Configuration Of Fixture Profiles
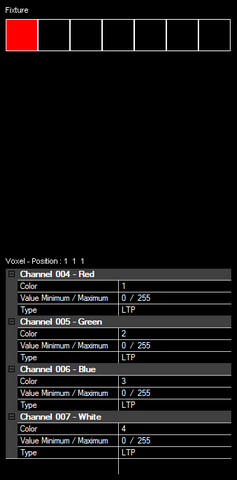
The area on the right-hand side of the Fixture Editor serves as a preview while editing. The upper part shows a graphical model of the fixture. The pixel or voxel belonging to the currently selected channel is highlighted with the specified color. Additionally, the lower part summarizes all information [channels, colors, positions, values, types, and names] of this pixel/voxel. The preview is updated every time you edit the fixture profile.
