In this tutorial we will learn how we can assign DMX universes of connected DMX interfaces in MADRIX.
Date: 10/2019
MADRIX Version: 5.1b (Created with)
Corresponding Video Tutorial: »Assign DMX Universes
Task:
In this tutorial a MADRIX USB ONE and a MADRIX STELLA connected via USB. Now we have to assign the DMX universes according to the following list:
|
1. |
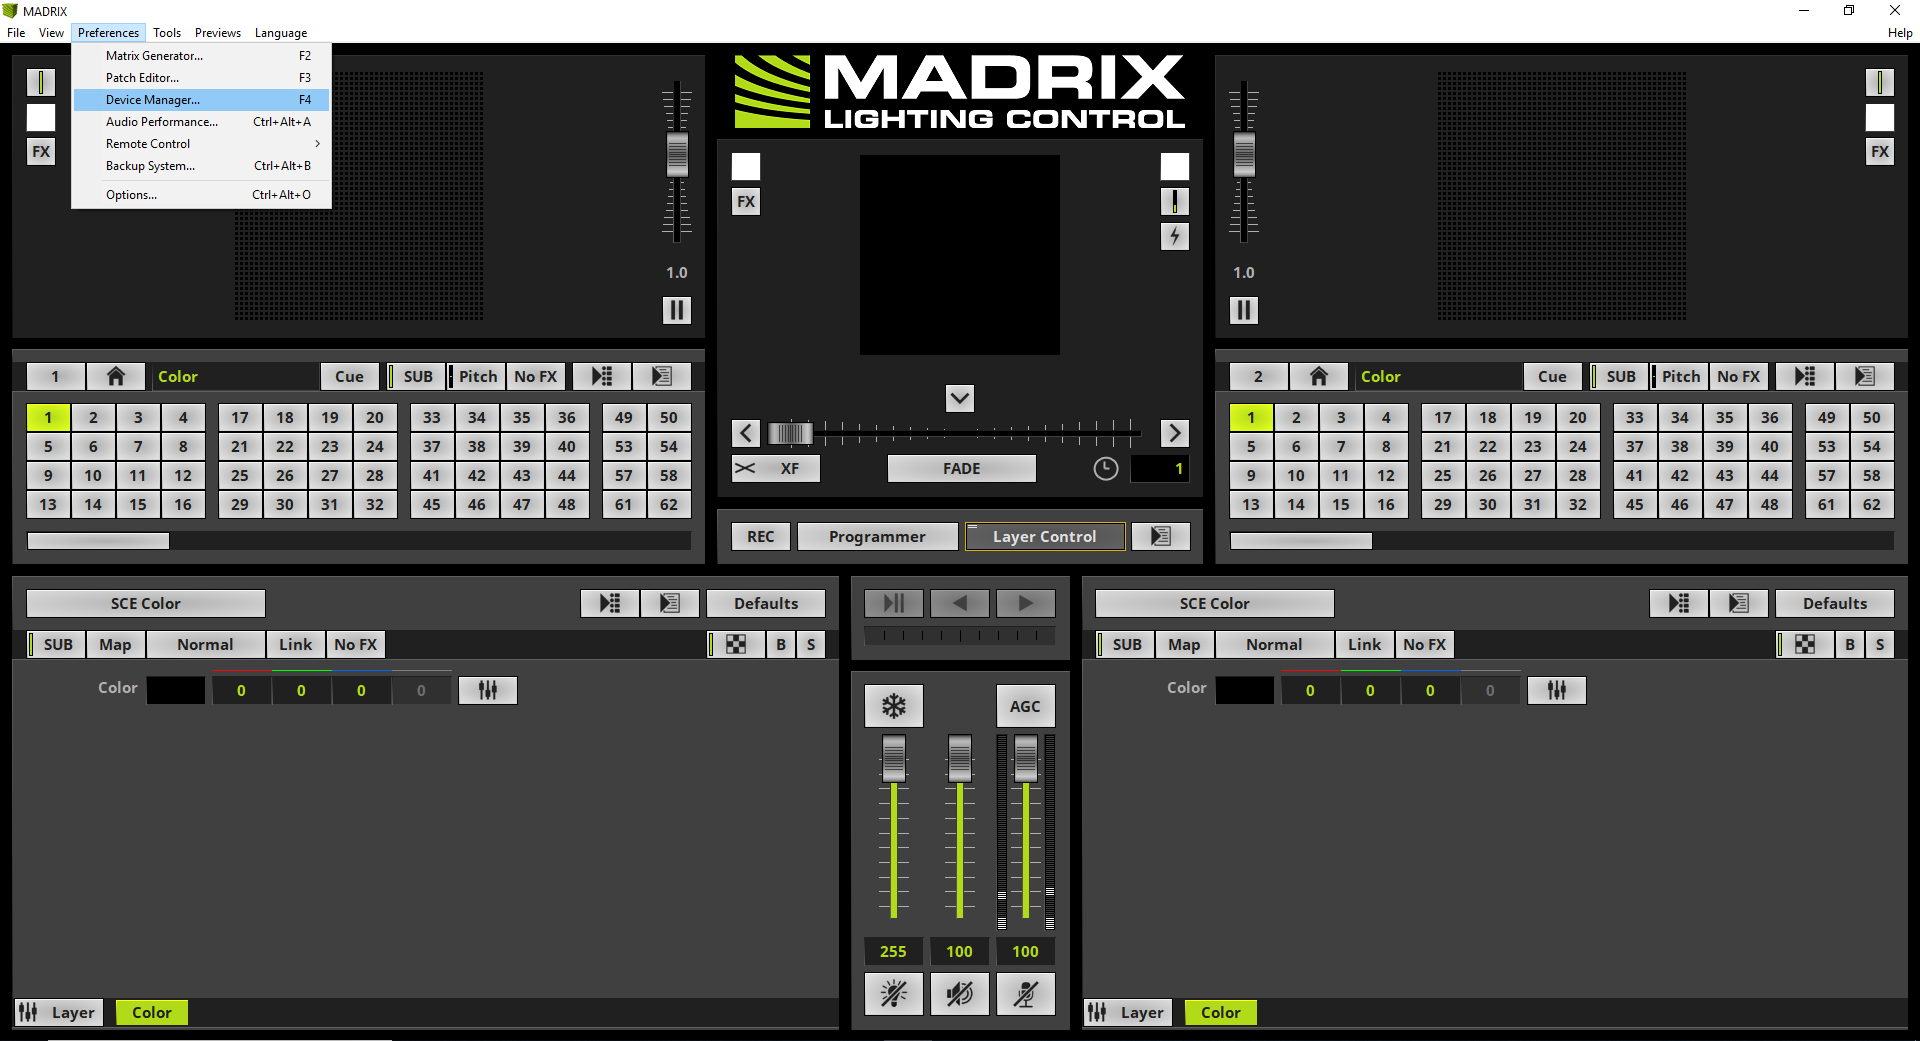
To assign the DMX universes of an interface we have to open the DMX Devices tab of the Device Manager in MADRIX. To open it please go to Preferences > Device Manager [Keyboard shortcut F4].
Please note: The DMX Universe assignment of the DMX Devices tab corresponds with the patched DMX Universes in the Patch Editor.
|
2. |
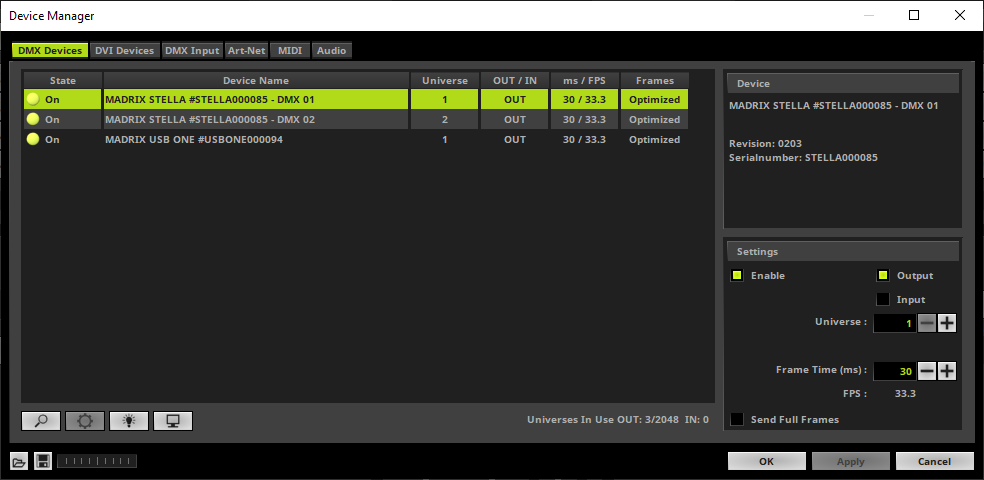
After we opened the Device Manager the DMX Devices tab is selected by default. If we have connected the MADRIX interfaces via USB before we start MADRIX, the interfaces will be found automatically. If we connect the MADRIX interfaces via USB after the start of MADRIX we have to click the Search button below the list.
In this tutorial the MADRIX interfaces are connected before the MADRIX 5 software was started and we can see 3 different entries. One for the MADRIX USB ONE and two for the MADRIX STELLA. The first entry will be selected by default.
As we can see in the list all ports of the different interfaces are automatically assigned to a universe. MADRIX starts the universe assignment for each interface with universe 1.
|
3. |
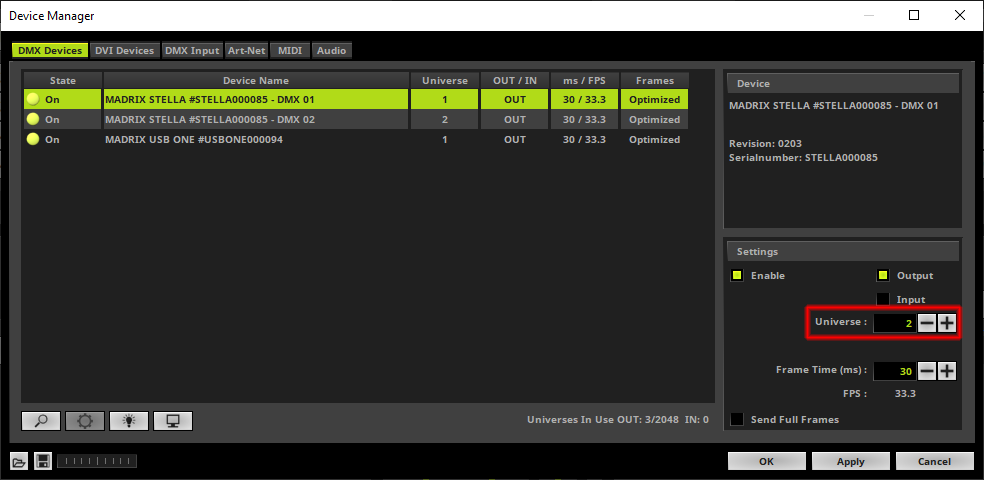
According to our task the USB ONE should be assign to DMX Universe 1. The Port 1 of the STELLA to DMX Universe 2 and Port 2 to DMX Universe 3.
The USB ONE is already assigned to DMX Universe 1 and we don't have to change it. Now the Port 1 of the STELLA needs to be changed to DMX Universe 2. Therefor we select Port 1 and change the Universe at the Settings section to 2. In the next step we select Port 2 and change the Universe at the Settings section to 3. After we changed the settings we click Apply.
Please note: MADRIX will assign the DMX universes after a click at OK or Apply.
|
4. |
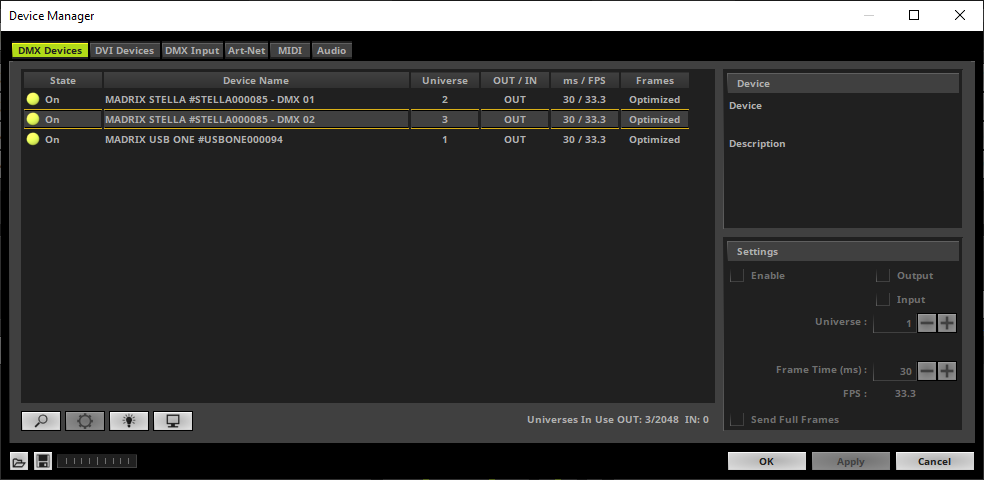
When we now have a look at the list of the DMX Devices tab, we can see all DMX Universes are assigned according to our task.
|
Congratulations! You have successfully learned how to assign DMX Universes to different fixtures in MADRIX 5.