In this tutorial, you will learn how you can set up the EUROLITE LSD AIO Network control system in order to use it with MADRIX and the T9 protocol.
Date: 12/2012
LEDShow T9 Version: 10.50 (Created with)
Note: It is necessary to configure the AIO Controller/LED Show T9. Without this initial configuration, you cannot use T9 in MADRIX. But after this one-time configuration, you will not need to use LED Show T9 anymore.
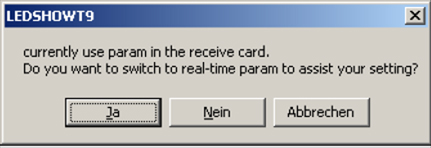
Before we start, please note: If the following warning appears, please always confirm with Yes
|
1. |
Download the Preset T9.DAT again and unzip it. The file is available in the Downloads section of the following »Link |
||||||
2. |
Start the LED Show T9 software and go to Control(C) > LEDAdmin(L)
|
||||||
3. |
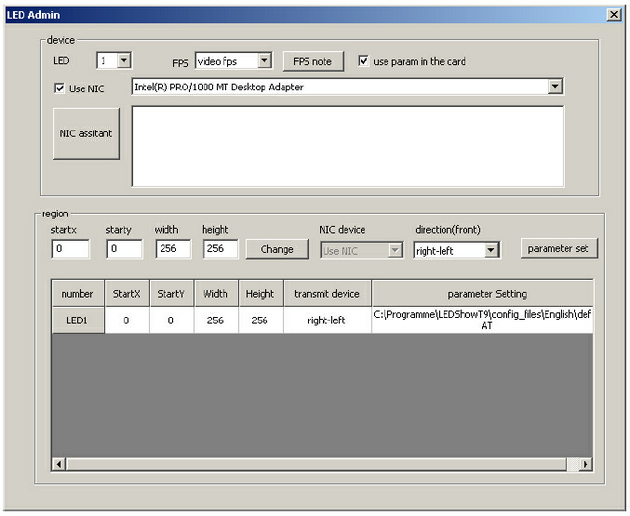
The following window will be opened.
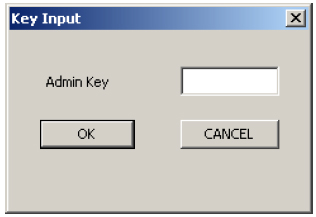
Click the button parameter set, which you can find to the middle on the right-hand side. Now, you will be asked for a password. Type T9 into the textfield and confirm with OK
|
||||||
4. |
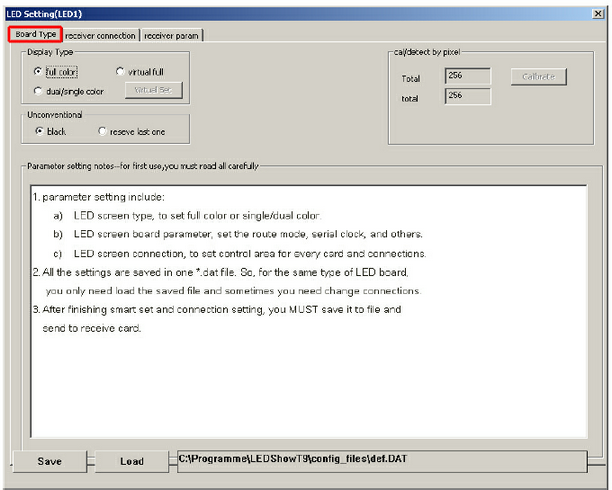
Now, the window LED Setting(LED1) will be opened. Please click Load on the Board Type tab.
|
||||||
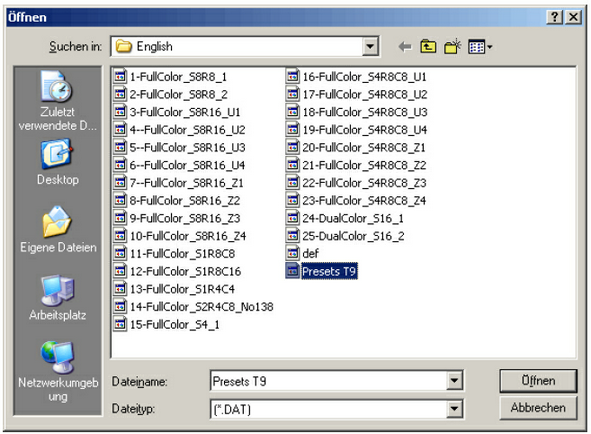
5. |
Now, choose the Preset T9.DAT file you just downloaded and click Open
|
||||||
6. |
Close the LEDSetting(LED1) window by clicking the X on the top. |
||||||
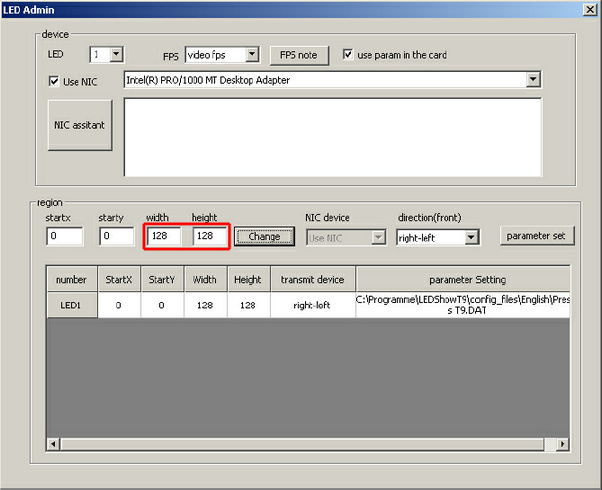
7. |
Now, go to Control(C) > LEDAdmin(L) again and change the width and height to 128 each. Confirm with the button Change
|
||||||
8. |
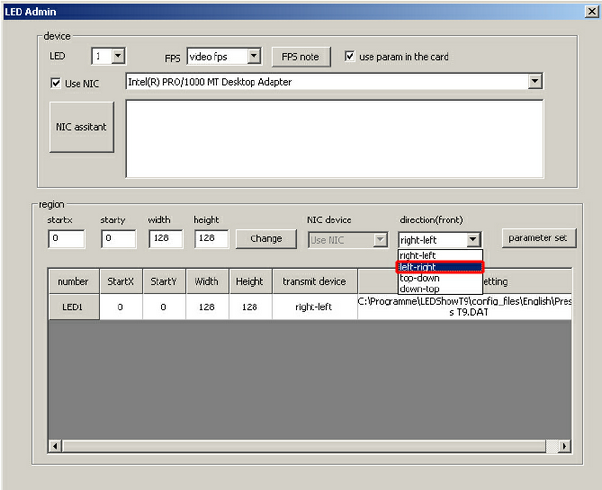
Usually, you can see a preview image displaying a white eurolite on the LSD curtain. If it is displayed correctly, you do not need to change anything. If it is mirrored/inverted, you should to change direction(front) from right-left to left-right
|
||||||
9. |
Now, click parameter set again, type in T9 as the Admin key into the textfield of the Key Input window, and click OK. The LEDSetting(LED1) window will be opened. |
||||||
10. |
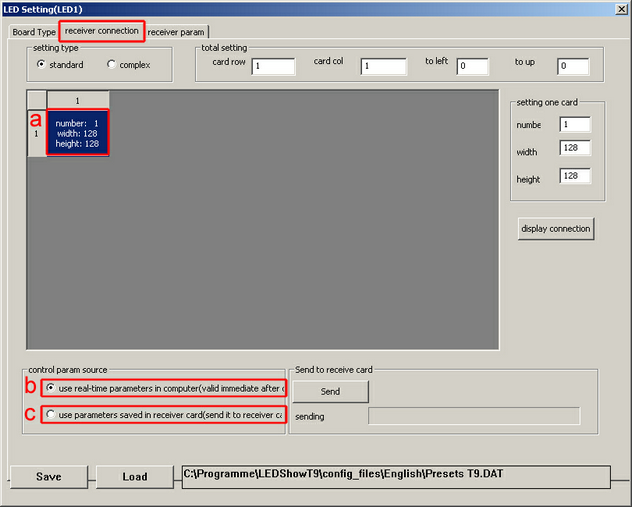
Select to the receiver connection tab of the LEDSetting(LED1) window.
|
||||||
11. |
Close the LEDSetting(LED1) window and close the LEDShow T9 software. Please make sure that the software is really closed, as it sometimes will be minimized to the Windows system tray. |
||||||
12. |
You can now configure MADRIX for T9 control. Please have a look at the tutorial »T9 Configuration In MADRIX |

Congratulations! You have configured your EUROLITE LSD AIO Network control system.