This tutorial shows you how to highlight fixtures in MADRIX 5 with the help of the Patch Editor.
Date: 10/2019
MADRIX Version: 5.1b (Created with)
Corresponding Video Tutorial: »Highlight Fixtures
Note:
•In this tutorial we will use the patch of the tutorial »Import A Fixture List.
•The used visualization for this project was done with »Capture Visualisation.
•If you don't know how to connect the visualizer file with MADRIX, please have a look to the Tutorial: »Connecting MADRIX 5 With A Visualizer Using sACN.
Task:
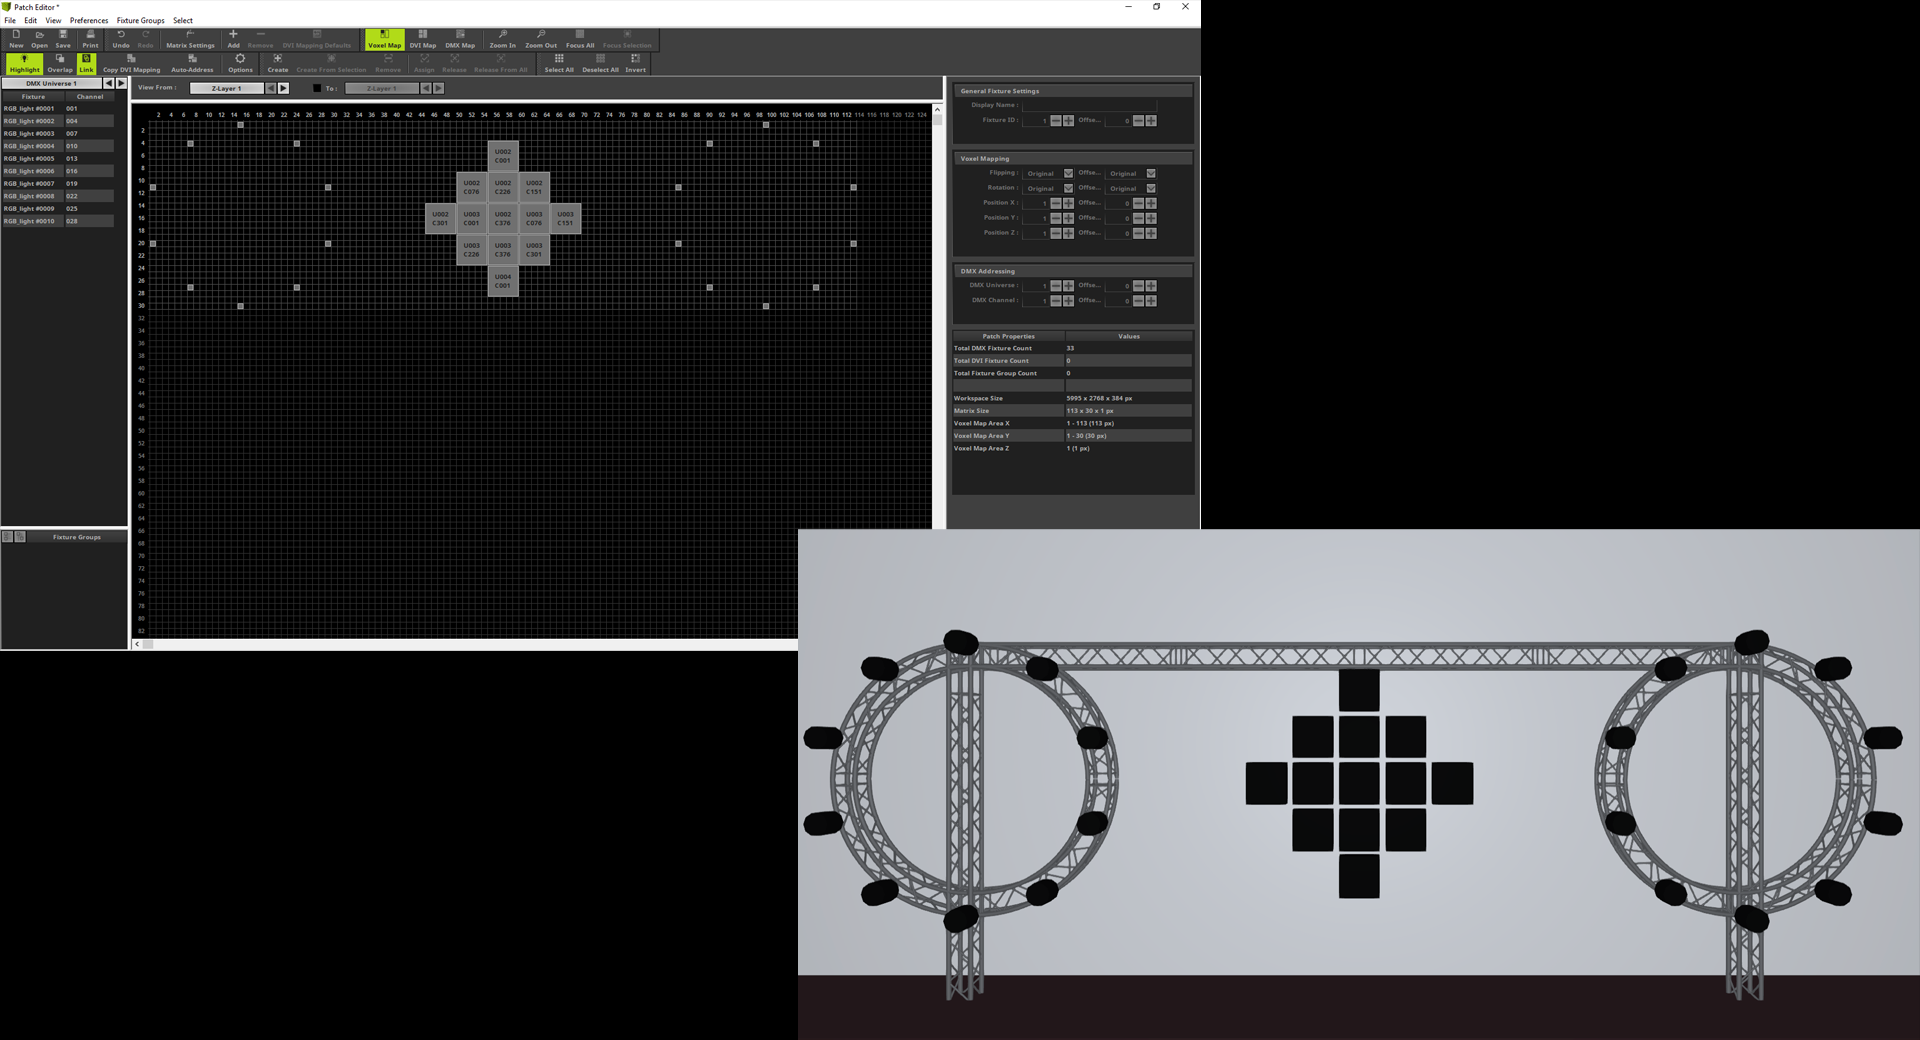
We have to verify if the positions and DMX Start Addresses of the following patch are assigned correctly. This patch was created via the Import Fixture List function in MADRIX 5. When you want to learn how you can import a CSV fixture list in MADRIX 5 please have a look to the corresponding tutorial: »Import A Fixture List.
Download:
An executable Visualizer file you can download under the following link: CirlesAndDiamond.exe
1. |
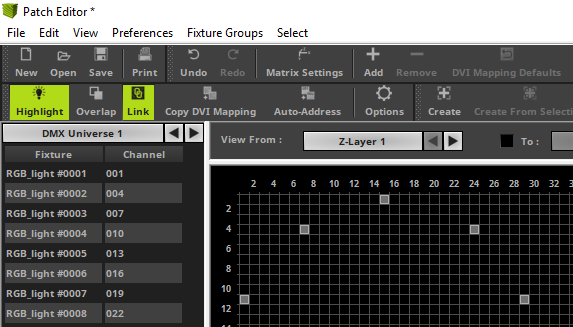
When we are sure that the DMX address assignment of the used fixtures is set correctly but we want to verify the positions of it in the patch and in reality we can work with the Highlight functionality in the MADRIX 5 Patch Editor. To enable the Highlight functionality we simply have to click the Highlight button in the Patch Editor.
After we have enabled Highlight the MADRIX output will be disabled by default if we don't have changed the settings in the Patch Editor Options (see Step 5).
|
2. |
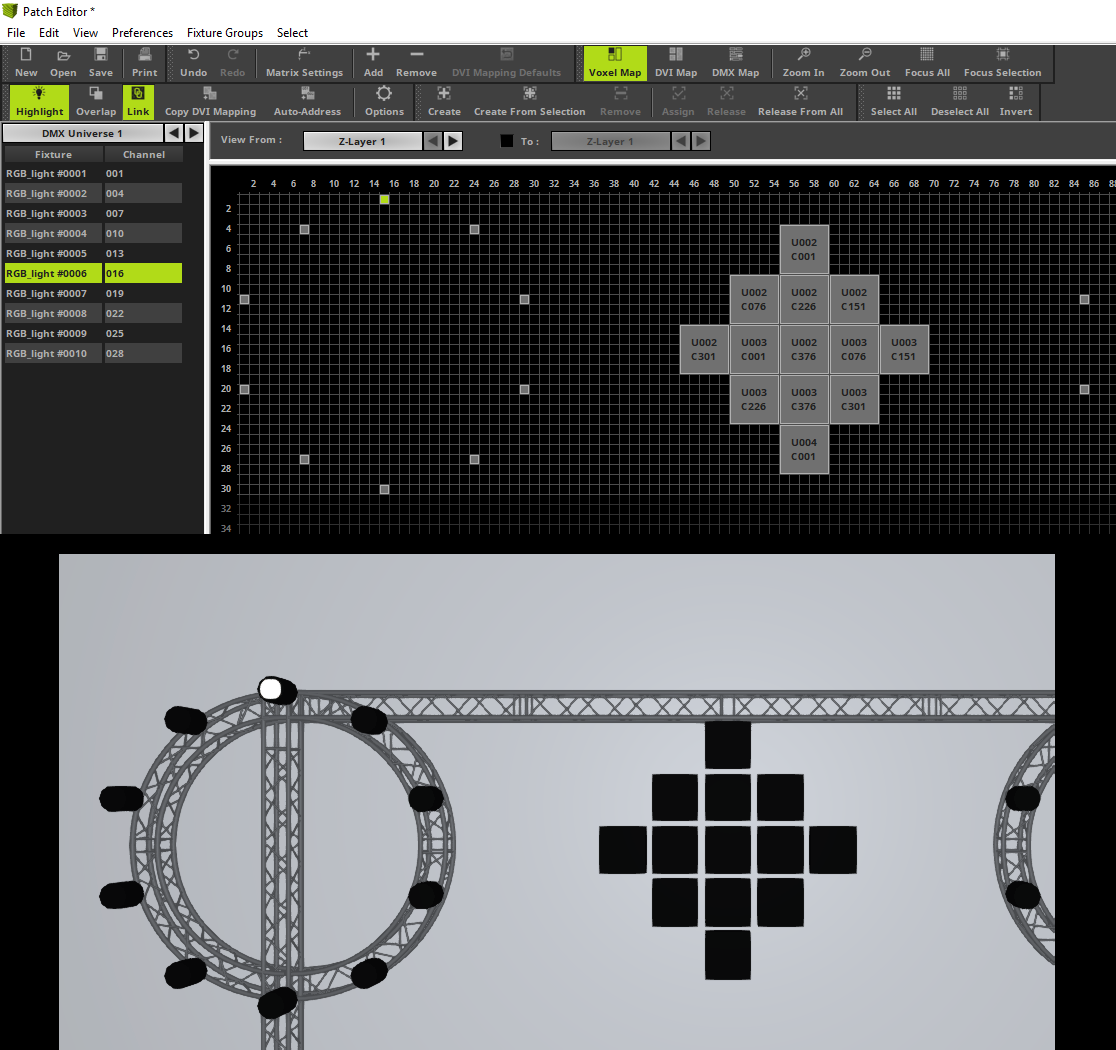
If Highlight is enabled and you select a fixture in the patch, by default a full on white output will be sent to the selected fixture.
|
3. |
Of course it is also possible to select a fixture with more than one pixel. When the Highlight mode is enabled the first pixel (pixel with the lowest DMX address) will flash. With the help function you can double check the orientation of the real fixture.
|
4. |
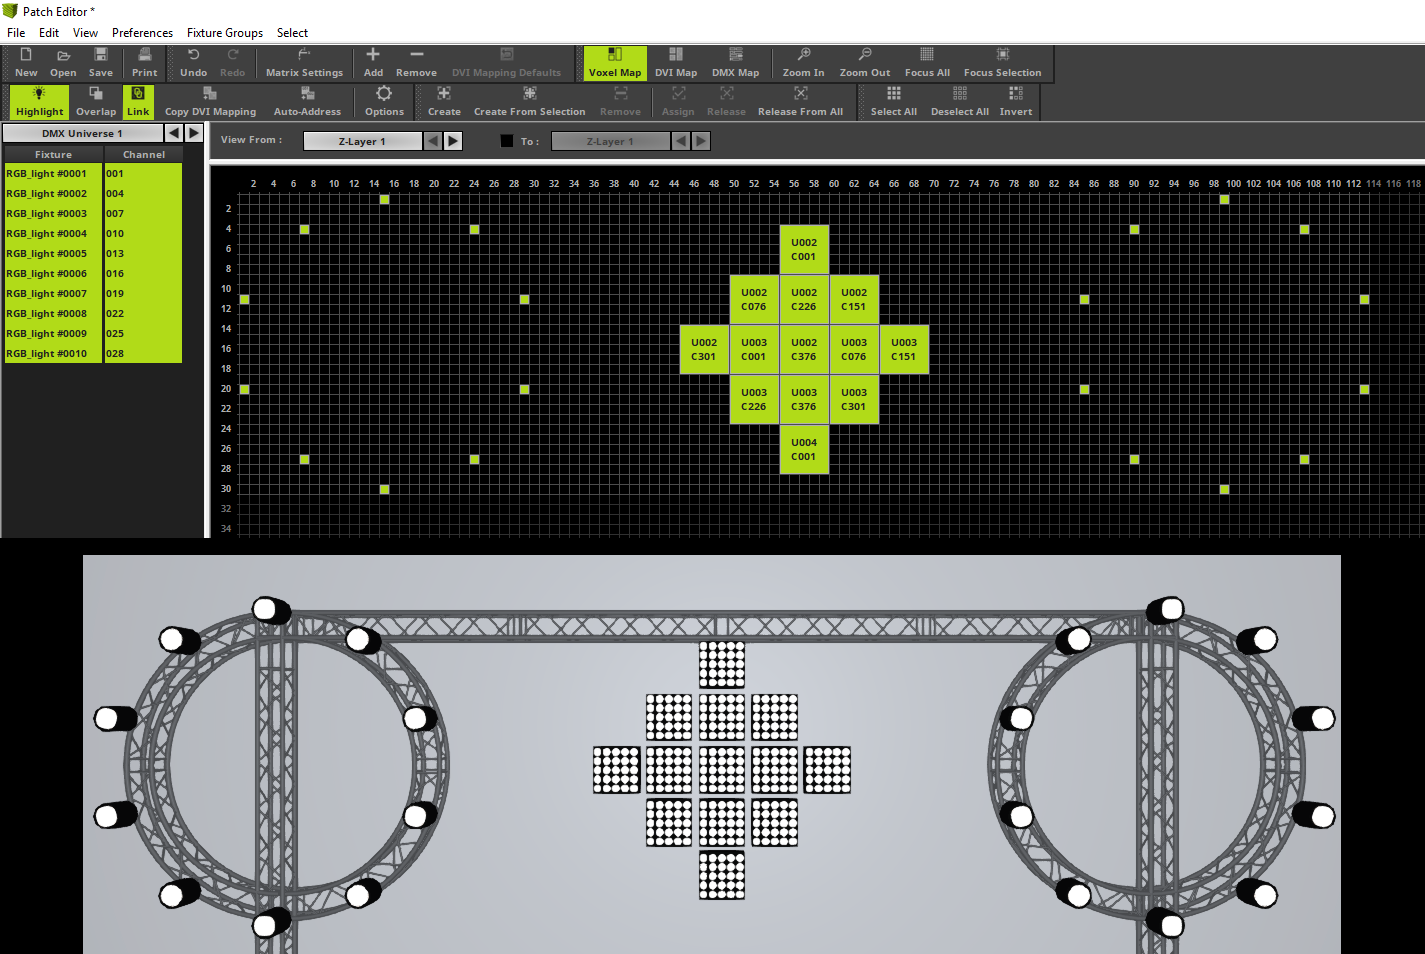
Of course it is possible to select more multiple fixtures when the Highlight mode is enabled. In this example we select all fixtures of the patch with the keyboard via [Ctrl + A]. As result all selected fixture we be on.
|
|
|
Until now we have worked with the default settings of the Highlight functionality. The default settings are: white highlight color and MADRIX Output is set to black. In MADRIX 5 we can change this settings in the Options.
|
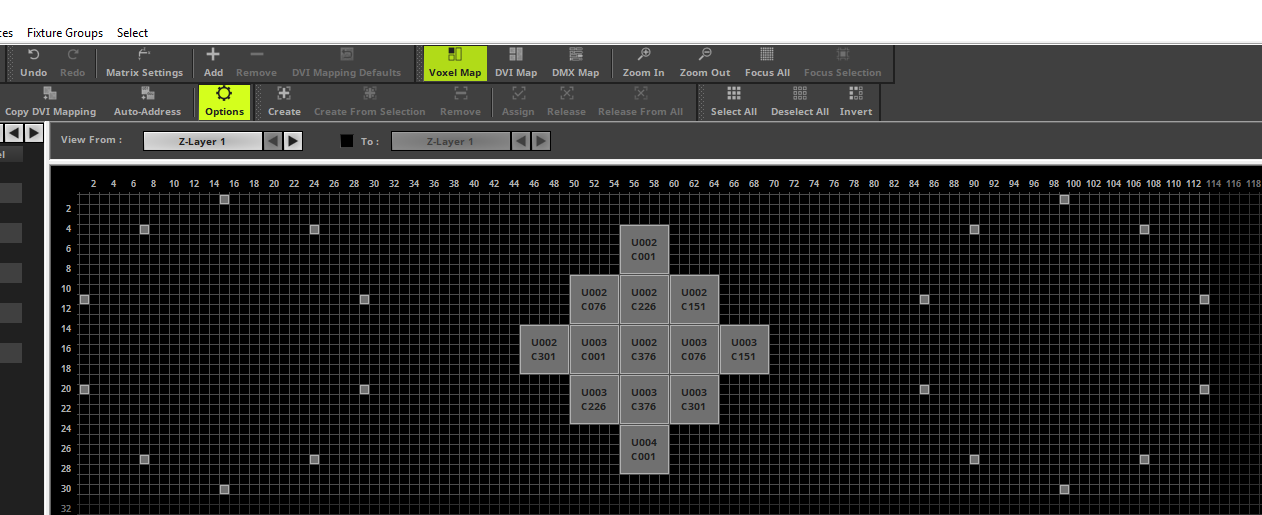
6. |
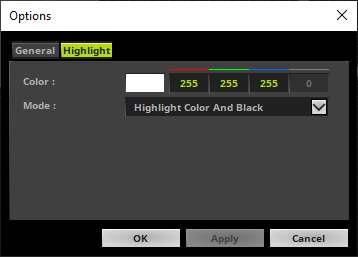
After we opened the Options window we have to go to the Highlight tab. In this tab we can change the Highlight Color and also the Highlight Mode.
|
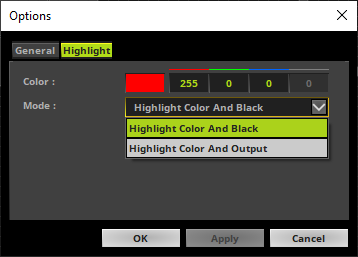
7. |
In this step we want to change the Highlight Color to Red. As always in MADRIX you can change the color via the Color Picker or via the Edit fields. After the change of the color we click OK.
|
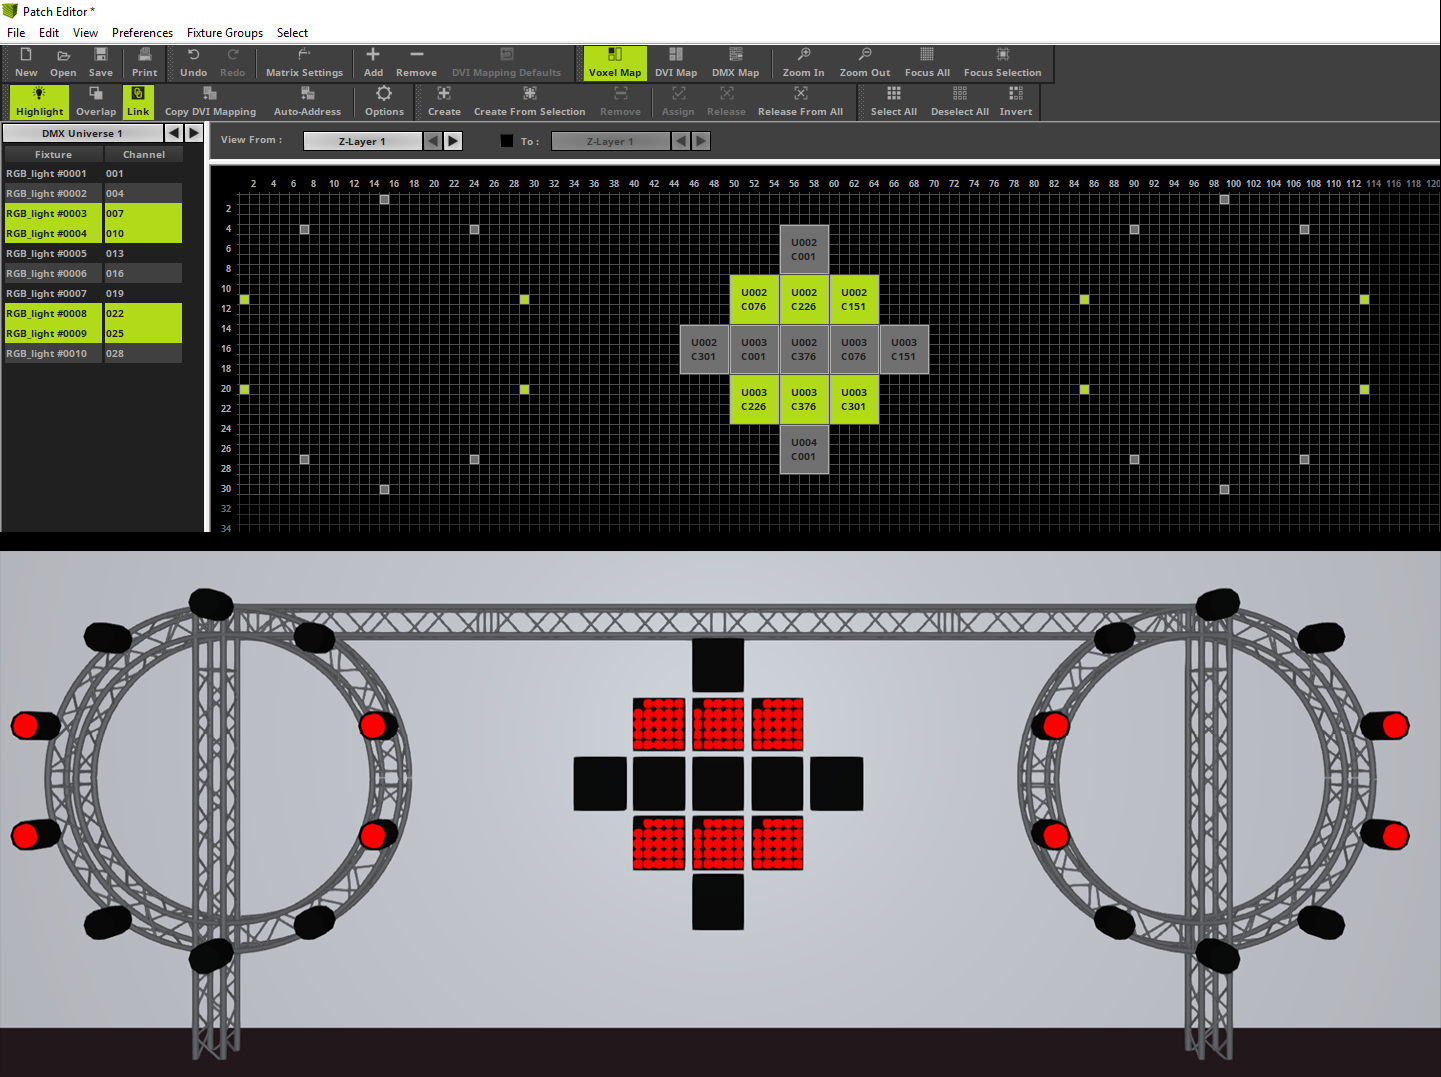
8. |
When we now select a select some fixtures in the Patch Editor during the Highlight mode is still enabled, we can see the fixtures will now illuminate in red.
|
9. |
The second setting in the Highlight tab of the Option is the Mode. Now we want to change the Mode to Highlight Color And Output. After we have changed the option we click OK.
|
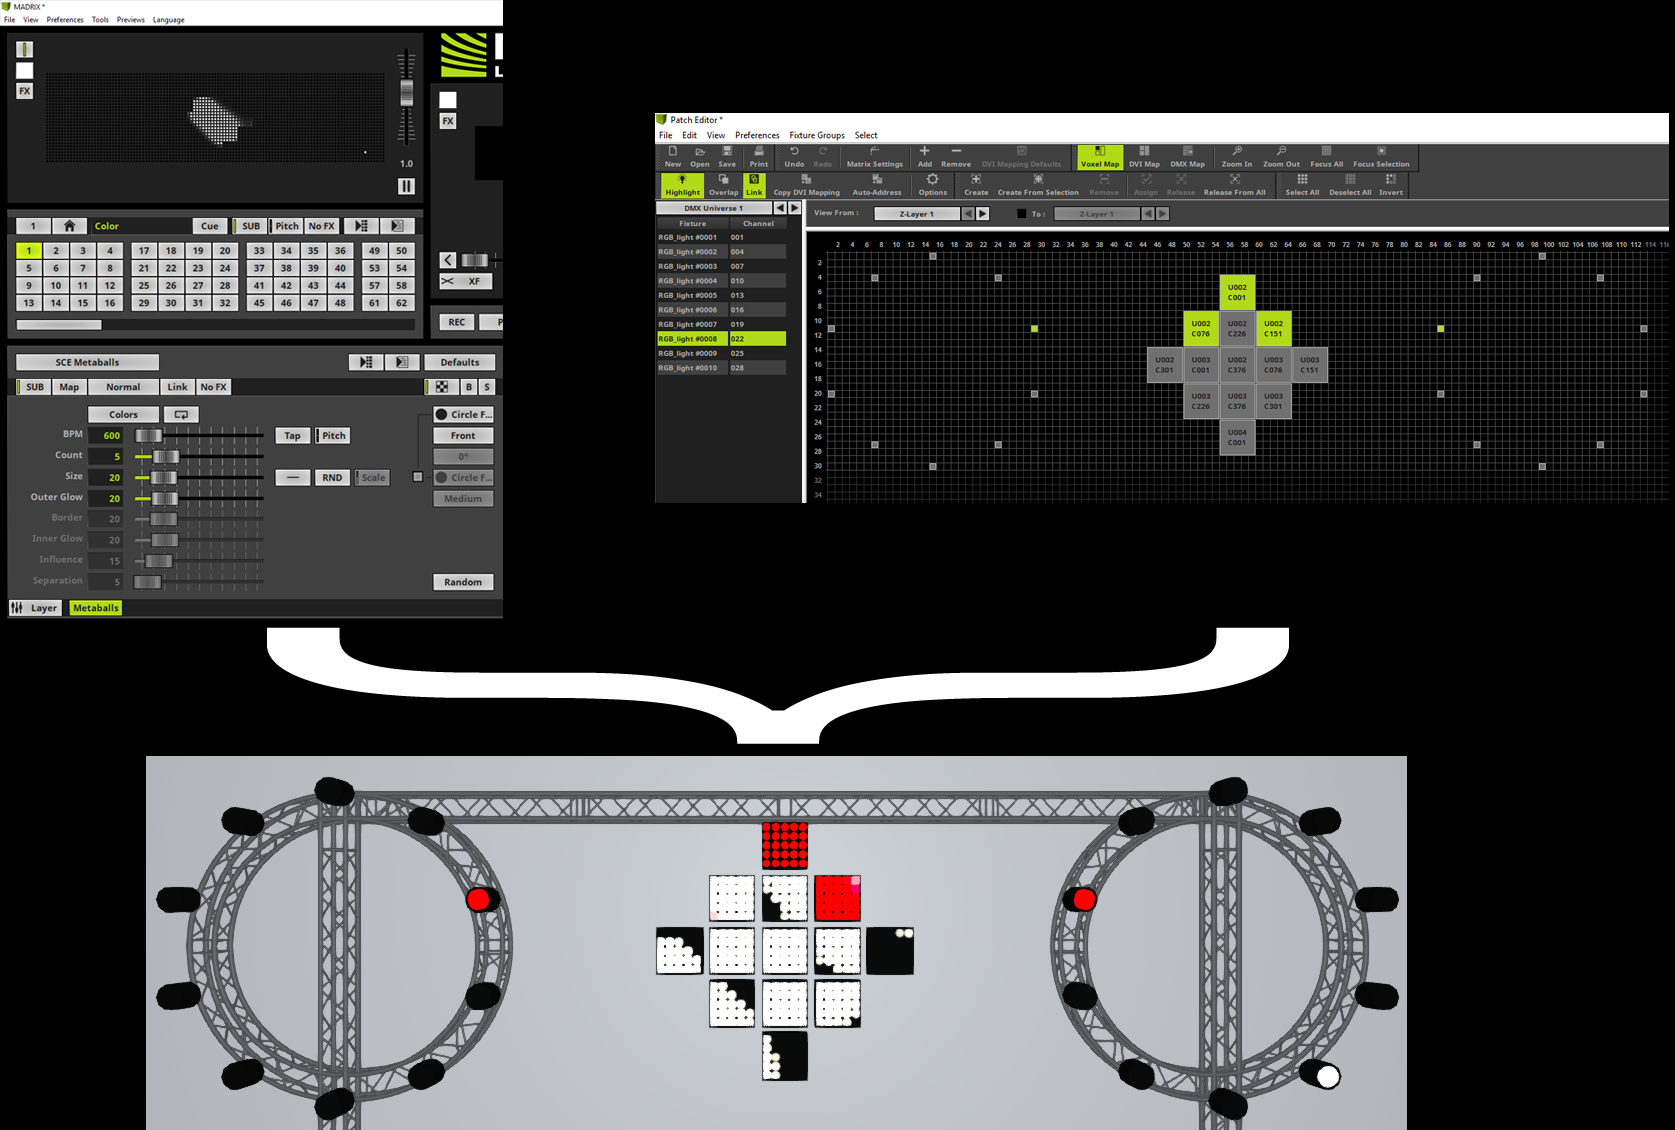
10. |
Now MADRIX is outputting the current running MADRIX effect. Additionally the selected fixtures will be highlighted in the color you have set.
Please note: The Highlight Color of the selected fixtures in the Patch Editor and the output of the MADRIX effect is now working in HTP mode.
|


Congratulations! You have successfully learned how work with the Highlight functionality in the MADRIX 5 Patch Editor.