In this tutorial we will learn how to work with Group Presets in MADRIX 5.
Date: 06/2021
MADRIX Version: 5.4b (Created with)
Corresponding Video Tutorial: »Using Fixture Group Presets
Note:
In this tutorial we will work with the result of the tutorial »Layer Mapping With Fixture Groups.
Task:
In this tutorial we have to add 3 different Group Presets. Furthermore the Fade Time for the Preset changes should be set to 3 seconds.
The first Preset should set all Fixture Group dimmer sliders to the maximum (255).
The second Preset should set the PAR Fixture Group to 0 and the Bar Fixture Group to 255 and the last preset in this tutorial should invert the previous settings. That means the PAR Group should be set to 255 and the Bar Fixture Group should be set to 0.
1. |
The view of MADRIX is already set to Group Control. If you don't know how to activate the Group Control view, please have a look at the tutorials: »Group Control For Live Control.
|
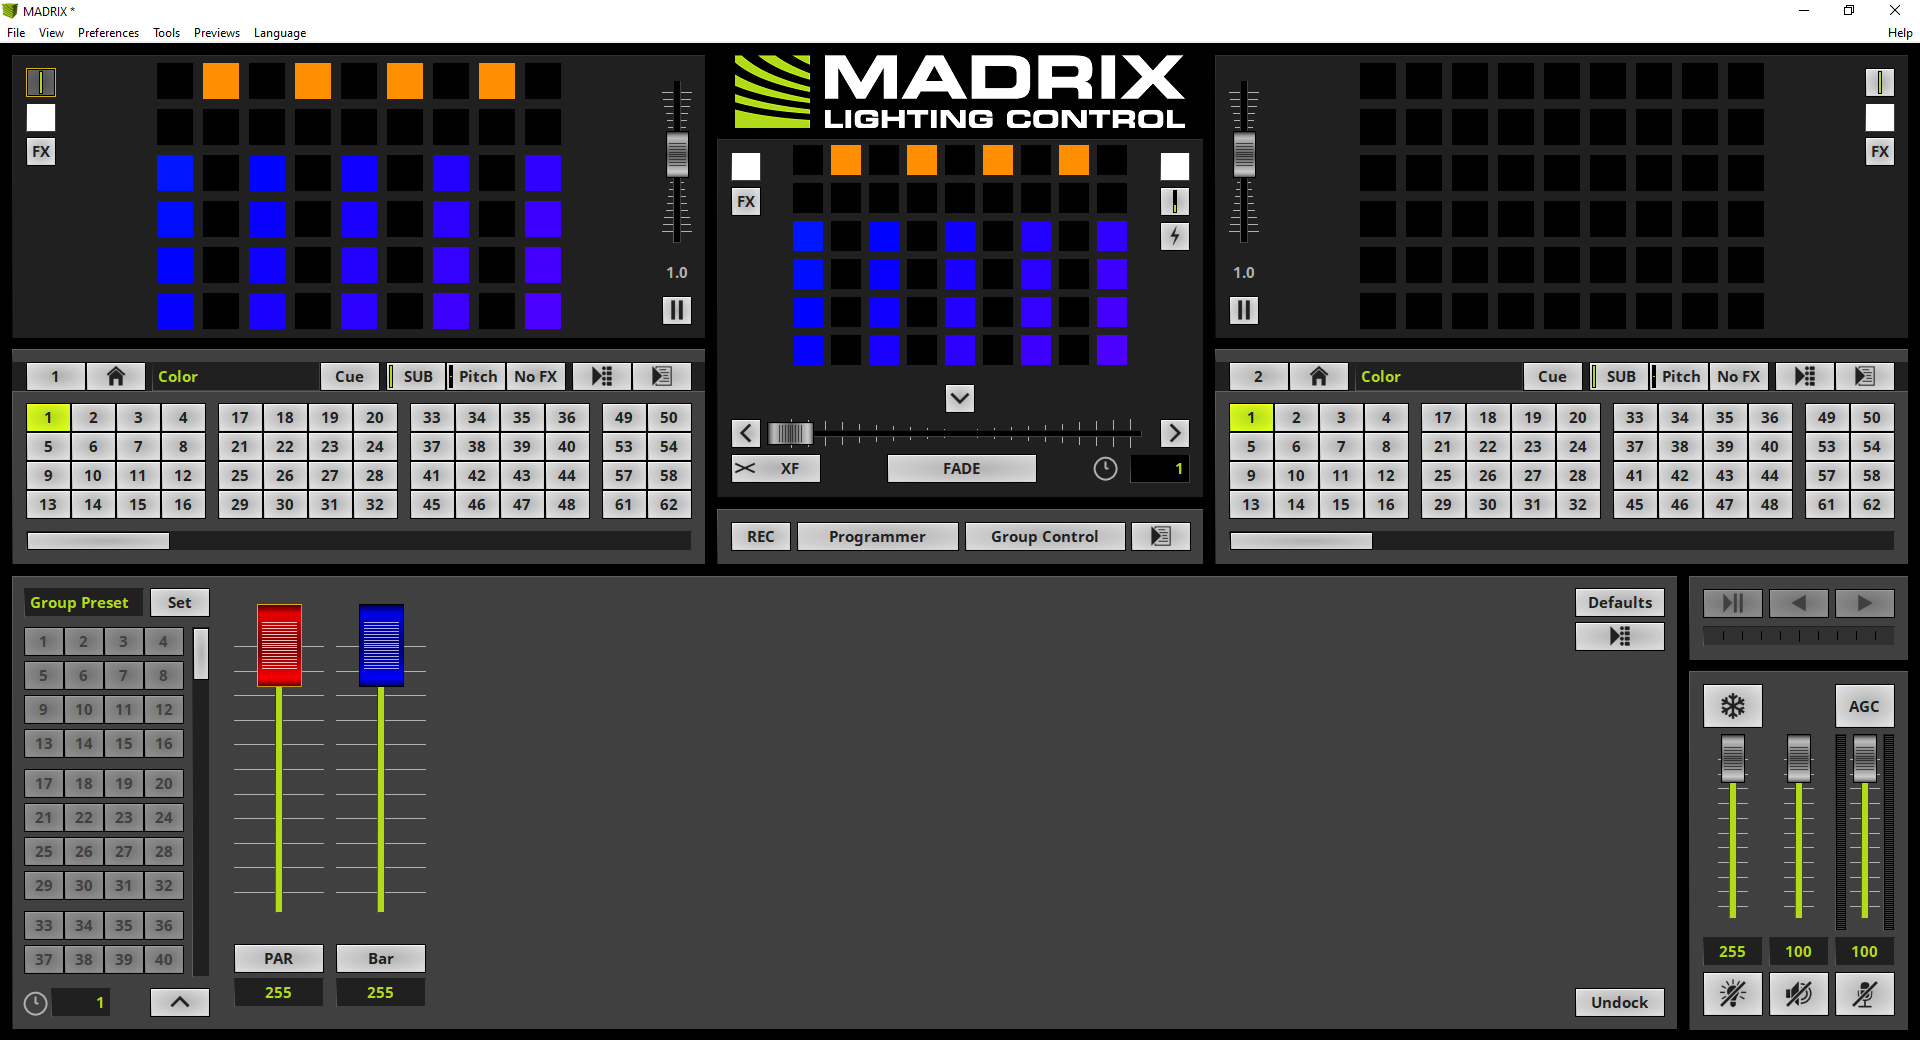
2. |
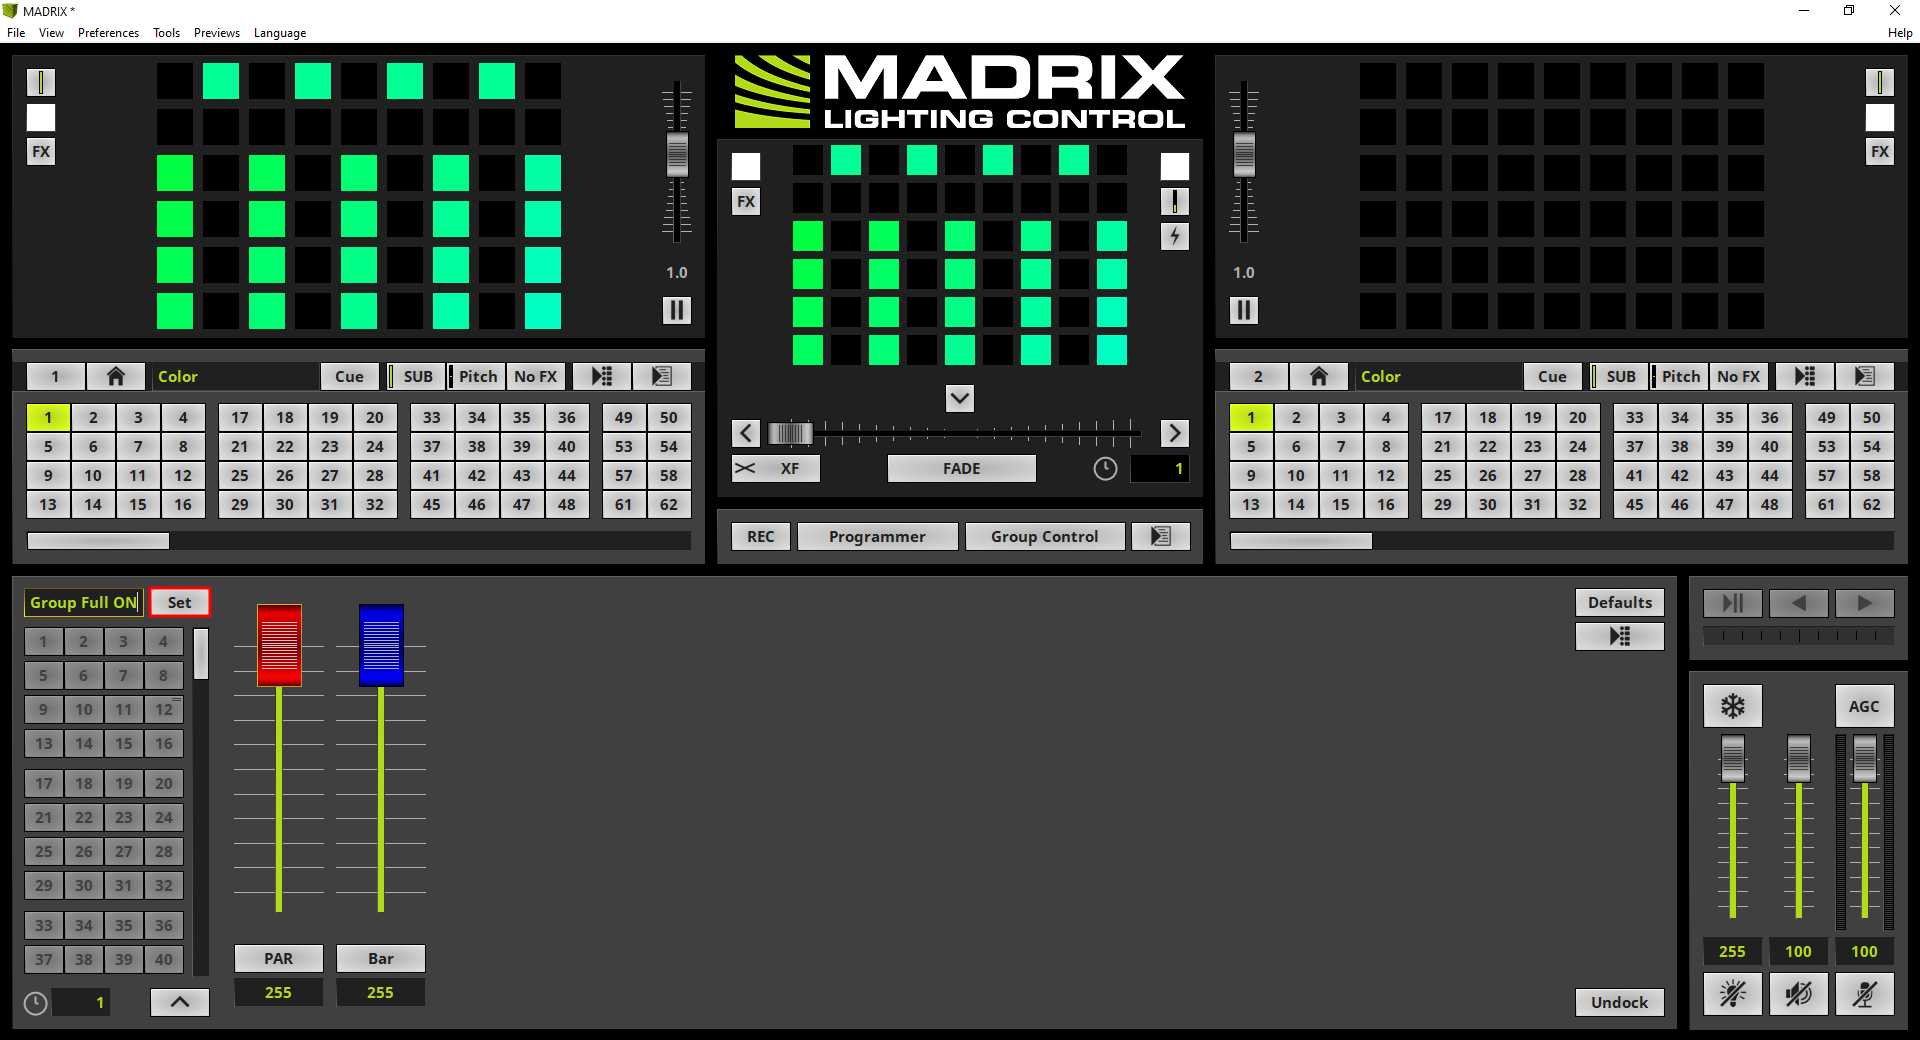
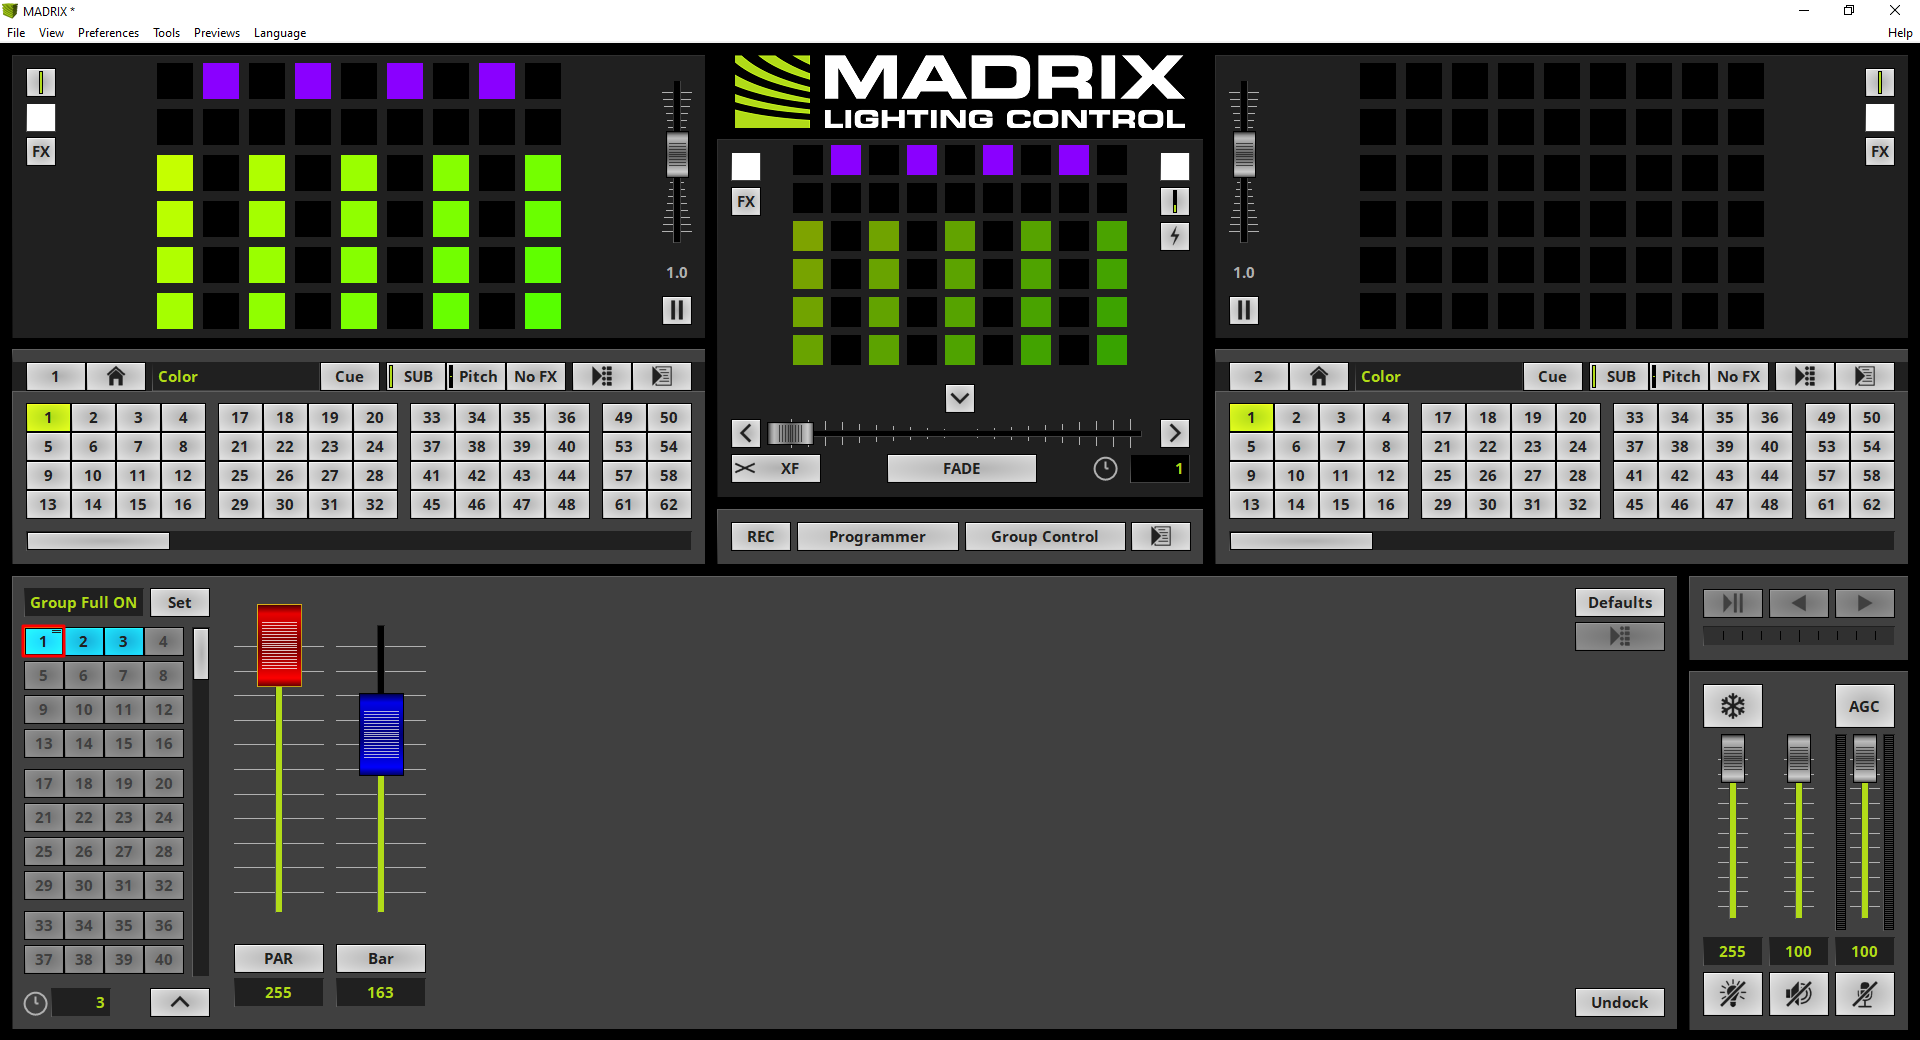
When we have a look at our task, the first Group Preset should set all Fixture Groups to the value 255. If you are working with the default group settings, the values of the Fixture Groups are already set to 255. So we only need to save this settings as first Group Preset. Therefor we change the Group Preset Description to Group Full ON and click the Set button
|
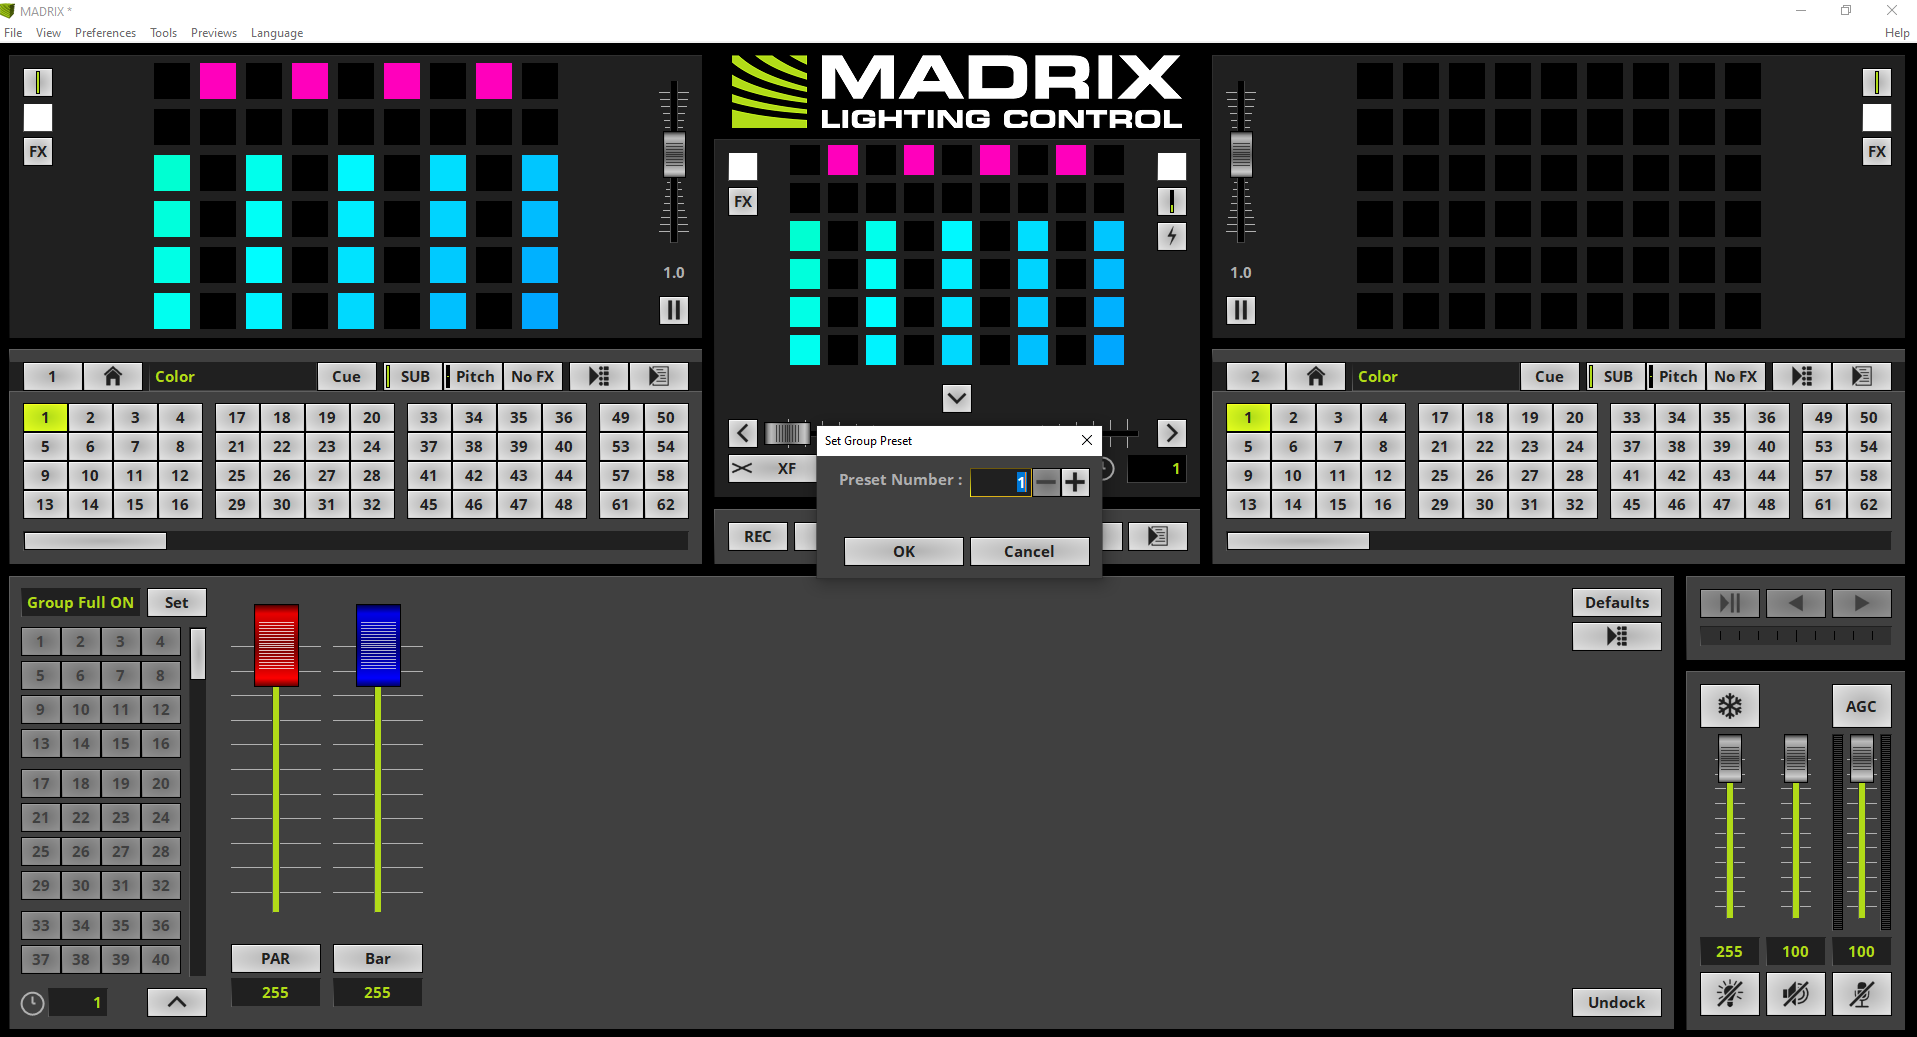
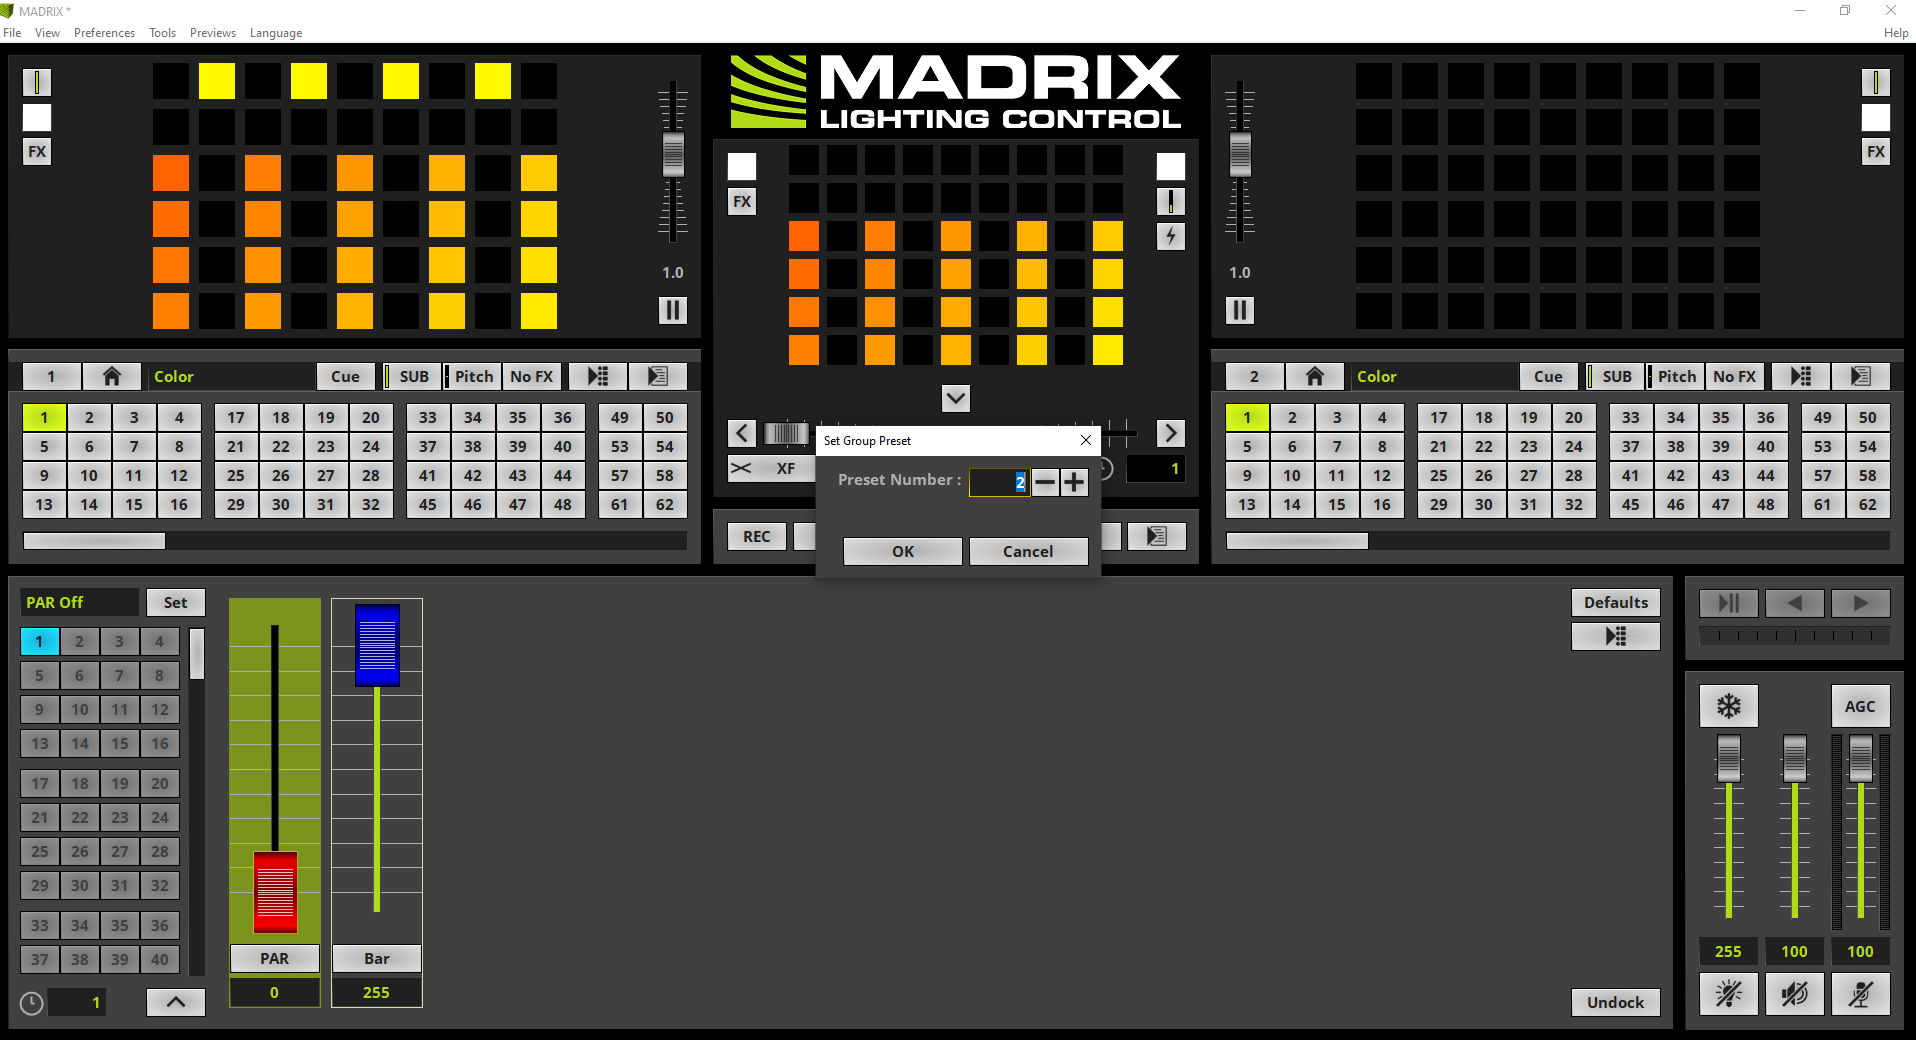
3. |
The Set Group Preset window opens and we can change the Preset Number. In this tutorial we want to save it as the first Preset and we can click OK.
|
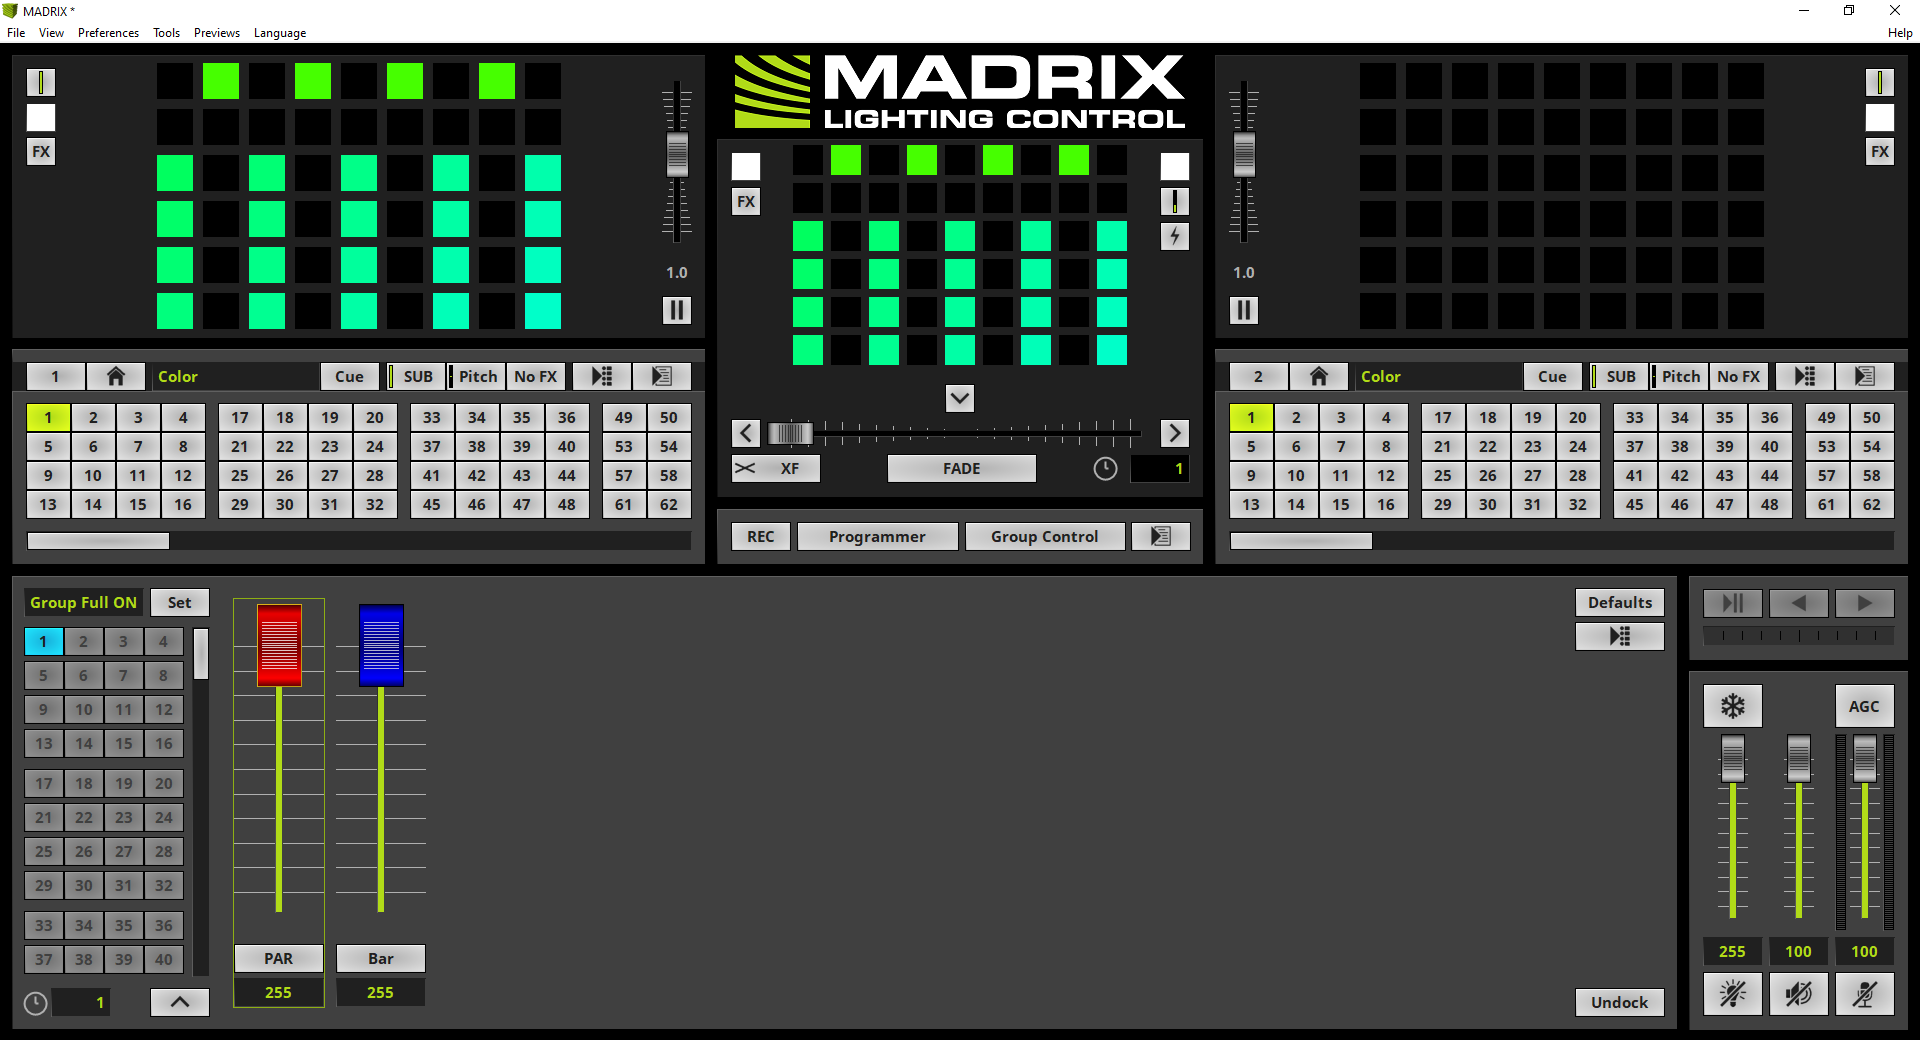
4. |
Now the first Group Preset was added and the Preset button is illuminated in blue as always if something is stored in MADRIX at a button.
|
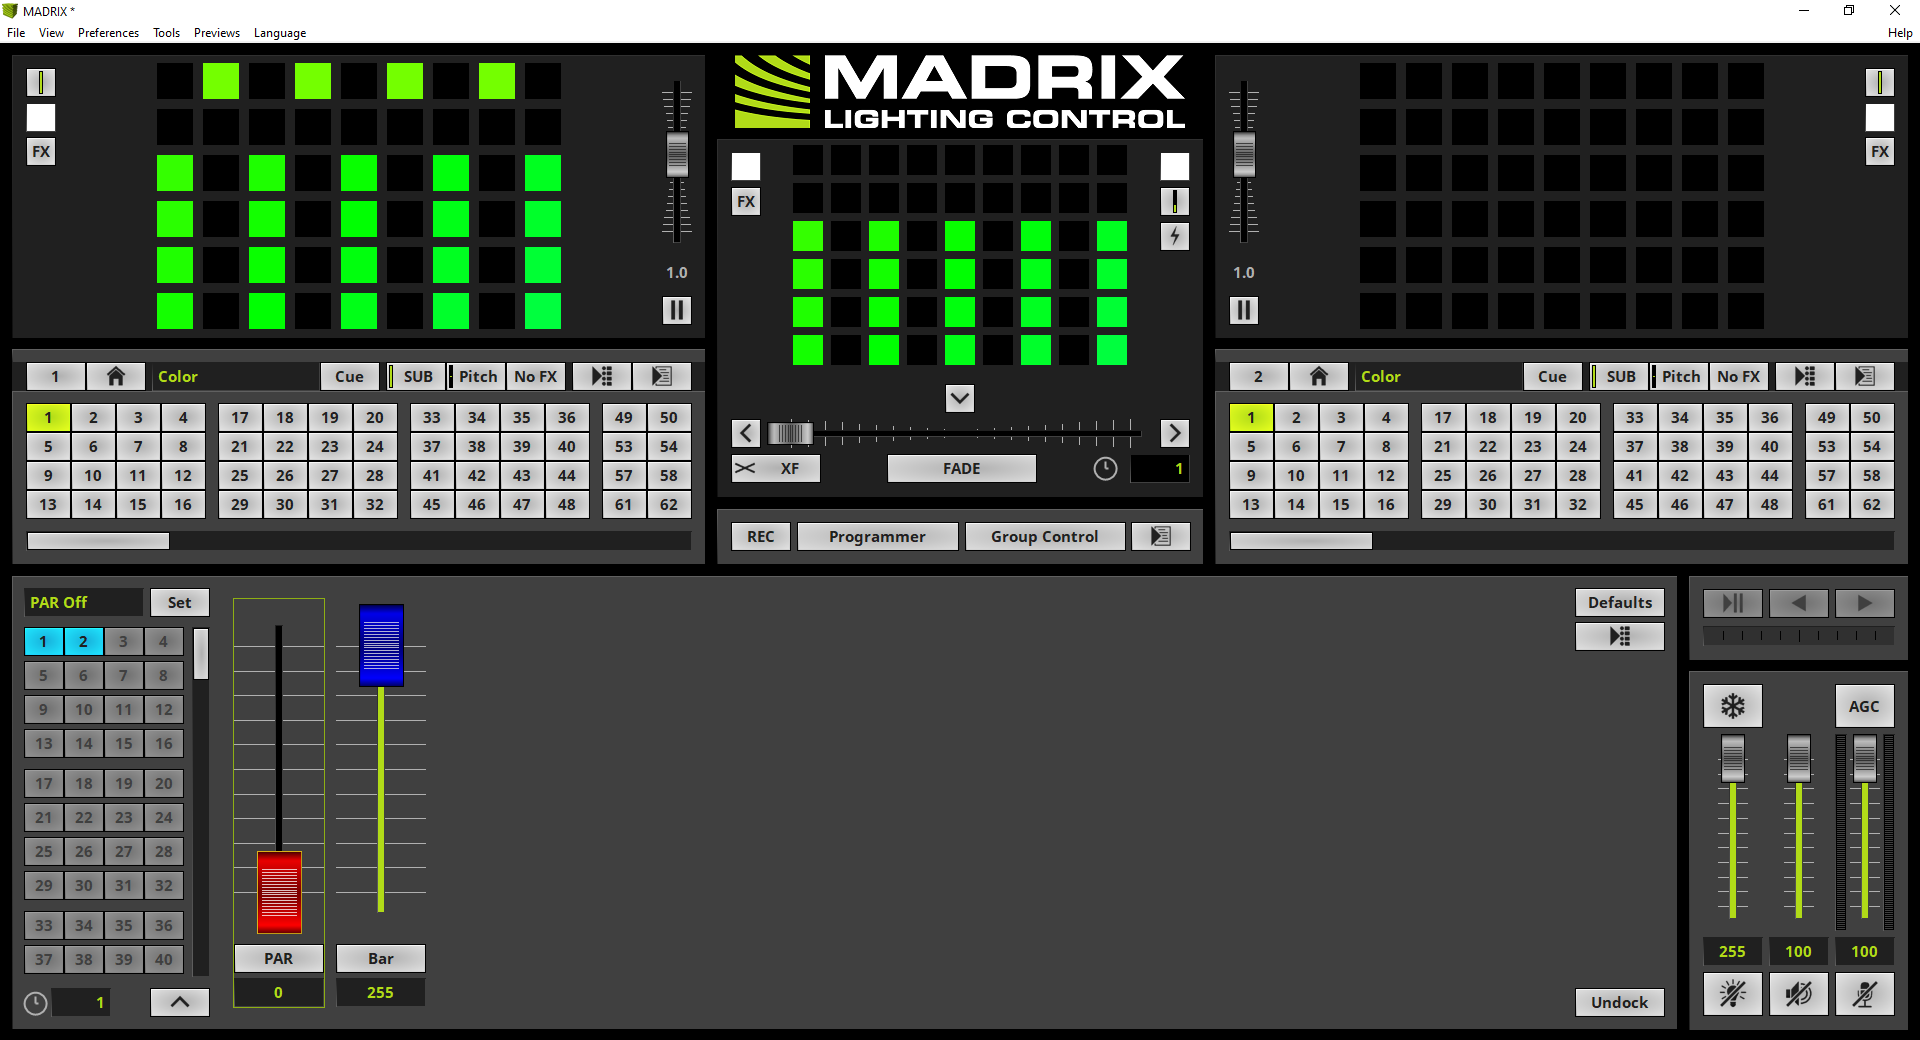
5. |
Now we start to prepare the settings for the second Group Preset. We change the Group Preset Description to PAR Off and the value for the Fixture Group PAR to 0. After this settings are done we click the Set button again. According to our task we want to save this setting as second Group Preset. That means we have to double check the Preset Number in the Set Group Preset window and apply it with a click at the OK button.
|
6. |
The second Preset button will be also illuminated in blue.
|
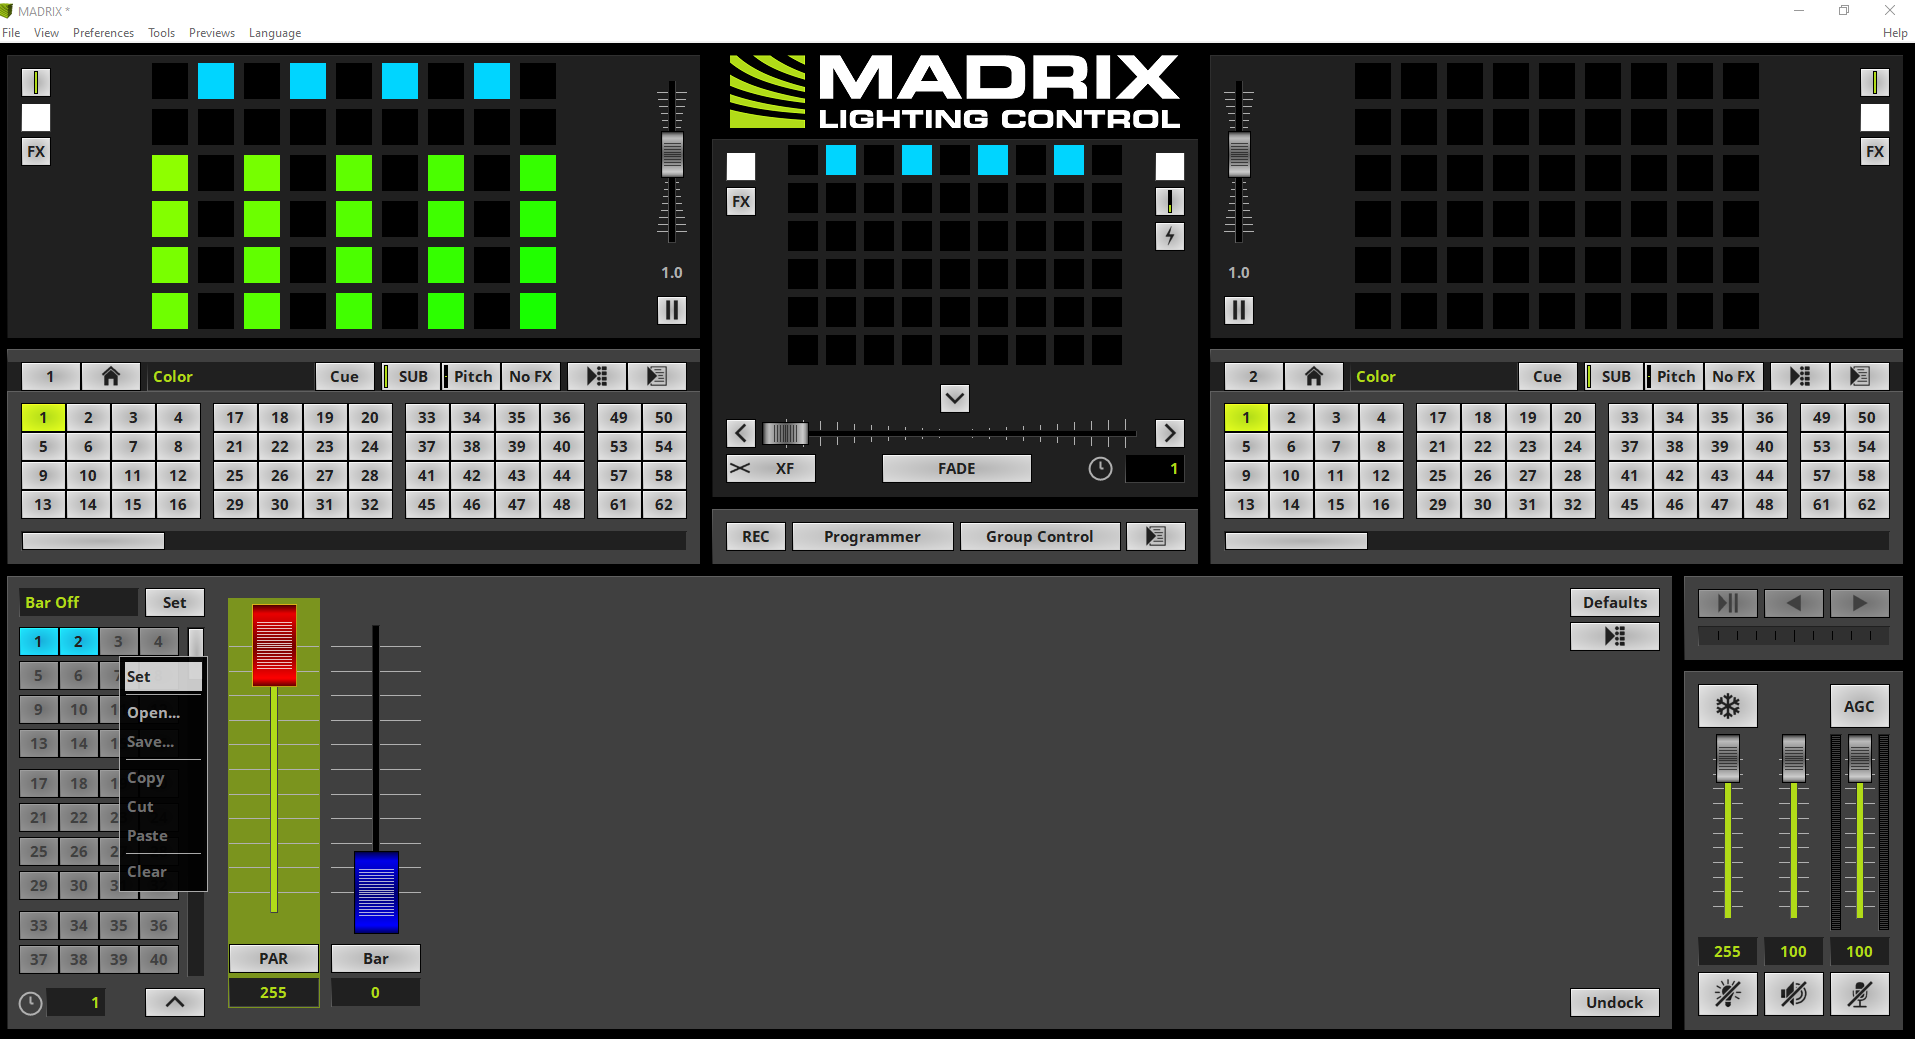
7. |
In this step we want to prepare and add the third Group Preset. According to our task we change the Group Preset Description to Bar Off and the dimmer value for the PAR Fixture Group to 255 and for the Bar Fixture Group to 0.
After we modified the Group Preset Description and the desired Fixture Group values we perform a right click at the Group Preset button 3. In the context menu we click Set.
|
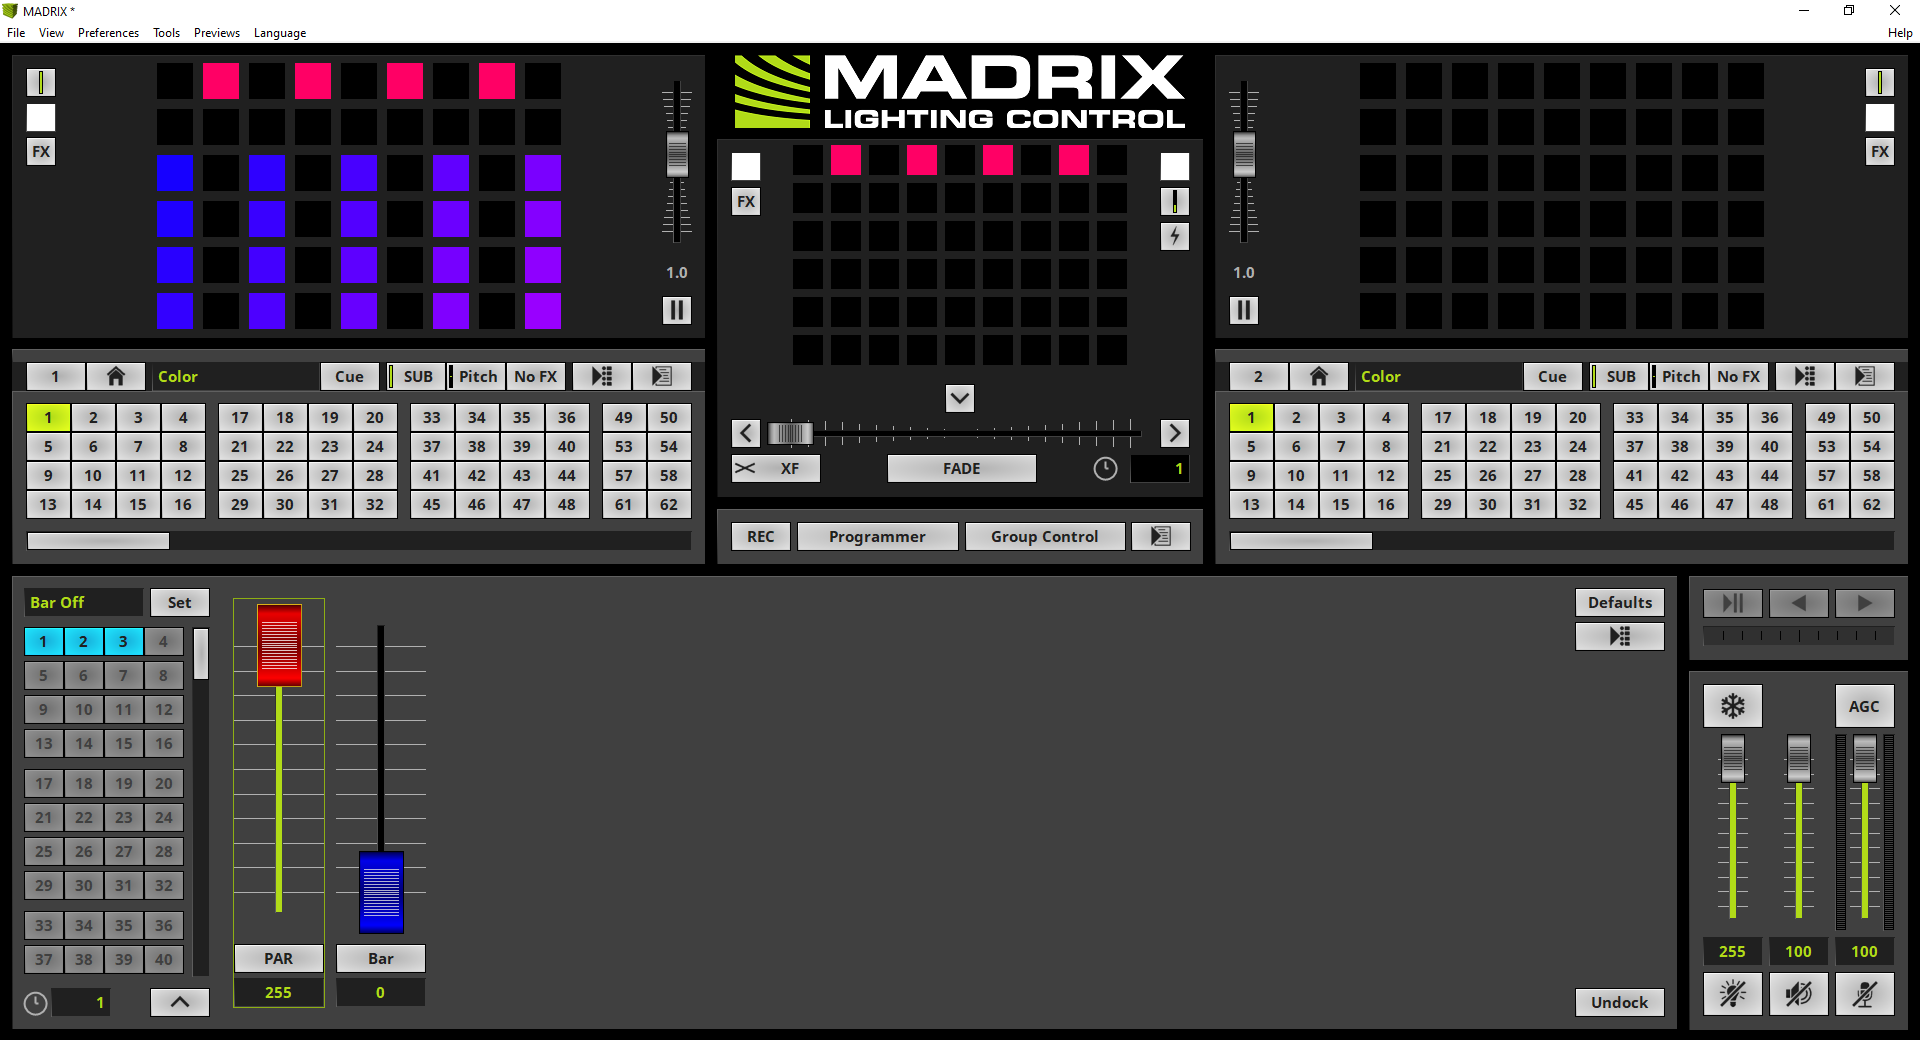
8. |
Now the third Group Preset has been saved.
By the way: As you can see in the previous steps MADRIX provides two possibilities to set Group Presets. One option is the usage of the Set button and the second option offers the context menu which will be visible with a right click.
|
9. |
As last modification of this tutorial we have to change the Fade Time after activating a Group Preset to 3 seconds. That means we simply need to set the Group Preset Fade Time below the Preset buttons to 3.
|
10. |
If we now activate a Group Preset for example Preset 1 by clicking the desired Preset button, the stored dimmer values will be activated with a 3 second fade.
Note: The visual result of dimming a Fixture Group will be only displayed in the Main Output Preview.
|

Congratulations! You have successfully learned how to work with Group Presets in MADRIX 5.