This tutorial shows you how you can work with the different Highlight Modes in MADRIX. The software provides the possibilities to highlight a complete DMX universe or individual DMX fixtures. This feature can prove useful to identify DMX connections as well as specific fixtures in your LED installation. It is great for testing as well as the process of DMX addressing.
Date: 08/2014
MADRIX Version: 3.2 (Created with)
1. |
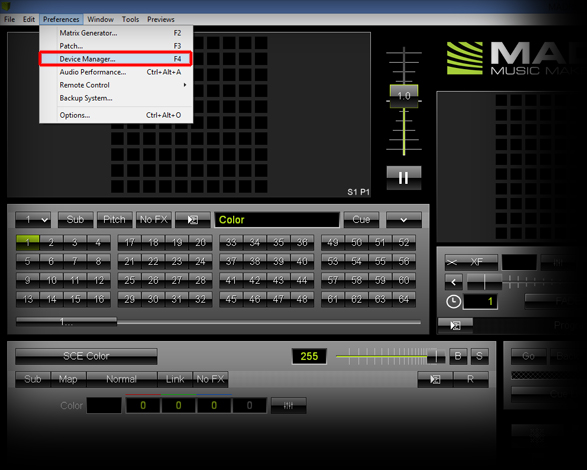
Start MADRIX. |
2. |
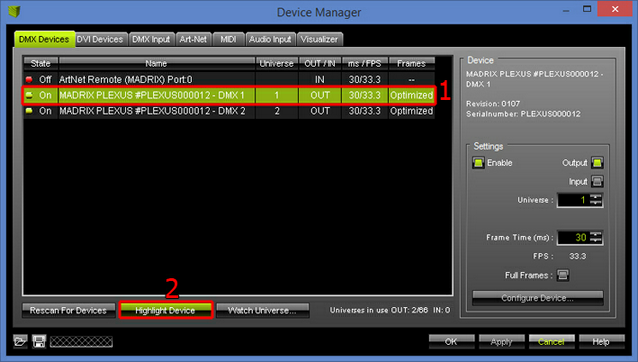
Highlighting a complete DMX universe:
In the DMX Devices tab, you will find all the connected DMX devices. In this example, one MADRIX PLEXUS is connected via USB.
|
3. |
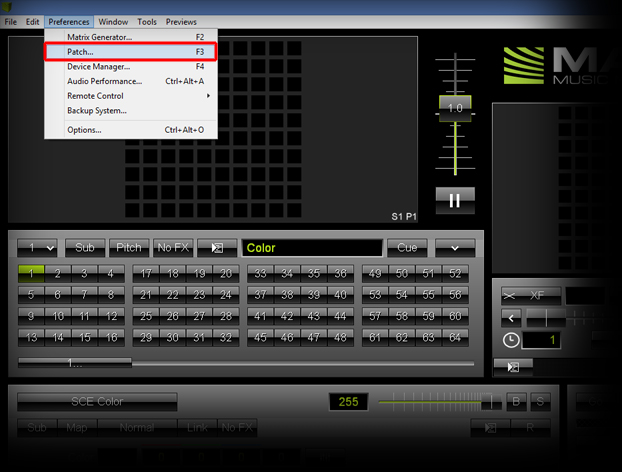
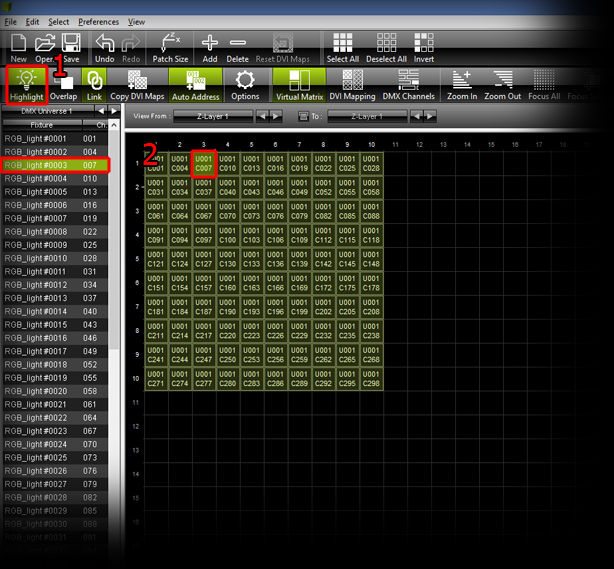
Highlighting a single DMX fixture:
Enable Highlight in the Patch window and then select a DMX fixture. Now, you will see that the selected fixture glows white on the LED installation.
|
Congratulations! You can now work with the different highlight modes of MADRIX.