In this tutorial, you will learn how you can work with the Solo (S) and Blind (B) button. The functionality is very helpful for creating new effects and to see how each Layer of the created effect works.
Date: 10/2013
MADRIX Version: 3.0 (Created with)
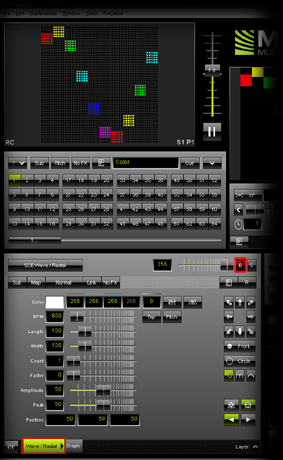
1. |
Select a free Storage Place. In this example, we have selected Storage 1 and Place 1. |
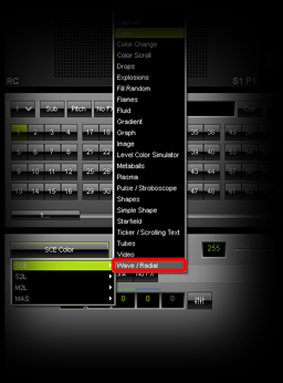
2. |
Choose and select SCE Wave / Radial from the drop-down list of effects.
|
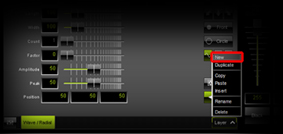
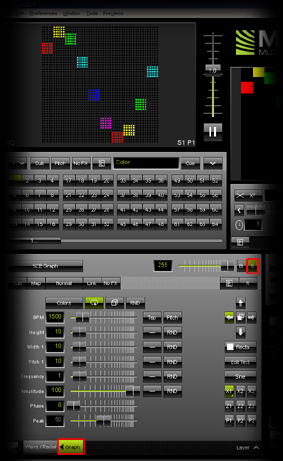
3. |
Click on the Layer button and choose New. A second Layer will be created automatically.
|
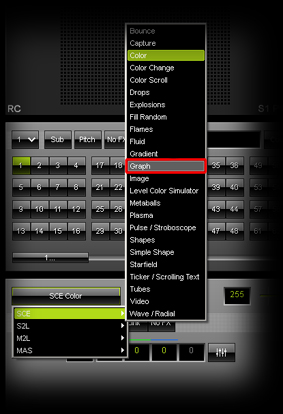
4. |
Select the effect SCE Graph for the new Layer.
|
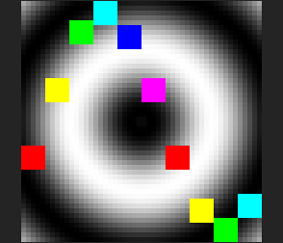
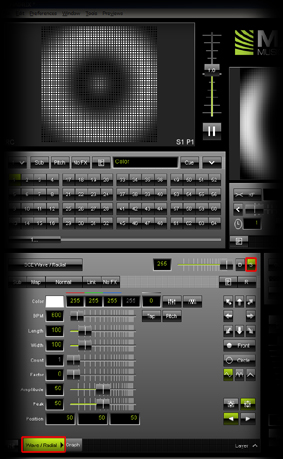
5. |
In the Preview of MADRIX, you can now see a white wave with a colorful graph in the foreground as shown in the following picture.
|
6. |
Please select the first Layer again (with its label Wave / Radial). Click on the Blind button B (the button should illuminated in red now). As a result, you will only see the SCE Graph effect. Note: If you are only using 2 Layers, activating Blind Mode on the Wave / Radial Layer is equal to an activated Solo Mode on the Graph Layer.
|
7. |
Click the Blind button B again. In this way, you will disable Blind Mode again and you should be able to see both the Radial and the Graph.
|
8. |
Here are further tips when working with Blind Mode and Solo Mode: Note: If you have selected Blind Mode and Solo Mode on the same Layer, you will see the Layer in Solo Mode. That means the priority of Solo Mode is higher. Note: If you work with Mix Modes and Solo Mode on a Layer, you will see the effect without the Mix Mode. |
Congratulations! You can now create effects with the advantage of using the Blind Mode and Solo Mode.