This tutorial shows you how you can create effects using pictures.
Date: 10/2013
MADRIX Version: 3.0 (Created with)
Note: MADRIX supports the following formats: BMP, GIF, JPEG, PNG, TIF, TIFF, and the MADRIX Image Table file type.
1. |
Select an empty Storage Place. In this example it is Storage 1 and Place 1. |
||||||||||||||||||
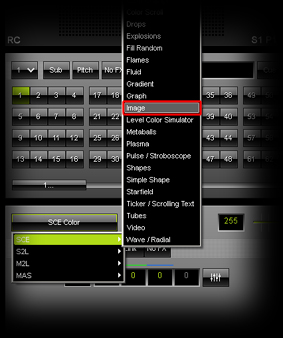
2. |
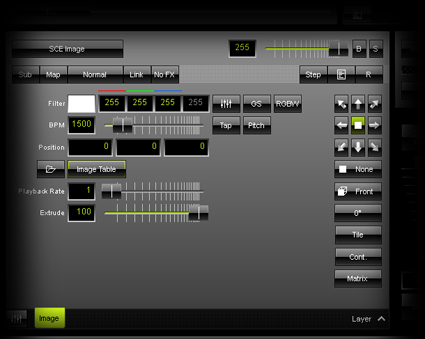
Choose and select the SCE Image from the drop-down list of effects.
|
||||||||||||||||||
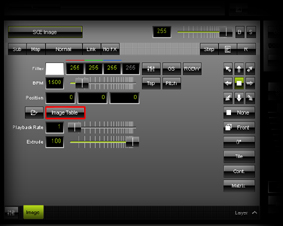
3. |
There are several possibilities to add images to the effect. In this example, we want to use the Image Table. Click the Image Table button.
A new window, the Image Table, will be opened.
|
||||||||||||||||||
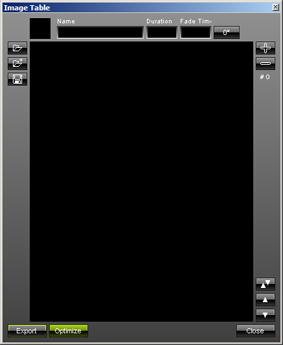
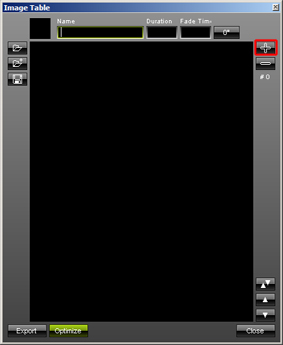
4. |
Now, we have to add images to the table. Therefore, click the Add Image(s) button +.
|
||||||||||||||||||
5. |
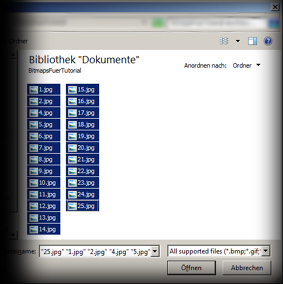
Choose the correct directory on your hard disk and select the images you want to use in MADRIX. In this example, we will select multiple files, but you can also select only one image. Confirm with Open
|
||||||||||||||||||
6. |
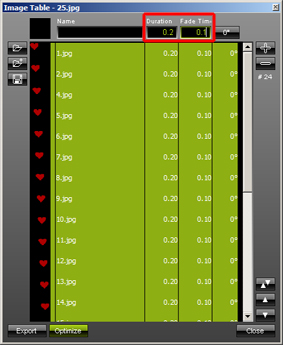
If you have added more than one image, MADRIX creates an automatic transition between images. But you can still individually set the Duration and Fade Time for each image. To change these settings, select the respective image and enter your desired values for Duration and Fade Time. In this example, we will set the same Duration and Fade Time for all images. Press Crtl + A on your keyboard and then change the Duration to 0.2 and Fade Time to 0.1
|
||||||||||||||||||
7. |
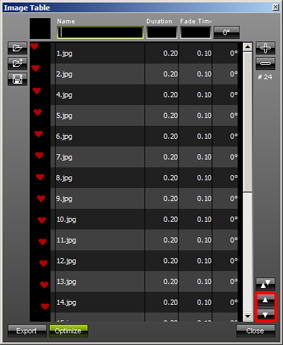
You can also change the order of images. Select one or more images and then click the Arrow Up to move the images up in the list or Arrow Down to move the images down in the list.
|
||||||||||||||||||
8. |
Click Close to close the Image Table. Now, you can change some settings on the regular user interface:
|
Note: If you save the MADRIX Setup File, MADRIX saves the loaded images including the imported images. Hence, MADRIX can display the effect right away.
Congratulations! You have created an image effect in MADRIX.