This tutorial shows you how to export, modify and update already patched fixtures in MADRIX 5.
Date: 06/2021
MADRIX Version: 5.4b (Created with)
Note:
•In this tutorial we will modify the created patch of the tutorial: »2D Patch With The Patch Editor For DMX Output.
•We will need to use the MADRIX Fixture Editor in this tutorial. If you are not familiar with the Fixture Editor, please have a look to the following tutorial: »Creating Fixtures With The Fixture Editor.
Task:
In this tutorial we have to imagine we have prepared a patch with RGB fixtures. But in the real venue there are RGBW fixtures installed and now we have to fix it to run the show.
The prepared patch is the patch of the tutorial: »2D Patch With The Patch Editor For DMX Output.
1. |
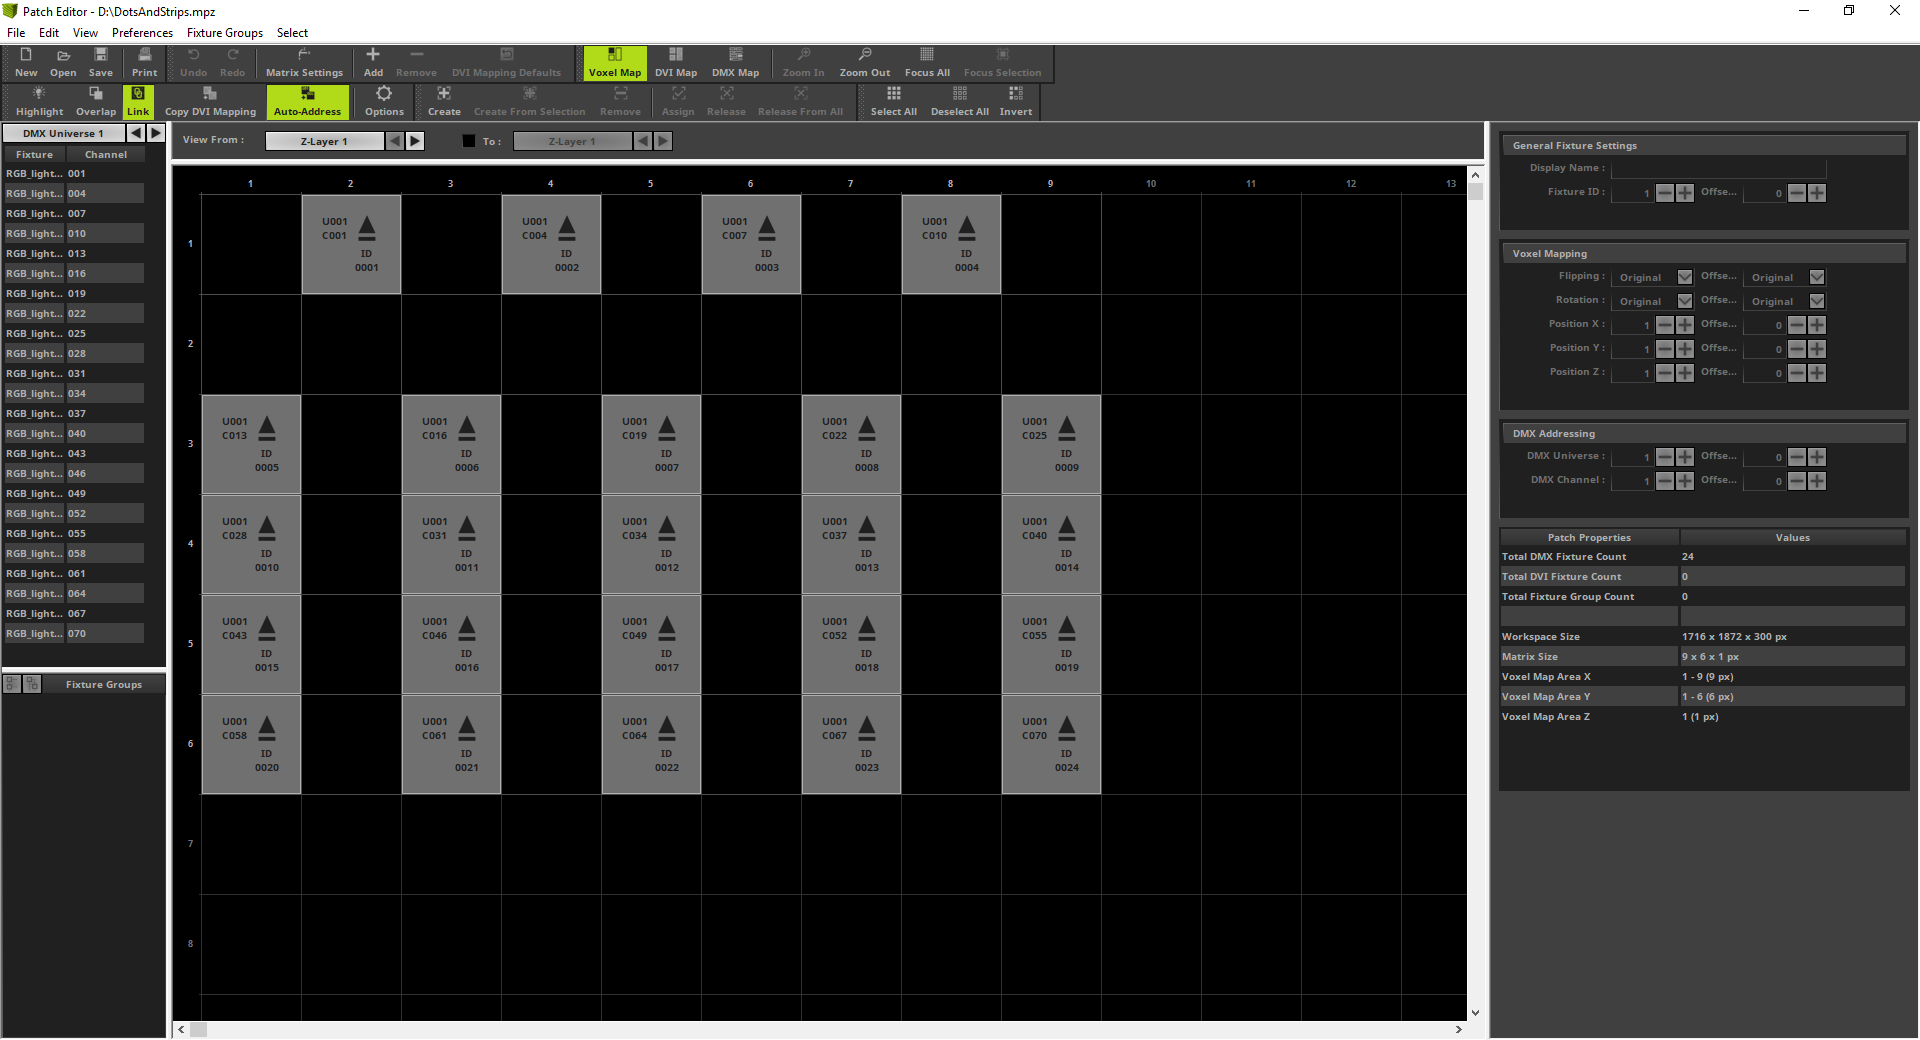
Please start MADRIX 5, open the Patch Editor via Preferences > Patch Editor and load the desired patch.
|
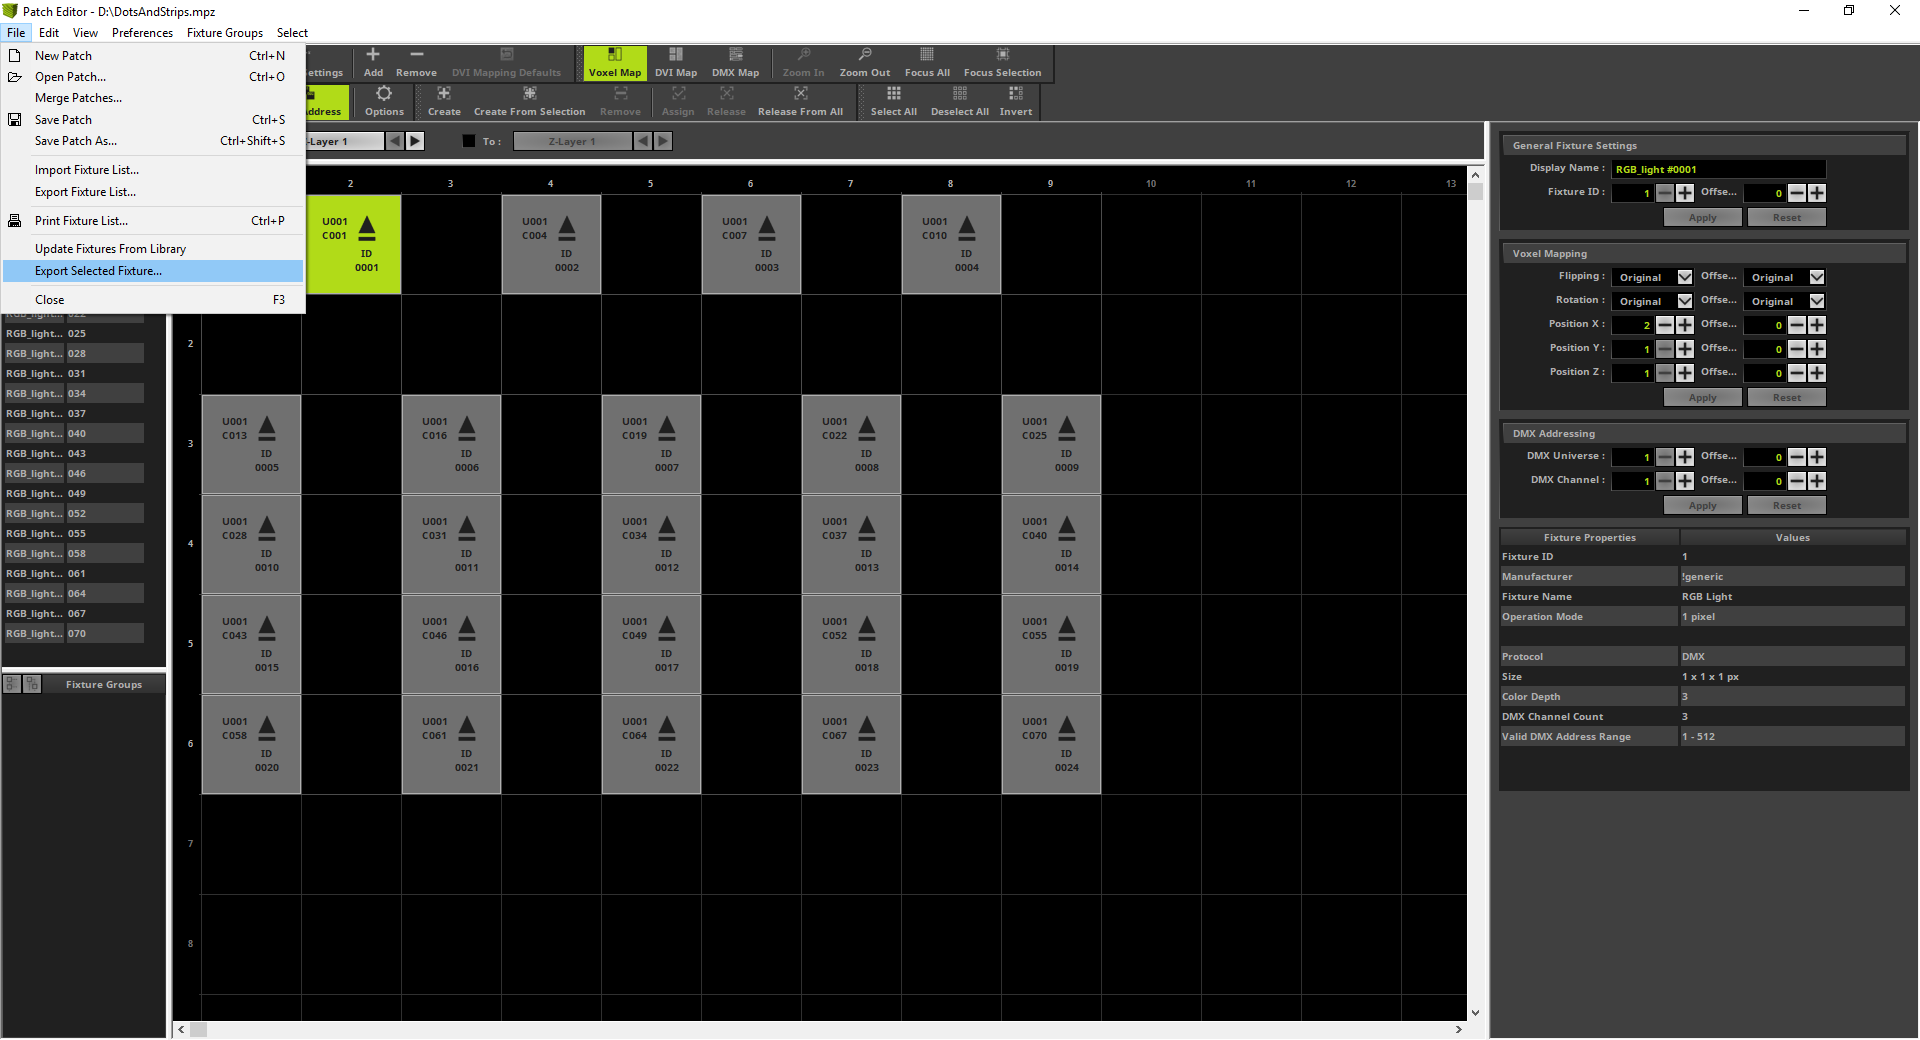
2. |
According to our task we have to change the fixture definition for the patched RGB fixtures. Because we have only patched RGB fixtures we select a desired fixture, navigate to File > Export Selected Fixture... and save the fixture definition under a desired name and location.
|
3. |
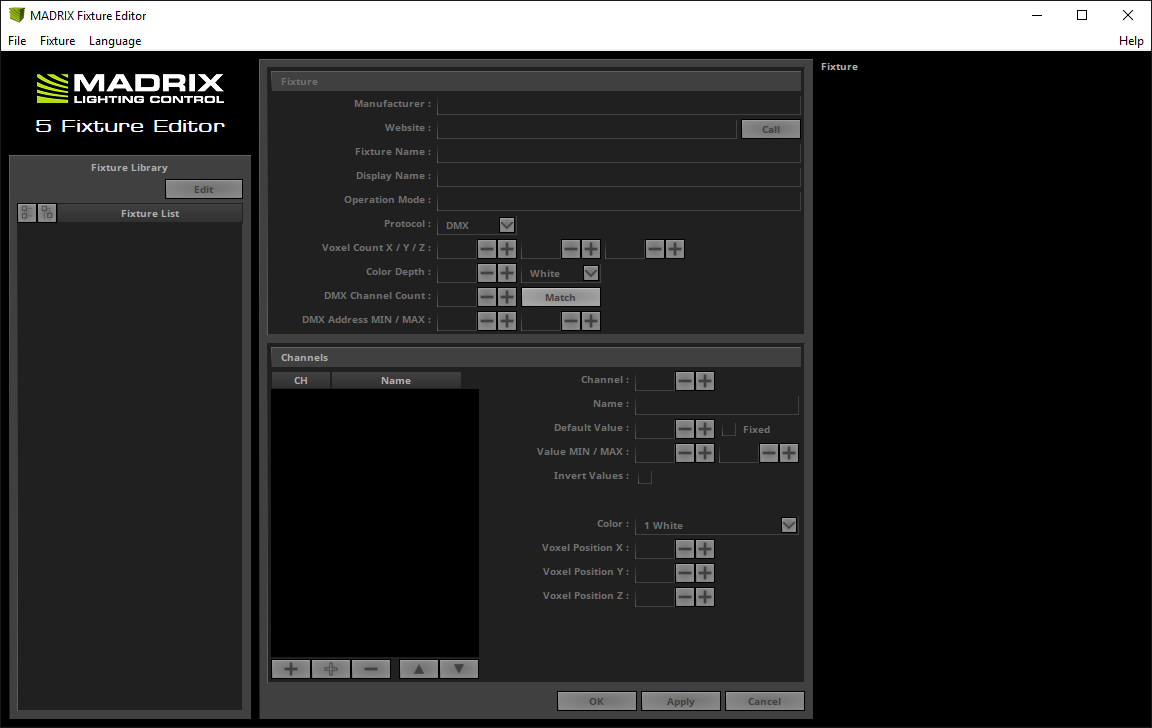
Please start the MADRIX 5 Fixture Editor now. If you don't know how to start the Fixture Editor, please have a look at the tutorial: »Creating Fixtures With The Fixture Editor.
|
4. |
In this step we want to import the saved fixture definition. Please navigate to Fixture > Open Fixture [Keyboard Shortcut Ctrl + Alt + O], select the exported fixture and click Open.
|
5. |
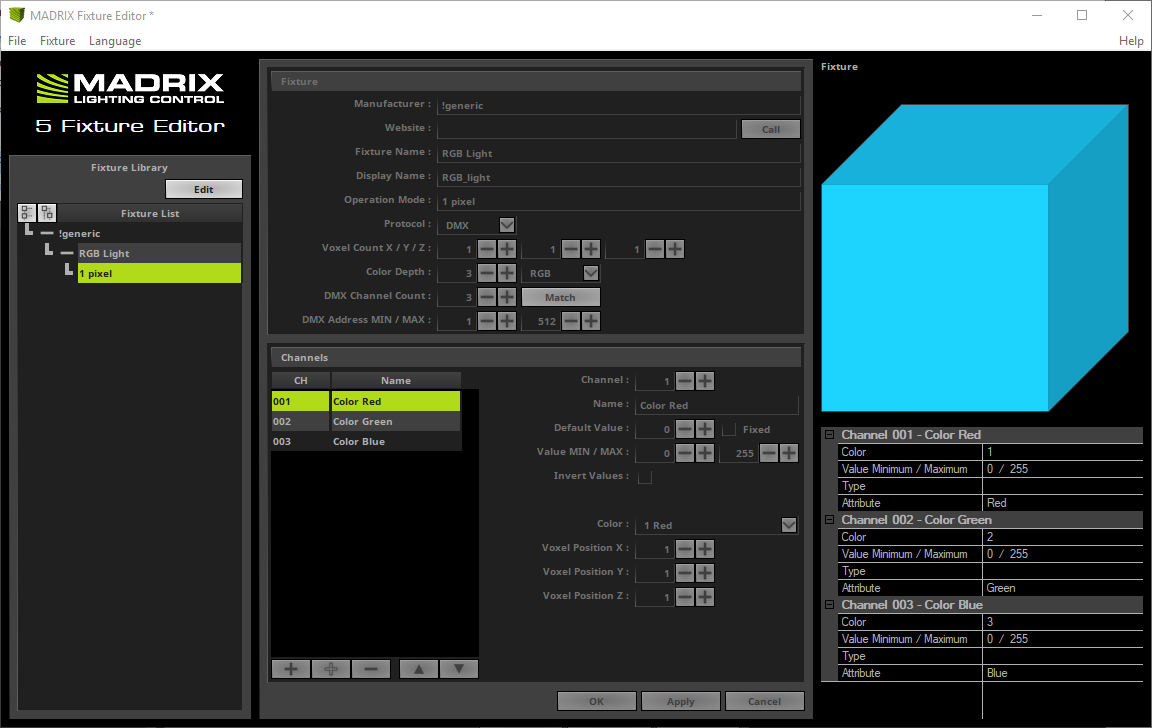
After importing the fixture you will find this fixture in the Fixture List.
|
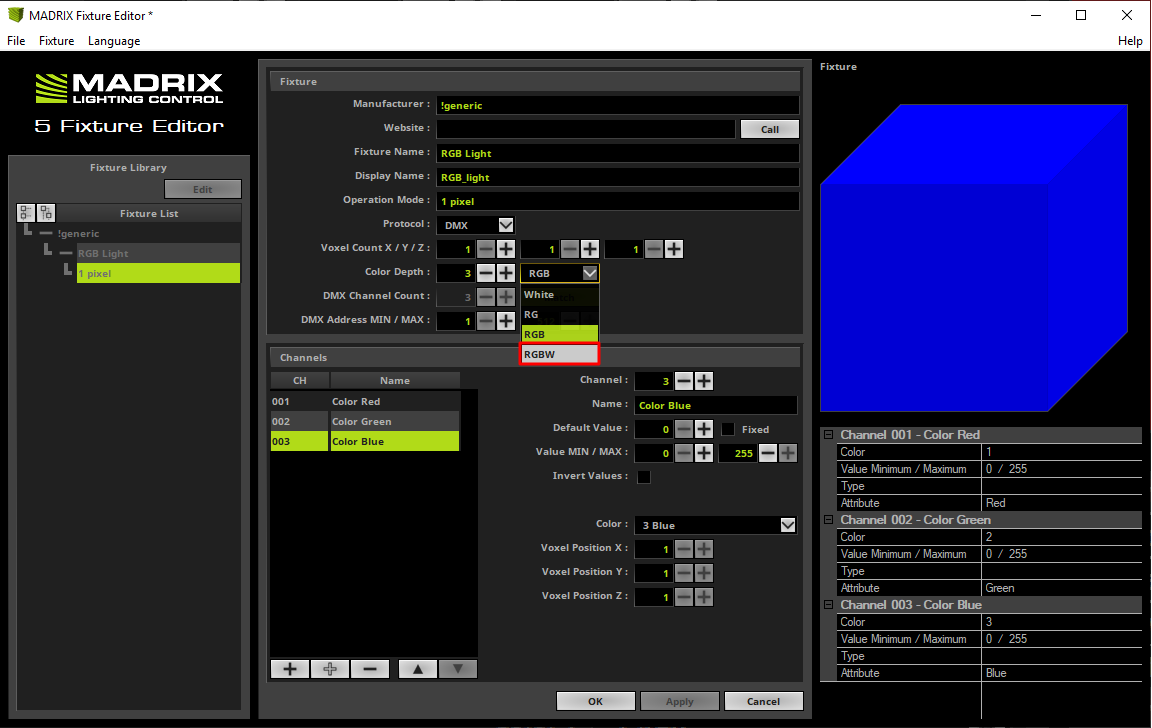
6. |
According to our task we have to change the fixture definition from RGB to RGBW. Therefore we have to change the Color Depth to RGBW in the Fixture section of the Fixture Editor.
|
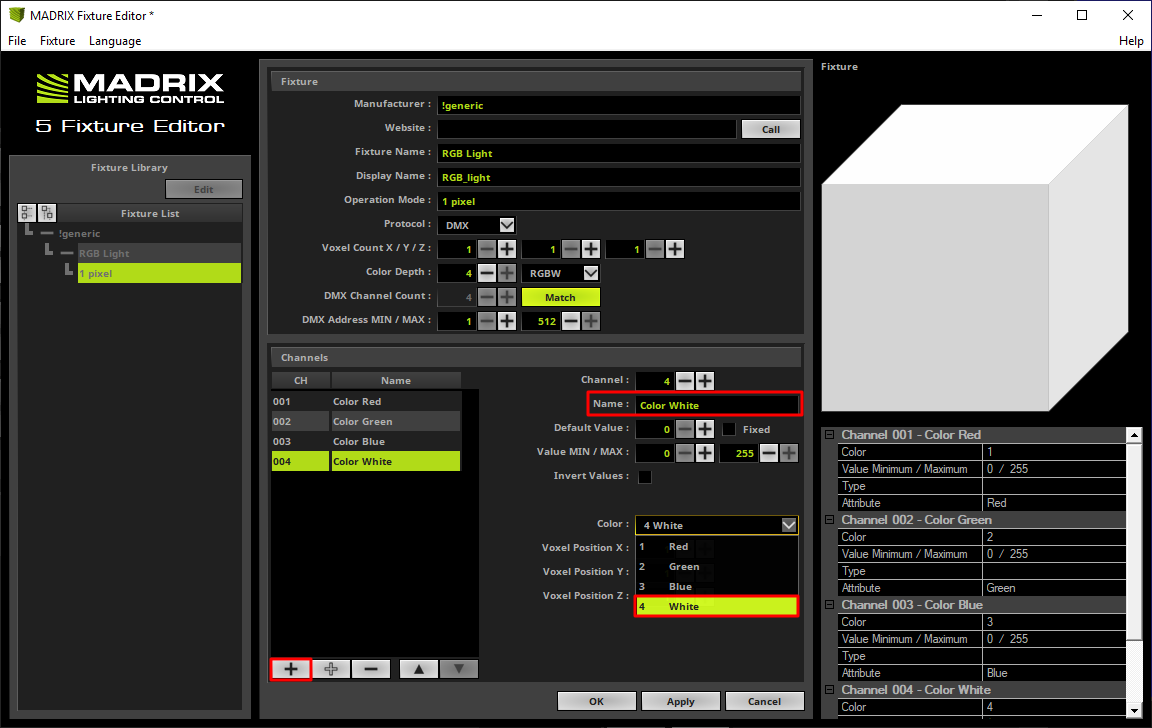
7. |
Now we can add the new channel via the + button, change the Name to Color White and also the Color assignment to White. After we changed the settings we click OK to accept the changes.
|
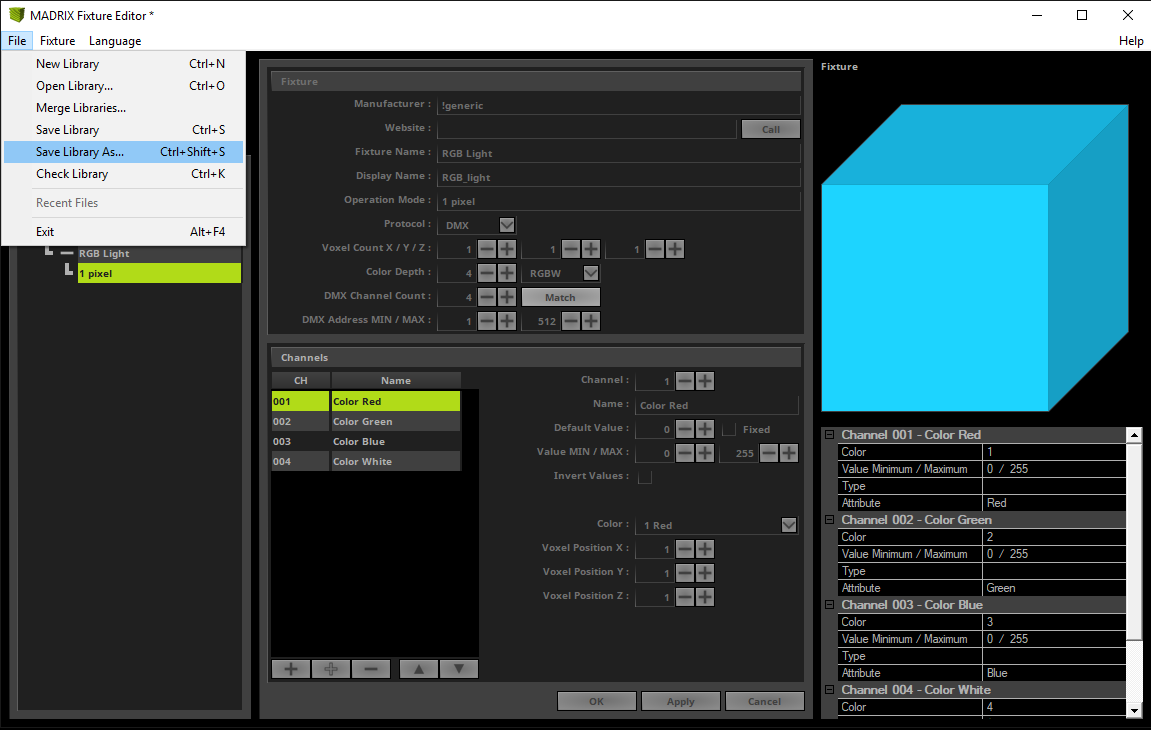
8. |
We will save the new created respectively modified fixture library as a new one. To save a new fixture library we go to File > Save Library As..., navigate to a desired location and save it with a desired name.
|
9. |
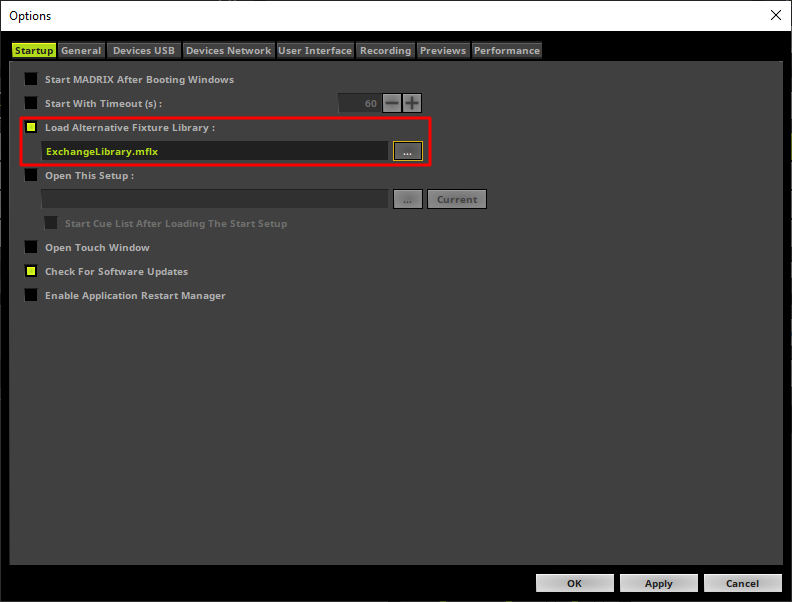
Now back in MADRIX we open the MADRIX Options via Preferences > Options. In the Startup tab we have to Enable the option Load Alternative Fixture Library and choose the just saved fixture library. After doing the settings we can close the Options window via a click at the OK button. To initialize the alternative fixture library we have to restart MADRIX. If you haven't saved the current patch or setup yet, please save it before you restart MADRIX.
|
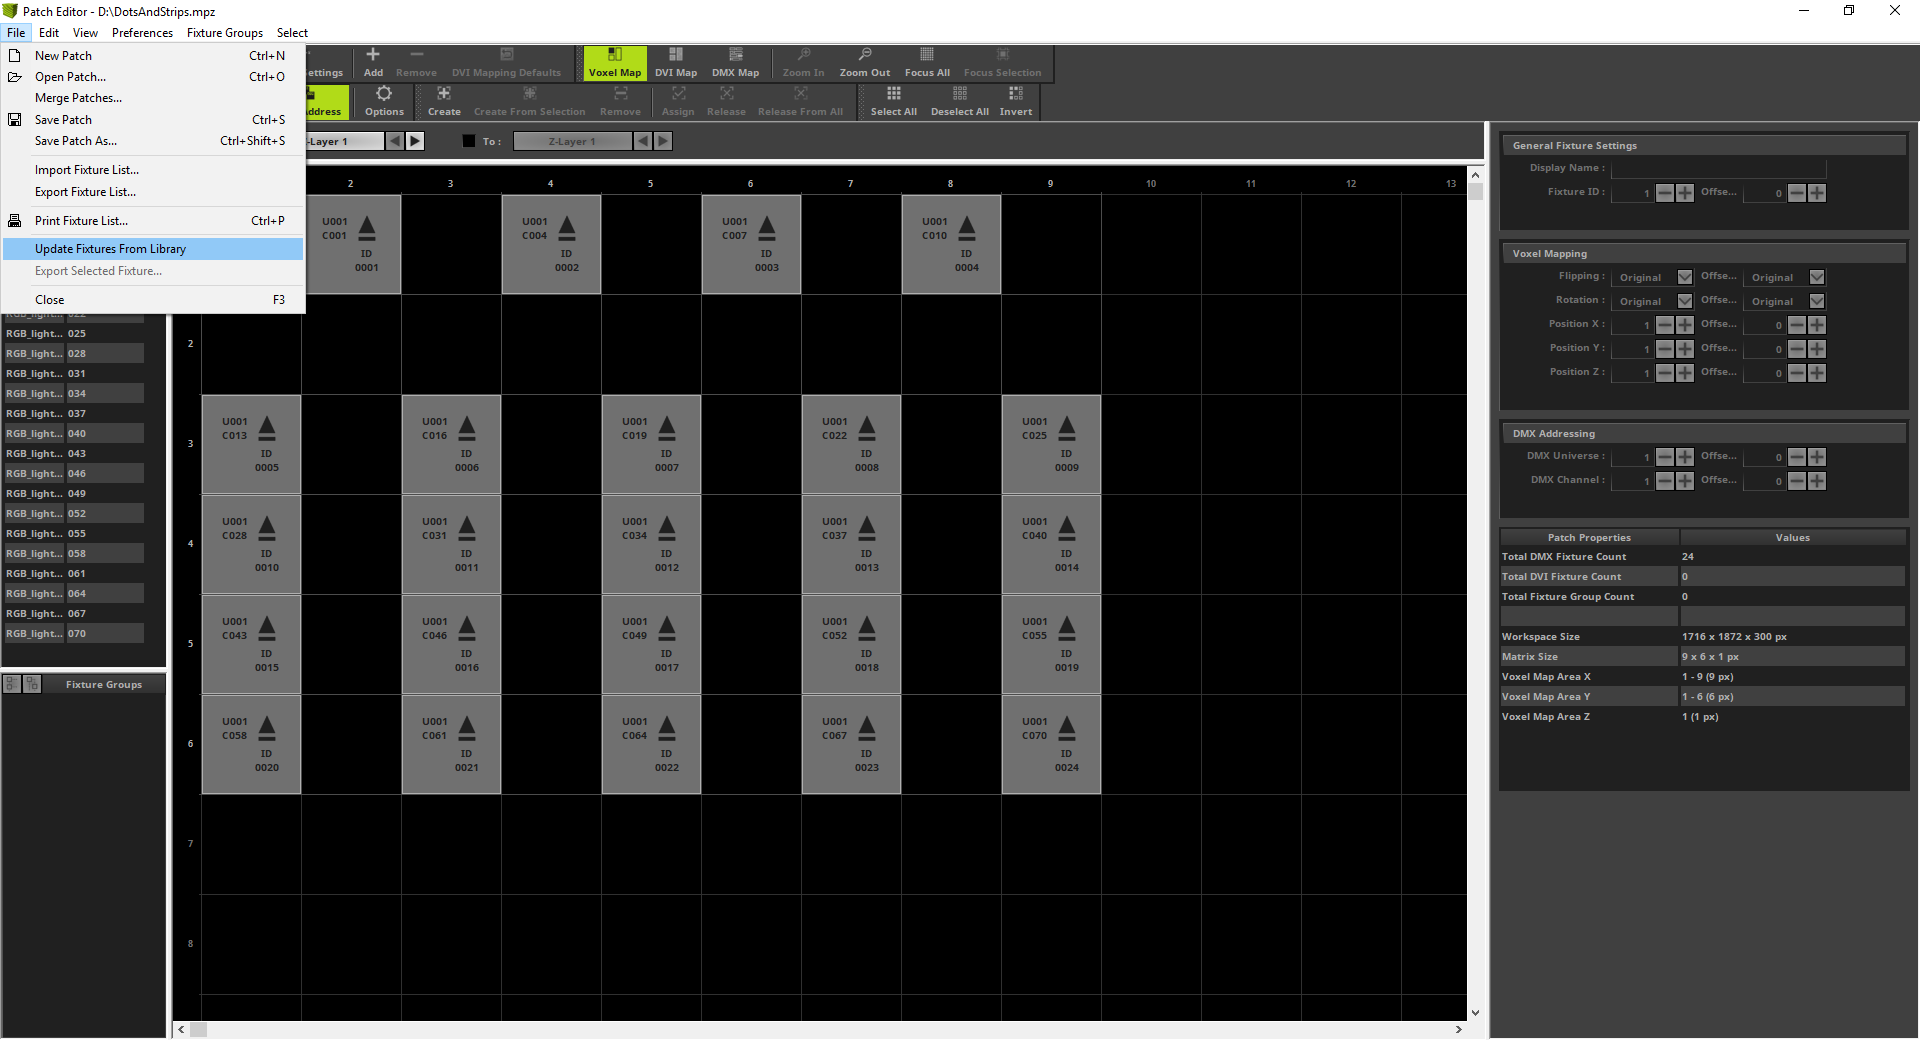
10. |
After the restart of MADRIX we open the Patch Editor and the patch of the tutorial: »2D Patch With The Patch Editor For DMX Output. After you opened the patch we can perform the update of the fixture definition. Therefore we navigate to File > Update Fixtures From Library.
|
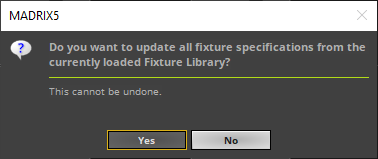
11. |
Now MADRIX is asking if you really want to perform this update because you can't undo it. We click Yes.
|
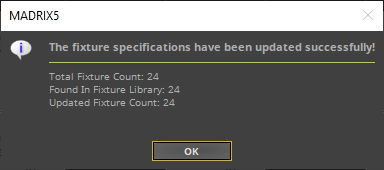
12. |
MADRIX is checking and calculating the fixture count which will be updated. Note: MADRIX will update all fixtures which are modified in comparison from the patched fixtures to the fixtures in the current fixture library. After we click OK MADRIX will update the current patch.
hen
|
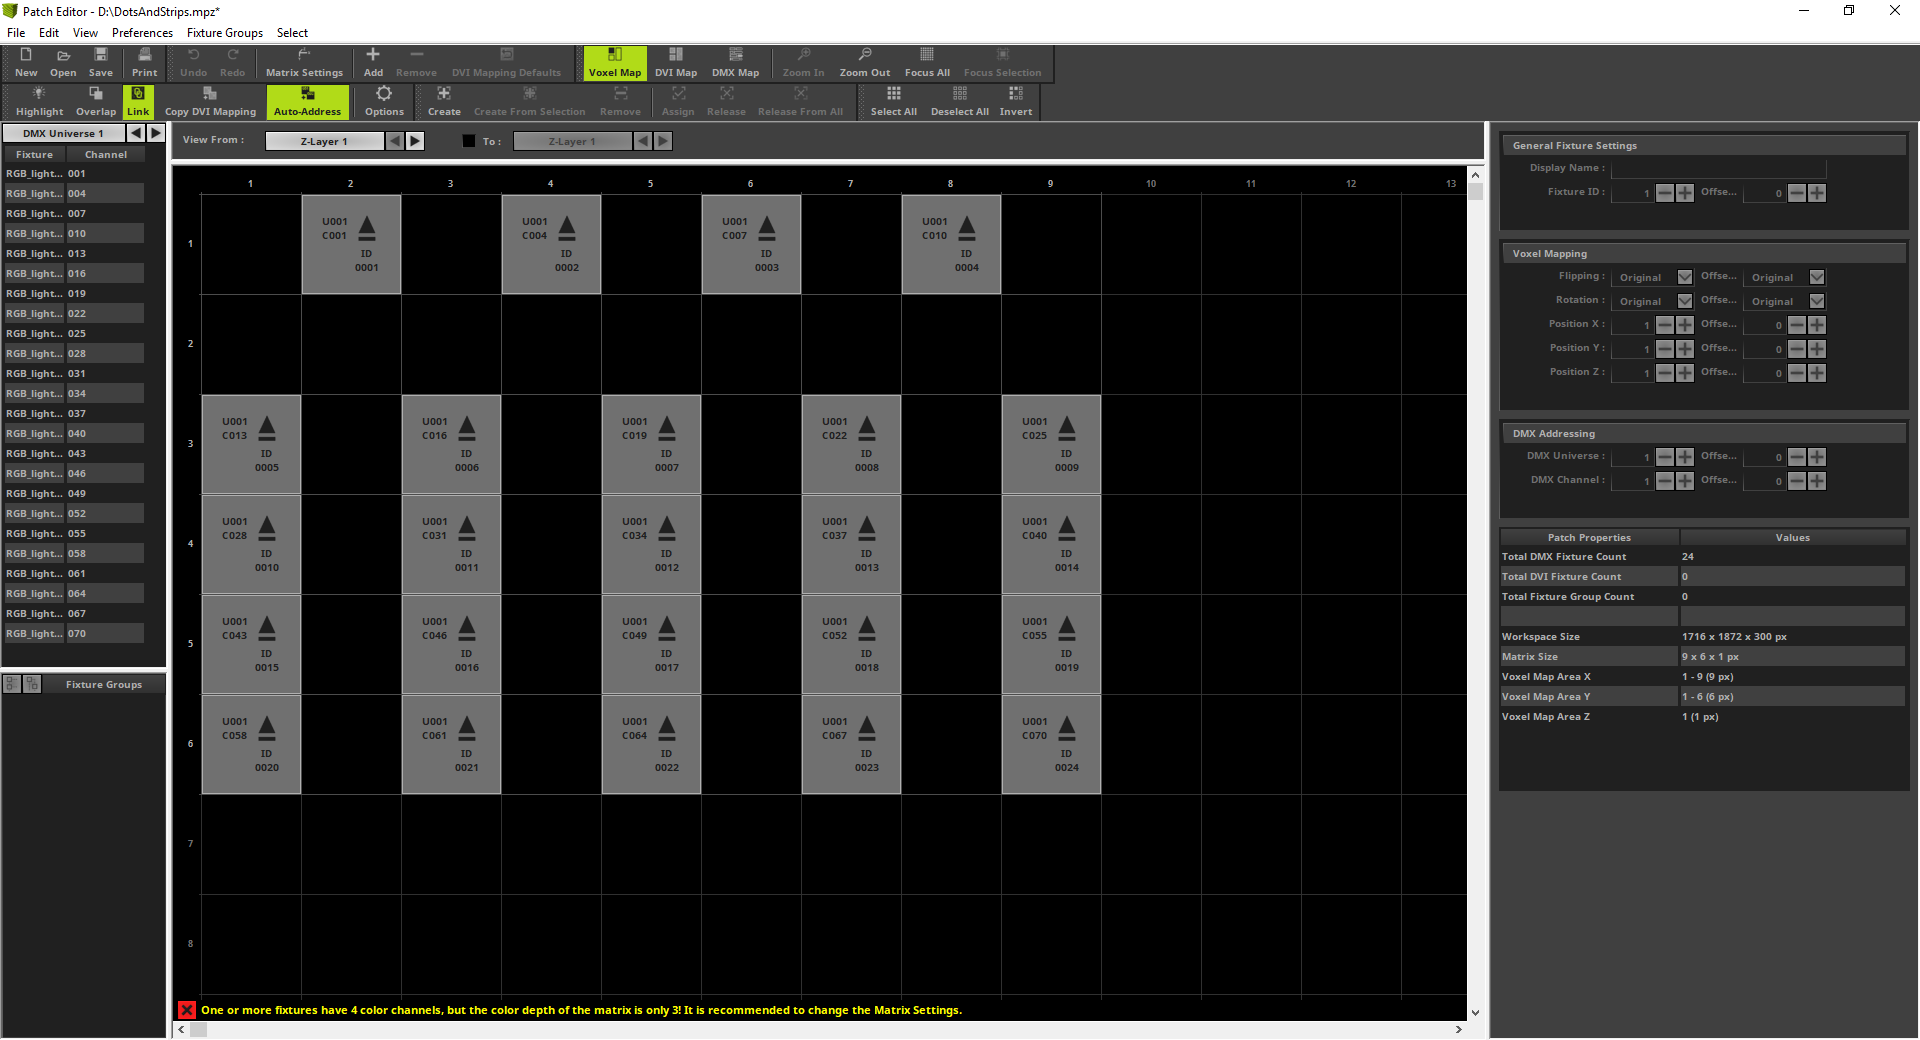
13. |
After the update a yellow note at the bottom of the Patch Editor appears. This note means we have now patched respectively updated the library with RGBW fixtures but the Color Depth of our Patch is still set to RGB
|
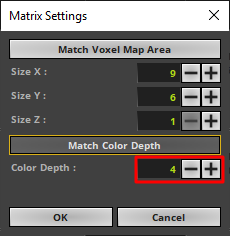
14. |
To change the Color Depth we open the Matrix Settings via the Toolbar or navigate in the menu to Edit > Matrix Settings. In the Matrix Settings window we change the Color Depth to 4 and click OK.
|
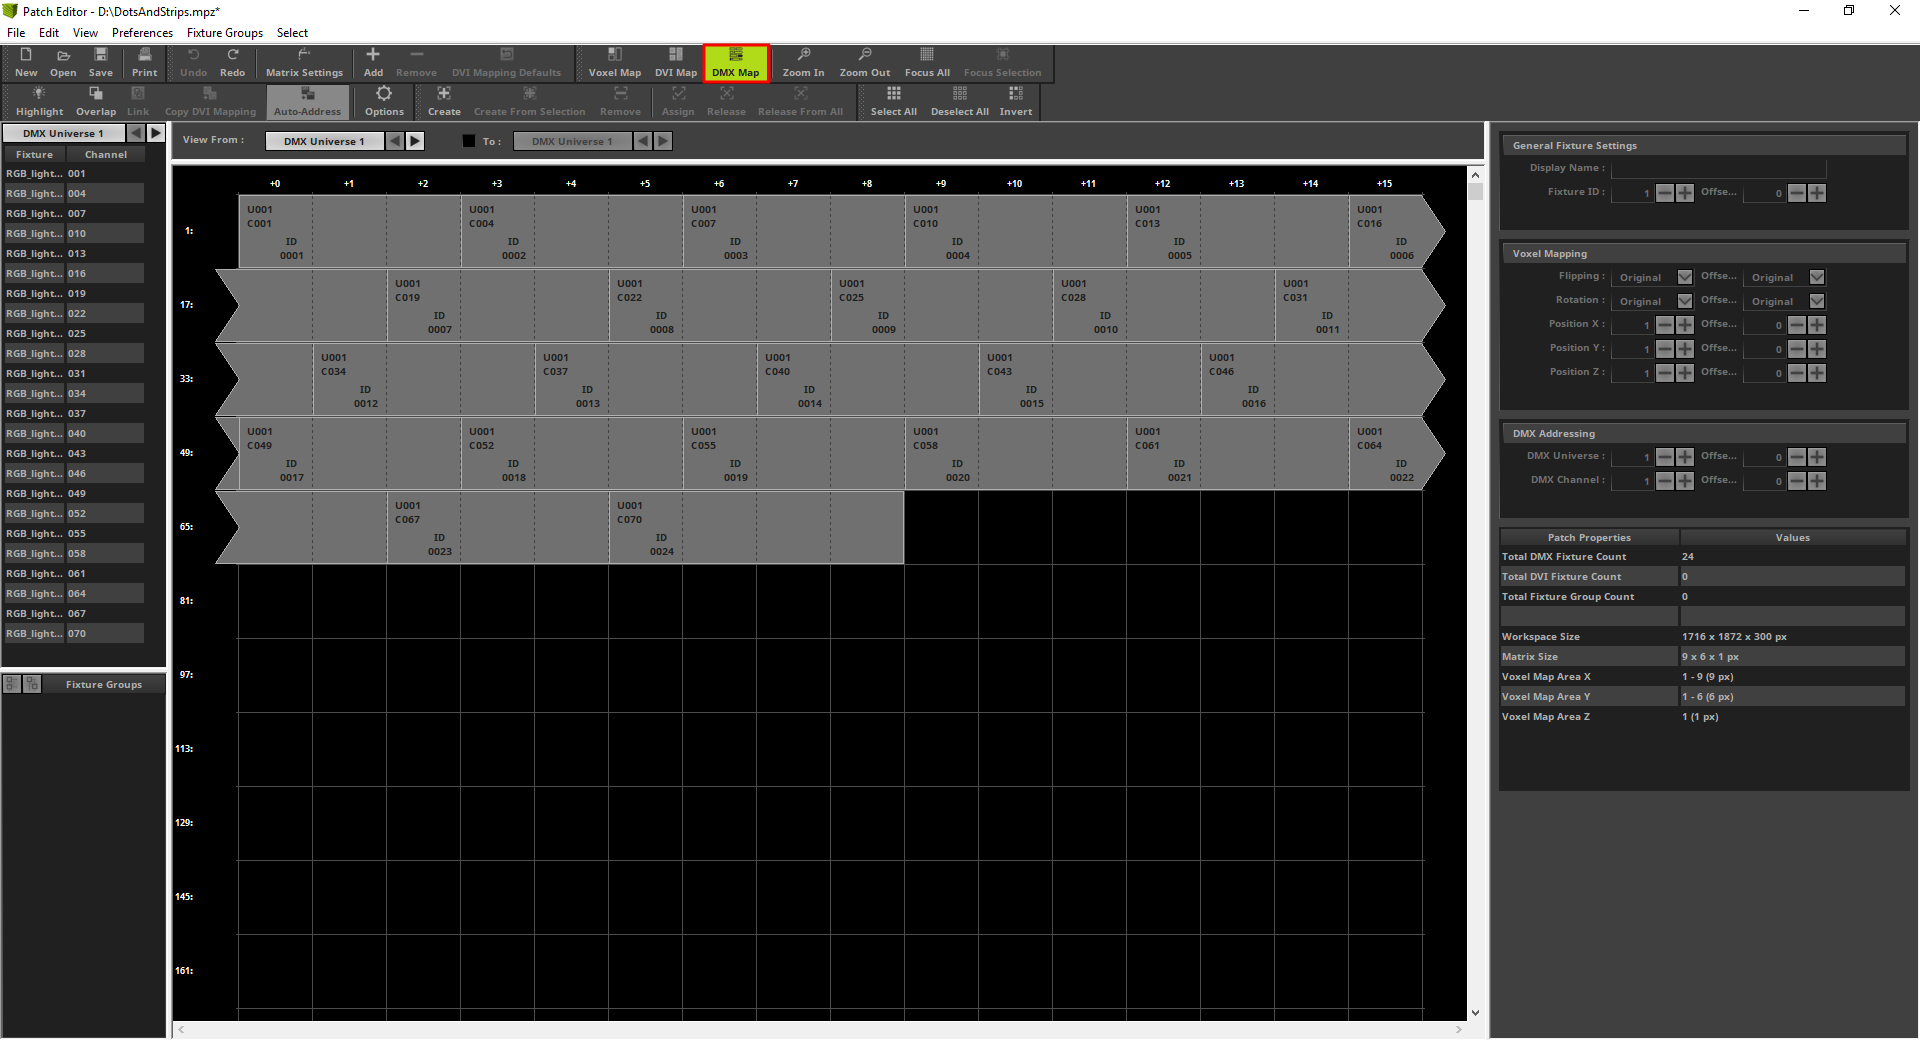
15. |
When we have a closer look at the DMX Start Channels of every fixture, we can figure out that the new fixture definition is imported but the DMX Start Channel was not changed. This is a wanted behavior. MADRIX will update the fixture specific settings like color assignment, size of a fixture and so on. But it will not change patch specific settings like placement or DMX Start Channel settings. On the other hand it means we have to change this settings manually. An easy way to change the DMX Start Channel is in the DMX Map view to work via Drag and Drop. To activate the DMX Map view we click the DMX Map button in the toolbar or navigate to View > DMX Map in the menu.
|
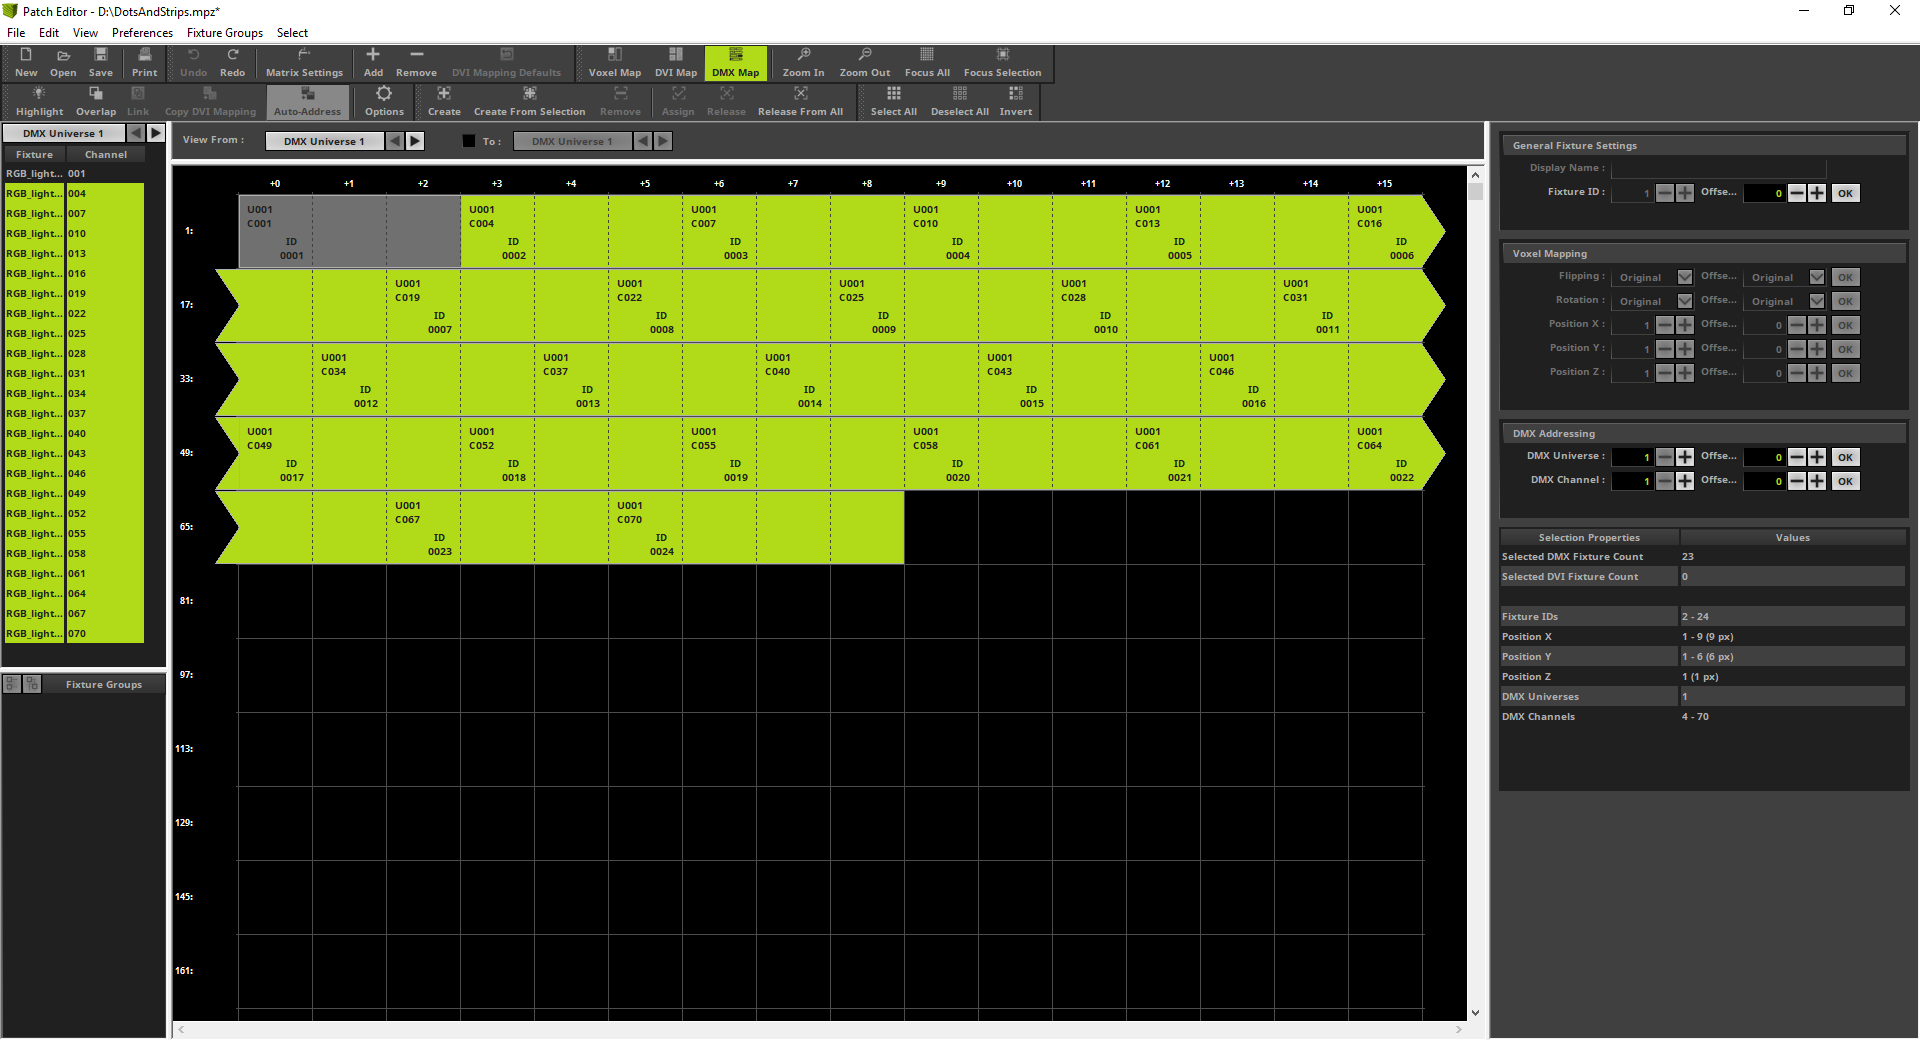
16. |
Now we want to change the DMX Start Channel for fixture 2 to 23. Therefore we select all fixtures except the first one. Now we can change the DMX Start Channel via Drag and Drop. That means we click at one of the selected fixtures with the [left mouse button] one of the selected fixtures, [hold the mouse button down] and [move] the mouse to the left side. Now we can see all selected fixtures will move. We drop it ([release the mouse button]) at DMX Start Channel 5 of the second fixture. This is the next free DMX Start Channel.
|
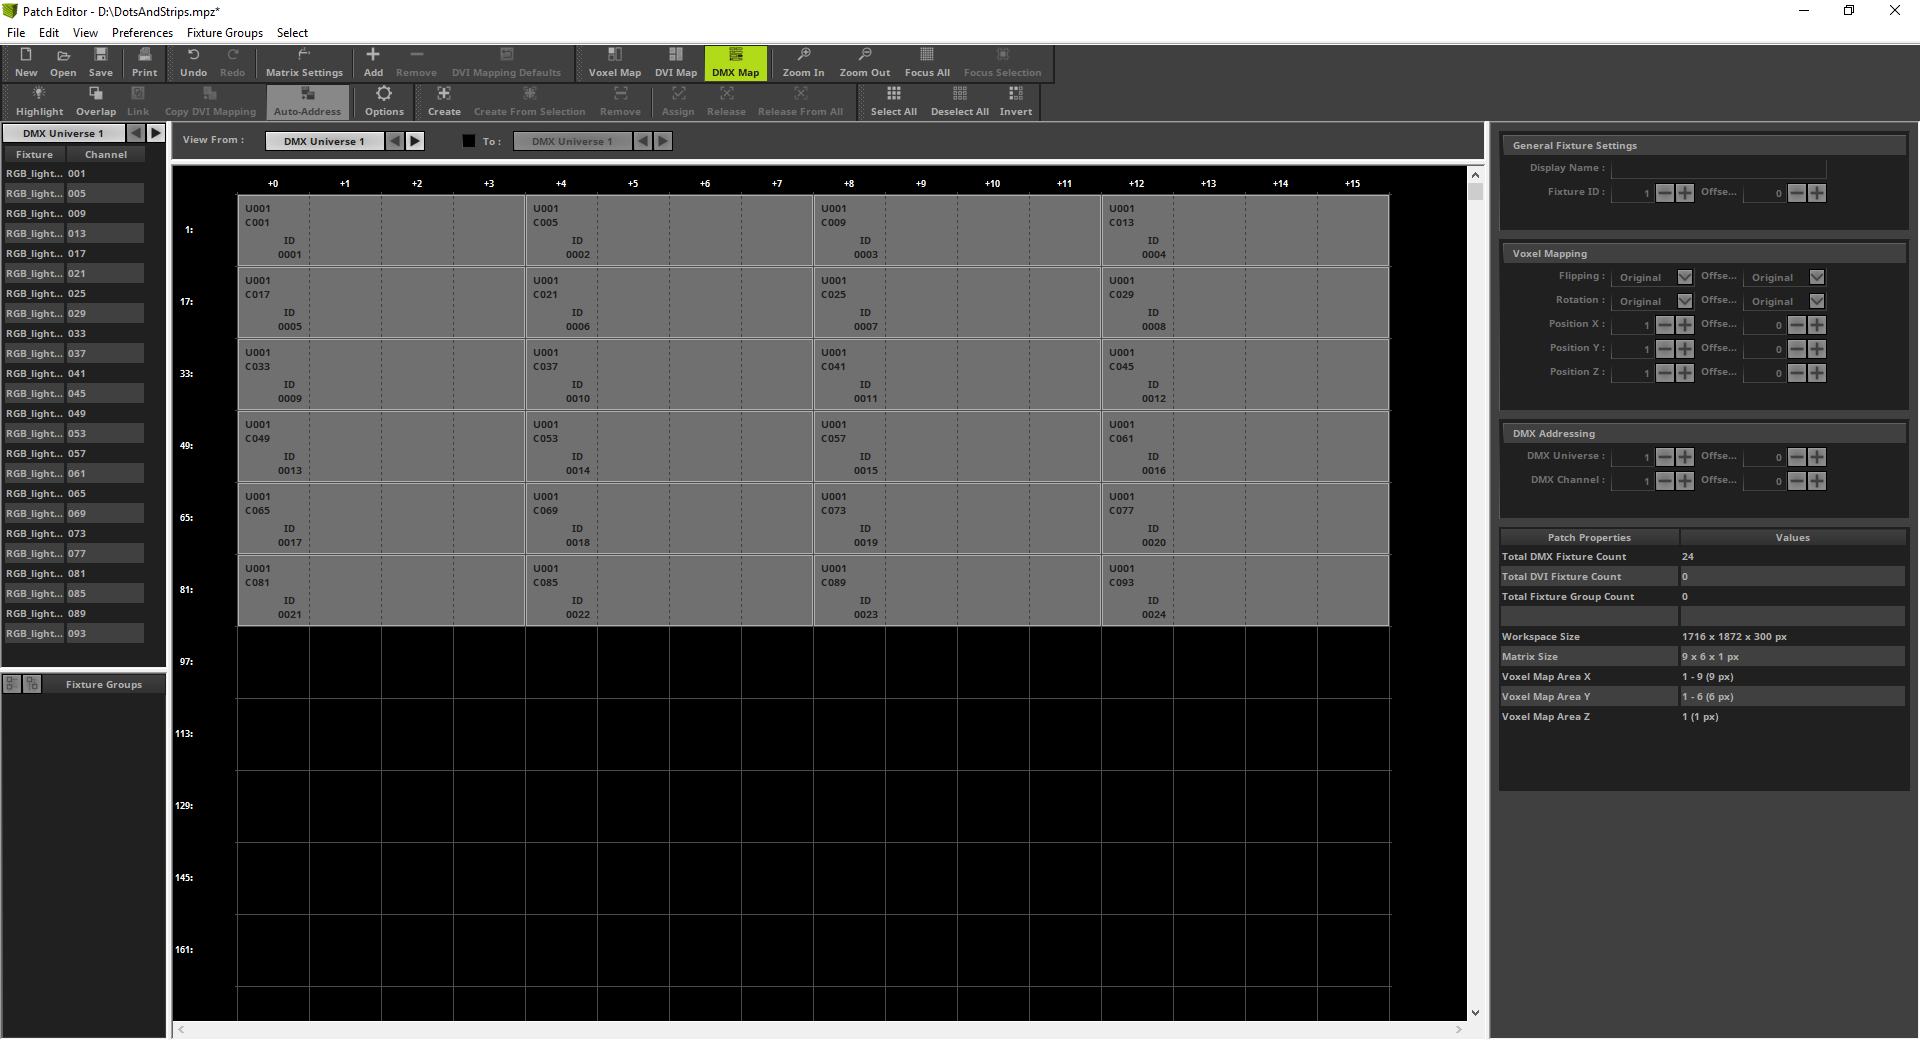
17. |
We have to repeat the changing of the DMX Start Address for every fixture. Every patched fixture consists of 4 DMX channels. Note: To deselect one fixture of many you can easily press the [Ctrl] key and click with the [left mouse button] at the desired fixture.
|
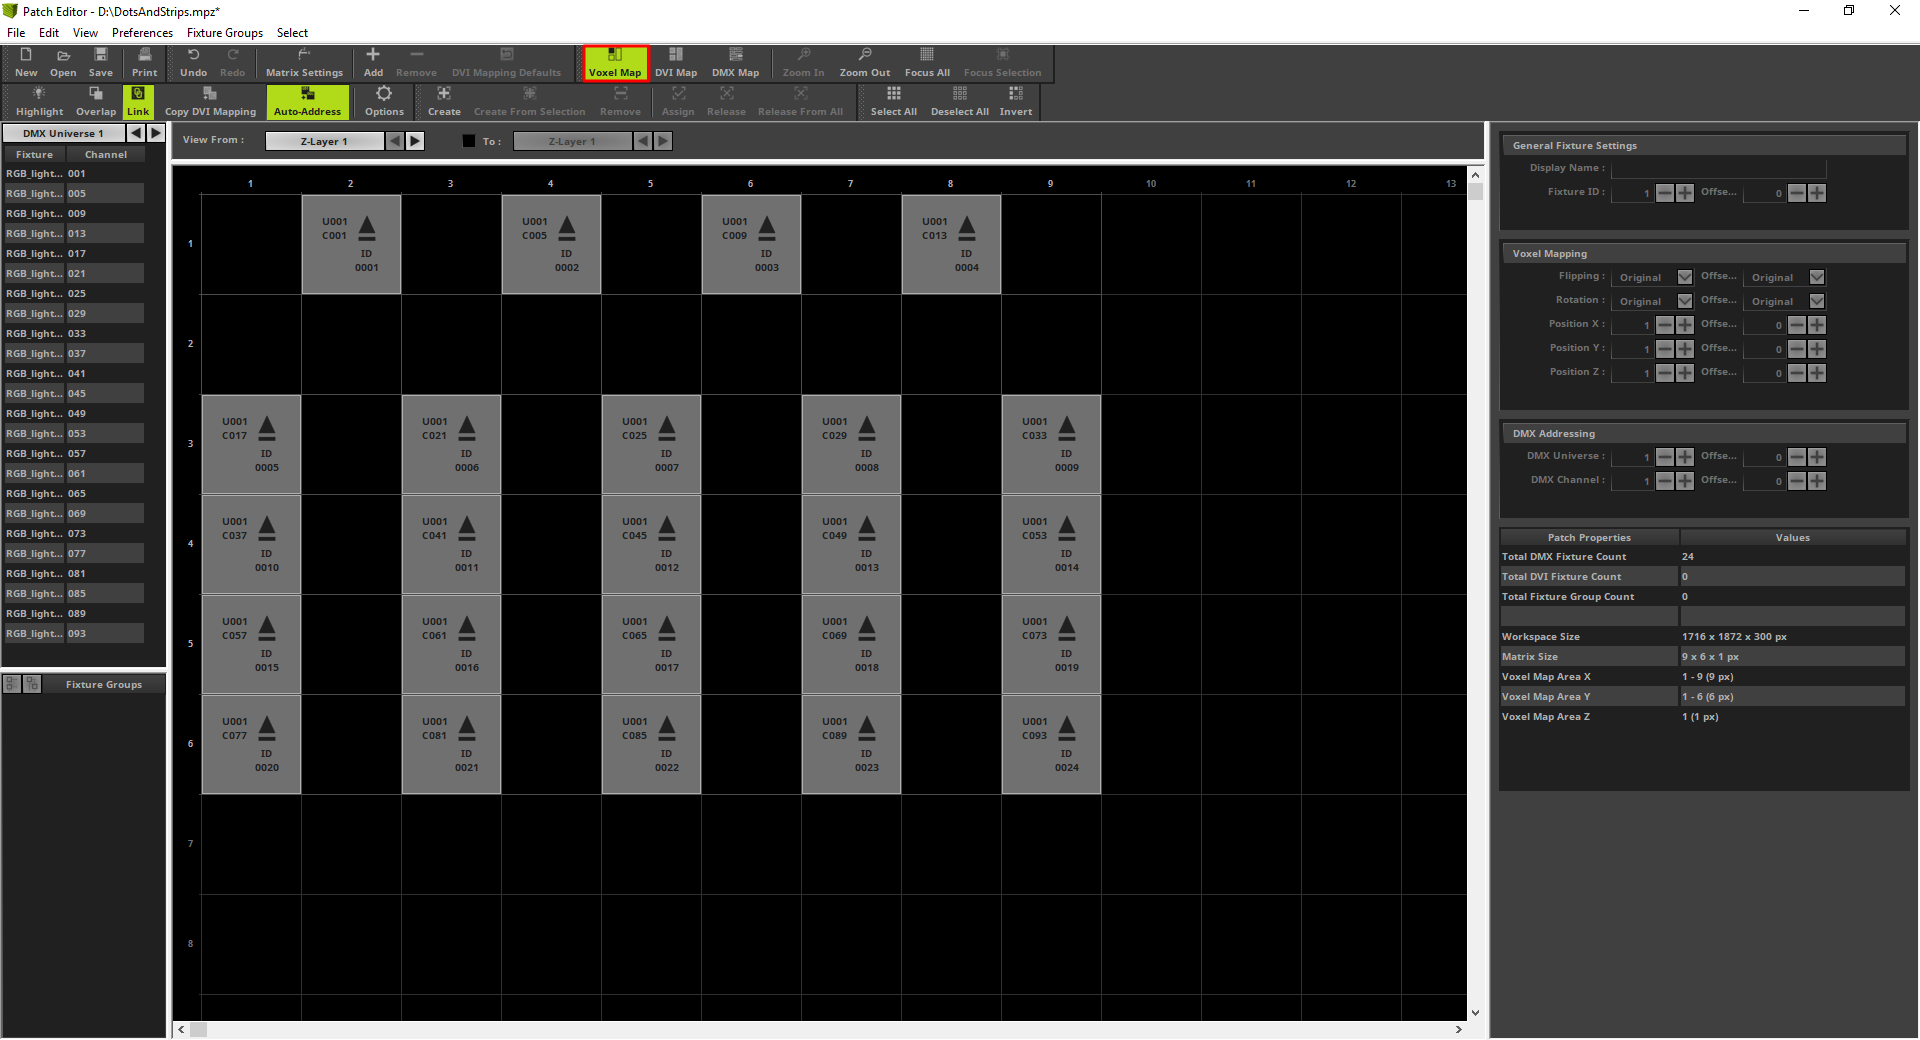
18. |
To change the view back to the Voxel Map view we click the Voxel Map view button or navigate in the menu to View > Voxel Map.
|

Congratulations! You have successfully learned how to export, modify and update an already patched fixture in MADRIX 5.