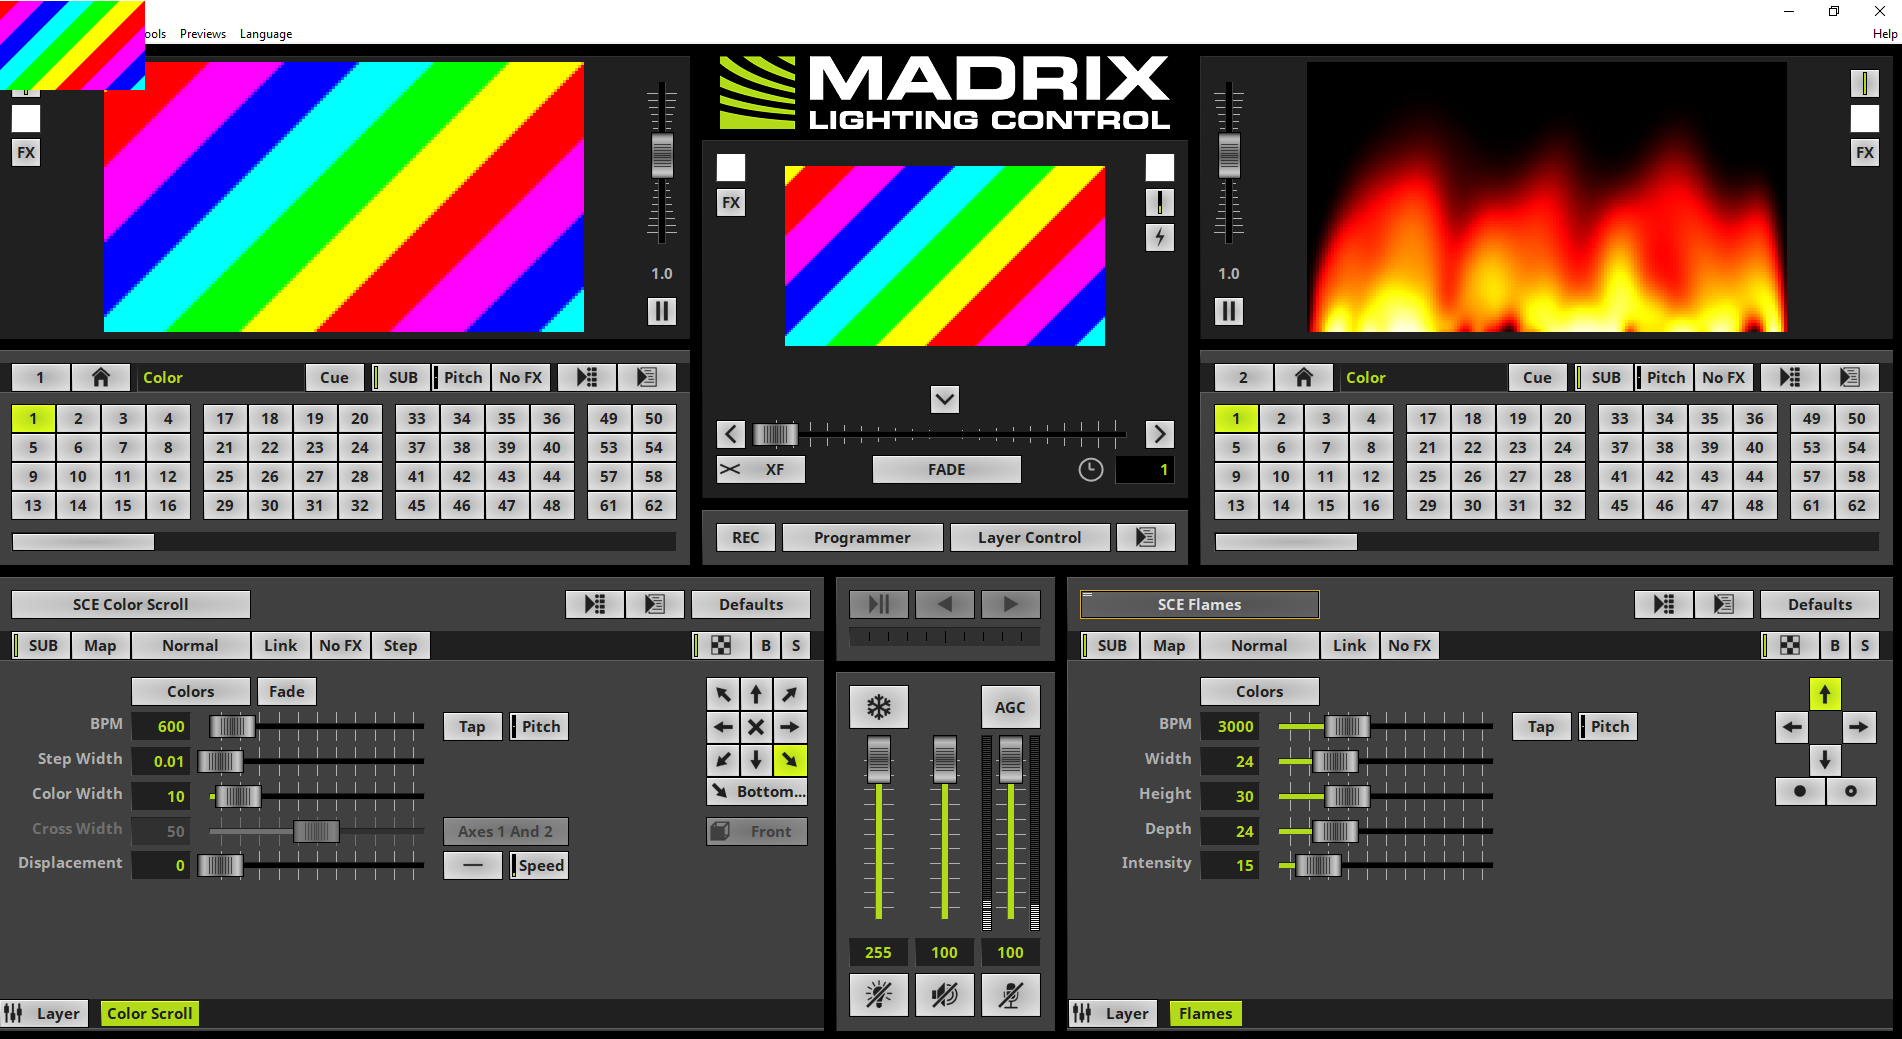
This tutorial shows you how to configure an external DVI Preview Window.
Date: 12/2019
MADRIX Version: 5.2 (Created with)
Corresponding Video Tutorial: »Configure DVI-Based Fixtures
Note:
•We will work with the settings of the »Output to DVI Based Fixtures.
•Normally a DVI Wall controller is connected via VGA, DVI or HDMI cable to an additional output port of the computer graphic card.
•Furthermore the Microsoft Windows Project settings are normally set to Extend.
Task:
In this tutorial we have to move and scale the External DVI Preview window which we have enabled in the Tutorial: »Output to DVI Based Fixtures.
The connected DVI Wall has a resolution of 320 x 180 pixels and the controller will capture the signal form the top left corner of connected output of the graphic card.
1. |
Please open the External DVI Preview1 in DVI mode like explained in the Tutorial »Output to DVI Based Fixtures.
|
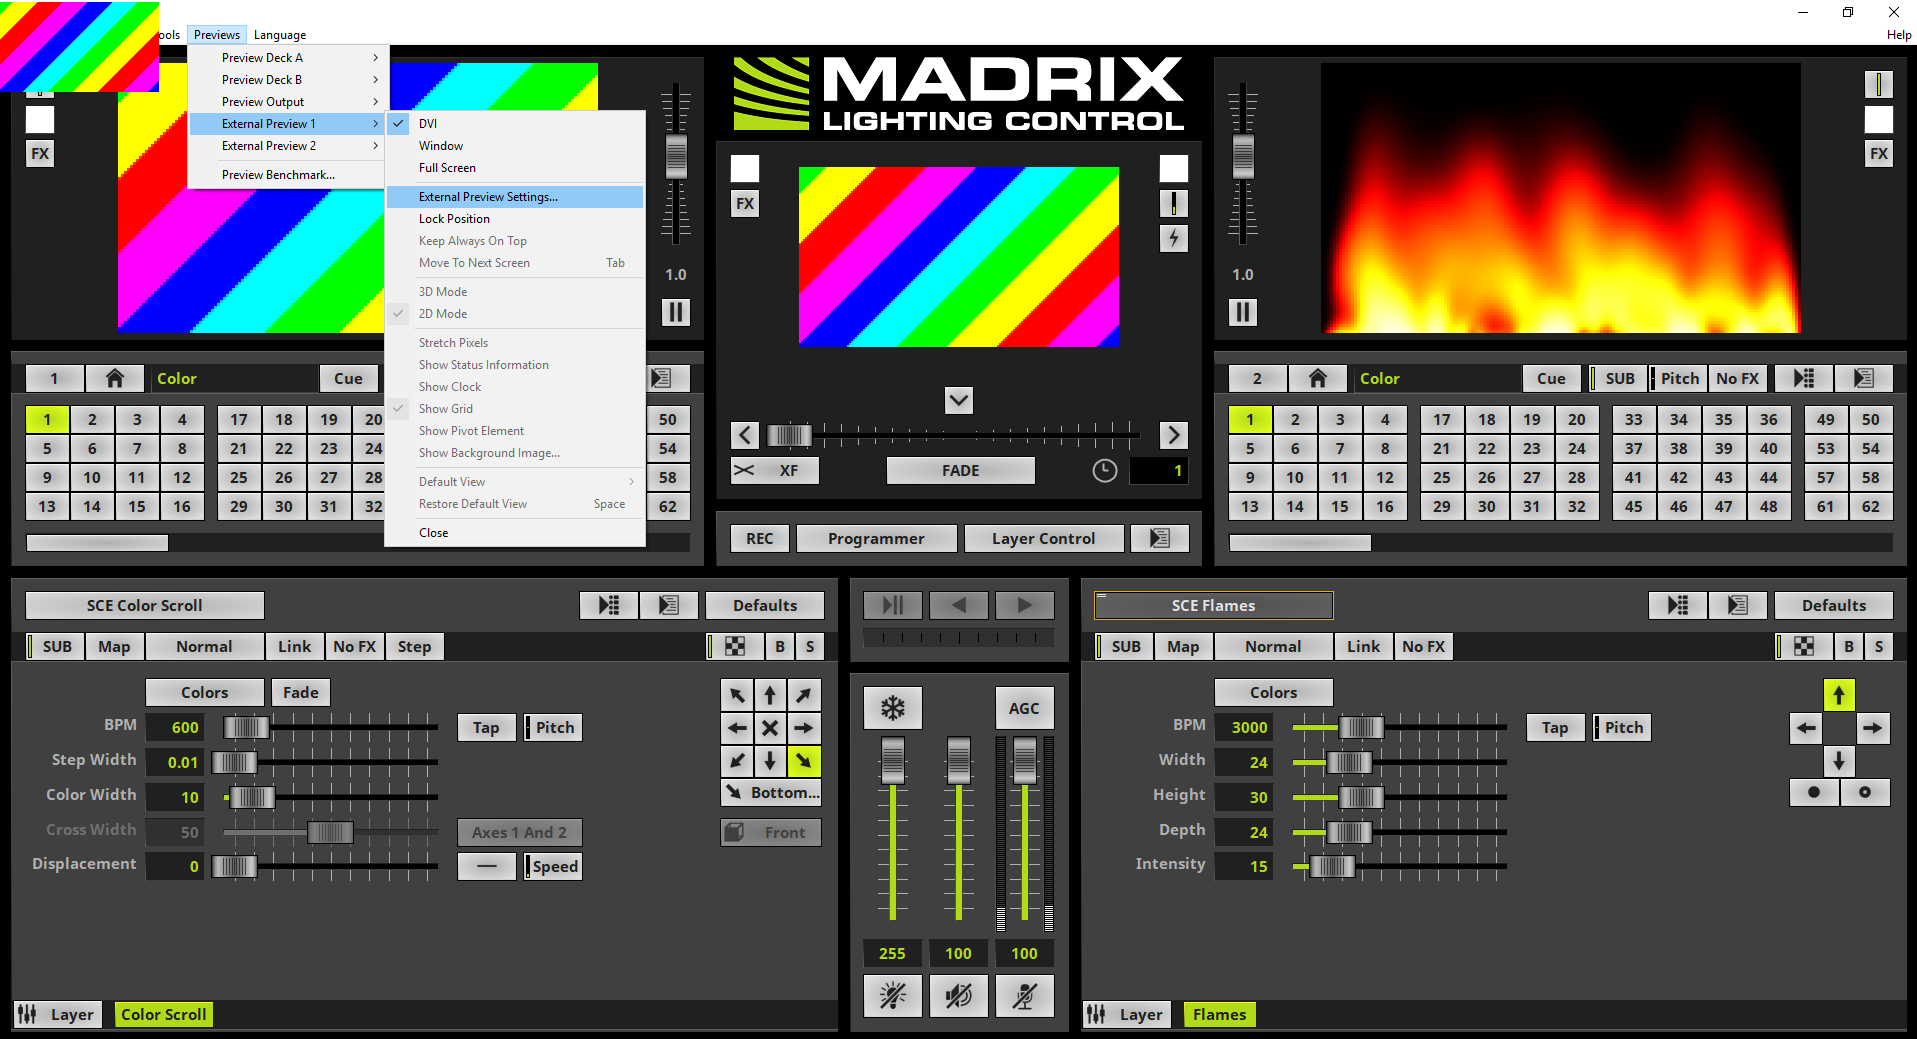
2. |
To change the settings of the External Preview 1 please navigate in MADRIX to Previews > External Preview 1 > External Preview Settings...
|
3. |
The External Preview Settings window opens. As we can see the window is divided in several sections. According to our task we will work with the sections DVI Window Position and DVI Window Size. To learn more about all sections of the External Preview settings window please have a look at the corresponding chapter in MADRIX 5 manual »DVI Output Settings and navigate to the topic Step-By Step-Configuration.
|
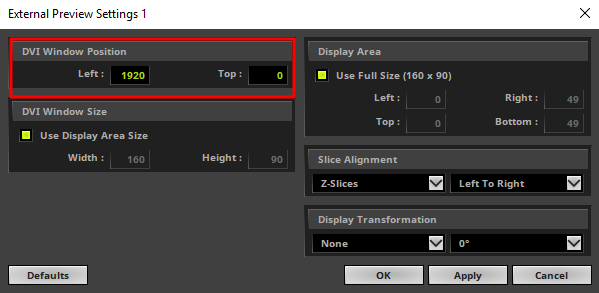
4. |
When we have a look at our task, the connected LED Wall controller will capture the video signal form the Top Left position. Assuming the Project settings in Microsoft Windows is set to Extend and the LED Wall controller is connected to the second screen, located right besides the main screen and the main screen has a Full HD resolution, we have to move the External DVI Preview window to pixel 1920 from the left side and 0 pixel from top.
That means we have to change the settings in the DVI Window Position of the External Preview Settings 1 to: •Left: 1920 •Top: 0
|
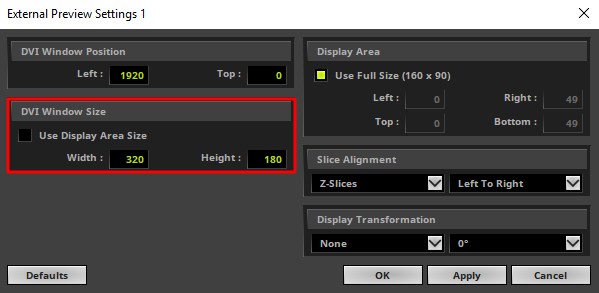
5. |
According to our task the LED Wall has a resolution of 320 x 180 pixels but our current patched DVI screen in MADRIX has only a resolution of only 160 x 90. When we don't want to change the resolution of the LED screen in the Matrix Generator or Patch Editor, we have the possibility to scale the External DVI Window Size. Note: Scaling means MADRIX will scale the rendered effect according to the patched Matrix Size to the set display area size by a scale factor. But scaling has some advantages: •save PC performance •depending on the scale factor you will not have a visual loss of quality when you working with MADRIX stock effects
The disadvantages are: •one pixel of the MADRIX patch will be outputted with more than one pixels •If you want to output videos or images the visual quality of the output could be reduced
The scaling we setup in the DVI Window Size section. Please disable the Use Display Area Size checkbox. Now we are able to set the settings according to our task: •Width: 320 •Height: 180
After we have changed the settings we click OK and the External Preview 1 in DVI mode will move to the second screen (Pixel Position 1920 from the Left side) and with a scaled size of 320 x 180.
|

Congratulations! You have successfully learned how to scale and move External Previews with the help of the External Preview Settings in MADRIX 5.