In this tutorial, you will learn more about the DVI Map Mode.
Date: 09/2014
MADRIX Version: 3.3 (Created with)
The DVI Map Mode is necessary if you want to create a DVI Patch with space between DVI fixtures. The screen-capturing software or hardware captures a defined area of your display and you simply cannot set the space in-between that area.
If you create a patch without space between the fixtures in MADRIX and in reality there is space between them, you will see an offset and the created effects lose their impact.
With the help of the DVI Map Mode the offset will be removed and the effect will be displayed correctly.
1. |
Start MADRIX. Go to Preferences > Patch Editor or press F3. Now the Patch Editor appears:
|
||||||||||||||||
2. |
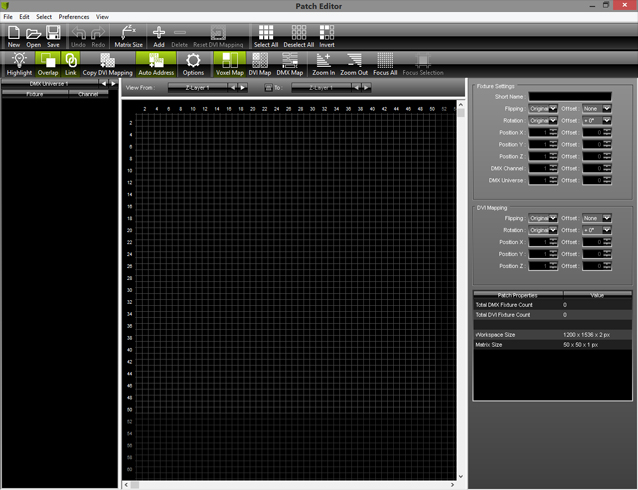
Click New on the toolbar, or go to File > New, or press Ctrl+N.
|
||||||||||||||||
3. |
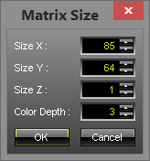
Click Patch Size on the toolbar and set up Size X = 85, Size Y = 64, and Size Z = 1
|
||||||||||||||||
4. |
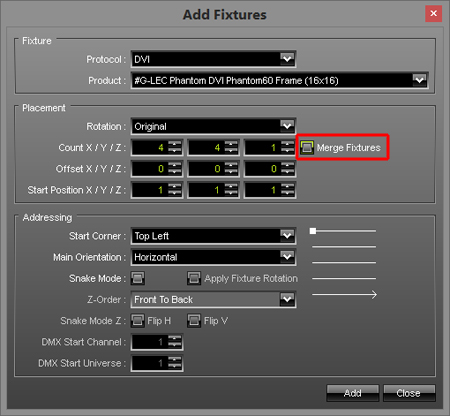
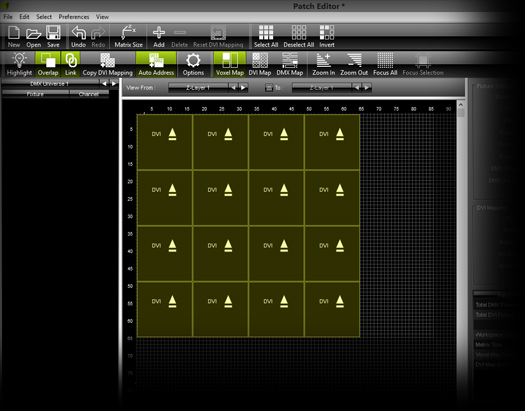
Now, click the Add button on the toolbar or go to Edit > Add Fixtures...
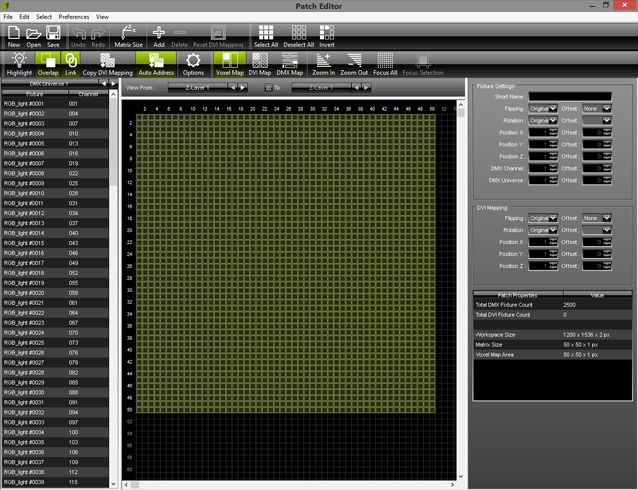
Now click OK The Patch should look like shown in the following picture:
|
||||||||||||||||
5. |
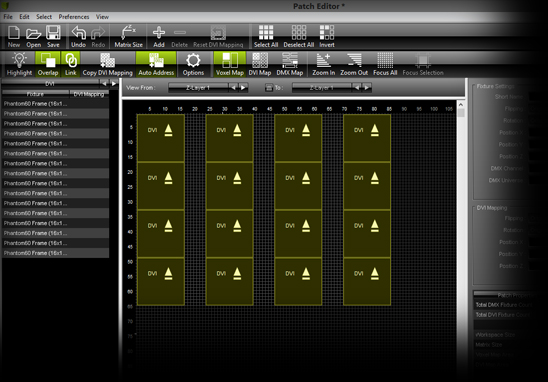
As you can see, there is no space between the fixtures. Let us generate some space in the X-direction. Select the fixtures of the fourth column and move them until the left side is at position 70.
|
||||||||||||||||
6. |
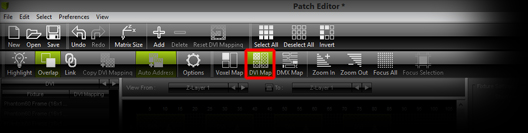
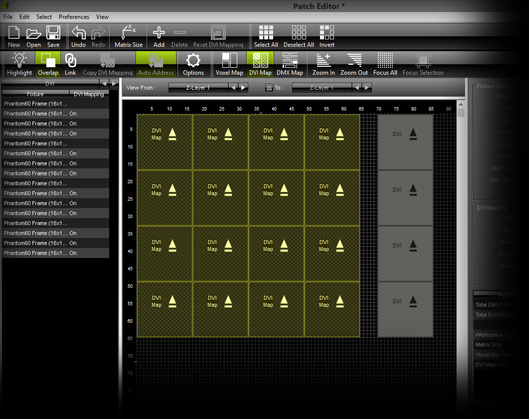
Actually, the patch itself would be finished. MADRIX generates the patch with space, but the grabber software or hardware does not know that you want to have space between fixtures. In the settings of the capture card, you have to set up the size of the whole matrix without the space. In this example, the size setting of the capture card is 64 x 64, although our patch has a size of 85 x 64. Now, we have to activate DVI Map. Click DVI Map on the toolbar.
You will now see fixtures with a checked pattern, which are labeled DVI Map. The created patch and the DVI Map are on top of each other.
|
||||||||||||||||
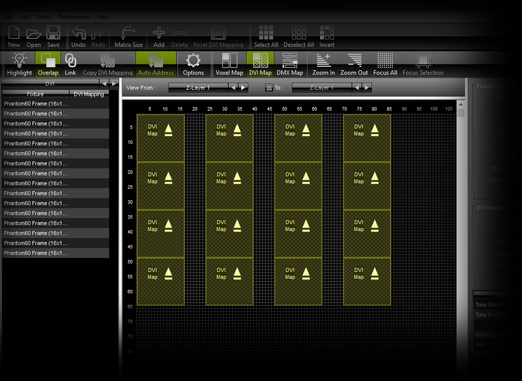
7. |
We have to adjust the DVI Map for our grabber software or hardware. Select the fixtures of the second column and move them to the right border of the first column (close the gap between first and second row). Now, the patch should look like this:
Note: We have created a patch for MADRIX and a patch (a DVI Map) for the grabber software or hardware. MADRIX will show you the patch with space. But in the window for the capturing software or hardware, the space will be removed and the offset will be calculated accordingly. MADRIX will do this automatically. |
||||||||||||||||
8. |
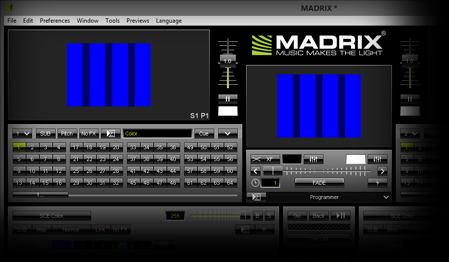
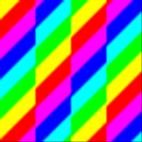
Close the Patch and select the effect SCE Color in MADRIX. For this example, set up the desired color blue.
You can see the space between the fixtures. All brightly illuminated areas are sections with fixtures behind them. No fixtures are placed in the darker areas. |
||||||||||||||||
9. |
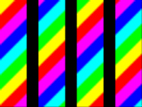
We now have to open the window which will be captured by the grabber software or hardware. Go to Previews > External Preview 1 > DVI. Now a small window according to the size of your patch will be opened. You have to move this window to the preconfigured area of the grabber software or hardware. Learn how this works in the tutorial »MADRIX DVI Output For Screen-Capture Software Now, change the effect in MADRIX to SCE Color Scroll. Set up the direction to scroll from top left to button right.
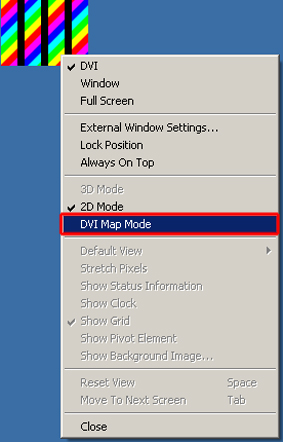
Now we can see the DVI preview window, such as External 1, but we need it without the space according to our created DVI Map. Go to Previews > External Preview 1, or perform a right mouse click on the DVI output window, and enable DVI Map Mode The preview window now looks like the created DVI Map and MADRIX calculates the offset automatically. Thereby, all effects will be shown correctly, like you can see in the middle preview window of MADRIX, Preview Output.
|
Congratulations! You have generated a DVI Patch including space between fixtures and a DVI Map for the capture software or hardware.